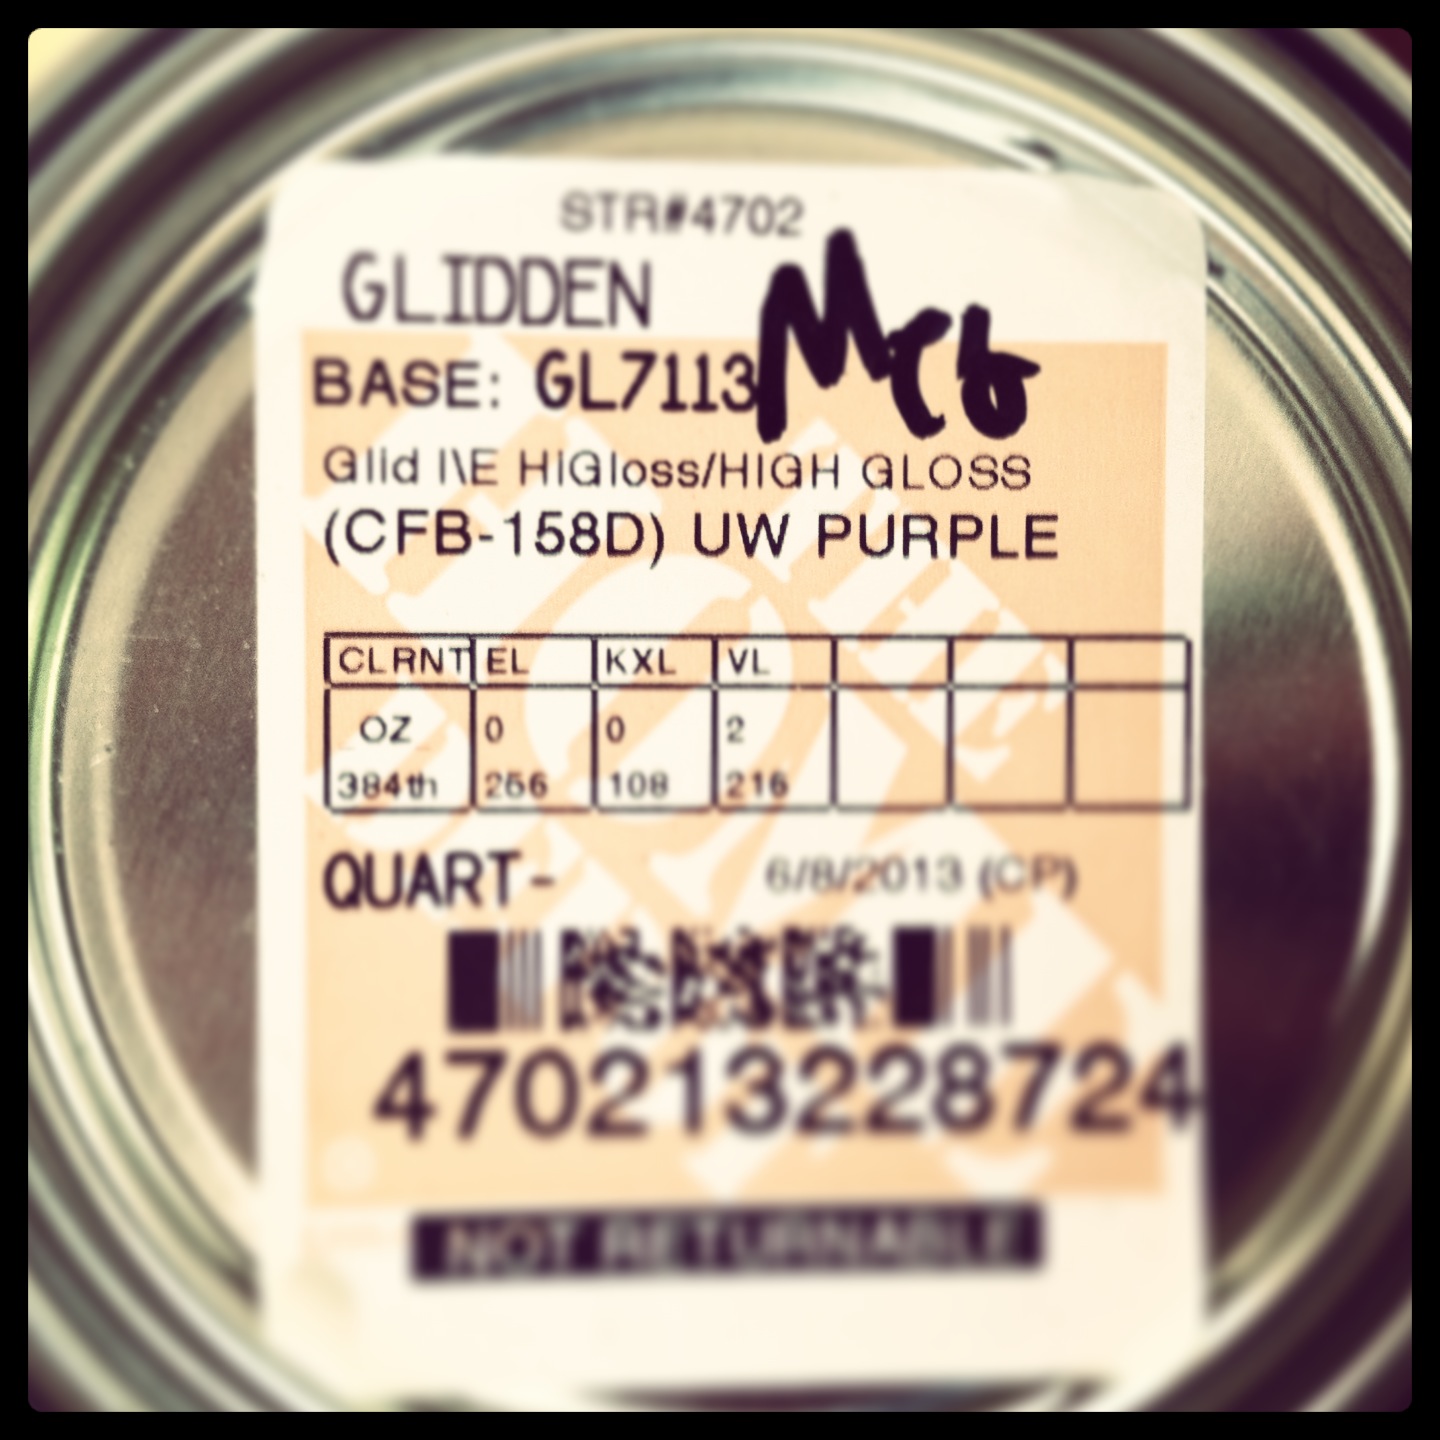
“UW Purple” !!!
Man… what a weekend! Brandon has been immersed in his studies — finals are next week — so I had the weekend more-or-less to myself and a long to-do list of house projects.
Brandon and I are both University of Washington alums and there is Husky paraphernalia all over our house. I decided to take it a step further and did two UW-related projects this weekend.
The first, Husky “W” benches! These classic, boring benches came with my house and have been un-cared for more than five years. They’re still a work in progress, but this weekend I designed, primed, painted and lacquered the tops of the two benches. I’ll let them dry through tomorrow and then turn them over and paint the underside and legs “UW Purple.” (It’s an actual color! Thank you, Home Depot!)
Here is the work in progress… I’ll post more photos and a step-by-step tutorial when the project is finished.
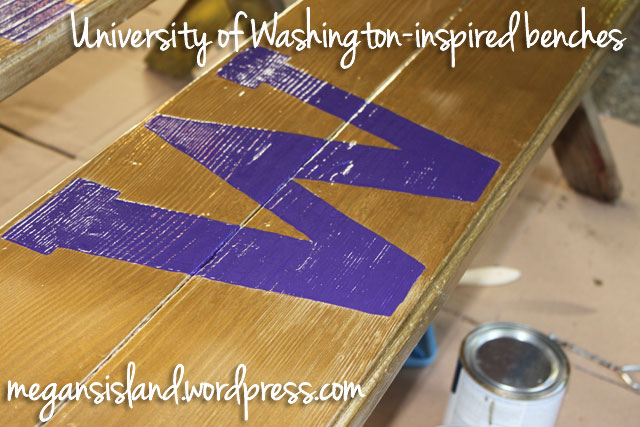
UW-inspired benches
While I was at Home Depot picking up “UW Purple” and other various paint colors, I also picked up two tiki torches for the backyard. (More on that on Friday for my “Gone Pinning” post on mosquitoes!) I’ve had two French florist buckets (of sorts) from IKEA that would make the perfect base for the torches for years. These buckets needed some TLC, so this morning, they got it!
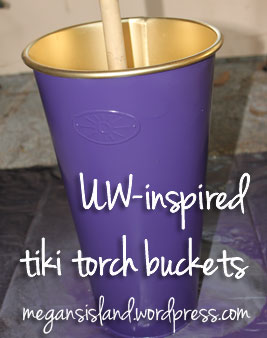
UW Husky-inspired tiki torch buckets
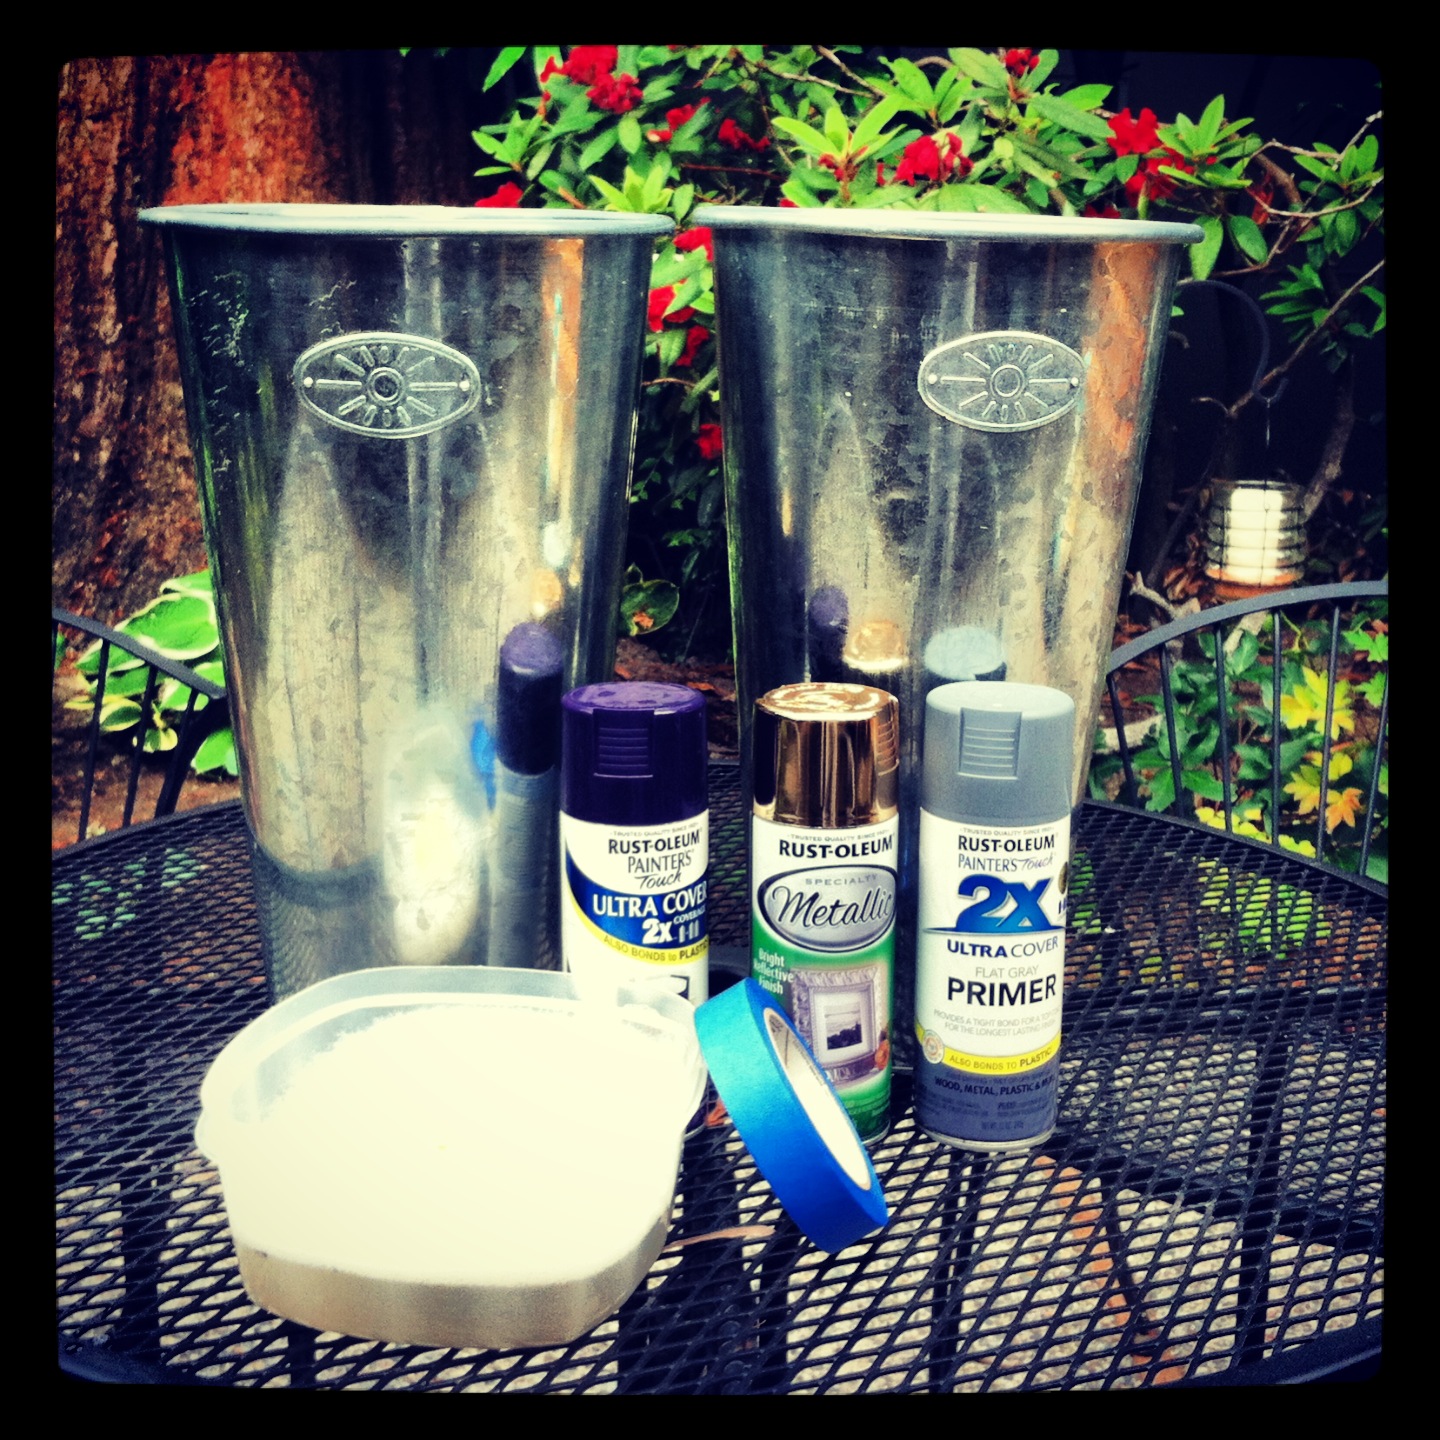
Tiki torch buckets!
I had all of the tools I needed to make this project a success: soapy water and a sponge, blue painters tape and various spray paints (primer, gold and purple). First, I cleaned the buckets. They had a lot of concrete residue from our patio project, but it came off surprisingly easily. After the buckets dried, I primed them, taped the lip and painted the base purple. After that dried, I re-taped and painted the lip and inside GOLD. I love my gold spray paint!
I filled the buckets with some cheap rocks/sand that I found at Home Depot, added the torches and voila! We’re ready for mosquito-free outdoor dining!
Oh, and I went a bit overboard and also painted the rocks inside gold. GO DAWGS!!
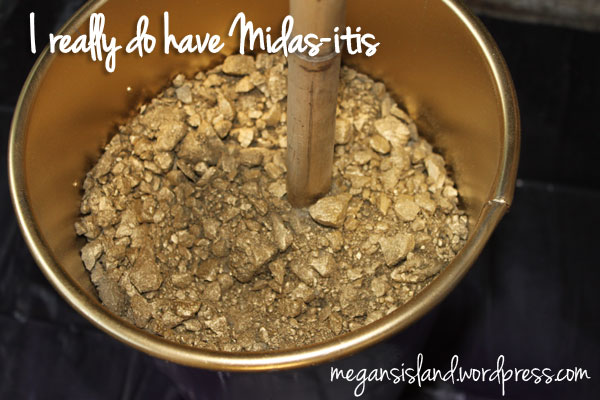
Gold spray paint = my favorite