Have you heard of Dyne? According to them, Dyne is a better way to book and enjoy the dining experience, to discover secret menus, pop-ups, and special offerings at select partners in Seattle. Based on this experience and the offerings I’ve seen, I would have to agree!
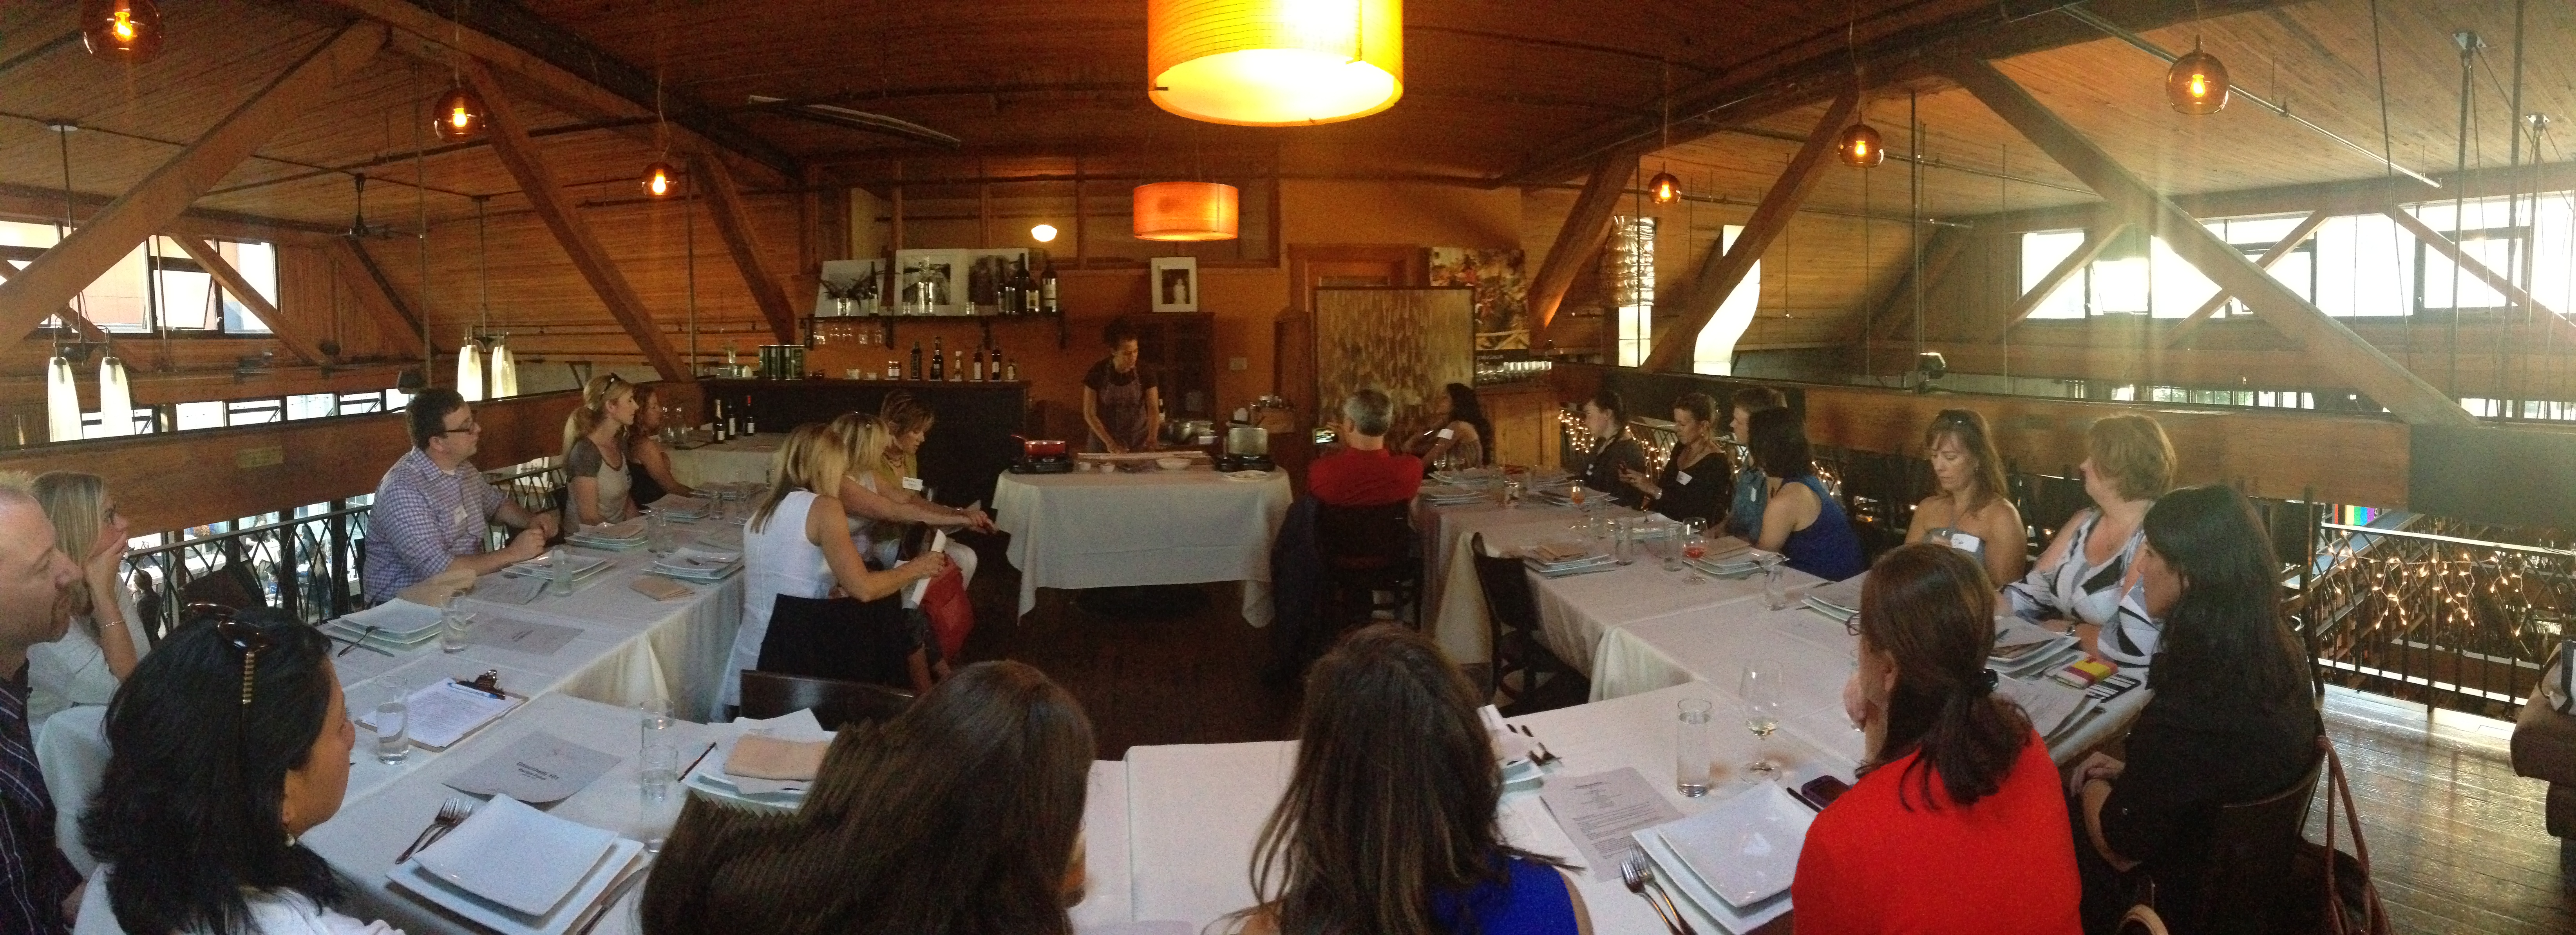
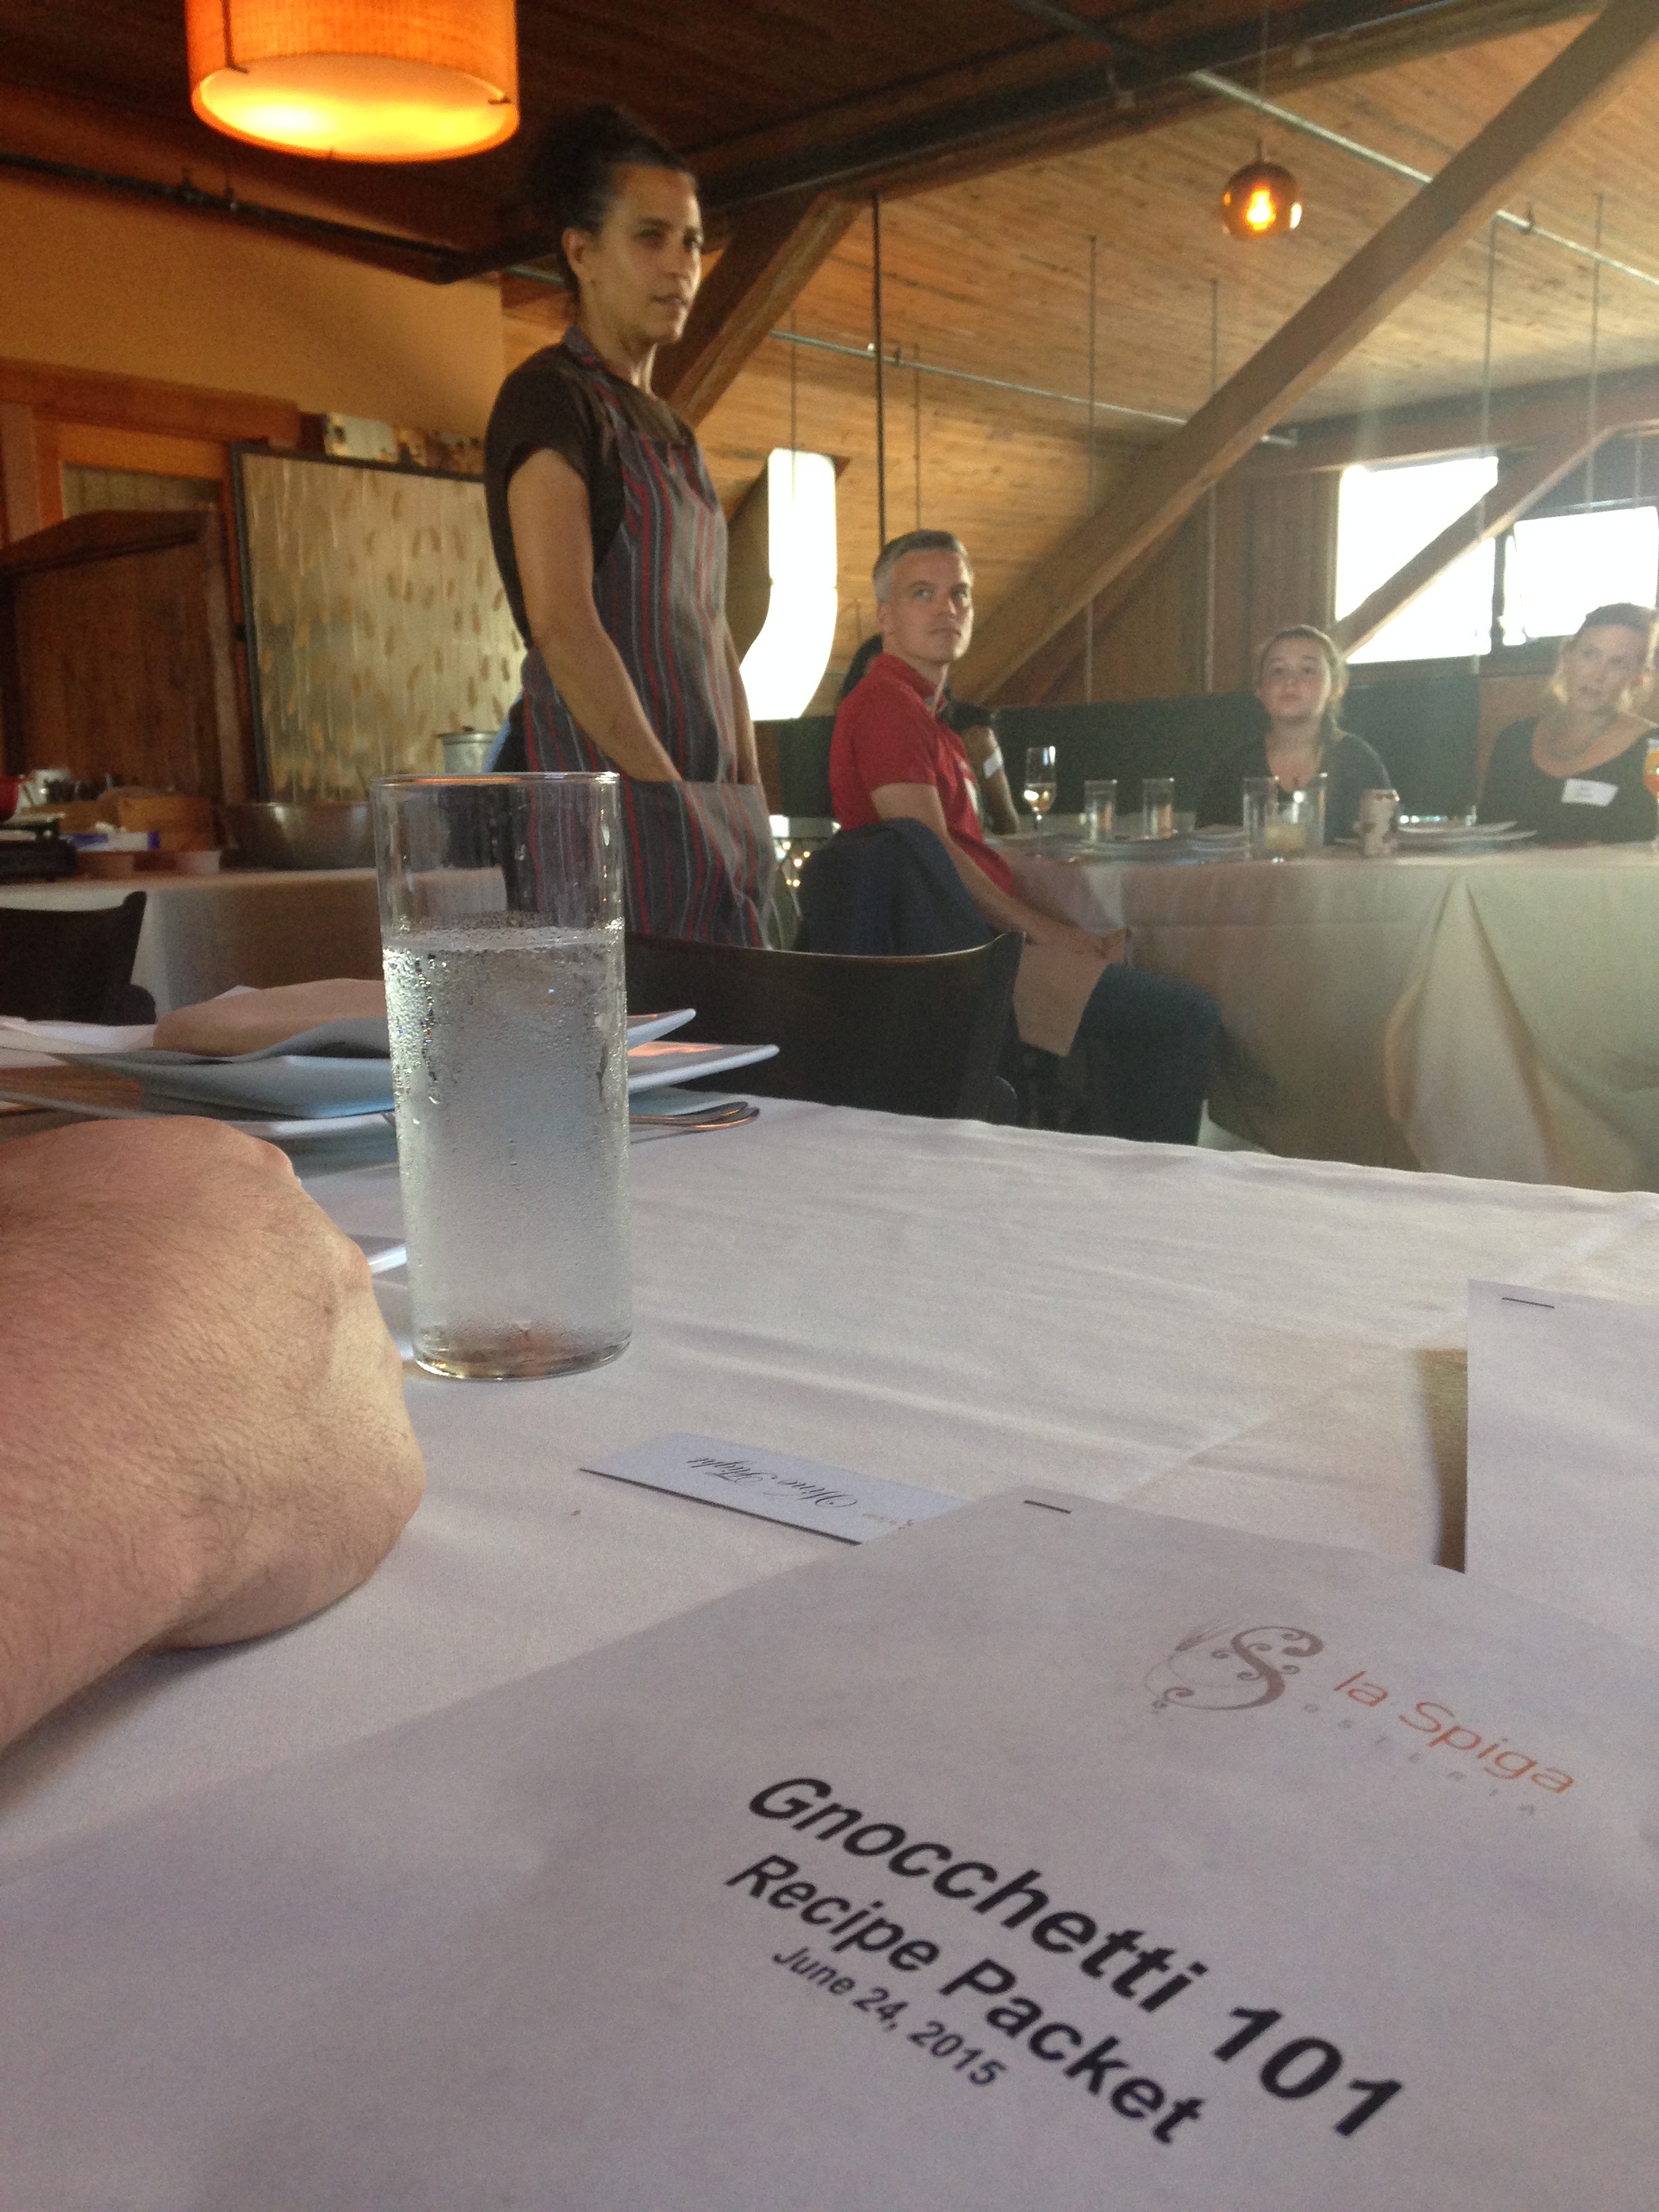
Brandon and I had the pleasure of using Dyne to attend a very select class this past June, in the private dining mezzanine (upstairs) at La Spiga Osteria, one of our favorite Seattle spots.
“Chef’s Table with Gnocchetti 101” was limited to 20 people and led by La Spiga owner and chef Sabrina Tinsley. Sabrina walked us through a demonstration-style cooking class on the techniques to master gnocchetti (the soft, delicate pasta cousin of gnocchi) followed by a three-course dinner with optional wine flight. Brandon opted for the wine flight, I opted against it.
For $48 per person (plus $25 extra for the wine flight), this was a deal — and an experience — that we couldn’t pass up!

Our group of Dyners
First Course: Insalata Primavera con Carciofi Croccanti
Spring salad with crispy fried artichokes, spring peas, asparagus, fava, bibb lettuce and pecorino fresco

First Course: Insalata Primavera con Carciofi Croccanti
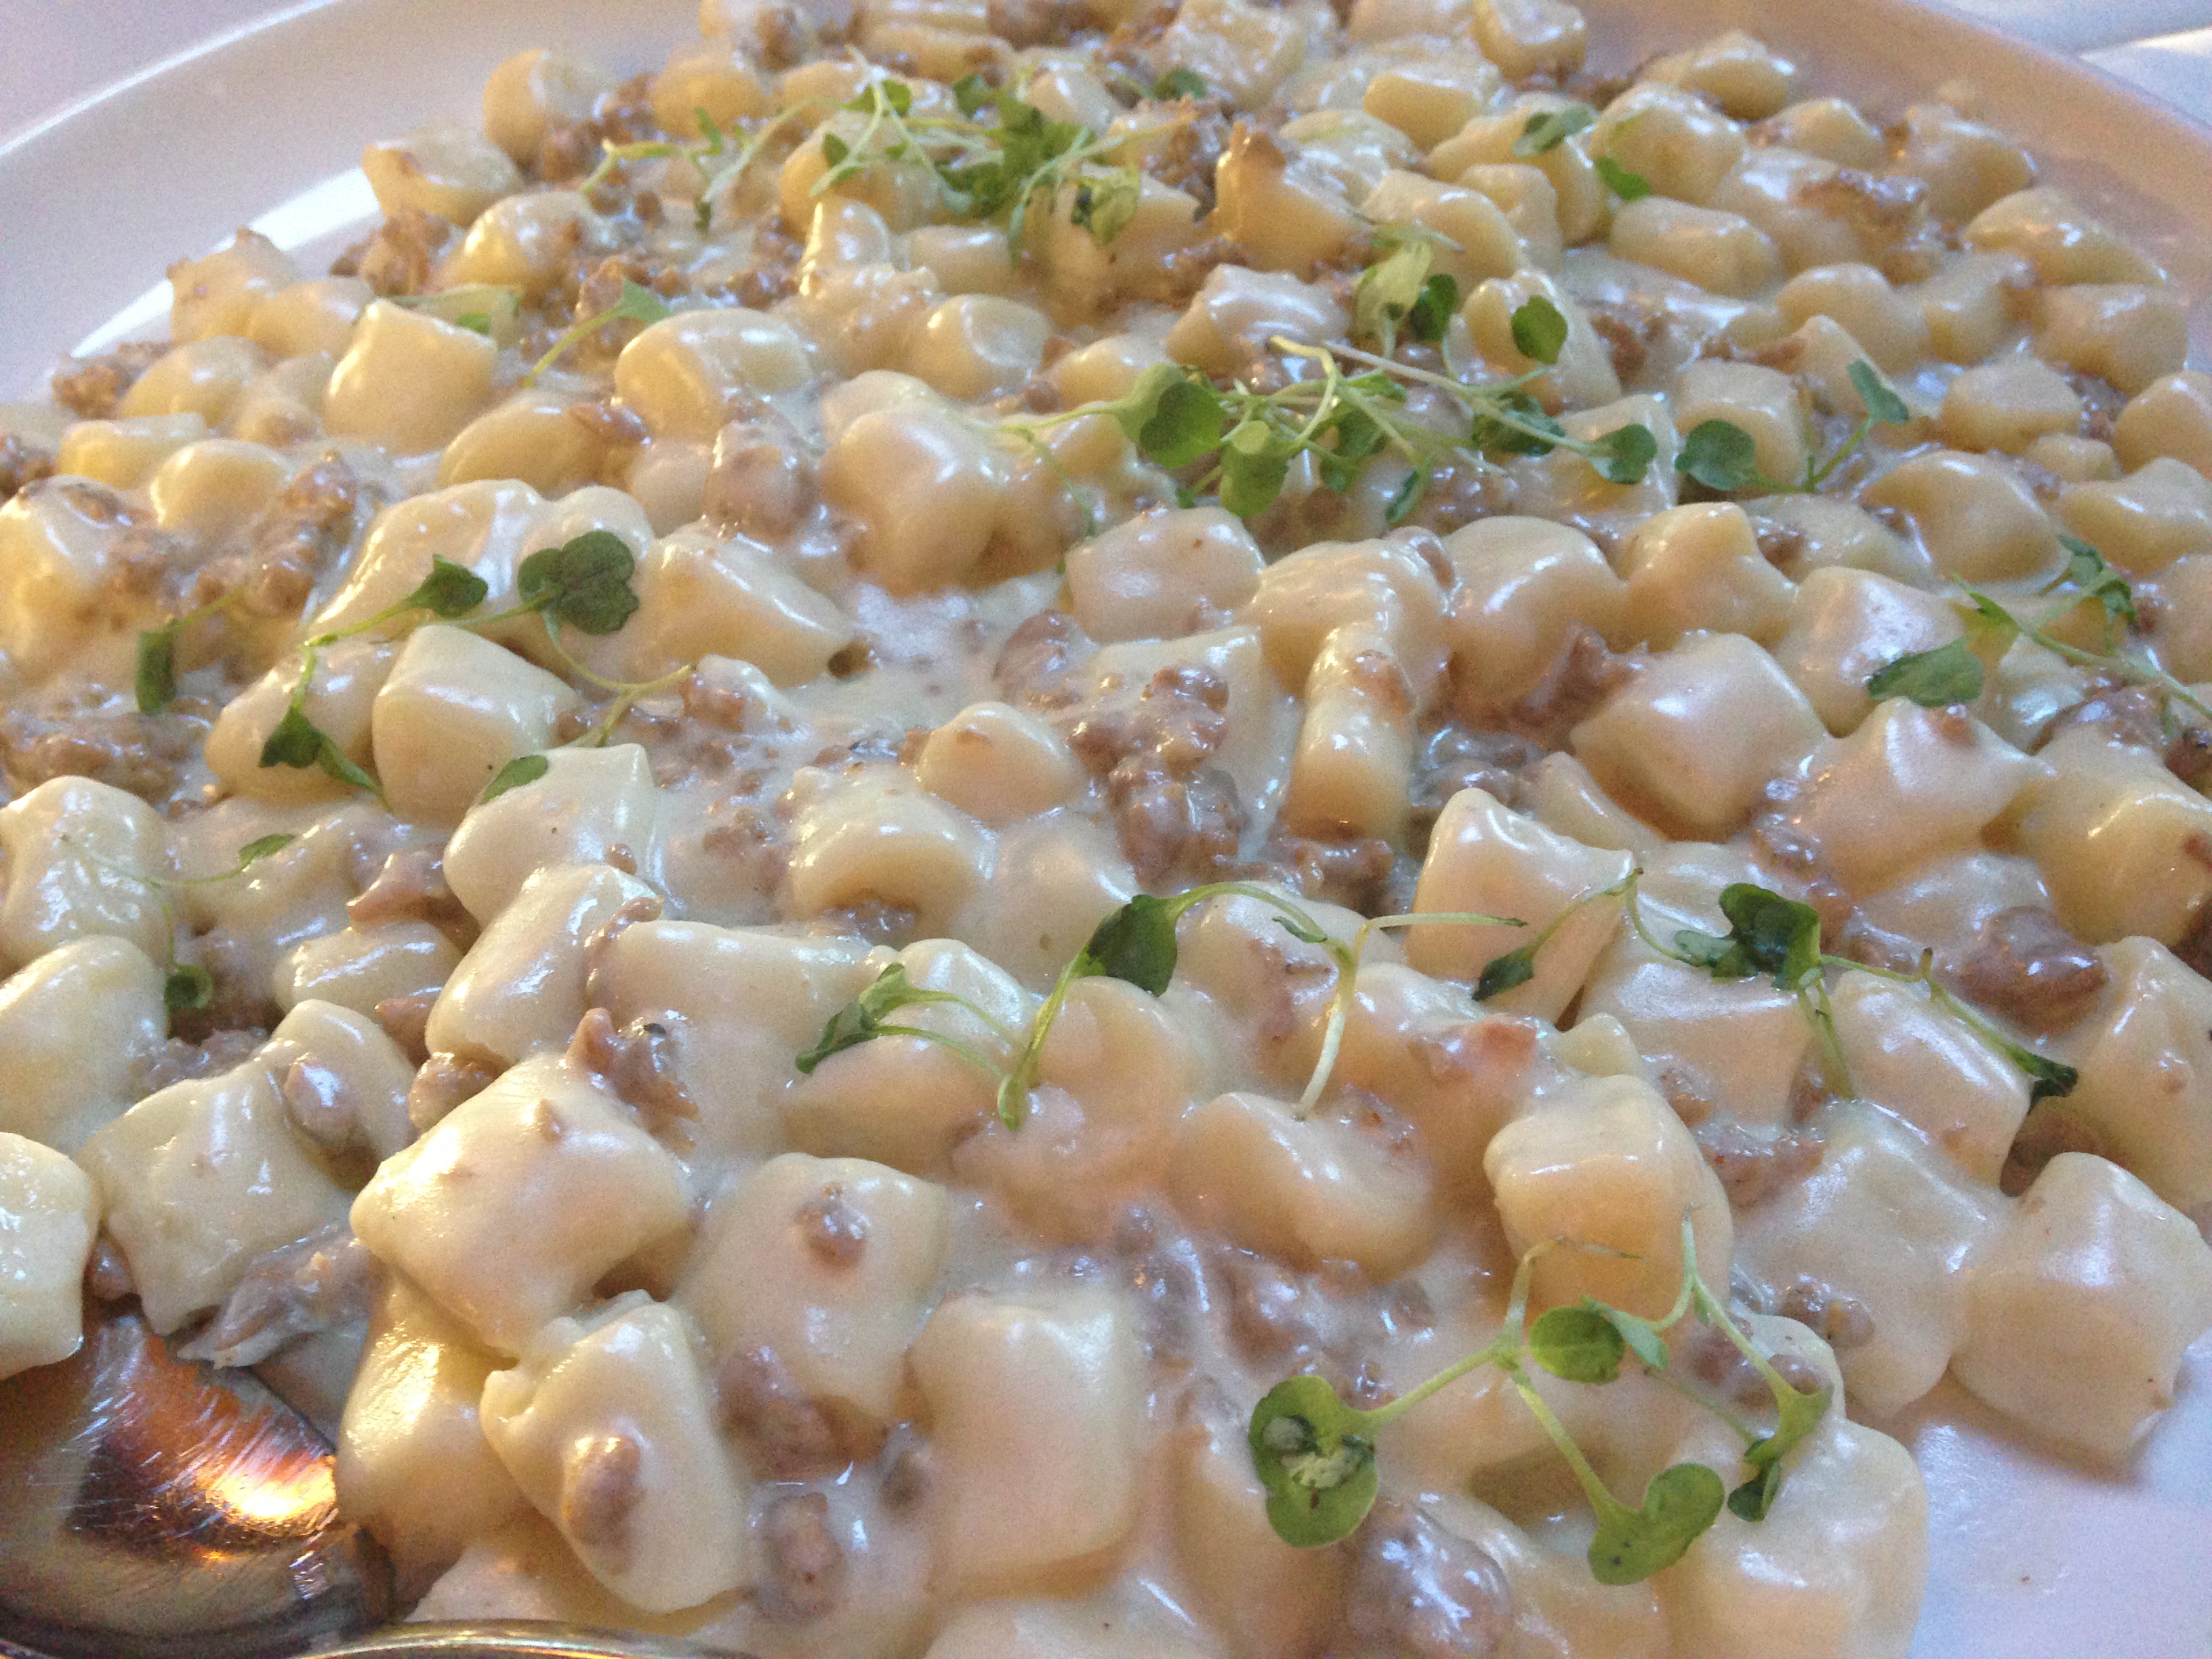
Second Course: Gnocchetti al Norcina
Gnocchetti pasta with pork sausage, truffle and cream sauce

Second Course: Gnocchetti al Norcina
Strawberry panna cotta with 30th Anniversary balsamic vinegar

Third Course: Panna Cotta
Dinner was delicious (as we’ve come to expect from La Spiga) and the best part of the evening was that we got to take recipes for each of the courses home with us! And now I will share the Gnocchetti alla Norcina (ricotta gnocchi with sausage, truffle and cream sauce) recipe with you!

Gnocchetti 101 class at La Spiga
Serves 6
Ingredients
- 2 lbs ricotta, drained overnight
- 1 egg
- ~1/2 teaspoon coarse sea salt
- Fresh ground pepper
- 2 T truffle flour (optional)
- 2 c all purpose unbleached flour + extra for dusting
- 6 pork sausage links
- Olive oil
- 3 T truffle butter (optional — available for purchase at La Spiga)
- 3 c heavy cream
- Parmigiano Reggiano
Make the gnocchetti
- Mix together the ricotta, egg, salt, a little fresh ground pepper and the truffle flour, if you’re using it.
- Add the all purpose flour and blend until smooth. The dough should be a workable consistency and may be sightly sticky. (About 2 minutes)
- If the dough is too sticky, you may add up to a 1/4 c extra flour, but resist the urge to add any more.
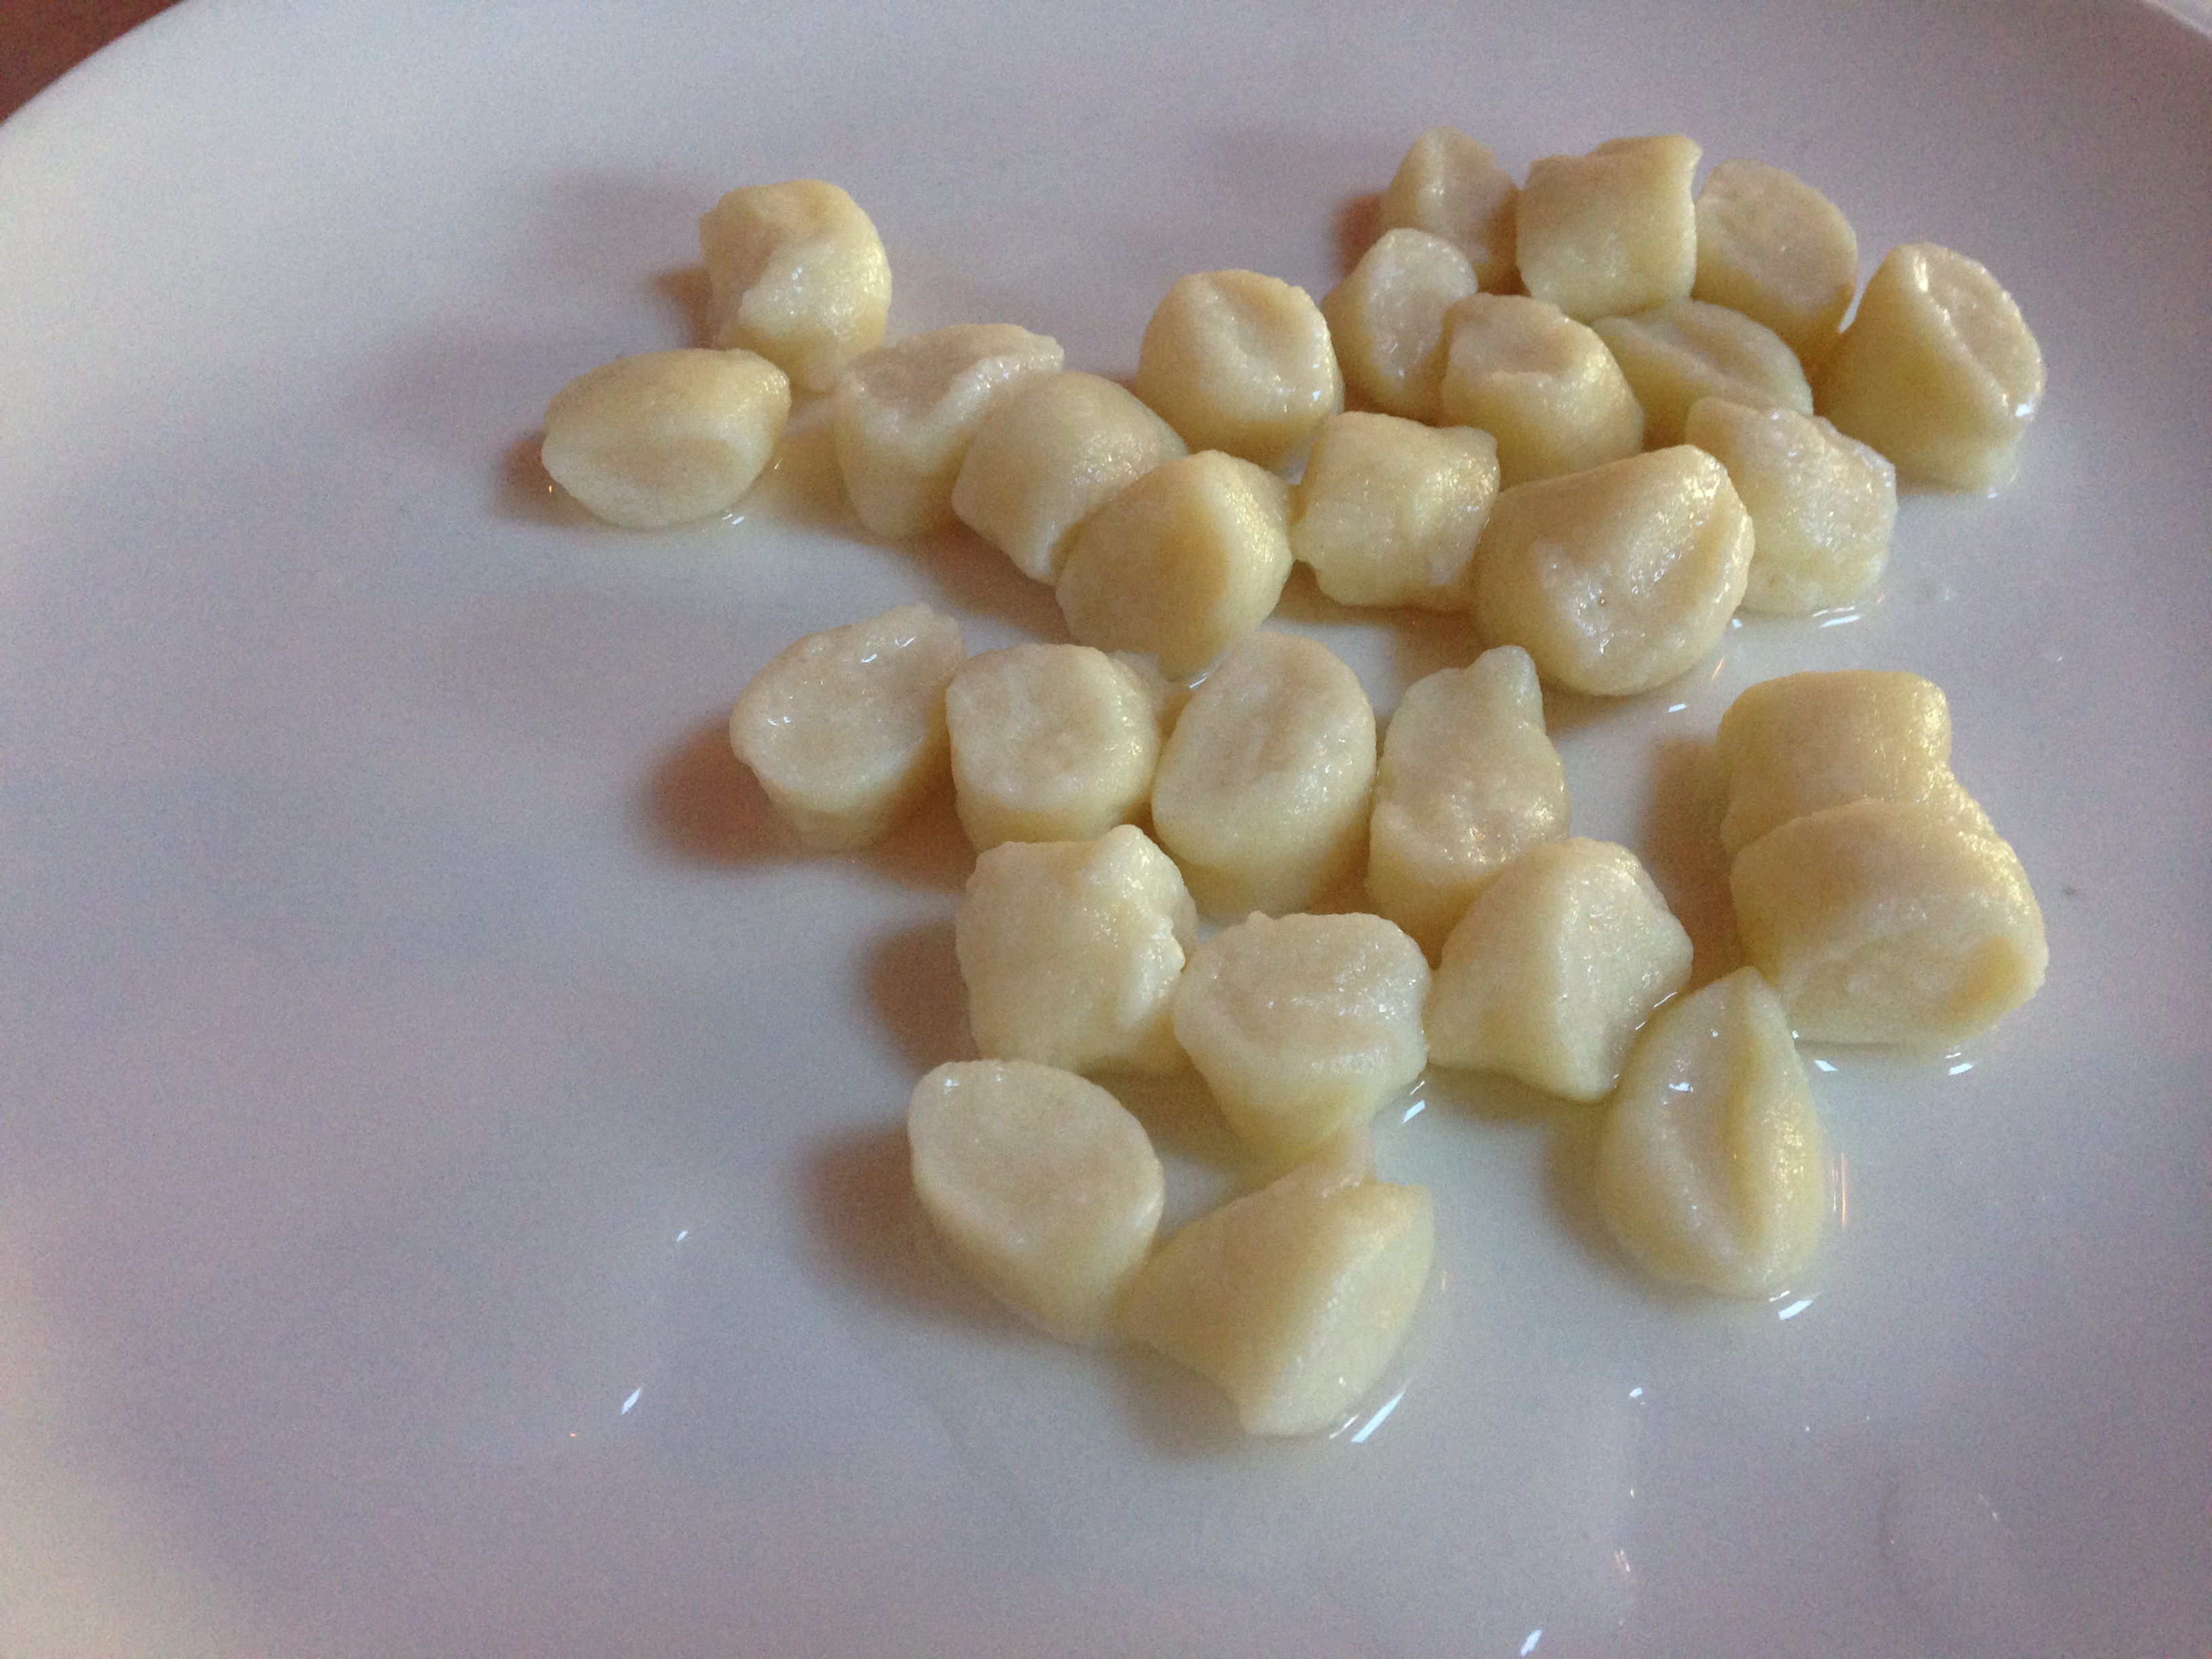
- Dust your work surface with plenty of flour and roll out the dough in small batches into 1/2″ cylinders with your palm.
- Cut the cylinders into 1/2″ pieces like the below photo.
- Dust the pieces with flour and transfer to a baking sheet lined with parchment, you may freeze at this point, if you’re enjoying them later.

Little gnocchettis
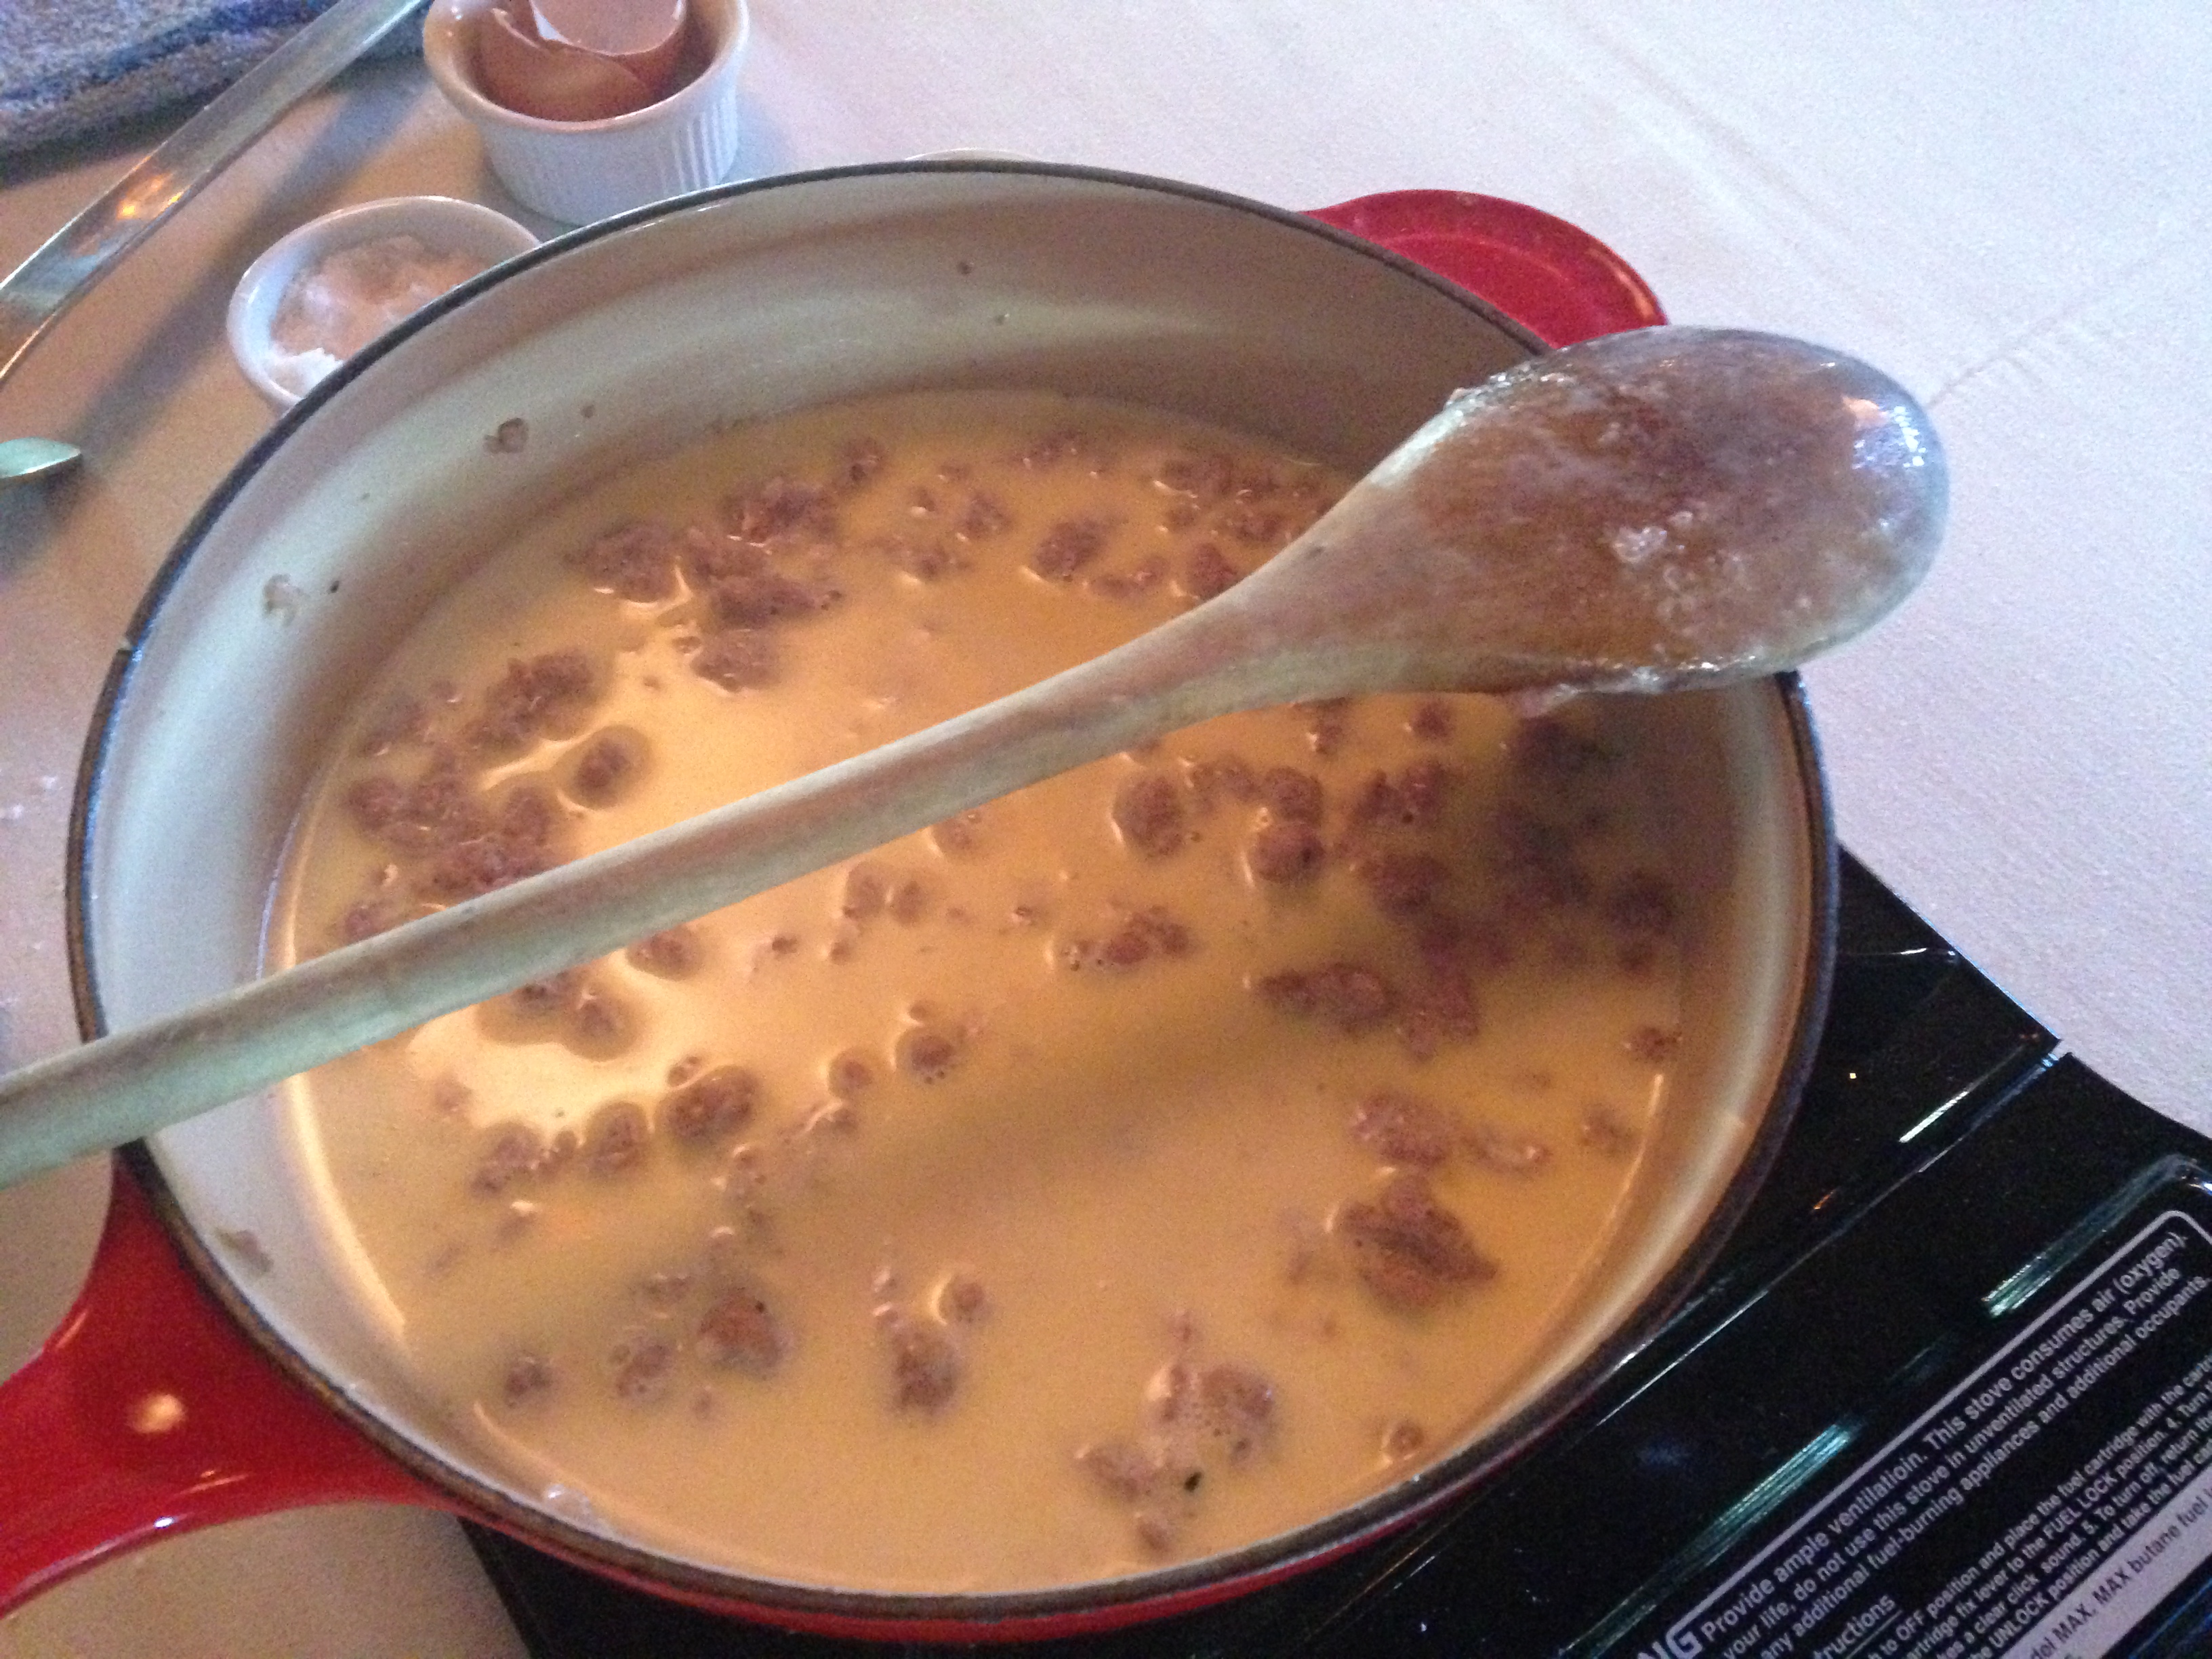
- Remove sausage from the casing (Sabrina recommends using sausage WITHOUT fennel– it’s her preference) and saute in a sauce pan with 2 T olive oil. (Sabrina only uses Bono Extra Virgin Olive Oil, which I have only been able to find at La Spiga, not at PFI), lightly salt the sausage to prevent the loss of flavor to the cream.
- When the sausage has just cooked through, add the optional truffle butter and allow to melt.
- Add the cream once the butter has melted.
- Bring the sauce to a boil and remove from heat. Don’t worry about boiling the sauce down or reheating it. It will do this on its own.

The best sauce EVER: sausage, truffle and cream
- Bring salted water to a boil. The water should “taste like the sea”
- Cook the gnocchetti in small batches. Do not stir.
- When the gnocchetti rises to the surface, allow it to cook for about one more minute. Skim the finished gnocchetti off of the surface with a slotted spoon and transfer to the sauce pan.
- Continue to cook all of the gnocchetti in this method.
- Dress the cooked gnocchetti by folding it into the sauce. Take care not to break up the gnocchetti and serve immediately. (This should only include ~one minute in the pan)
- Add garnish (microgreens pictured here) and/or Parmigiano Reggiano
Second Course: Gnocchetti al Norcina
AND ENJOY!!! Now I’m hungry and want to go make a batch of this Gnocchetti alla Norcina! Thanks for the recipe, Dyne and La Spiga!