Looking for a last minute Halloween craft? Planning on leaving candy outside for trick-or-treaters? Want a fancy way to display all the candy you’re going to eat yourself?
I have the DIY project for you: Oozing Witch Cauldrons!
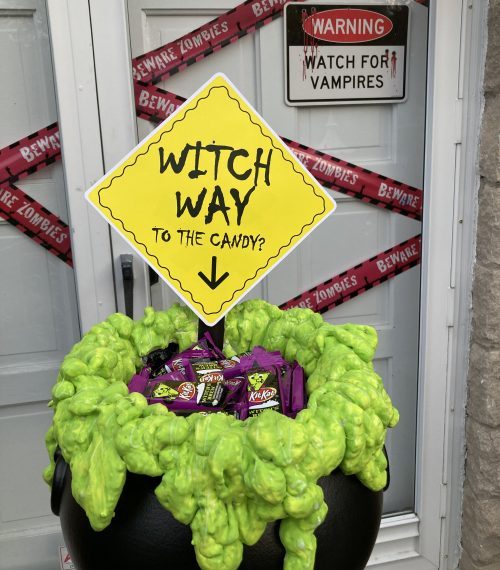
Oozing witch cauldrons
This idea came from this year’s Better Homes & Garden’s Halloween magazine. We likely won’t put it outside for trick-or-treaters, but you’d better believe it’s filled with all our favorite candies already, awaiting Halloween this weekend.
This is a super easy craft. Please make your own and tag me or post your projects here!
Gather your supplies:
- Cauldron ($6, Walmart)
- Spray insulation ($3, Home Depot)
- Acrylic paint for the ooze (had on-hand)
- Stick for sign (We used a painted paint stir stick, optional)
- Candy (once completed, for filling)
… And get started. This project is so easy a five year old can do it!
- Prep spray insulation per package instructions (open, put on nozzle)
- Set up work space (cauldron on top of working space– we used cardboard box in the garage)
- Spray! (If you’re adding a sign, make sure you insert your stick/sign post when the ooze is still wet.)
- And then wait per package instructions. Warning: the insulation will GROW as it hardens.
- Once fully dry, paint the ooze, if you’d like. We used a “lime” matte acrylic that we had on-hand. The original instructions suggest spray painting, but that didn’t make sense to me, plus I had time to hand paint it while Michael did his virtual schooling.
- Add glow-in-the-dark paint. (We did because glow-in-the-dark puffy paint is amazing. We put it on everything!)
- Print and adhere sign. (We printed onto a heavy cardstock and adhered it with 1″ blue painters tape)
- Fill with candy and enjoy!
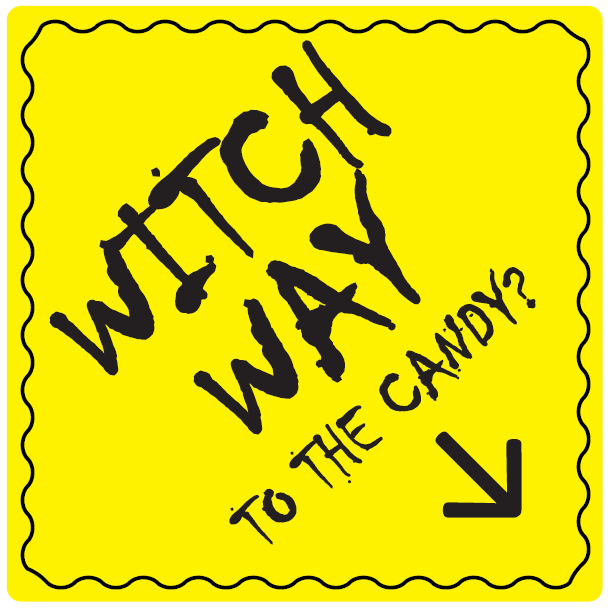
Here are the PDFs for the signs: Witch way to the candy & Boo’s (which I envision filled with little alcohol bottles at a party during non-COVID times)

Gather your supplies

Apply insulation per the instructions. Make sure you drizzle some tendrils down the cauldron

Let dry. Make sure to stick your sign stick in while the insulation is still wet!

Paint, paint, paint. Green paint first. Glow in the dark paint after its dry.
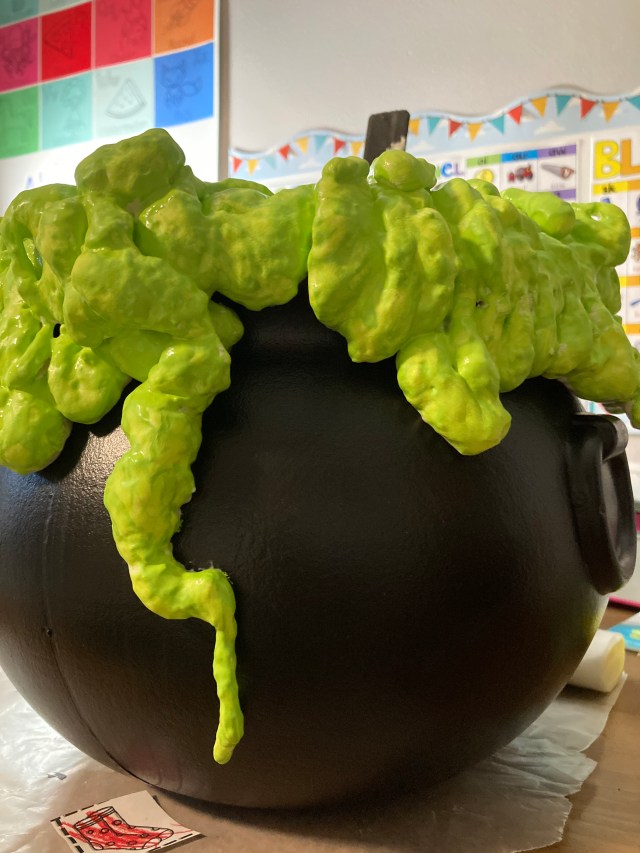
We opted for spooky green ooze, painted while I supervised “at home” school
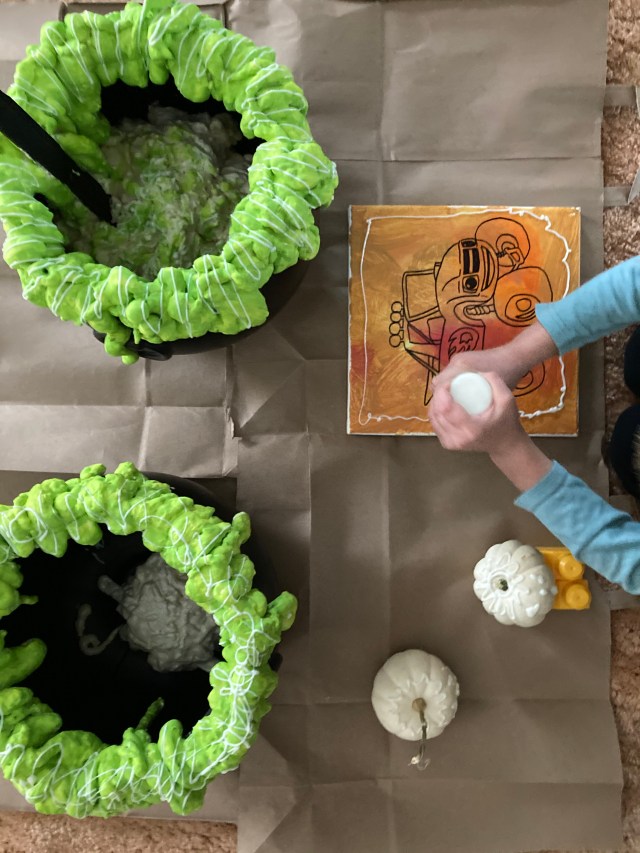
Added some glow in the dark puffy paint once the green paint was dry.

Fill it and place it and you’re done!
Ready to print signs (8.5″ x 11″) CLICK FOR THE PDF