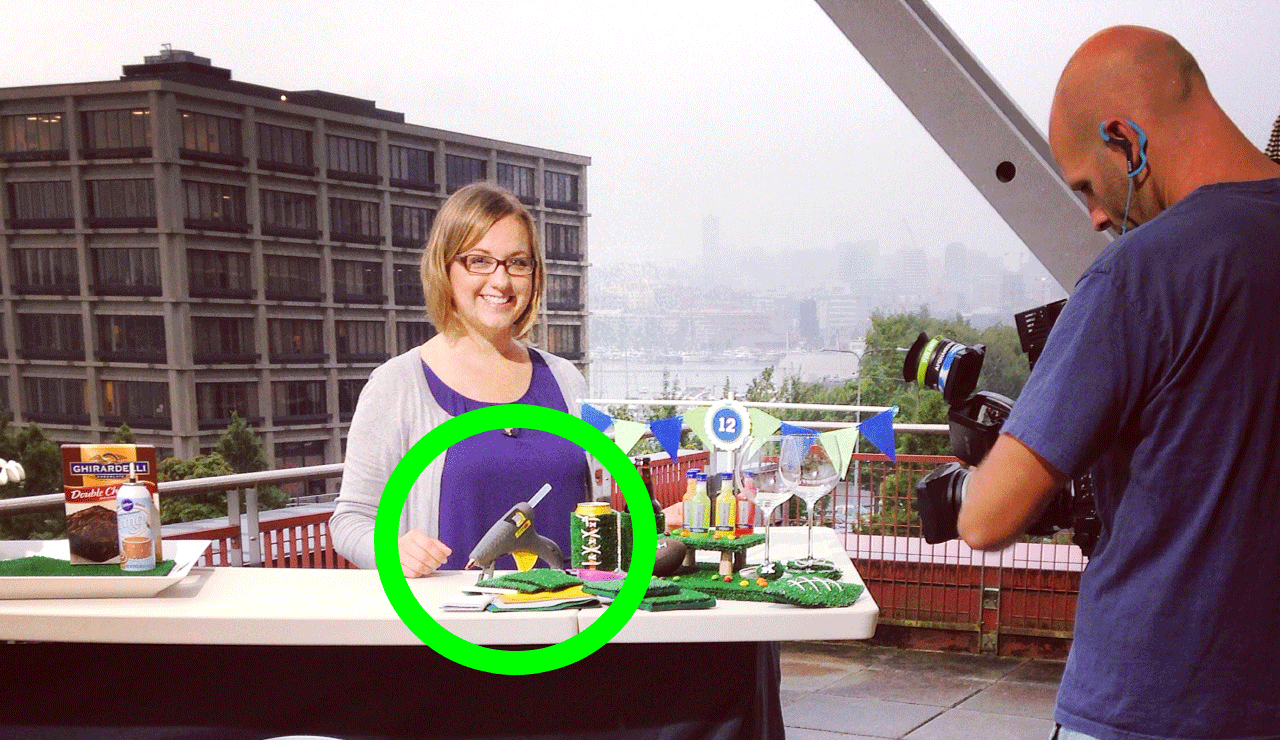
The craft portion of the spread
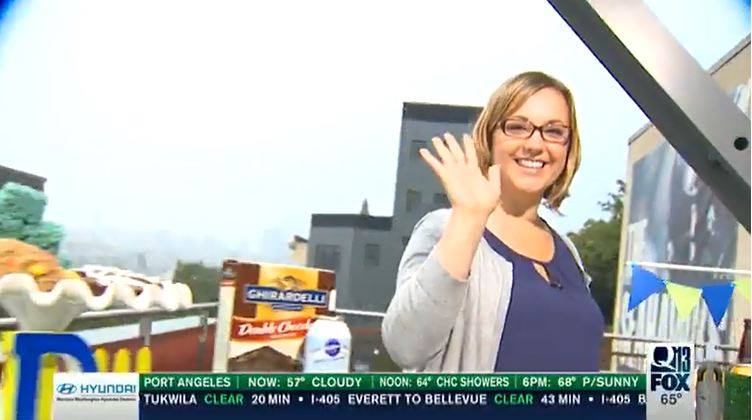
Are you a new visitor from Q13? Welcome! Please, look around and stay awhile! Enjoy!
I was honored to share my tailgating crafts this morning on our local morning show on Q13, along with some delicious desserts:
Today is the Seahawks pre-season home opener against the San Diego Chargers. In anticipation of this game and the so-close-we-can-taste-it football season, I’m here to offer some great ideas, courtesy of Pinterest and my imagination.
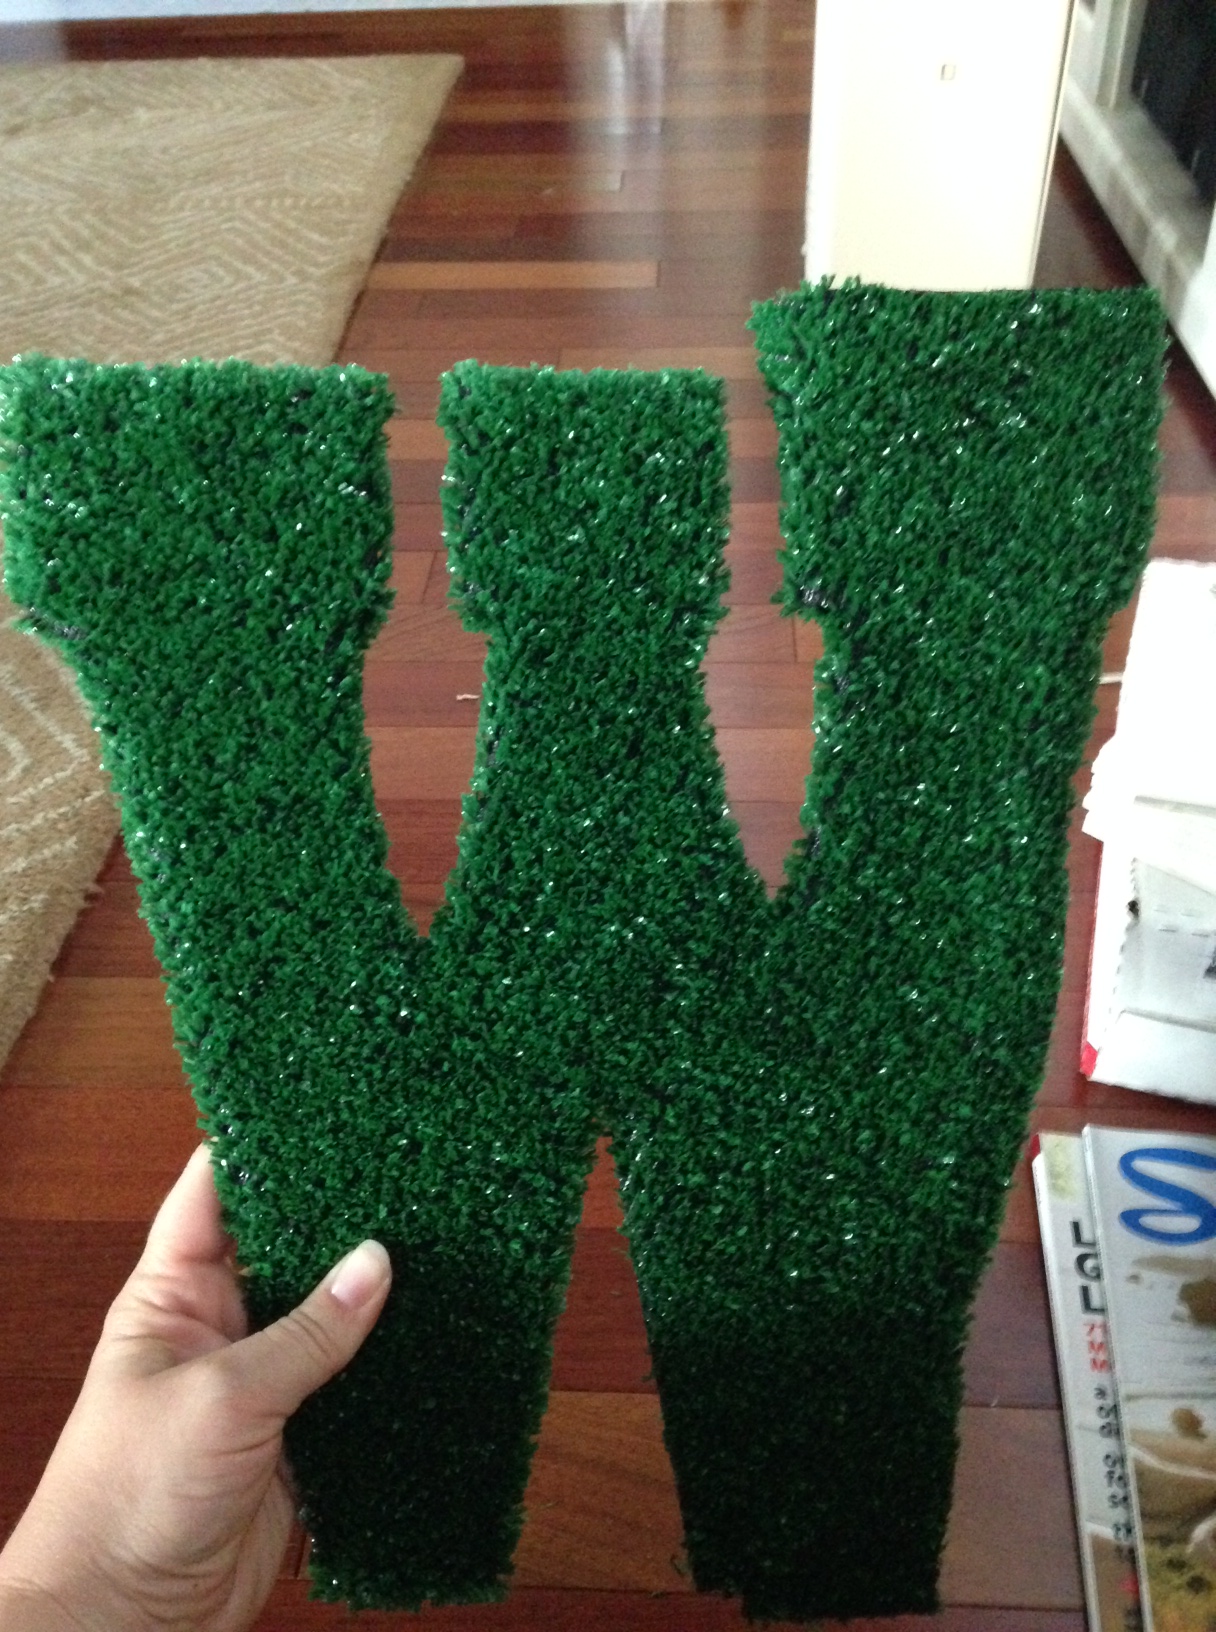
I started off by picking up a 6′ x 8′ roll of AstroTurf from Home Depot. (Yes, 48 SF of bright green plastic rug!) When you’re picking up your AstroTurf, make sure that it’s backed in rubber, not the one that’s in a huge roll in the carpet section that needs to be applied with glue. The rubber-backed version has a black backing and is a lot more flexible. The whole roll was on sale and cost ~ $18.00.
It’s best to do all of these projects outside or in a space that’s easily cleaned, as cutting AstroTurf is messy business.
Now, time for some crafts:
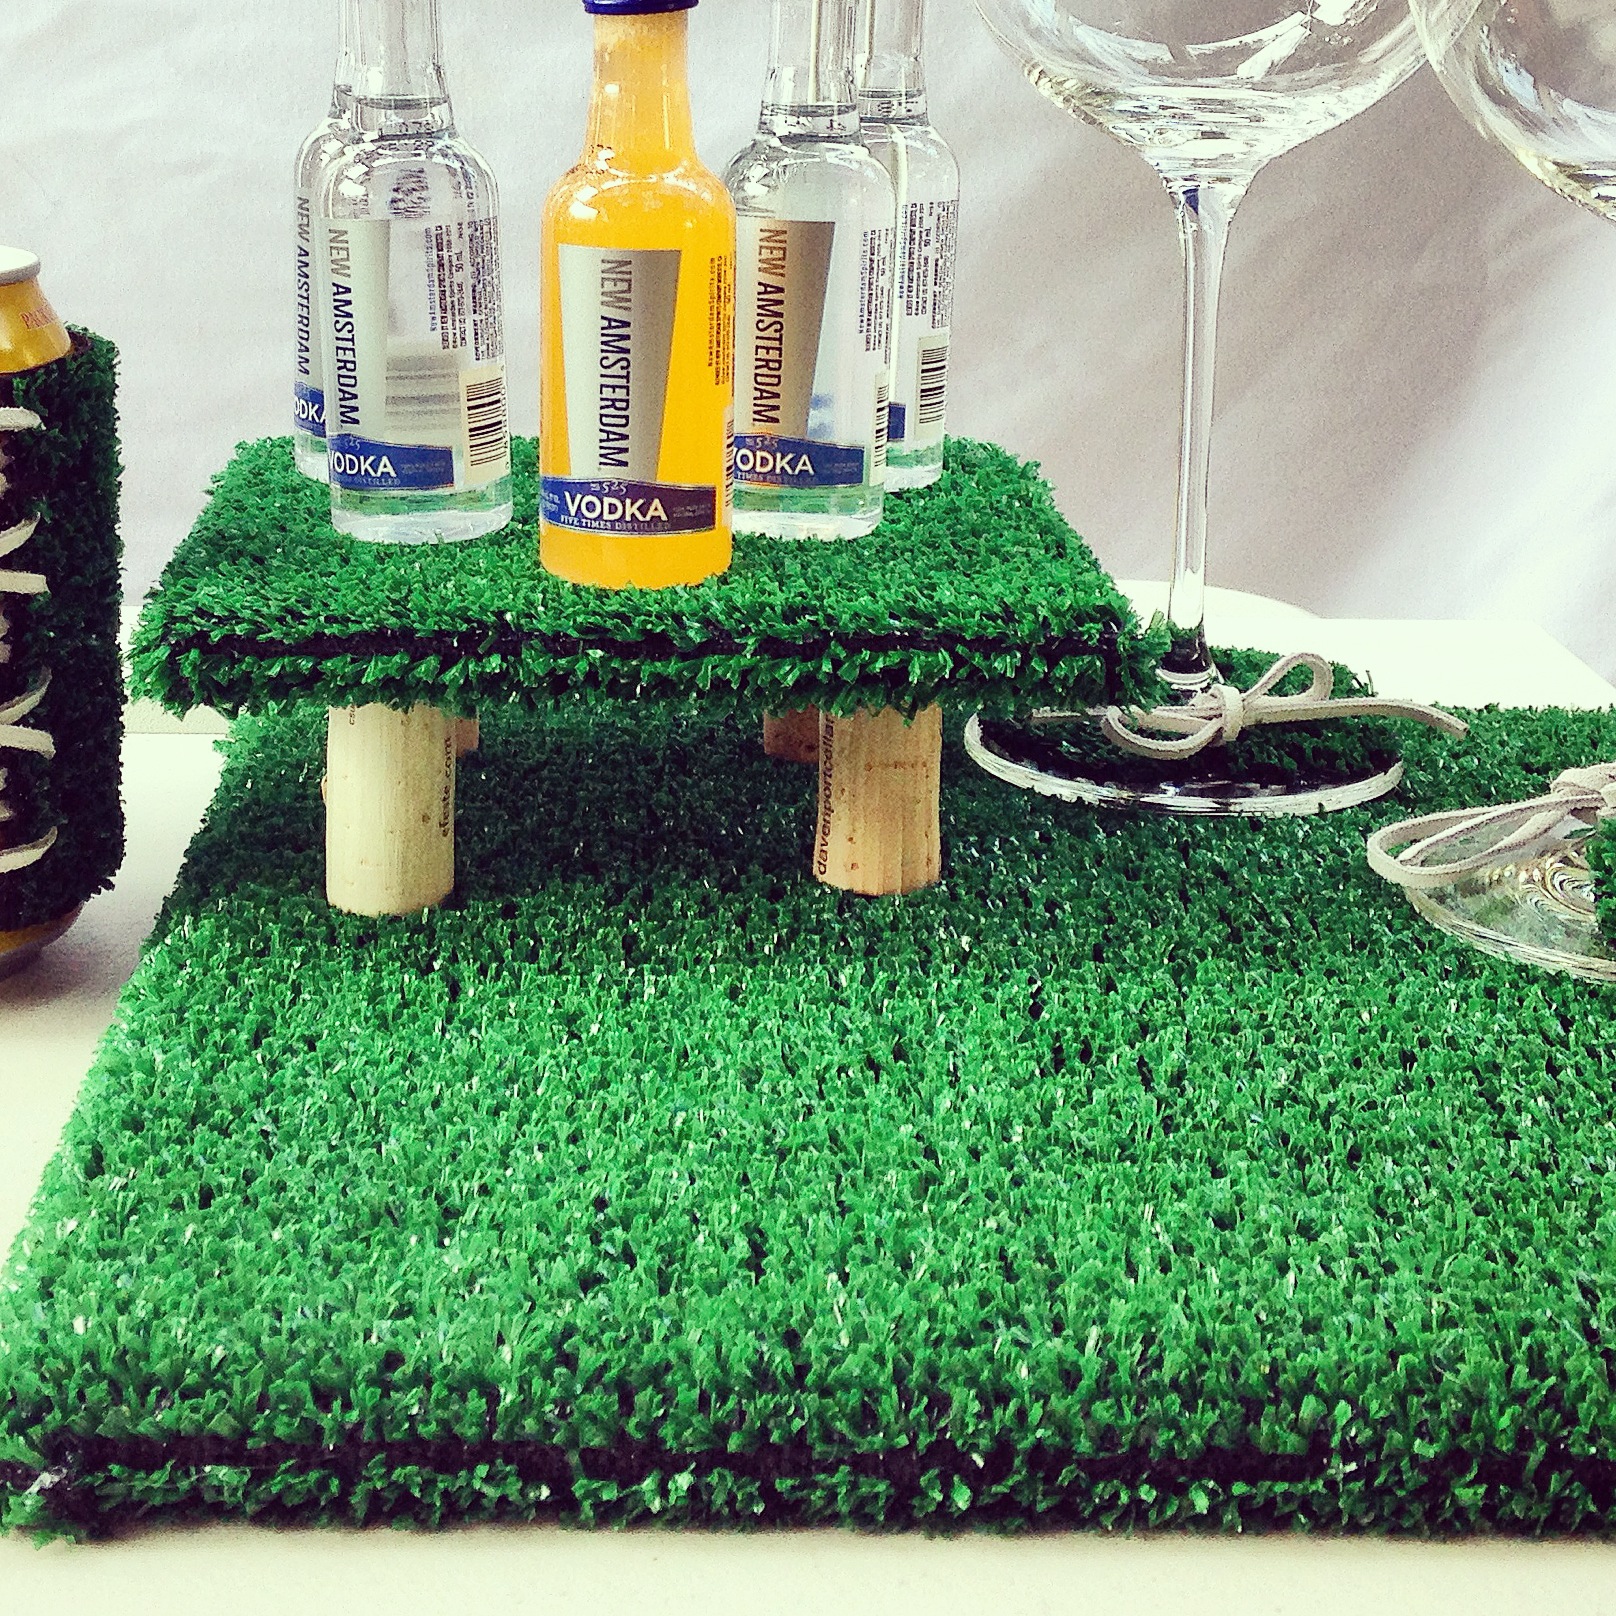
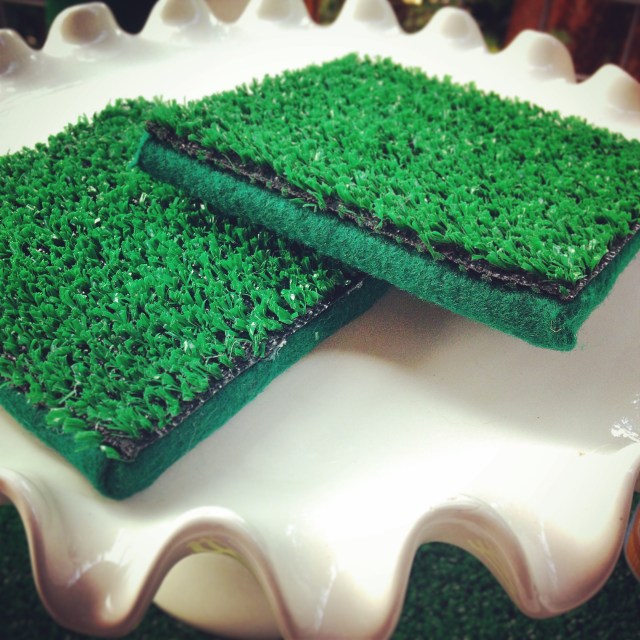
AstroTurf Platter
- 12″ x 12″ tile from Home Depot ($0.68) — or whatever size tile you want!
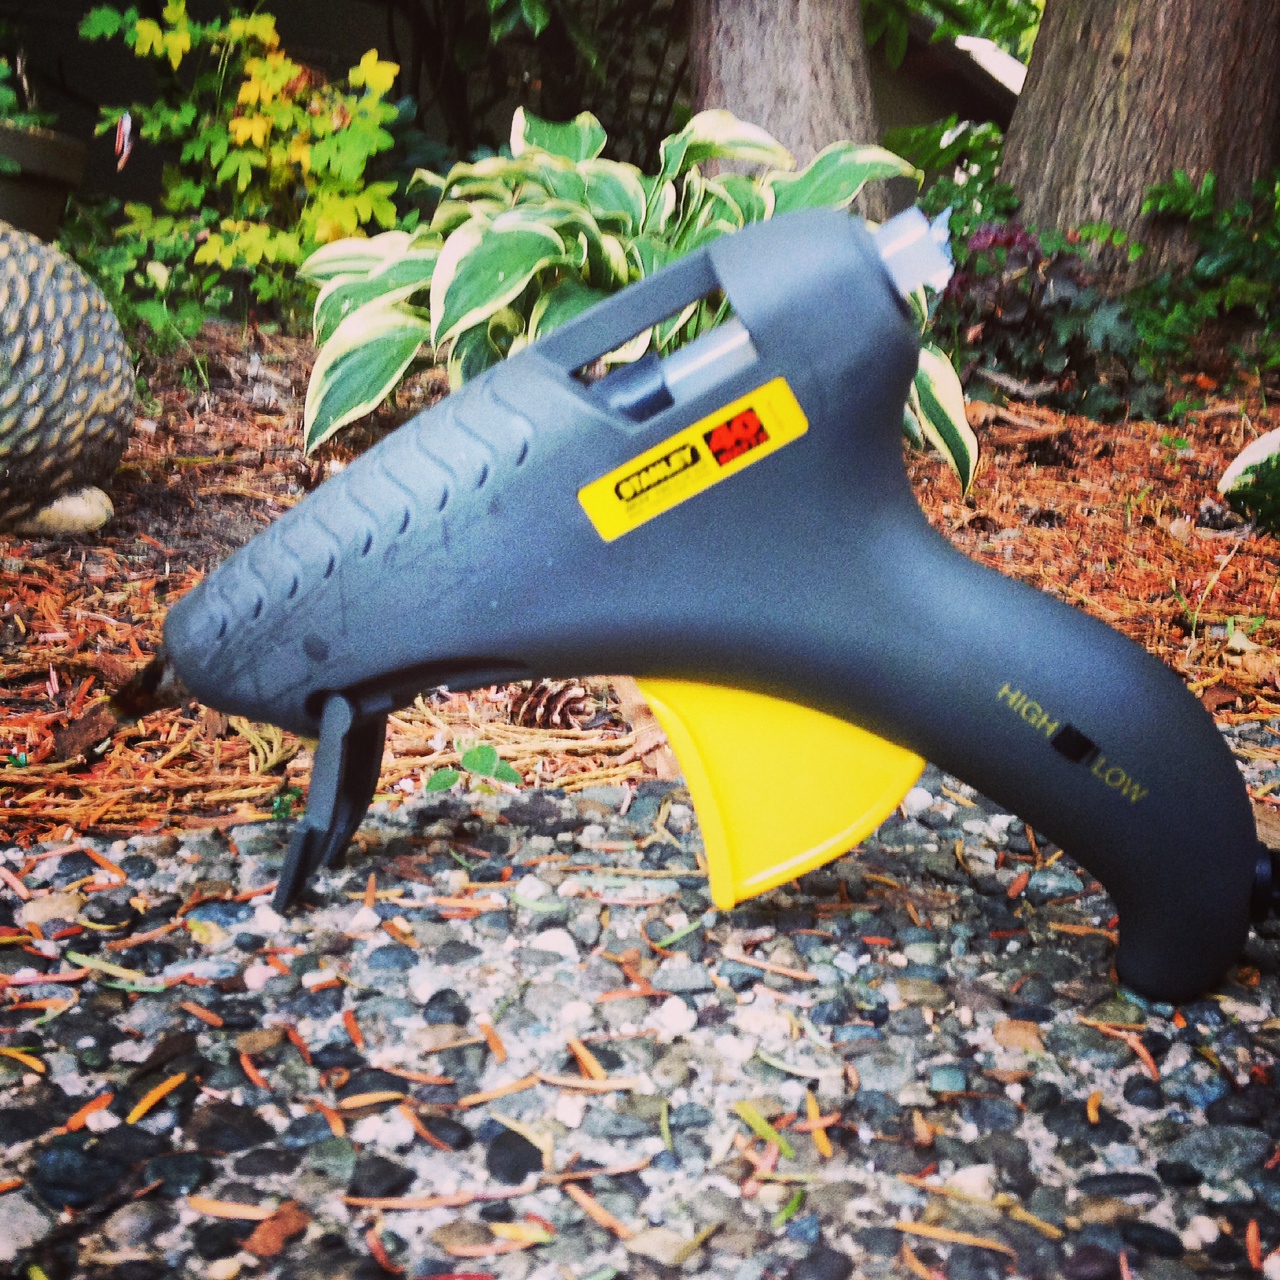
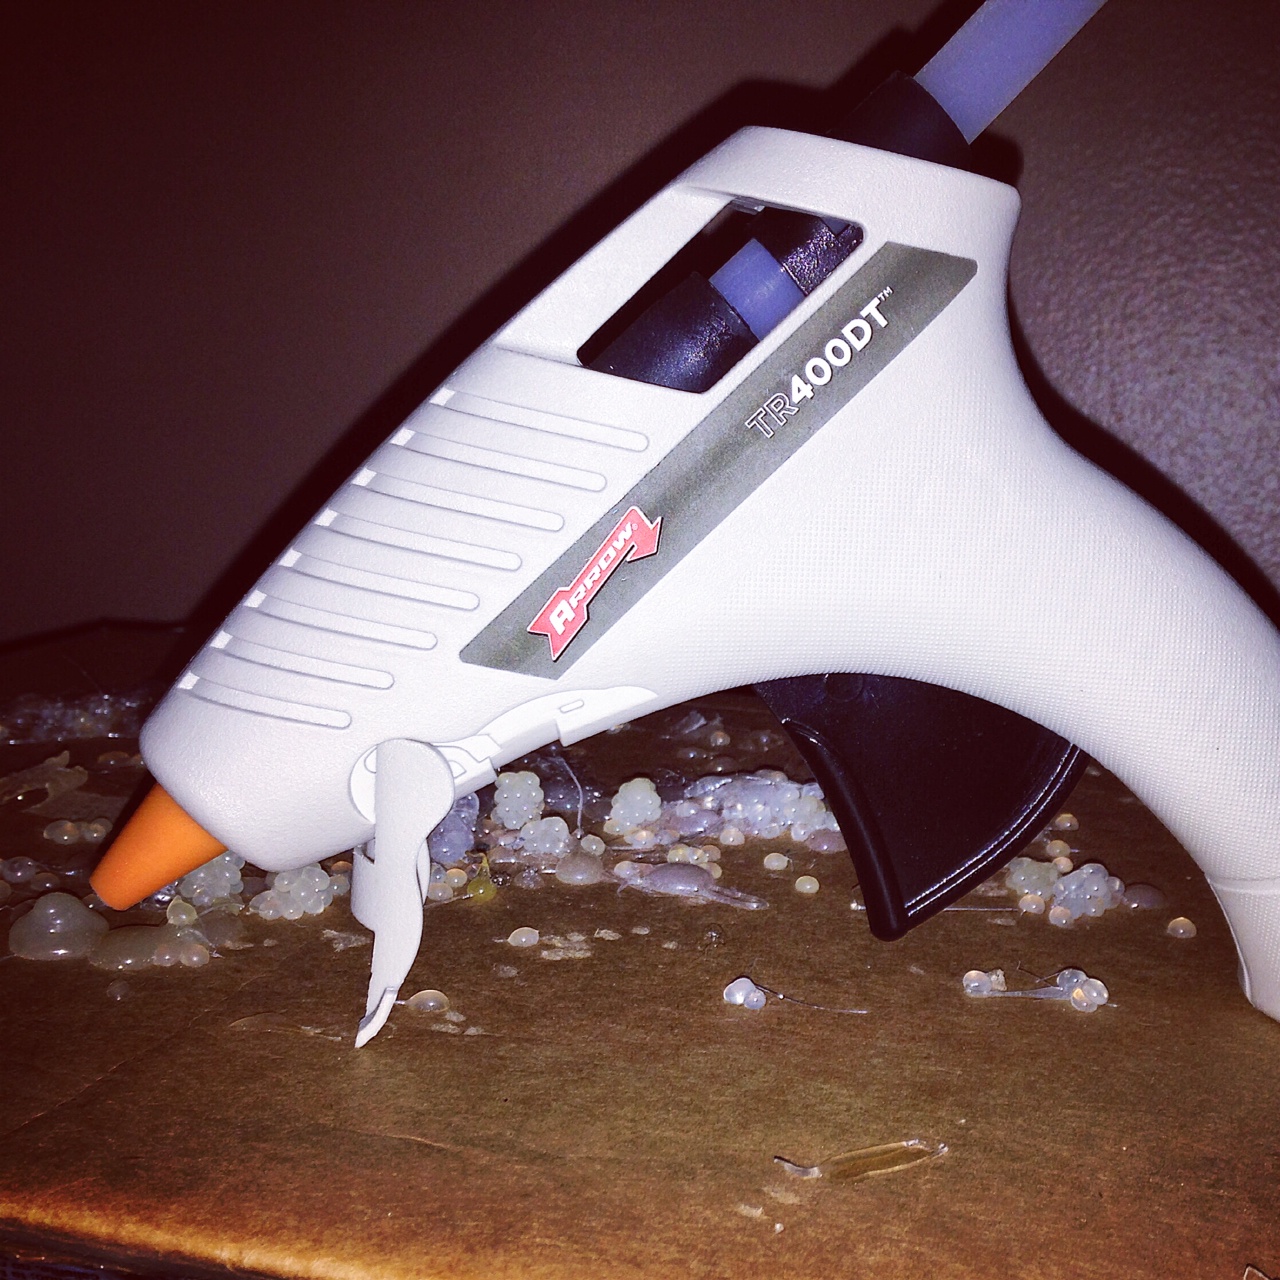
- Hot glue gun + extra glue sticks
- Scissors
- Exacto knife (optional)

AstroTurf platters: works with any size tile!
Place the tile on an upside-down piece of turf. Cut around the tile, about 1/2″ from the border of the tile. When you’re cutting, be sure to cut along the lines (less messy this way). It’s not the end of the world if you cut outside of the lines.
Take the cutout piece and liberally glue the top of the tile to the bottom-side of the AstroTurf. Press it flat. Glue along the tile edge and fold the AstroTurf overhang along the tile edge, similar to wrapping a present. Cut off any extra with an Exacto knife. Flip over your tile platter and VOILA! AstroTurf magic. This platter would be perfect for a football tailgate or viewing party, and would also work for a golfing-themed party.
This simple design is really versatile and works for any size of tile. I also used a 5″ x 5″ tile, in which I flipped the tile and glued the AstroTurf to the backside of the tile. You’ll see here that I stacked my two platters on top of one another with wine corks.
What’s that on top of the platters? Skittles vodka!

Skittles vodka! Given some time, these will be vibrant
Skittles are the (un)official candy of the Seahawks and appeared throughout my tailgating table this morning. Making Skittles vodka is super easy. I took the single ounce bottles of vodka and popped three of the matching color of Skittles into each of them. After three or so hours, a bright color will take over the bottle. There will be some sugar residue, so you can strain it off, or just drink it.
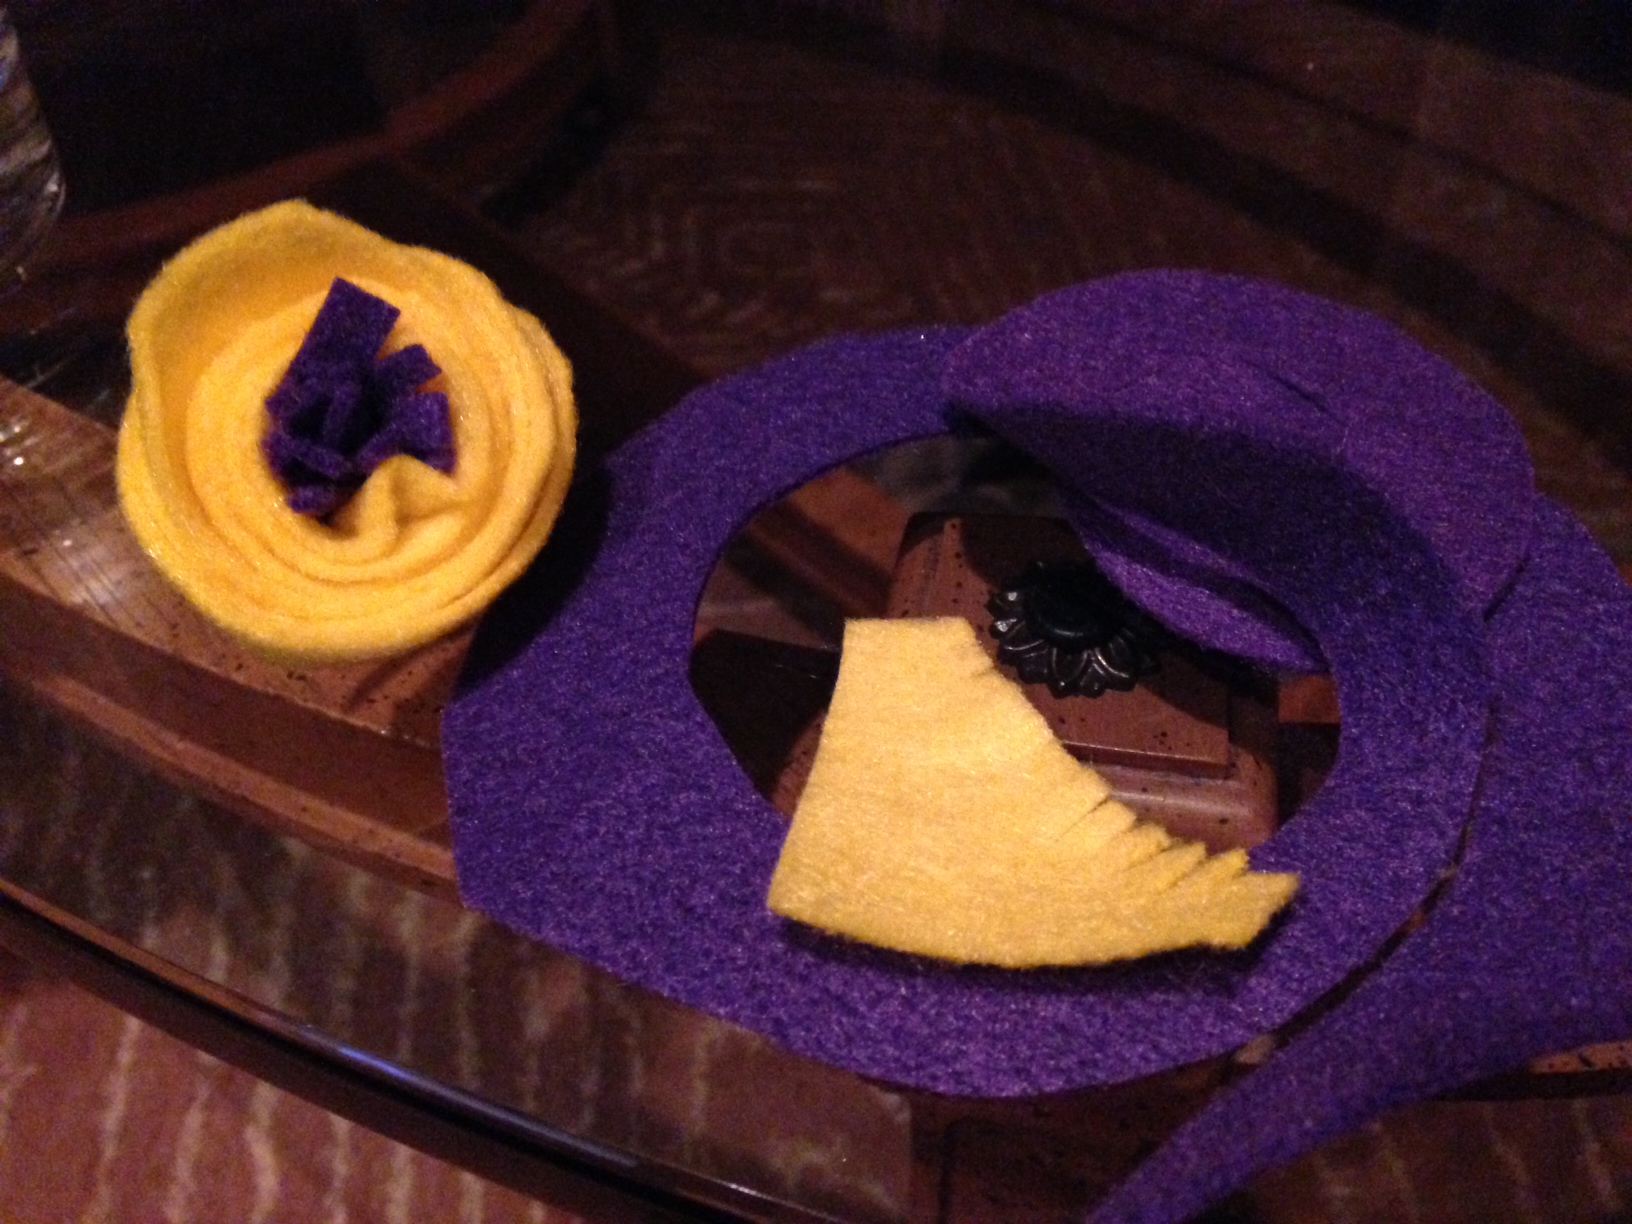
AstroTurf Coasters
- 4″ x 4″ tile from Home Depot ($0.13 each) — or whatever size tile you want!
- Sheets of felt ($0.33 each from Michael’s — they come in a variety of colors)
- Hot glue gun + extra glue sticks
- Scissors
Same idea as the platters above, with an extra step.
Measure and cut all of your pieces. Your felt should measure about 1/2″ beyond the tile in all directions. Cut your square of AstroTurf the same width as your tile.
Glue the tile liberally and place it in the middle of the felt. You can either glue the finished or unfinished side of the tile. Both will get covered up, so it doesn’t matter. Glue along the tile edge and fold the felt overhang along the tile edge, similar to wrapping a present. Once the glue has dried (less than a minute), add more glue to the top and press down your AstroTurf square.
My AstroTurf coasters: Customize your felt to match your team colors
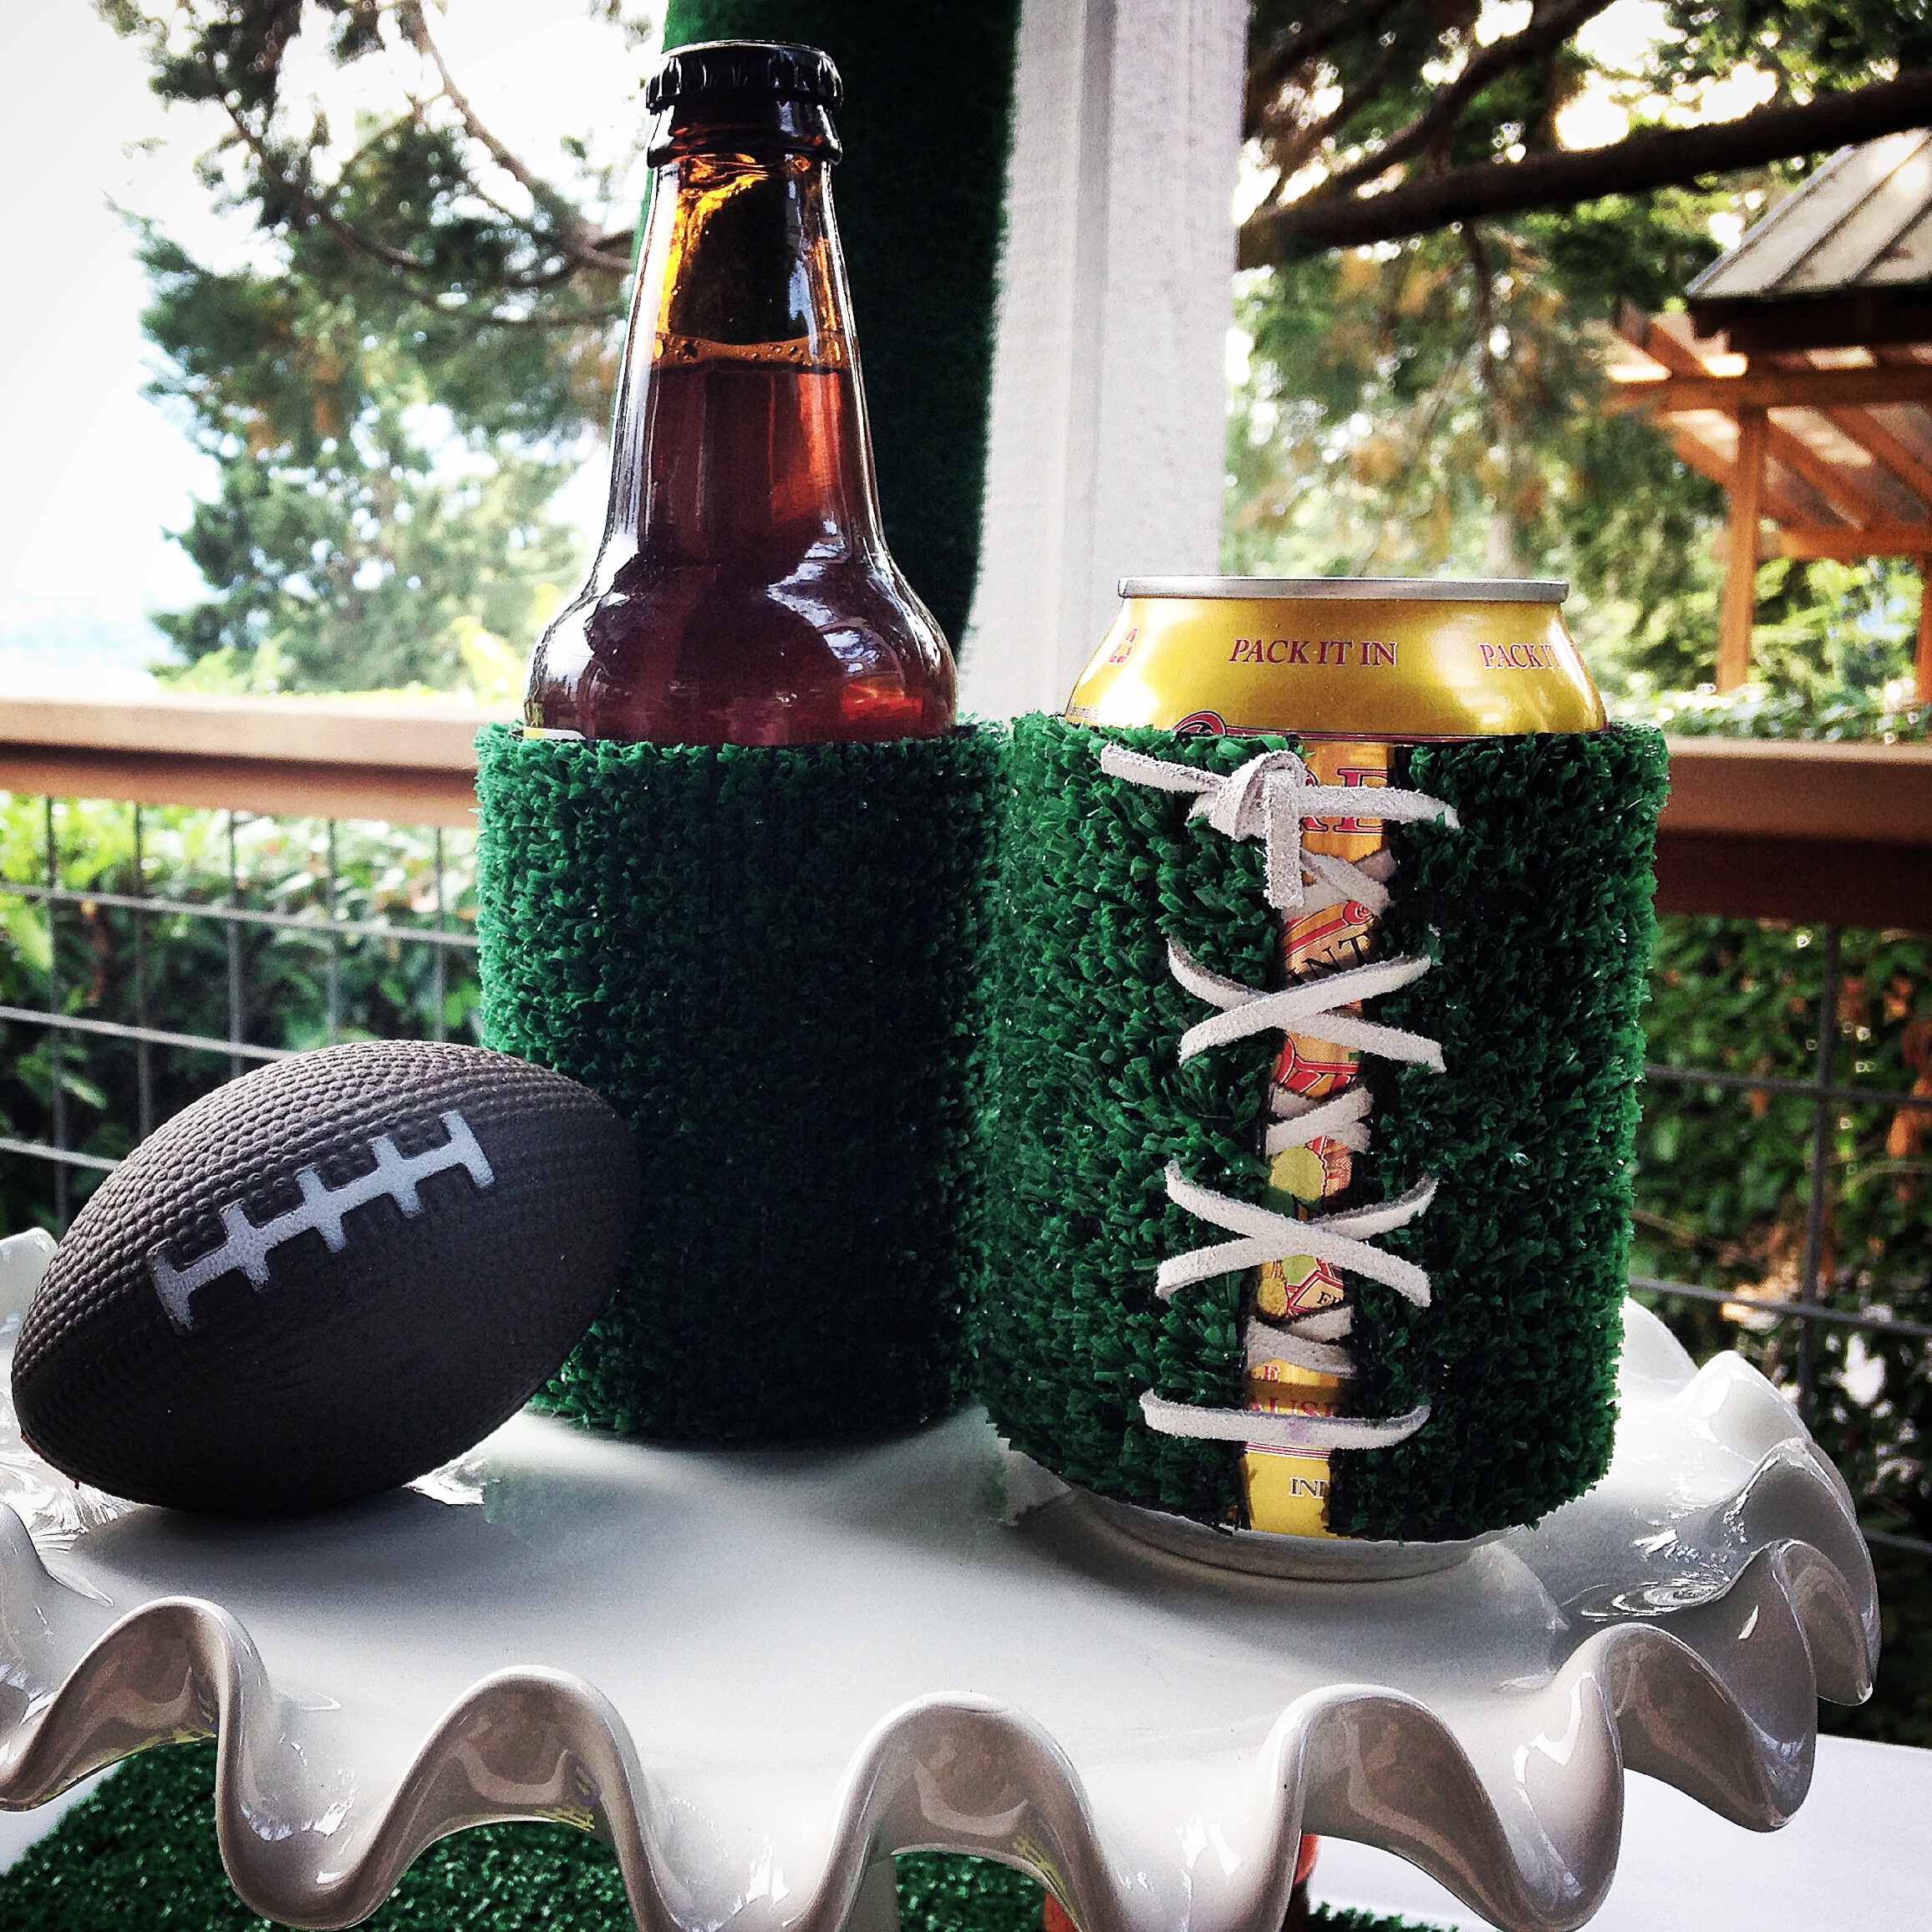
Beer koozies
I have two koozie designs. Both are easy to make and both templates can be found on this PDF. (Astroturf templates)

Beer koozies
Design A (without laces):
- Cold, full can of beer (or soda)
- AstroTurf cut to the specifications of Design A on this AstroTurf template
- Hot glue gun, glue sticks
Roll the AstroTurf around the can. Glue a line along the XXX-marked edge of the grass-side of the AstroTurf. Overlap the excess and carefully press the sides together. The full cold can will work to your advantage here, as it won’t allow the hot glue to stick to it. Once the glue is cool to the touch, slide the koozie off of the can. It should fit snugly, but still be able to slide off.
Design B (with laces):
- Can or bottle of beer (doesn’t need to be cold!)
- AstroTurf cut to the specifications of Design B on this AstroTurf template
- Hot glue gun, glue sticks
- Small hole punch
- White suede laces or white shoe laces (I bought 8 yards of suede laces for ~$6 at Michael’s)
Punch holes in the AstroTurf per the specifications on the template (Design B). Wrap your AstroTurf around the can or bottle to see how much room you need to leave. Cut a long enough (about 4 times the height of your can) strand of laces and thread it through the bottom punches. Pretend it’s a pair of shoes and lace it right up. Finish it on the top with a knot or bow.
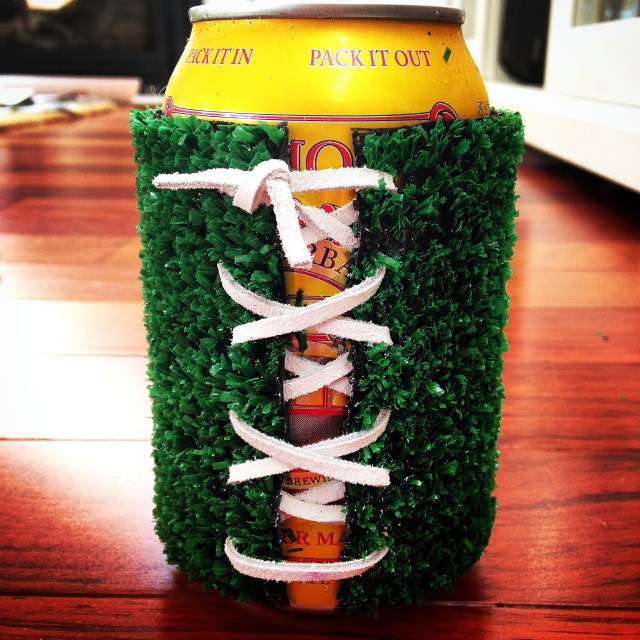
Fancy!
Wine tags
But wait! There’s more! I made two variations on the wine tag as well.
You’ll need the following:
- AstroTurf (cut as described below)
- Small hole punch
- White suede laces or white shoe laces (I bought 8 yards of suede laces for ~$6 at Michael’s)
The first comes without a template. Simply cut a shape out of your AstroTurf, punch a hole in it and thread some lace through it. Leave a long enough length that you can tie a bow around your glass. You can use a paint pen or stickers to put an identifier on the shape. I used a “K” for Kaci, the Q13 anchor I spoke to this morning.

AstroTurf wine tags
The template for the second wine tag variation can be found on this AstroTurf template, with the koozie designs. Simply cut out the tag in the described shape. You can stop here, although I like punching holes on either side of the slit (and indicated on the template) and tying a white suede lace bow to keep the edges together.
And that’s it! Now, what else should I do with the 40 SF of AstroTurf that I have left?! This is my official warning to family and friends: you’re getting AstroTurf coasters and platters for Christmas!
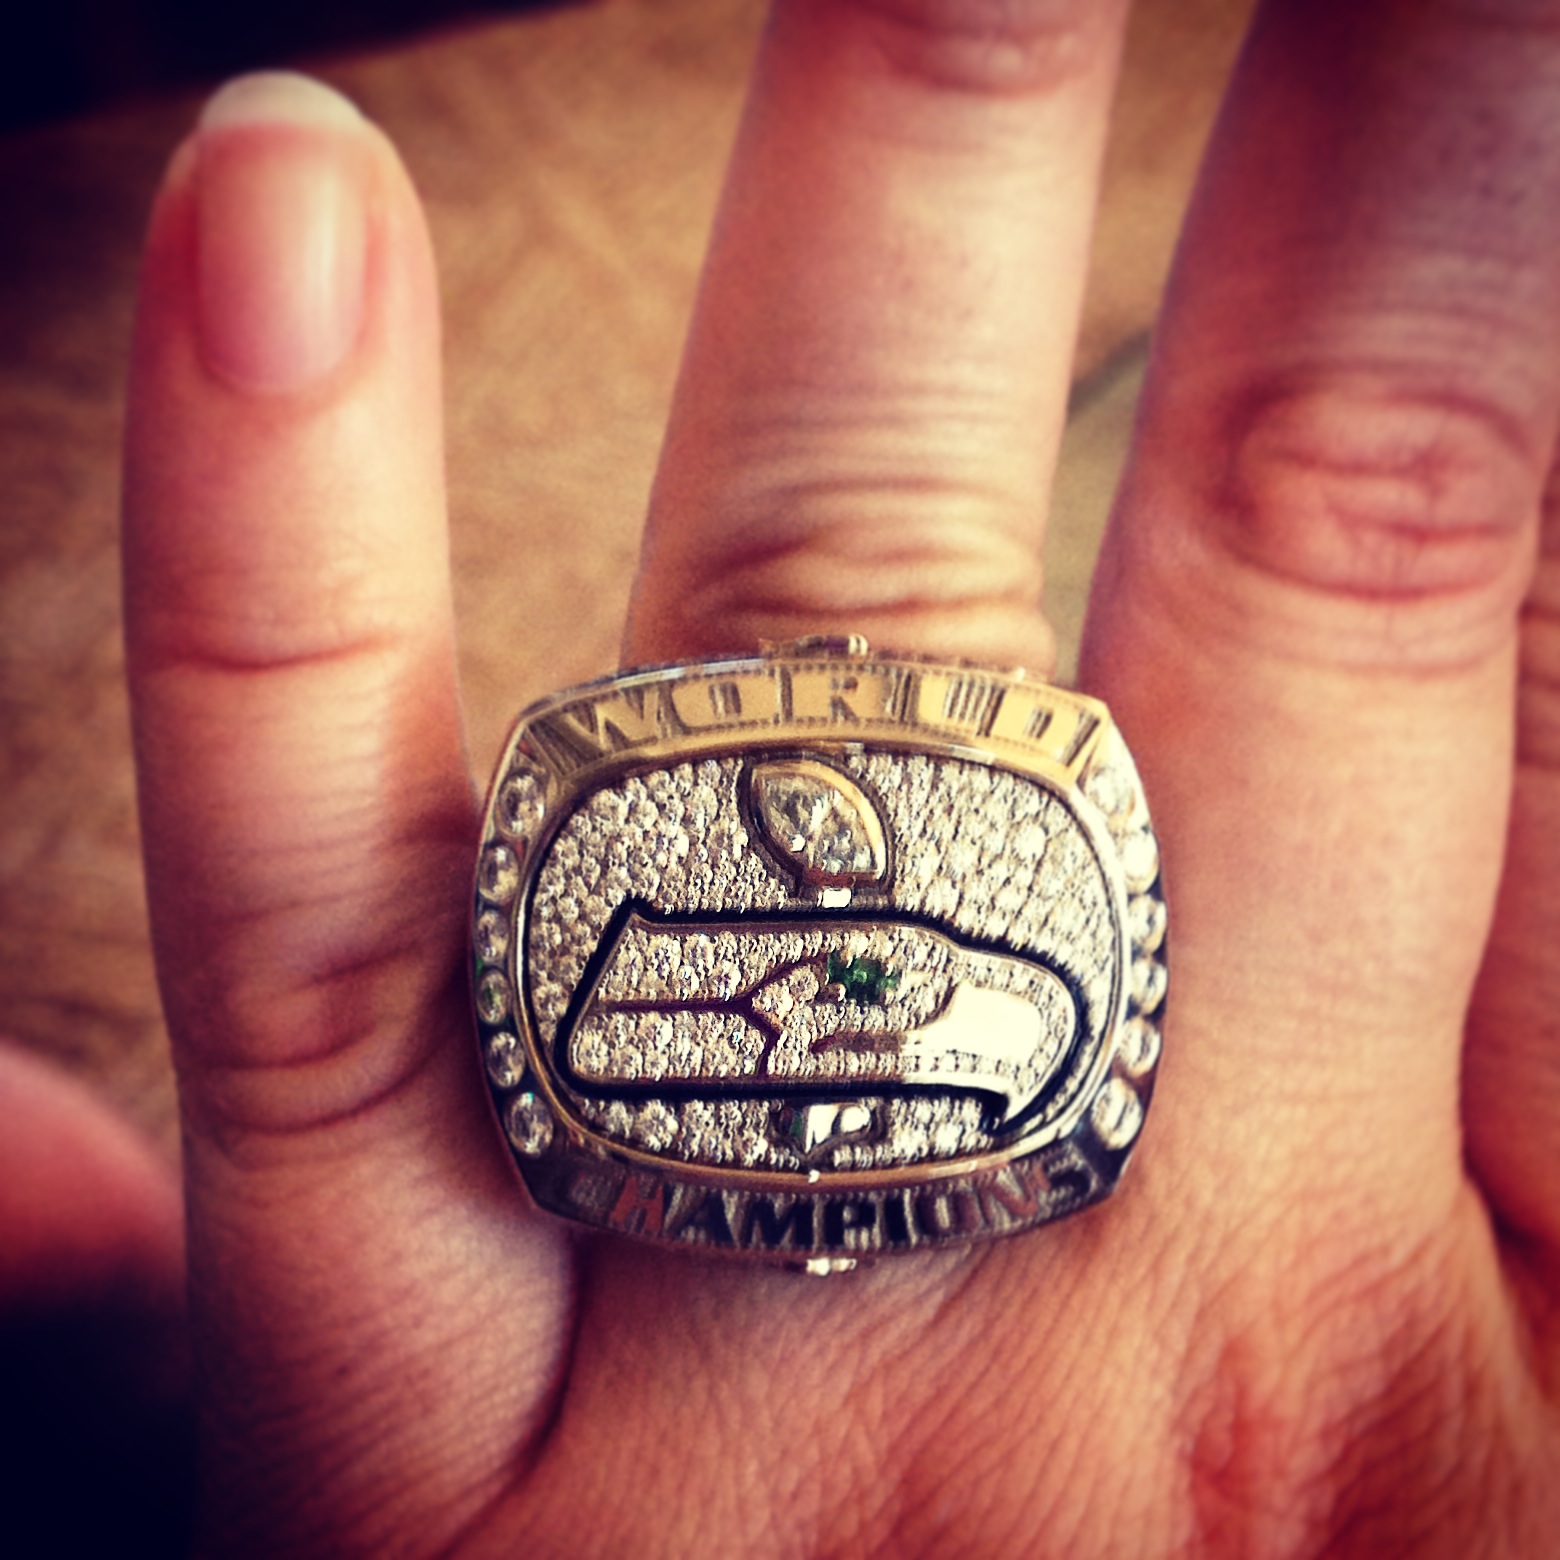
I’ll leave you with my pretty finger, donned with a fancy SuperBowl ring and I’ll post the footage as soon as it’s online! Thanks again for stopping by!

Oh, hello, SuperBowl Ring!
Full disclosure: I rooted for the Broncos during the Superbowl. Brandon, my husband, was born in Denver and has been a Bronco fan his entire life. The Seahawks are a very close #2 for us and in any other circumstance, we would have rooted for them.