Somehow the holiday season is already wrapping up and I’ve been getting ready to go back to work (!!!). Baby vacation is officially over on Monday. What a crazy wonderful past four months I’ve had! I digress. Let’s focus on the past week or so. Here is our Christmas 2015 recap:
Michael visited his first (and second) Santa and did a stellar job! He’s such an adorable kid. (‘Course I’m biased, since I’m his mom…)

Michael’s first Santa photo

Michael was skeptical with his visit to the Santa at Theo Chocolate
New Christmas Eve tradition
Michael, Brandon and I started a new tradition: reading the Polar Express before heading to bed on Christmas Eve! Michael didn’t quite understand the story yet, but he will in a few years.
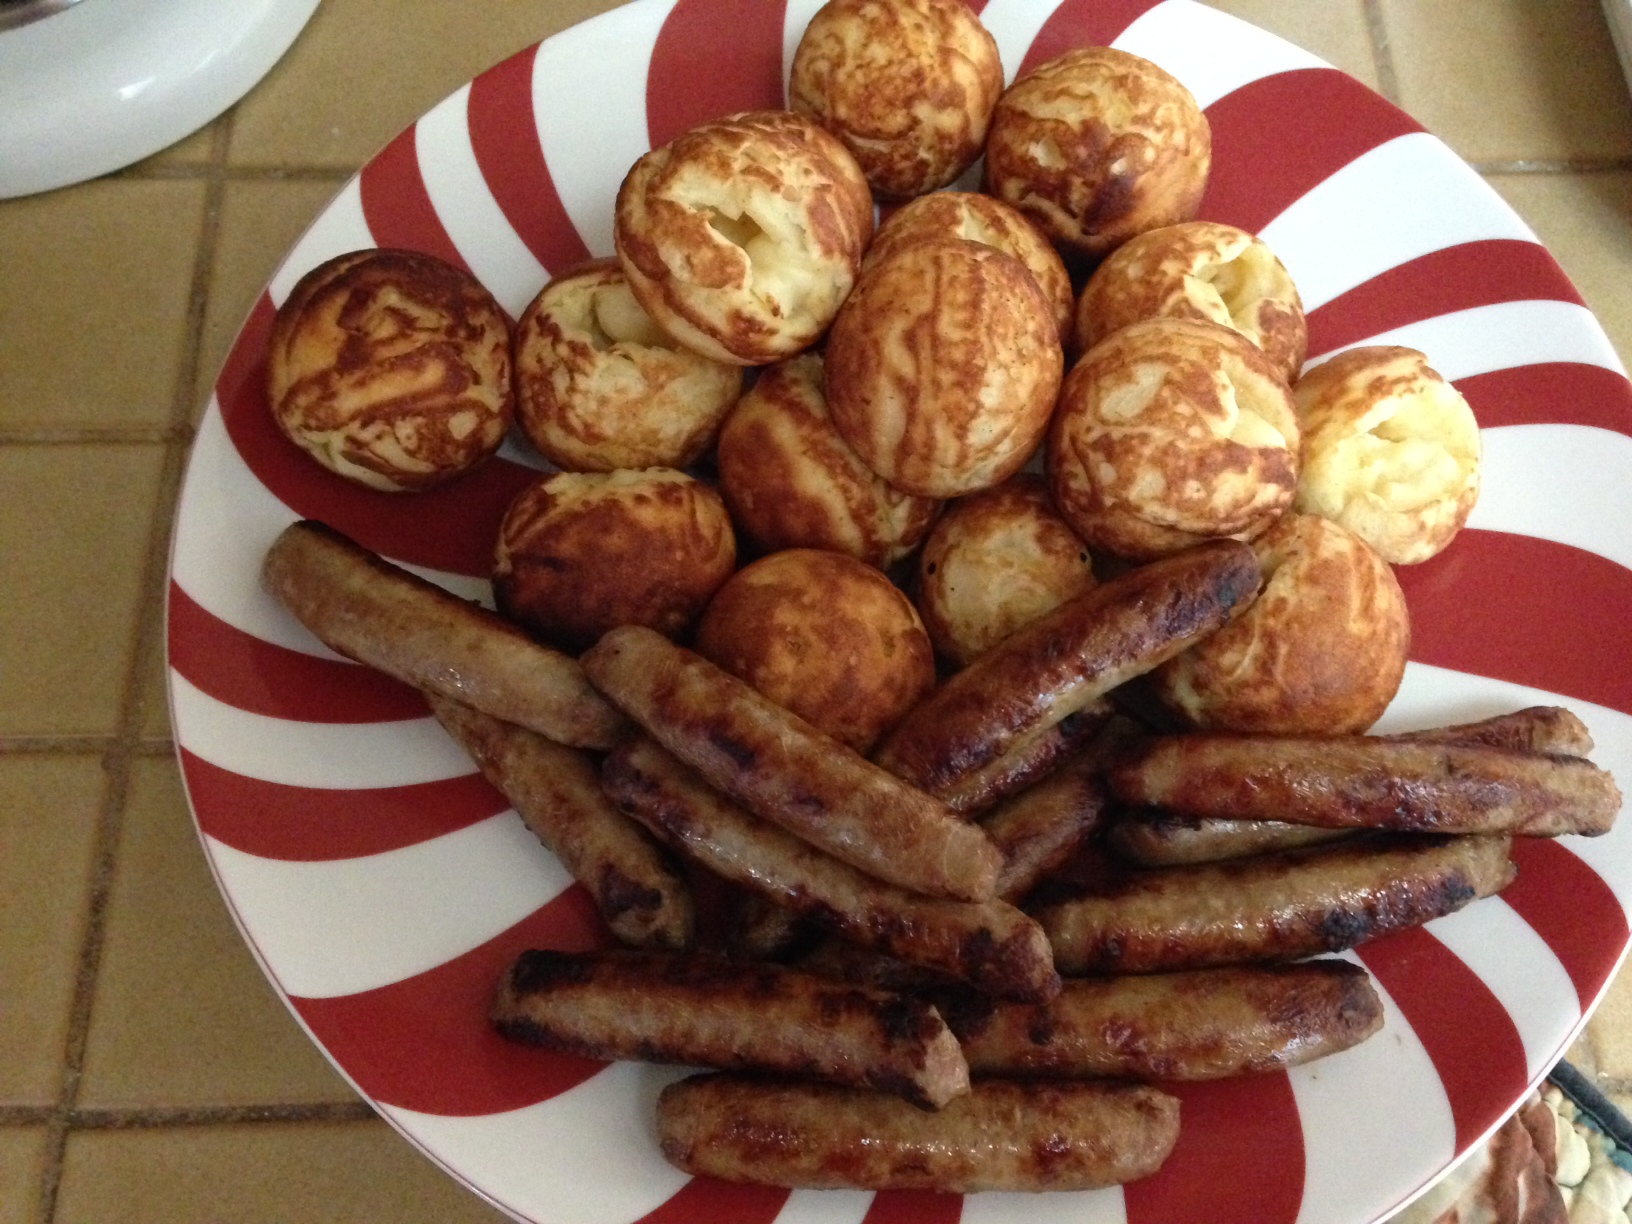
Christmas morning brunch
My parents came over bright and early on Christmas morning and we made the fontina and spinach baked eggs with garlic brown butter breadcrumbs from the latest cookbook we’re cooking from, Seriously Delish, along with hashbrowns; a fruit salad of pineapple, blueberries and raspberries; and chicken sausage. We paired it with mango mimosas. Truly seriously delish.

Christmas morning brunch
Christmas tamales
As I mentioned last week, we have a tradition of making tamales for Christmas. This year we made them on Christmas day.

Christmas evening tamales
We followed our recipe, but this year paired the tamales with some black beans, queso fresco, toasted pumpkin seeds, a kale salad with a spicy lime vinaigrette, and red and green tortilla chips with homemade guacamole. I think this will be our new usual. The whole meal was delicious!

Our Christmas night feast
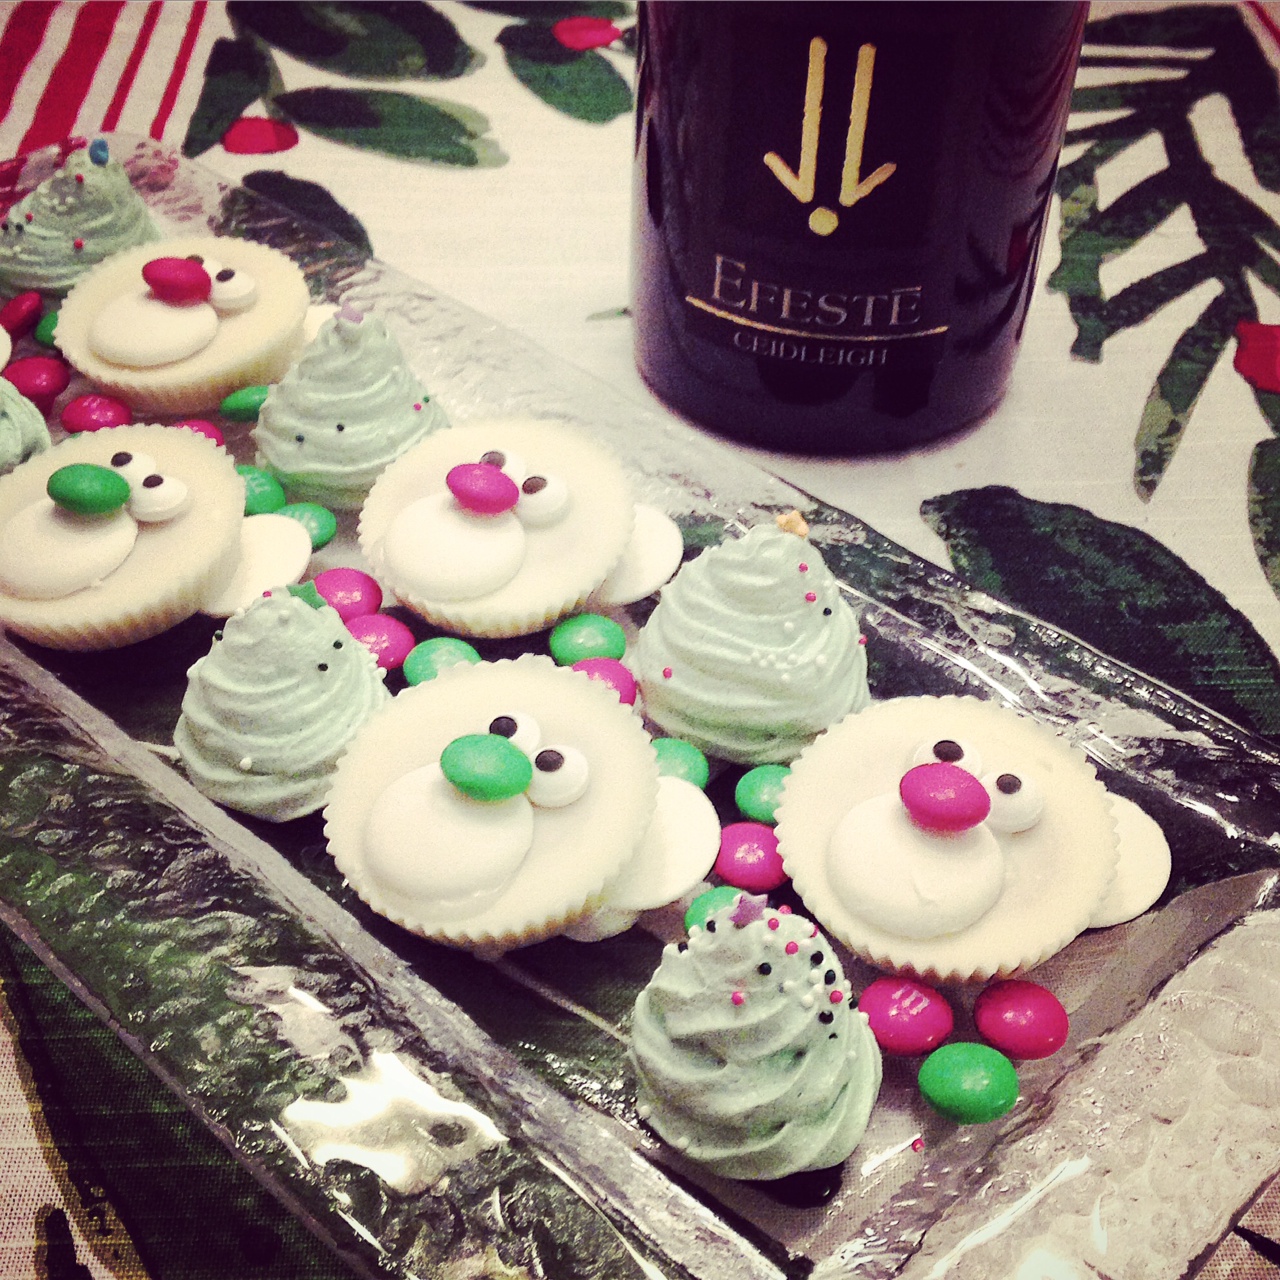
Christmas treats
I also made a recipe that I’ve been lusting over for a few weeks: the clementine-cocoa nib meringues from Eating Well. (We picked up the nibs while Michael visited with the Santa at Theo!) These were super easy to make and delicious.

Clementine-Cocoa nib meringues: SO GOOD.
I did run into one snag however. It’s very important that you break up the chocolate nib/powdered sugar combination before you fold it in to the meringue. I wasn’t as diligent about it and chunks of chocolate got stuck in the tip of the piping bag and made things trickier.
Our family feast
We concluded the Christmas weekend with a prime rib feast at my parent’s house, with asparagus, potatoes, and a delicious salad, paired with a pinot noir. The place card snowmen I made last week completed the table scape!

Our Christmas 2015 feast

Our place settings
Here are a few more of my favorites from this year’s Christmas celebrations:

Santa’s little helper

Three generations on Christmas!

Santa Baby!
I hope you had a wonderful Christmas and 2015! Cheers to an even better 2016!!