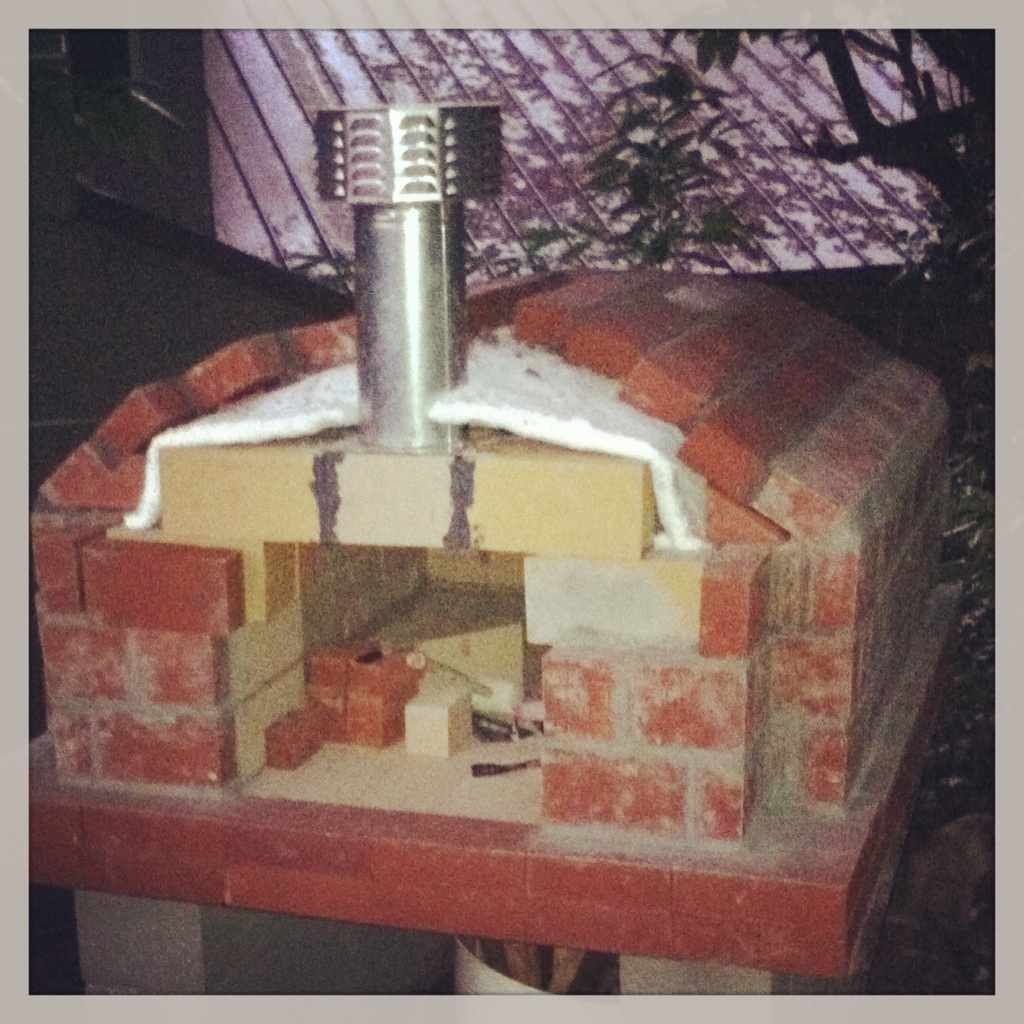
FINALLY: a DIY craft project to share with you! We’ve been so busy with finishing the backyard (which will never be fully ‘done’) and the pizza oven (which is oh-so-close to being done) that I’ve been totally slacking on the ‘everyday’ crafts and fun projects for inside the house. I guess that happens with summer, right? We’ve got to take advantage of the nice weather when we’ve got it.
Before our big backyard debut/patio-warming party, I had a few projects that I wanted to finish on the inside of the house. Some of them were finished, and for the others, I printed out over-sized band aids with “Work in progress” written on them. (More than a month later we still have some up and … I kind of like them!)
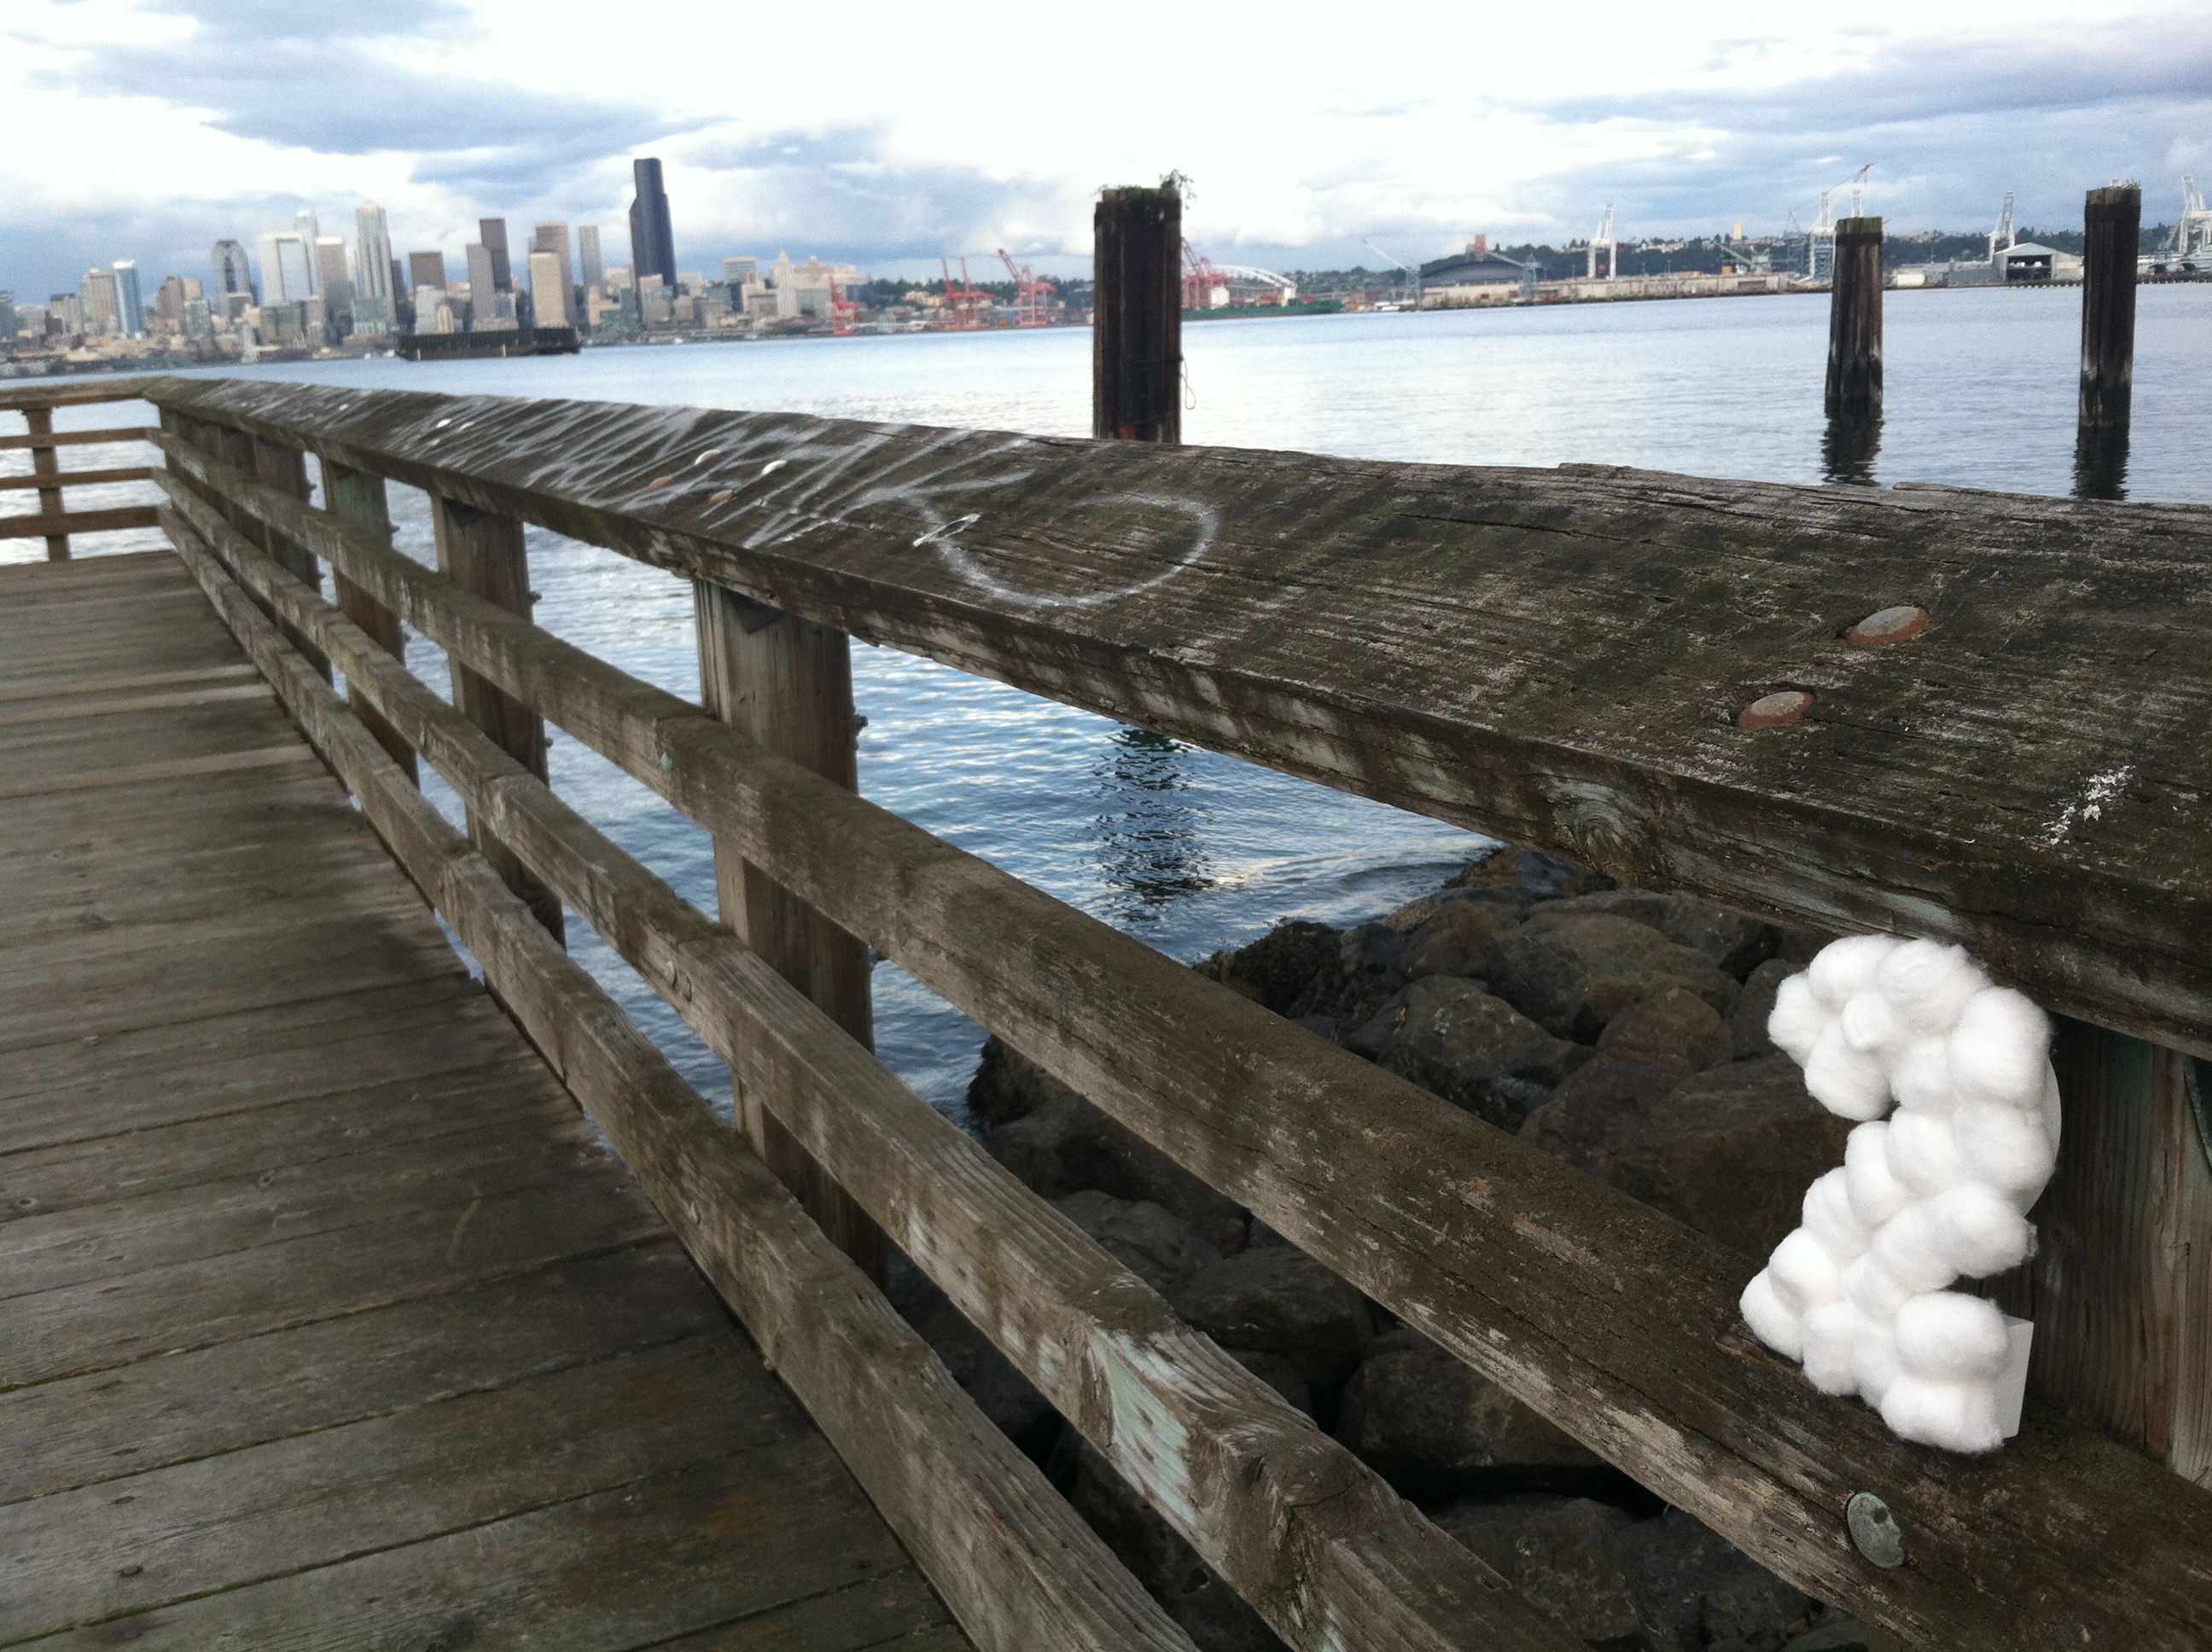
One of the more important projects on my list was the foyer. It’s remained mostly un-touched since I moved in, more than five years ago. It was time for a re-fresh. In my mind, the re-fresh was easy: throw some paint on the walls, build a new table for the landing and think about other decorations. Turns out, that was a bit pie in the sky.
I had wanted to try and make a table similar to this one from Room & Board. The more I thought about the table, the more I realized that it wouldn’t be right for that space. (Especially since Jack likes to use the table in that spot as a shortcut up the stairs.) If I made a table as tall as the Room & Board one, it would topple over on a regular basis. So, I had to re-think my idea.
It just so happened that right around that time, my Grandma was downsizing and getting rid of some furniture. It was just my luck that one of the pieces she was getting rid of was perfect for our foyer!

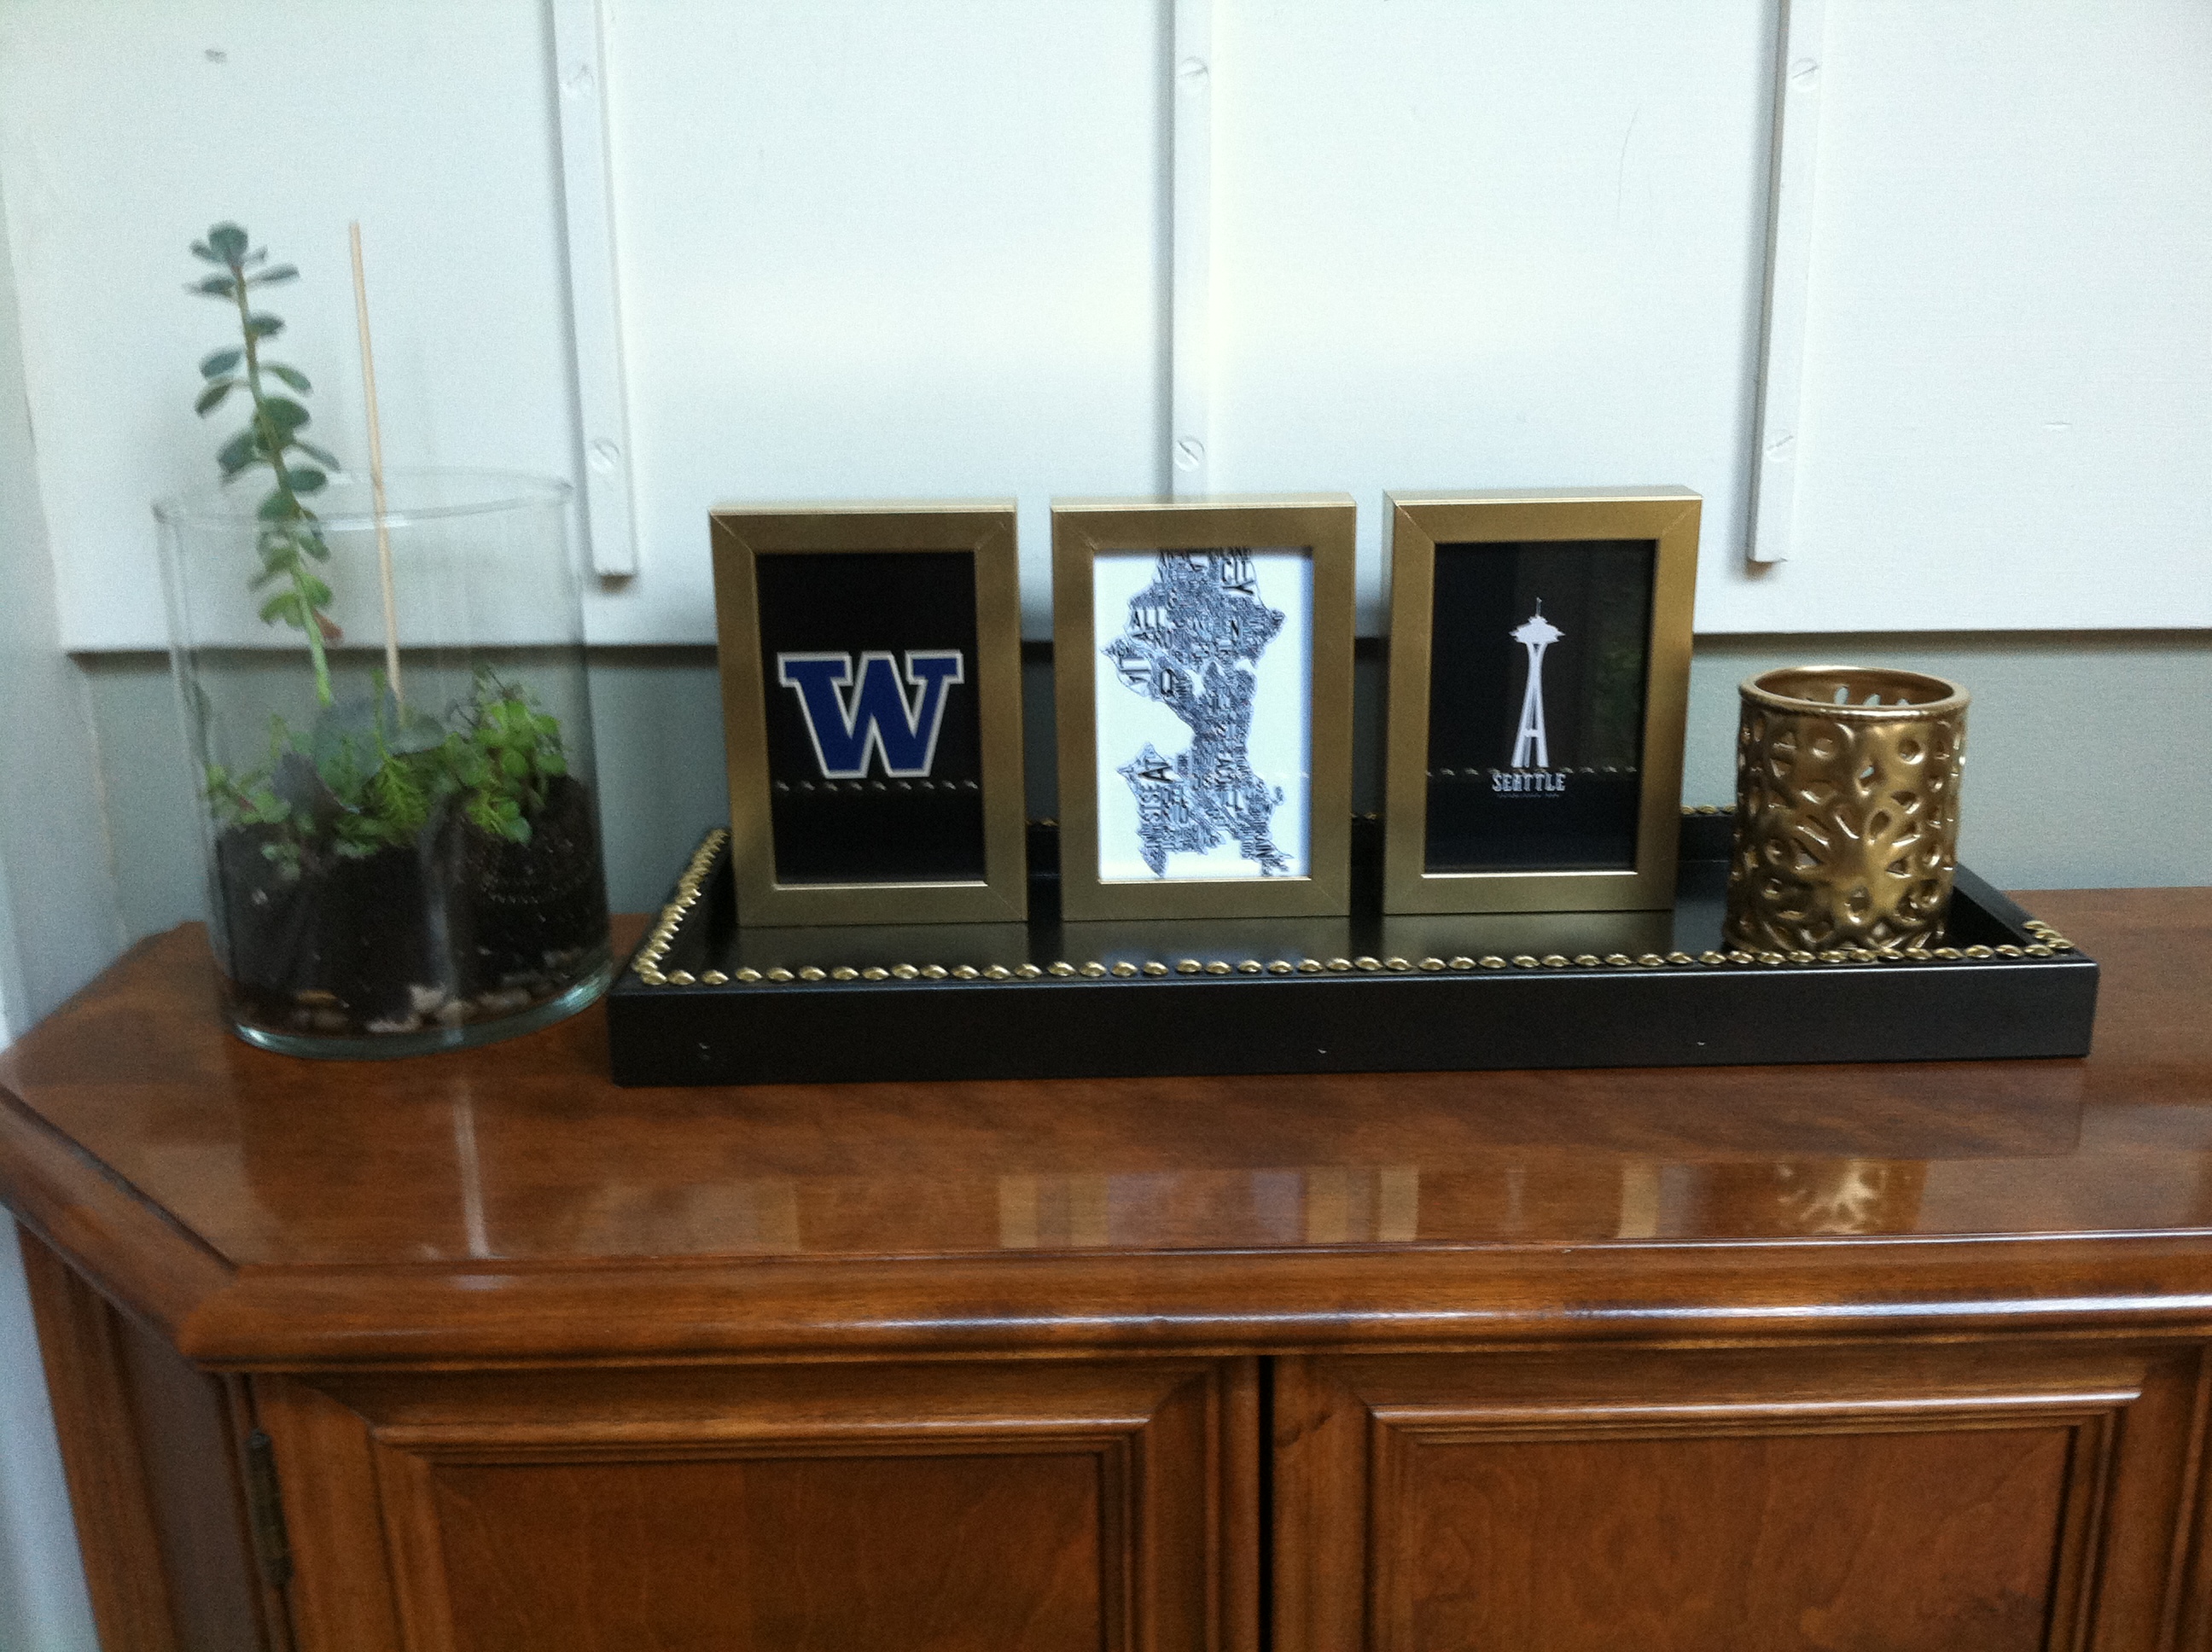
Tada! Our new entryway
Once we had the base in place, I needed something to go on top of it. I spent some quality time with a girlfriend searching at the Goodwill (my favorite is in Bellevue, WA) for a tray or some sort of inspiration. I ended up finding a little ceramic dish, but it doesn’t look right. It’ll be used for another project. Instead, I discovered some inspiration at Marshall’s in the form of a mail tray lined with decorative nail heads. The tray wasn’t right for our space, but, it gave me a general idea and I was off to JoAnn’s, to get the tools so I could make the perfect tray myself!
Assuming you have all of the necessary tools, making a tray like this is super easy. (I don’t have the proper tools, but my parents do, so I headed over for a quick visit…)
Nail-head trim tray
Tools needed*
- The shortest, cheapest 8″ wide piece of shelving you can find (I used an MDF board)
- One long piece (about 6 feet long) of 1.5″ MDF trim (slightly rounded on one side)
- Gorilla Wood Glue
- Nail gun and small nails (courtesy of my Dad)
- Miter saw (Thanks again, Dad)
- Spray paint in the color you’d like to paint the tray (I used Rust-oleum Black Metallic, one of my favorites)
- Packages of nail heads for the trim (I used 4 packages of the 3/8″ size)
- Rubber mallet for setting the nail heads (it’s gotta be a rubber mallet, not a hammer)
Instructions
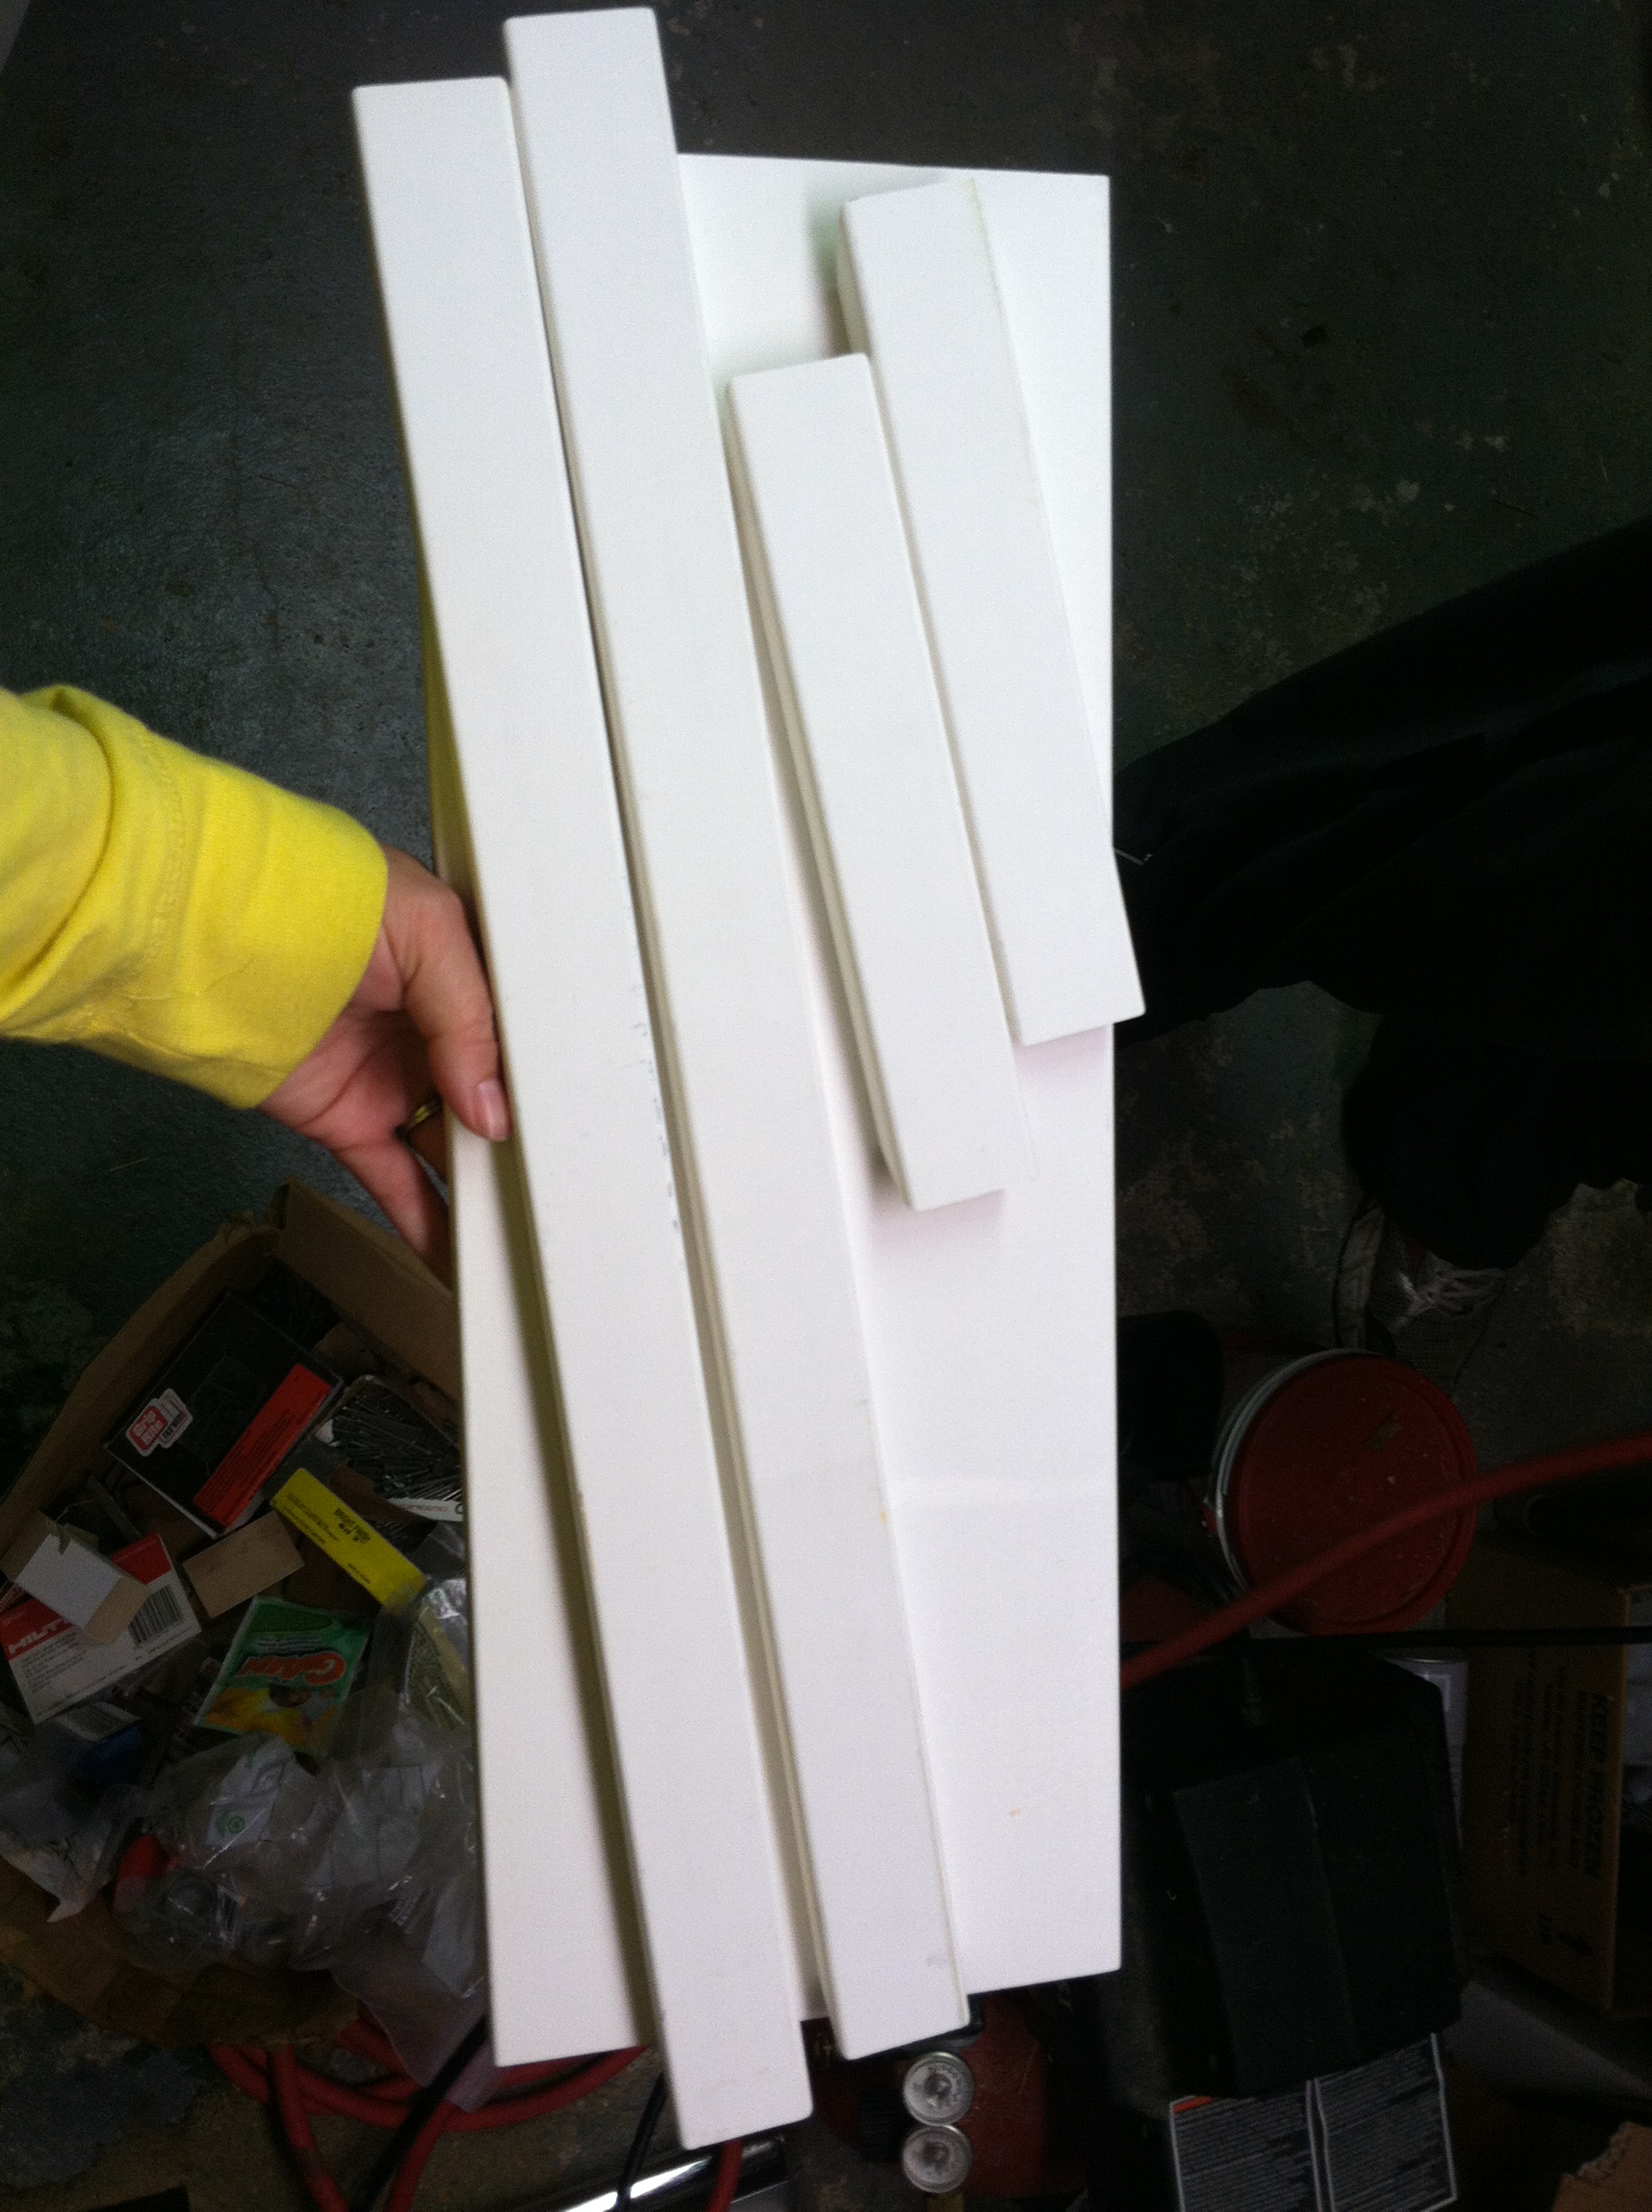
- Decide how long you want your try to be and cut the bottom of the tray that length.
- Measure and cut the trim the length of the tray. Match up the edges and make a 45 degree angled cut, so that the edges of the trim are flush with one another and jointly form a 90 degree corner. If your trim is rounded, make sure that your cuts are consistent and the rounded edges are all on the outside or inside, but not split up.

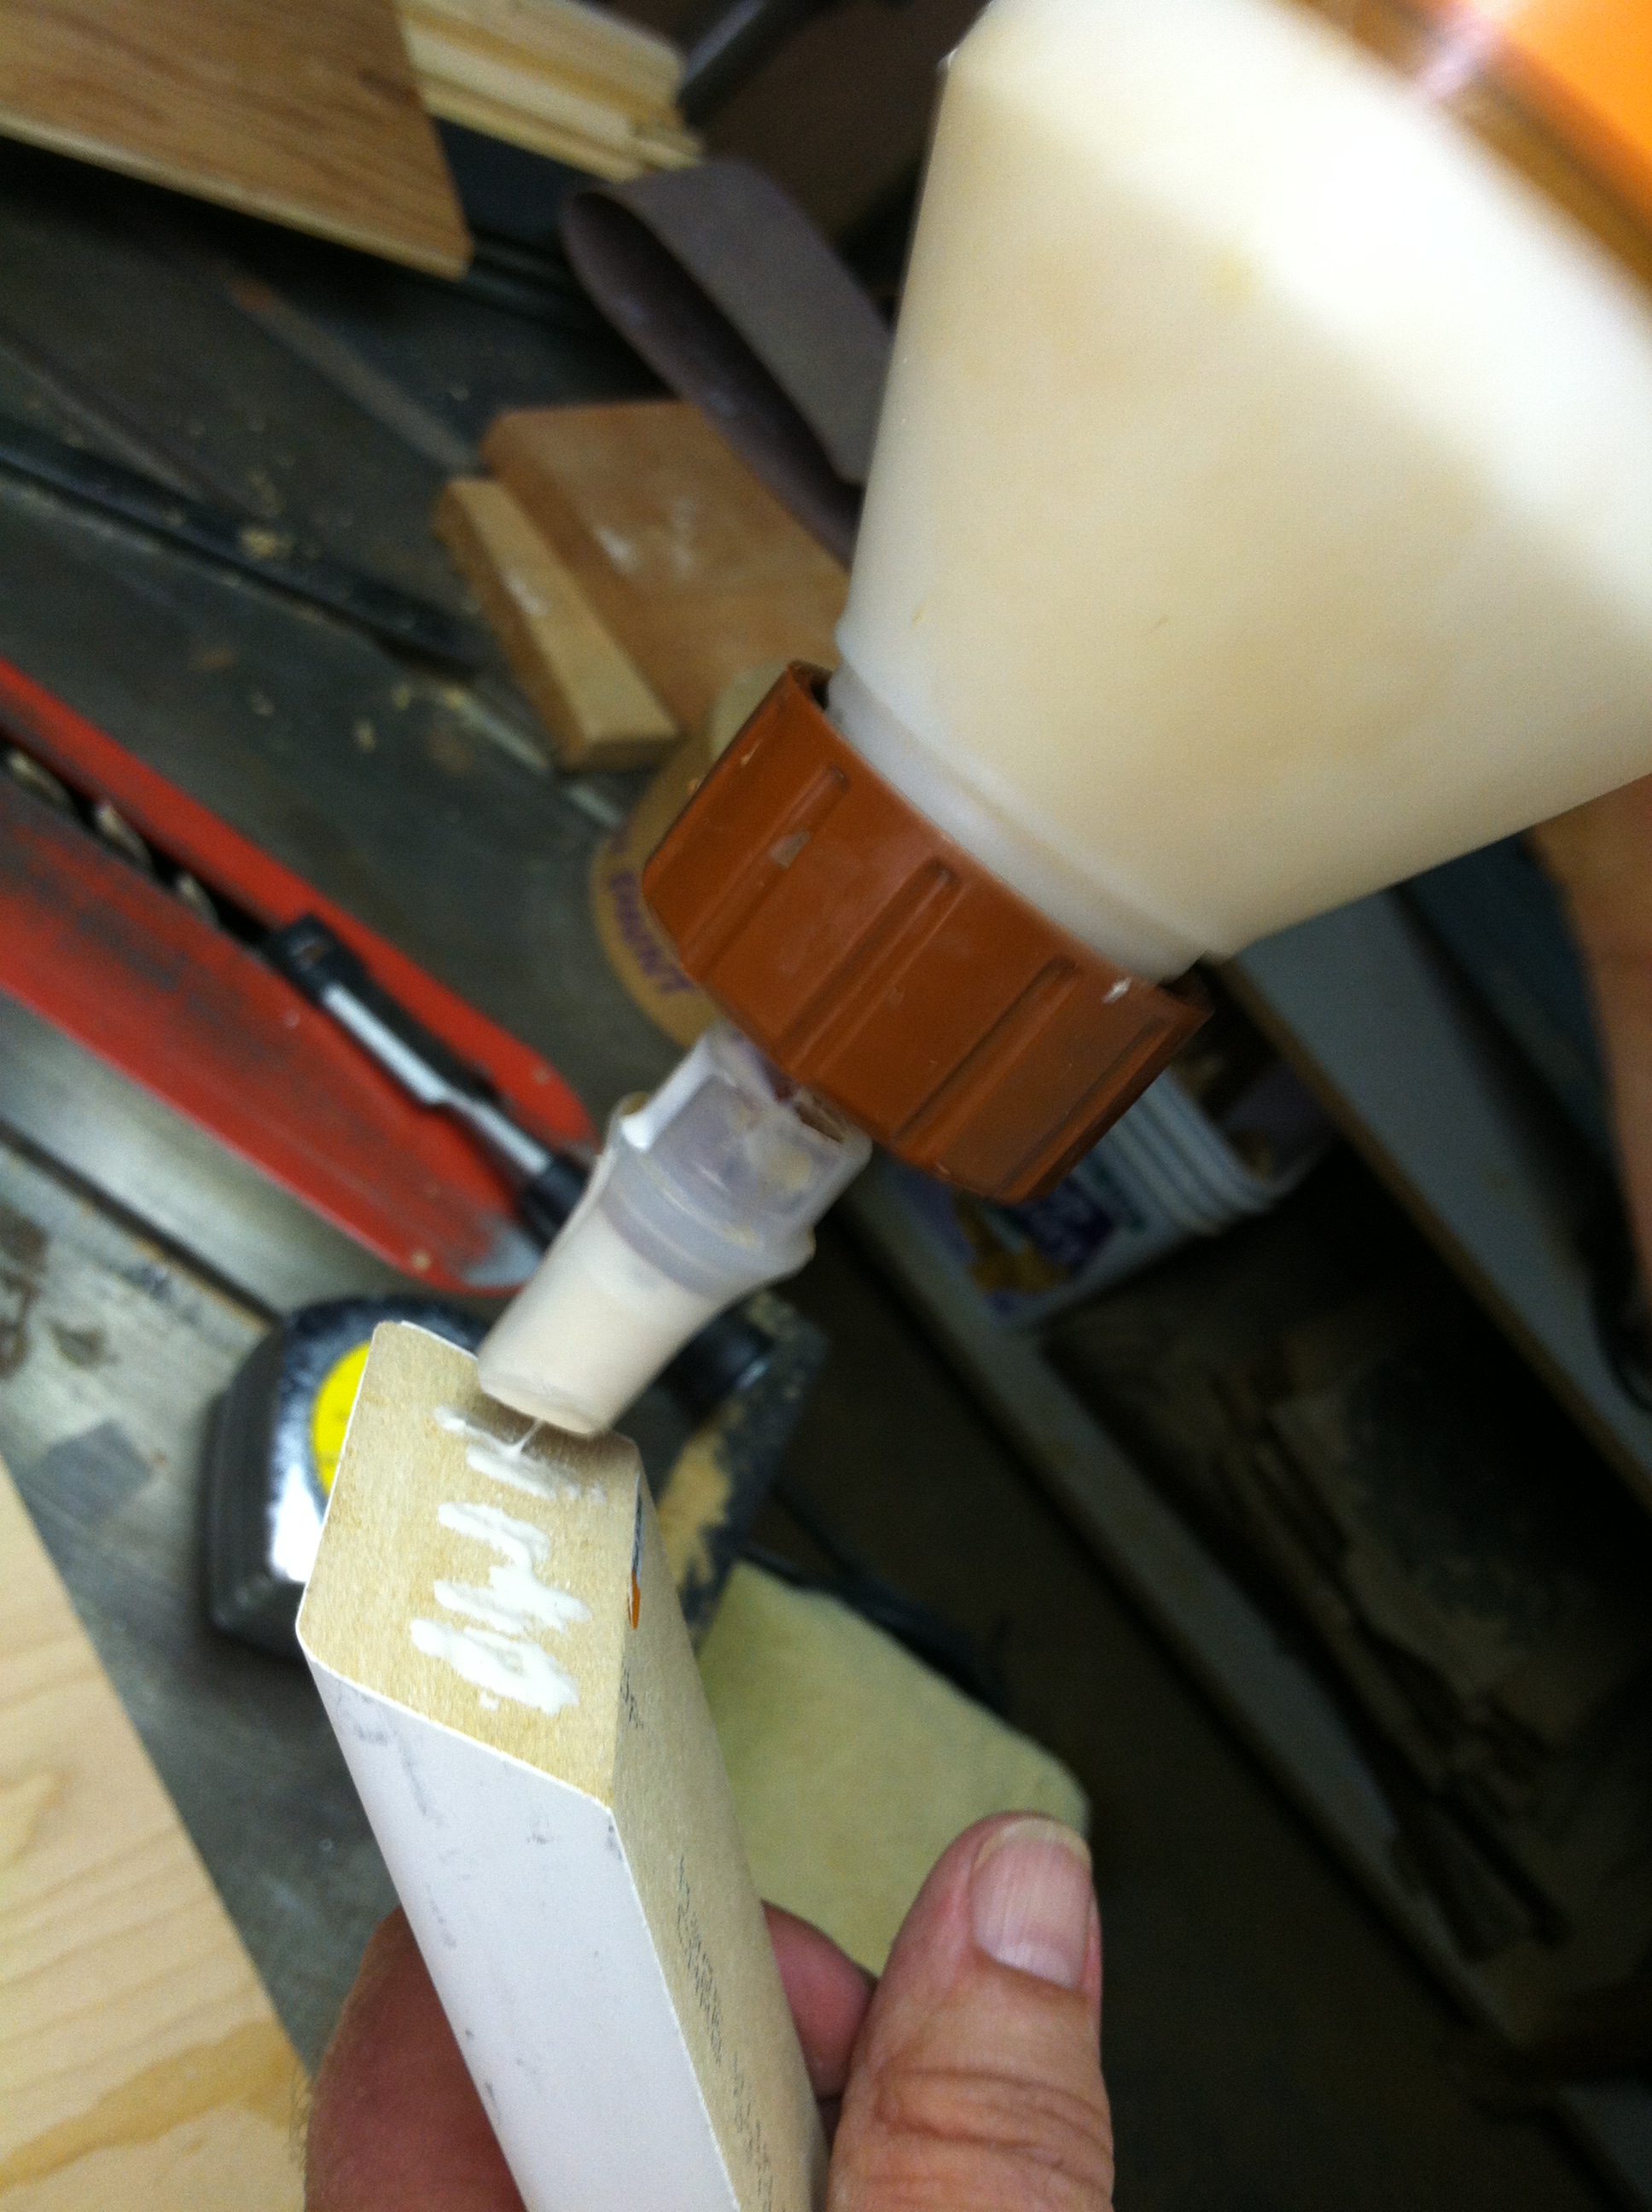
- Place Gorilla Glue (or some other wood glue) in a zig zag/dotted pattern where the trim meets the base. Only do one piece at a time.

- The glue should hold the trim on, but I used four small nails on each side, to make sure that the trim was secure. Plus I hadn’t used the nail gun yet and I wanted to try it out. I’m a natural.

- Let the glue dry and spray paint your tray. I used some red keg cups to hold the tray up, making sure that I got the base. I used three thin coats.

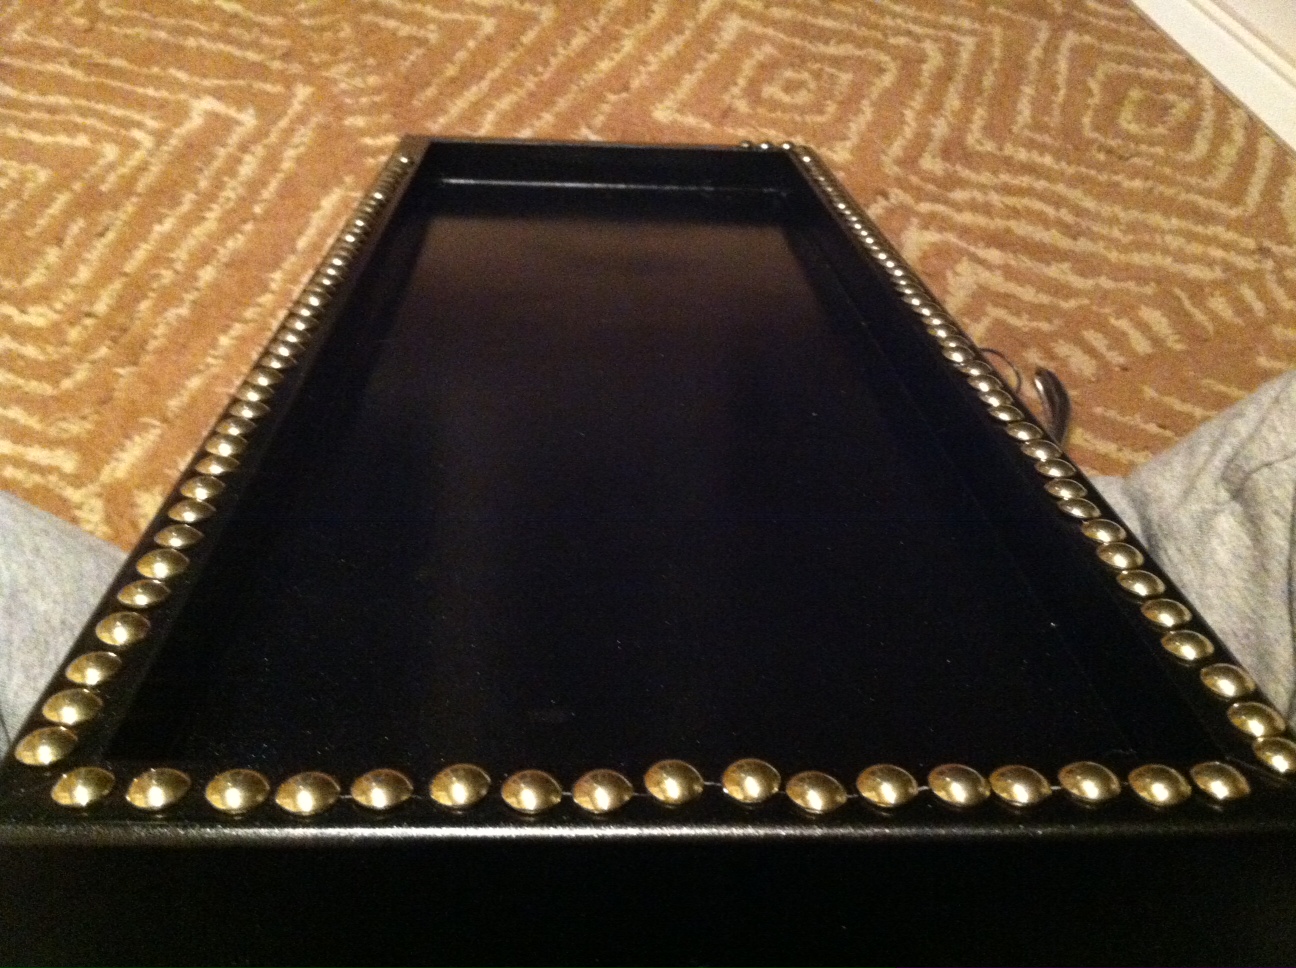
- Once the spray paint is dry, it’s nail head time! The MDF was pretty soft, so I used my thumb to line up and push them in. It worked pretty well. I also kept a large paperclip on-hand, in case I needed to pull one out. Once each row was in place, I hammered them in with the rubber mallet. My lines aren’t the straightest, but I think it adds personality.

*Please note: This tray is mostly for show and is pretty heavy. I don’t think it would be good for moving or carrying items on.
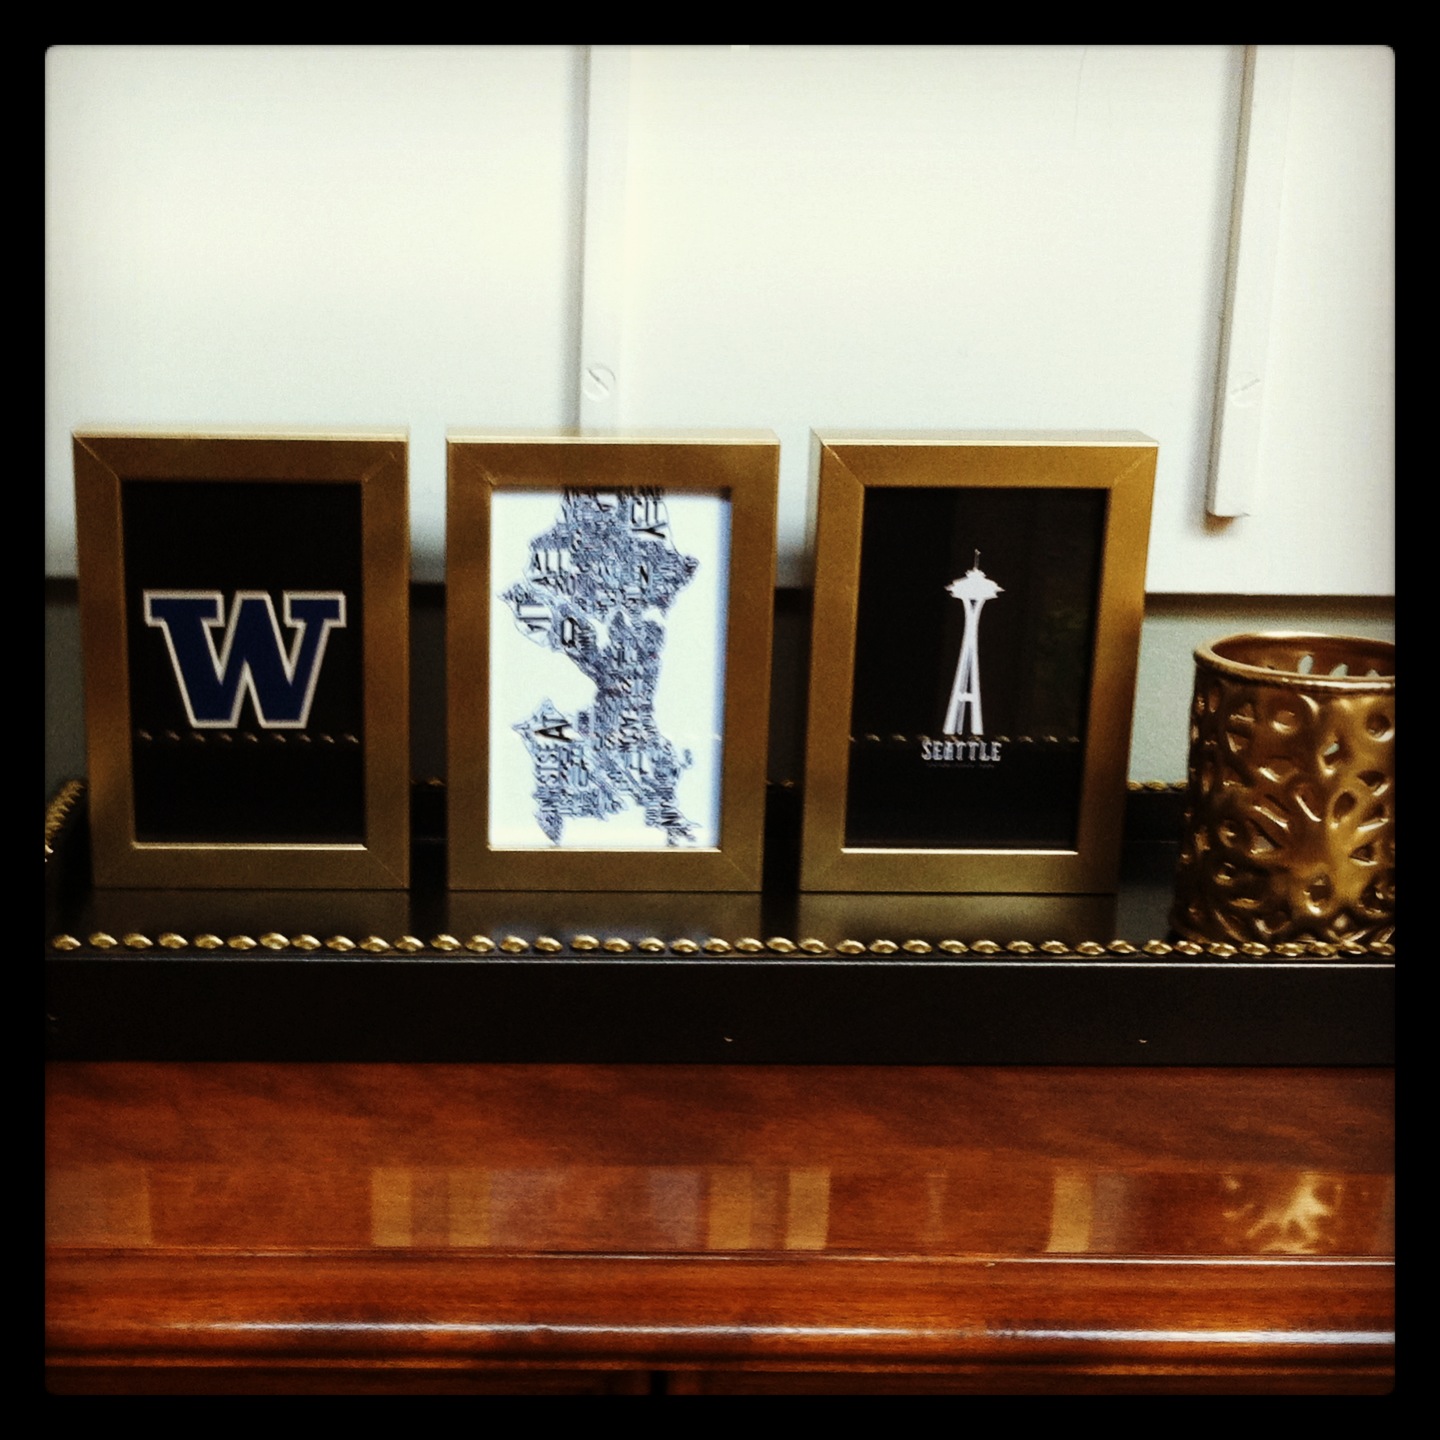
 What did I put in the tray? It’s pretty clear in the photo, but I painted a cheap ceramic votive holder that I found on clearance at Michael’s and some grey IKEA 4″ x 6″ ribba frames that I bought thinking they were black. Oops. But they’re prefect for this spot. And now they’re all GOLD. (I have a problem.) I found some fun images online and printed them on cardstock. The images I’ve got now are great, but I plan on switching them out with the seasons and holidays. The tray is just the right width and the three frames and candle holder fit perfectly.
I also made a cool terrarium with a hurricane we used for our wedding, a pre-historic looking plant that we had growing very tall in the kitchen and a small pot of mixed succulents. It turned out great an cost less than $3!
I need to get back onto Pinterest for un-focused, general browsing and find myself some more crafts! What are you crafting these days? Anything that you think I should try my hand at? Tell me in the comments!