Halloween Cauldrons {Easy DIY}

Looking for a last minute Halloween craft? Planning on leaving candy outside for trick-or-treaters? Want a fancy way to display all the candy you’re going to eat yourself?

I have the DIY project for you: Oozing Witch Cauldrons!
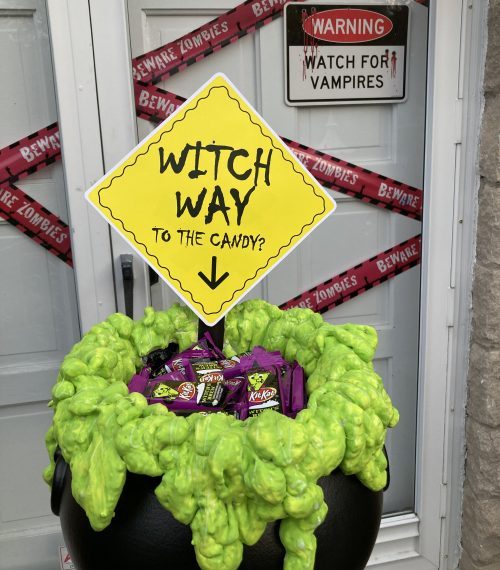
Oozing witch cauldrons

This idea came from this year’s Better Homes & Garden’s Halloween magazine. We likely won’t put it outside for trick-or-treaters, but you’d better believe it’s filled with all our favorite candies already, awaiting Halloween this weekend. 

This is a super easy craft. Please make your own and tag me or post your projects here! 

Gather your supplies: 

  • Cauldron ($6, Walmart) 
  • Spray insulation ($3, Home Depot) 
  • Acrylic paint for the ooze (had on-hand)
  • Stick for sign (We used a painted paint stir stick, optional) 
  • Candy (once completed, for filling)

… And get started. This project is so easy a five year old can do it! 

  1. Prep spray insulation per package instructions (open, put on nozzle)
  2. Set up work space (cauldron on top of working space– we used cardboard box in the garage)
  3. Spray! (If you’re adding a sign, make sure you insert your stick/sign post when the ooze is still wet.) 
  4. And then wait per package instructions. Warning: the insulation will GROW as it hardens.
  5. Once fully dry, paint the ooze, if you’d like. We used a “lime” matte acrylic that we had on-hand. The original instructions suggest spray painting, but that didn’t make sense to me, plus I had time to hand paint it while Michael did his virtual schooling. 
  6. Add glow-in-the-dark paint. (We did because glow-in-the-dark puffy paint is amazing. We put it on everything!) 
  7. Print and adhere sign. (We printed onto a heavy cardstock and adhered it with 1″ blue painters tape) 
  8. Fill with candy and enjoy!

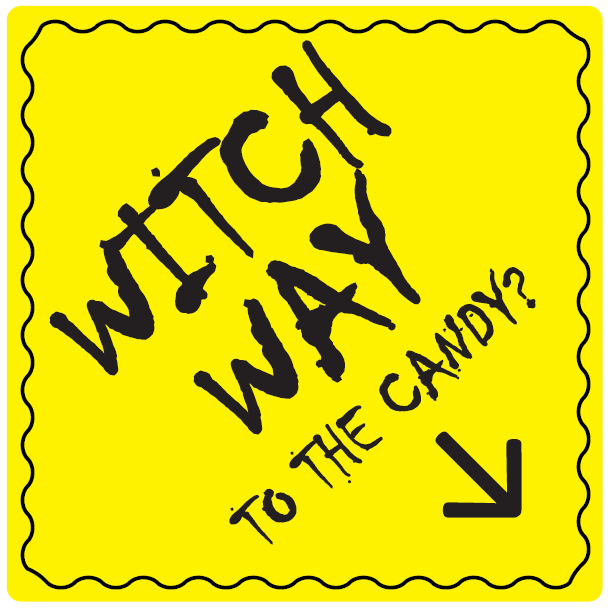
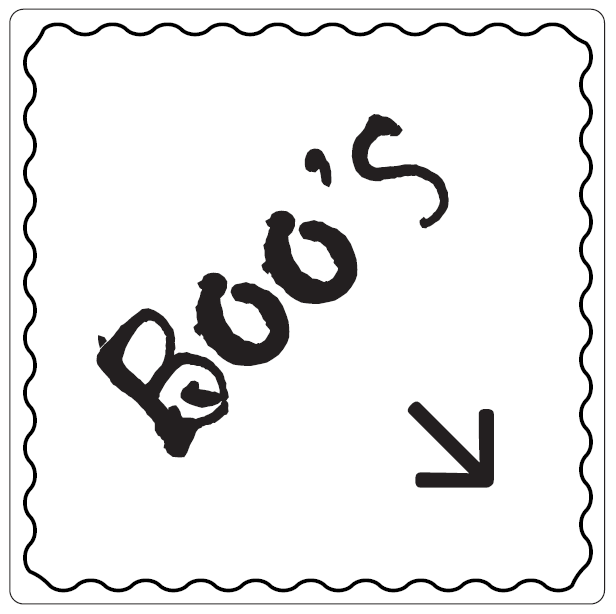
Here are the PDFs for the signs: Witch way to the candy & Boo’s (which I envision filled with little alcohol bottles at a party during non-COVID times)

Gather your supplies

Apply insulation per the instructions. Make sure you drizzle some tendrils down the cauldron

Let dry. Make sure to stick your sign stick in while the insulation is still wet!

Paint, paint, paint. Green paint first. Glow in the dark paint after its dry.
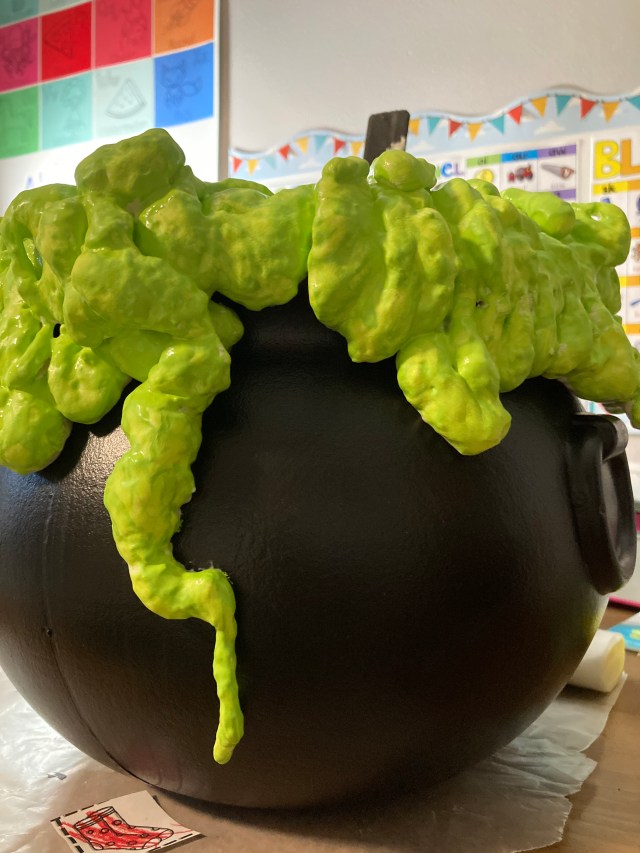
We opted for spooky green ooze, painted while I supervised “at home” school
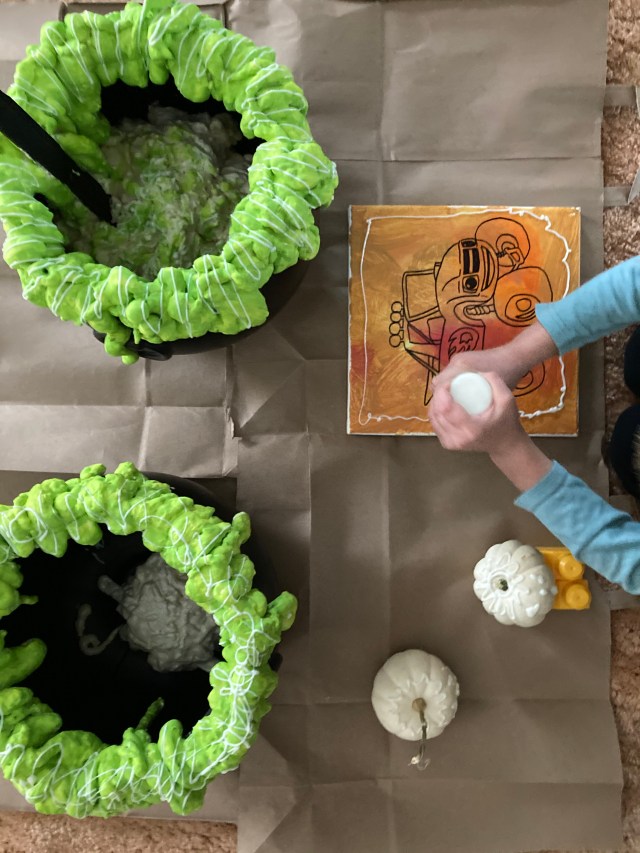
Added some glow in the dark puffy paint once the green paint was dry.

Fill it and place it and you’re done!

Ready to print signs (8.5″ x 11″) CLICK FOR THE PDF


{DIY} Skeleton Flamingos

DIY Skeleton flamingos, Halloween decor, lawn art
I think I’ve found the silver lining to our current COVID situation: quality time with Michael.

We are spending a lot of time together: between “Mom School,” “Zoom school,” and the shortened days of “in-person school,” it’s all Megan & Michael time. All. The. Time.

While Michael works on his school work and crafts, I’m trying to not be on my phone all of the time, so I’ve been finishing up some in-process crafting projects. (Our school room is the craft room, after all.)

I found an image of skeleton flamingos on Pinterest and I thought they were fun, decorative, and not too scary.

So, I bought some flamingos from Amazon. Do note: these are “mini” flamingos and much smaller than I had expected. 

We had some leftover matte black spray paint, so I set up a spray paint area and went to town.

DIY Skeleton flamingos, Halloween decor, lawn art

DIY Skeleton flamingos, Halloween decor, lawn art

Fast forward a few months, and I finally had the time and tools to finish the project!

DIY Skeleton flamingos, Halloween decor, lawn art

What do you need? 

  • Matte black spray paint (We used Rustoleum’s High Heat spray paint, leftover from painting our fireplace, likely purchased from Home Depot)
  • Plastic flamingos
  • White oil-based paint pen (I think I got mine from Michaels, medium tipped)

That’s it!

I searched a few images on Pinterest and just started drawing. The paint I used dulled my white pen a bit throughout, so I wiped off the tip and kept going.

It took just a few worksheets, crafts, and PlayDoh sessions and I was done! These actually took less time than I expected.

DIY Skeleton flamingos, Halloween decor, lawn art

Our flock!

DIY Skeleton flamingos, Halloween decor, lawn art

If you decide to follow our lead on these non-spooky skeleton flamingos, please tag me in your photos or post pictures here!

Happy haunting!


Mother’s day “flowers” {last-minute gift idea}

Still looking for the perfect gift or card for your Mom this Mother’s day? Look no further!

Presenting a special bouquet of flowers:

Mother's day bouquet of hand print flowers

My Mother’s day bouquet

These are really easy to make:

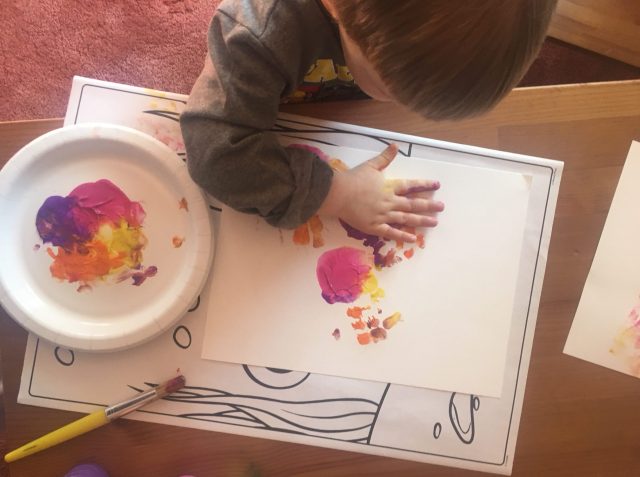
  1. Squirt out your paint – we used Michael’s Crayola washable tempera paints
  2. Take subject’s hand
  3. Paint subject’s hand. Work quickly depending on age and patience level of subject.
  4. Press subject’s hand onto paper.
  5. Let dry.
  6. Add some foliage (stems and leaves) and cut out or back with additional paper.

And if you’re a visual learner:

Handprint flowers | Mother's Day

Prep your materials.

Handprint flowers | Mother's Day

Painting your subject.

Handprint flowers | Mother's Day

Stamp, stamp, stamp.

Handprint flowers | Mother's Day

Hand prints: complete!

Handprint flowers | Mother's Day

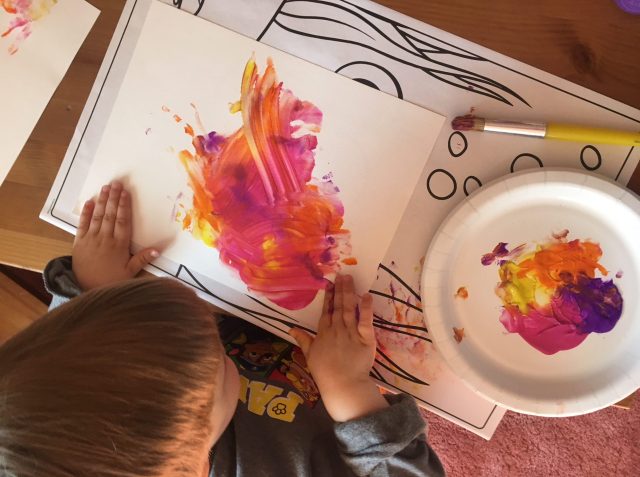
And then when the hand prints turn into painting…

Happy Mother’s day!

The Handmade Project

Umm… did you know that my wildest dreams might actually come true?! It’s a long shot, but when Brandon forwarded me the application for The Handmade Project, a reality television show about crafting (!!!!), I knew that I had to apply.

It took three weeks for me to perfect my responses to the dozens of questions they asked, find my craft projects and photos, and to film just the right 3 minute video. The stars aligned last week and I submitted my application!

You have to apply to be chosen! Fingers crossed!!

I’ve never applied to a reality TV show before, but I’m guessing it’s a little bit of a popularity contest, so I’d really appreciate it if you could please watch, comment, and like my application video on YouTube, this blog post, and on my social channels. (Links in the top right!)

Who knows… you might be seeing me on the big screen in August!

Here are some highlights of my application, so you can know what you’re supporting:

My PR/introductory blurb:

During the day, Megan Szerwo is a real-life Leslie Knope, making her living working on behalf of the people of the City of Seattle. After hours though, Megan grabs a glass of her favorite red and she gets down to business on her real passion: crafting. A jack of all trades, Megan focuses her attention on party and holiday decor, gifts for new parents, and any and every craft possible with her endless supply of corks. Megan’s three passions in life are easily described: cats, crafts, and carafes! Megan lives in Seattle, Washington with her husband, son, and two cats.

And some of the projects that I highlight:

My Q13 debut!

My small business: Little Britches Bakery

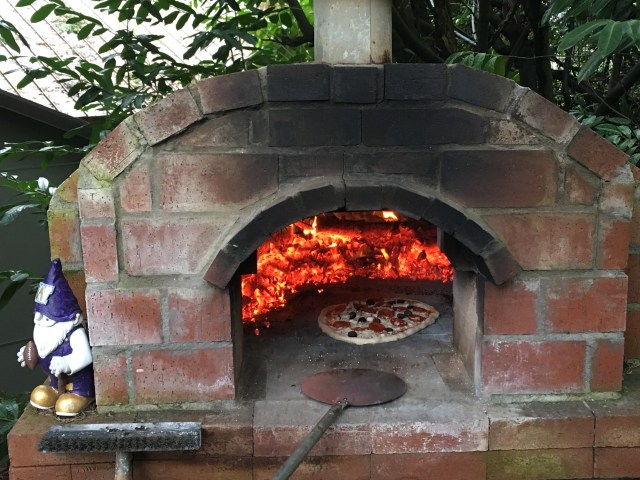
Our homemade wood-fired oven in the backyard

My party pinatas

My mad party-throwing skills

Cork art!

And a couple of projects that are new to you as a blog reader:

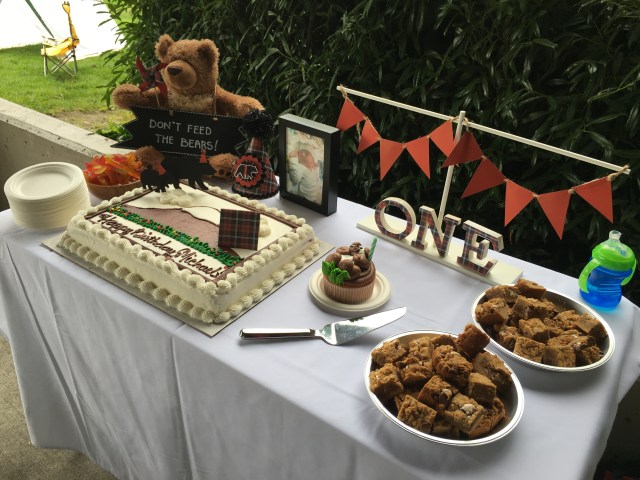
Michael’s ONE HAPPY CAMPER first birthday party! I promise you’ll see it soon!

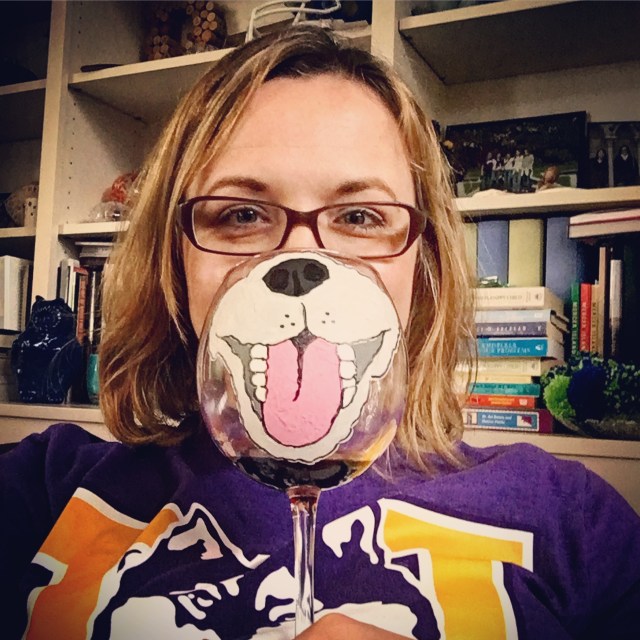
Muzzle Guzzler glassware: coming soon!

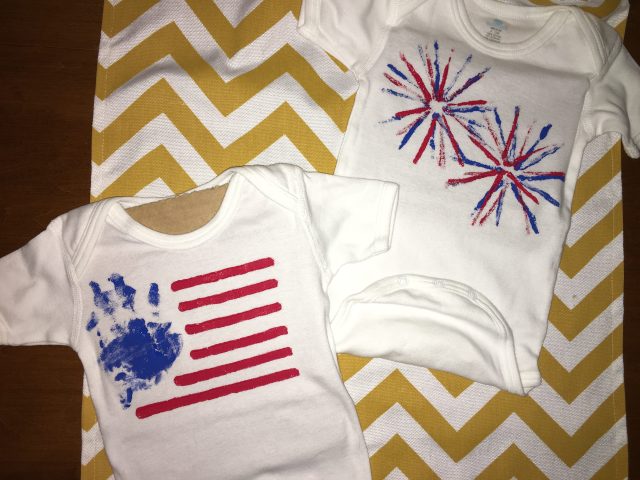
Fourth of July onesies! (Post coming only a year late, but in time for 7/4/17!)

Since it’s likely that this show would just perfectly foul up our Buffalo moving plans, it’s almost guaranteed to happen!

Don’t forget to watch my application video, tell all your friends to watch it, and like/comment on this post!

Thank you for reading and your unending support of my creative endeavors!

Valentine, you’re out of this world! {2017}

I had the pleasure of turning my Pinterest board into reality last week to make Michael’s preschool valentines. I know I’m biased, but I’m pretty impressed with the final product. (I really liked last year’s valentines too!)

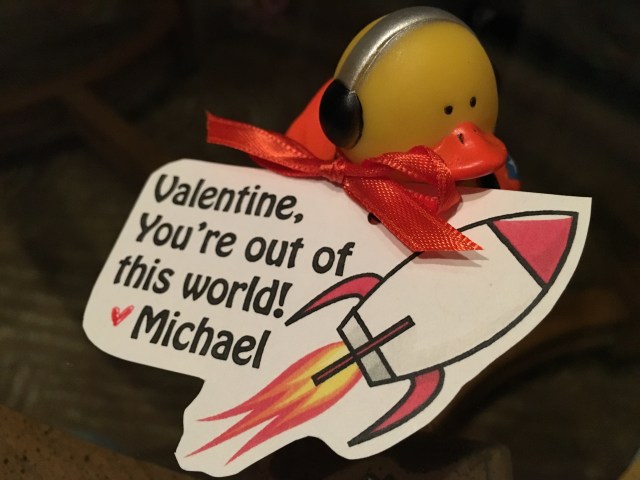
You're out of this world, Valentine!

You’re out of this world, Valentine!

Space ducks: unite!

Space ducks: unite!

These valentines are super easy to make, relatively inexpensive, and don’t include sugar, so they’re good for kids of all ages:

  1. Buy these astronaut and space alien rubber ducks from Amazon
  2. Print out this sheet of valentines on cardstock.
  3. Add your name on the bottom and cut them out.
  4. Poke a hole.
  5. Attach the tag to the duck.
  6. Tie a bow, trim the edges. Voila!

Here is Micheal working on his valentine “mailbox” at school. He’s a crafter in the making! (And, yes, they call him “Big Mike”!)

Michael working on his valentine mailbox

Michael working on his valentine mailbox

Cork snowmen ornaments (or wine charms or cute decor!)

Can you believe that Christmas is this week? I certainly can’t. The past four months — well, year, really — have flown by. We did manage to get Michael’s first Santa photo in, and we’ll hopefully visit two more Santas this week. Of course I’ll share the photos soon.

Last week I shared yarn ball ornaments. I have another super easy ornament to share with you: Snowmen wine cork ornaments!

As you know, I enjoy a good wine. As a result, I often have a cork or two on-hand for crafting purposes. (Sometimes I have hundreds of corks on-hand, when I want to make a cork wreath or something.) These little guys are so cute and so easy.

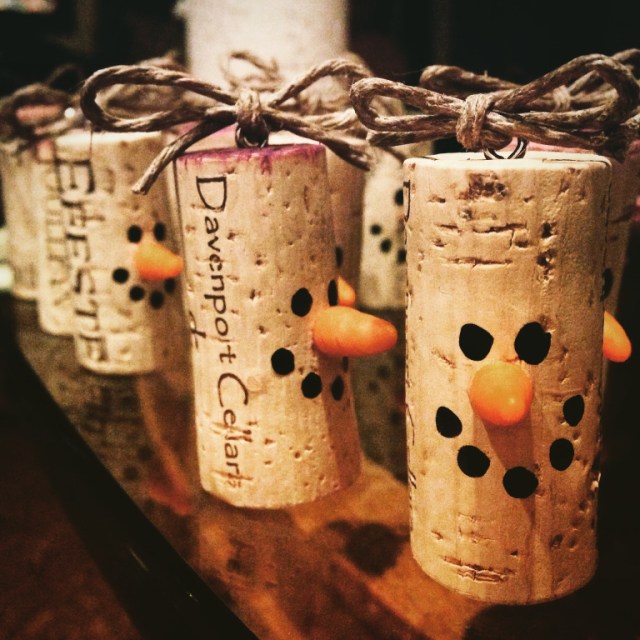
Wine cork snowmen!

Wine cork snowmen!

Gather your supplies:

  • Cork(s)
  • A block of orange Fimo or Sculpey modeling clay from your local craft store (The only difference that I’m aware of is that Fimo used to be hard before you warmed it up by sculpting with it. Sculpey has always been soft from the get go. Now they’re pretty much the same.)
  • Screw eye (also available at your local crafts store — in the jewelry-making section — or at your local Home Depot of Lowe’s.) These are one per ornament, so buy the appropriate amount.
  • Black Sharpie pen or black paint pen
  • Super glue (possibly already on-hand from your Thanksgiving appetizer platter making!?)
  • Toothpick
  • Ribbon (optional)

Instructions:

1. First, roll out the carrot noses. Mold the clay with your fingers to the appropriate size. Mine are approximately 1/2″ long and 1/8″ thick. I roll mine a little wider on the base, to look more like a carrot. I also use the toothpick or my fingernail to add some lines. I sculpt the base of the carrot against the pad of my finger, so it’s a little rounded, matching the curvature of the cork. (This will help with the gluing in step 3.)

Sculpt the noses

Sculpt the noses


"Carrot" lines

“Carrot” lines

2. Bake the noses per the instructions on the clay. I overcooked my first batch, so watch them carefully and err on the side of under cooking them. They will burn, turn color, and stink up your house for days if cooked too long.

3. Once the clay has cooled, add a dab of super glue to the base of the “carrot” and attach to the cork. You’ll need to hold it there for 10 seconds or so, to secure it.

4. Use the Sharpie to draw on the eyes and mouth of your snowman. You don’t need mad drawing skills for this as you’re drawing circles. (Like I said, so easy!)

Snowmen in process

Snowmen in process

5. Screw the screw eye into the top of the cork.

6. Add a decorative ribbon if you’d like. Your new cork snowman can double as an ornament or as an accessory to a bottle of wine you’re gifting friends or family. Or, you can just set them out since they’re so dang cute.

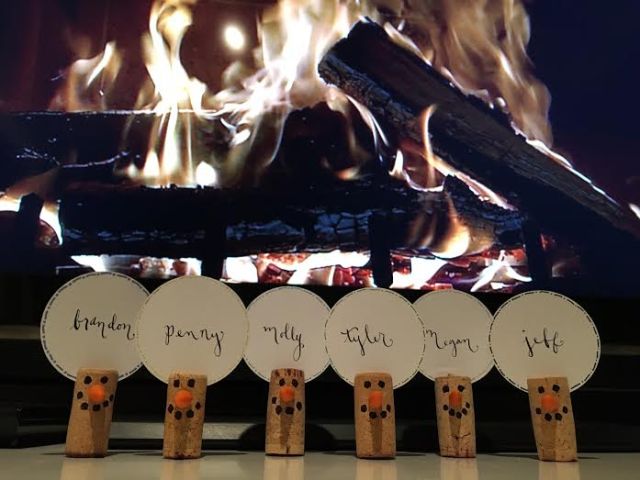
The possibilities are endless with these cuties. You can omit screw eyes and instead slice the top of the cork and turn these into place card holders! (Be sure to slice at an angle, which I didn’t do.)

Ornaments OR place card holders! All ready for Christmas!

Ornaments OR place card holders! All ready for Christmas!

Now, open a bottle of wine so you have a cork for this fun project!

I hope you have a great week! Now I’m off to brainstorm 2016 resolutions. Anyone have any ideas for me? Please share!


{Halloween 2015} BOOze bags and ghost onesies

Last year I wrote about BOOzing people. It was a great idea that I promptly forgot following the drafting of that blog post. Whoops.

However, I re-discovered the idea as I was perusing Pinterest recently. (Thanks, middle-of-the-night feeding for Baby M!) BOOze bags would be the perfect treat for the University of Washington tailgate that we hosted with our friends Parker and Stephanie on Halloween: booze as they walk to the game and snacks for the route or inside the stadium.

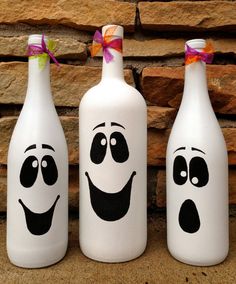
I also pinned this pin and thought nothing of it (I pin a lot of images!) until Stephanie asked if I was planning on making a costume for my little guy. With that comment, an idea blossomed!

My onesie inspiration

My onesie inspiration

I decided that I would use the above image as a guide to make some super cute ghost onesies for our little guys. (Stephanie and Parker’s son was born in June and while they’re not friends yet, he and Michael will be BFFs before too long!)

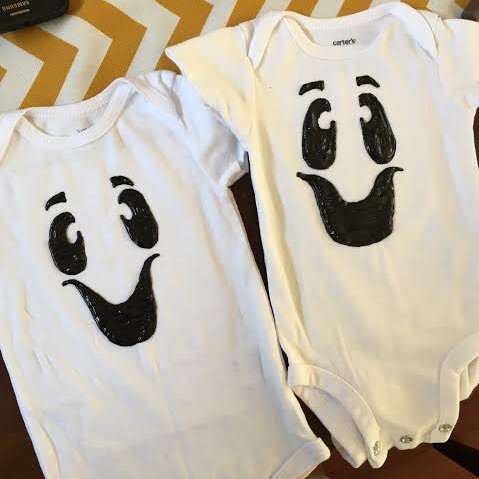
I had the onesies on-hand and spent a whopping $2 on fabric puff paint. Using the above images, I freehand outlined the ghost faces with an ultra-thin point Sharpie and filled it in with high-gloss puff paint. I pre-washed the onesies, but have not (and may not) wash them again, as I’m not sure how the puff paint will launder. I’m sure there is some guidance somewhere on the internet!

Ghost onesies for the boys

Ghost onesies for the boys

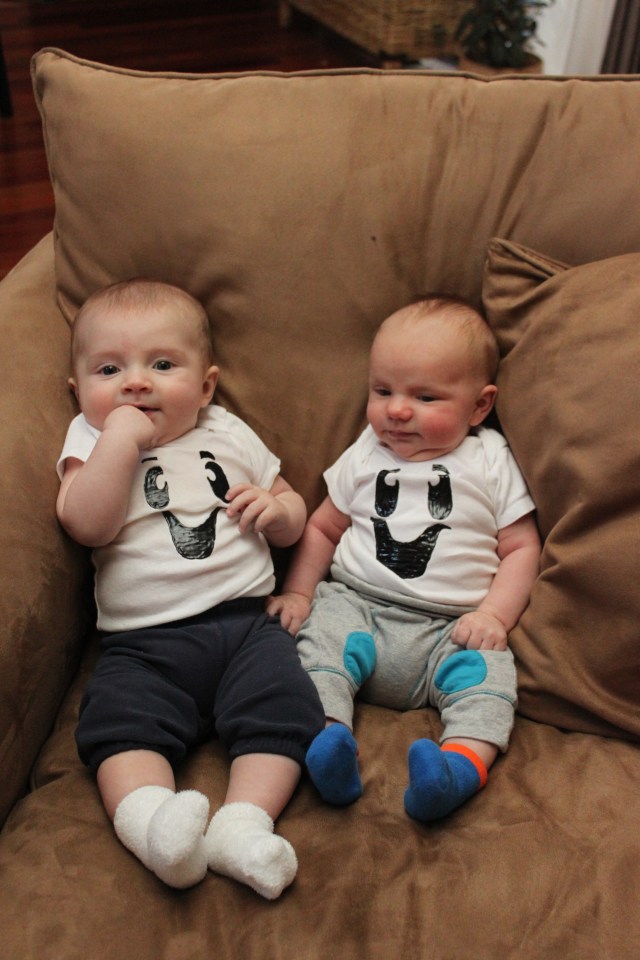
Since we were co-hosting the Halloween tailgate, ghost onesies would be perfect for an appearance at the tailgate and some of our own “BOOze bags.” (Unfortunately with an 8 p.m. kickoff — 8 P.M.!!!! — the boys were not able to show up in their costumes.) However, they still wore their new onesies and we still made the BOOze bags!

BFFs in their spooky outfits

BFFs in their spooky outfits

I found mini bottles of Jim Bean “Ghost” Whiskey (on sale!) and Fireball (also on sale!) and put them in cellophane bags with orange Kit Kats (my favorites!), fun size Snickers, mini Reese’s cups, Starbursts, and suckers!

Voila!

The finished product: BOOze bags!

The finished product: BOOze bags!

Pin this for next Halloween and don’t forget about BOOze bags like I did!


Michael’s 1st Halloween {2015}

Baby Michael was born just in time to celebrate his first Halloween in style!

I originally wanted him to be a Cookie Monster, but there weren’t costumes in the itty bitty size that I needed. (We did end up receiving a toddler-sized one as a gift, so be on the look out for our Cookie Monster next year!)

Late night breastfeeding is conducive to lots of Pinterest browsing and I found this adorable glow-in-the-dark skeleton outfit on sale. $8 for a costume? Done.

Skeleton baby & skeleton head wine!

Skeleton baby & skeleton head wine!

I also made this ghost onesie for Michael. (More on that in a future post; hopefully this week)

BOO! It's Michael!

BOO! It’s Michael!

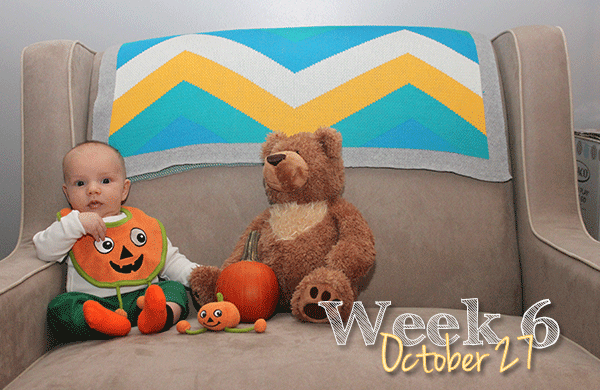
You’ve also already seen Michael’s pumpkin bib. It was a gift and was perfect for Halloween and his six-week Facebook photos.

Michael's 6-week photo shoot

Michael’s six-week photo shoot

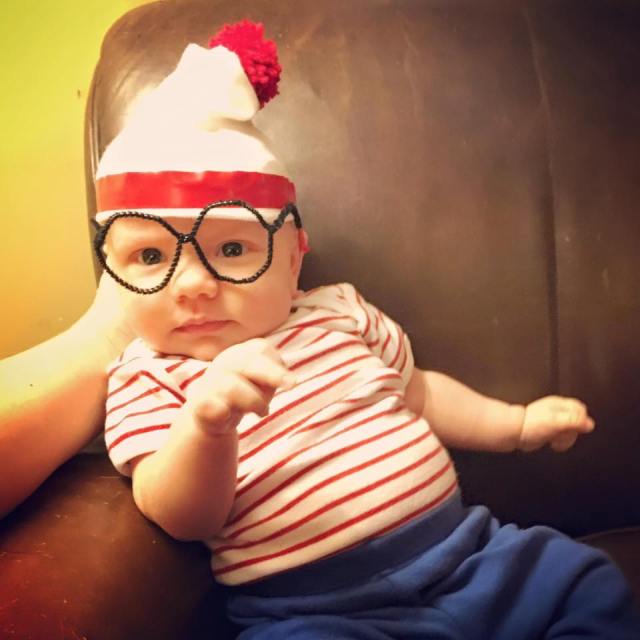
Finally, his Waldo outfit came together by happenstance. I was going through Michael’s outfits, saw the red and white striped onesie and his blue pants and voila! I added a red electrical tape stripe to his hat from the hospital, along with a yarn puff. The only item I needed to purchase were pipe cleaners for his glasses. $1 total. Cheapest– and cutest– costume yet!

Where's Waldo... er... Michael!? I found him!

Where’s Waldo… er… Michael!? I found him!

Look at those specs!

Look at those specs!

Which costume is your favorite? I like them all!

We tried putting Michael in an actual pumpkin too, something I’ve always wanted to do with a baby, and it was an extreme failure. We were all laughing as much as my sister was. Everyone except Michael. Maybe next year?

This looks so easy on Pinterest...

This looks so easy on Pinterest…


DIY clay animal busts

A few months ago I received a large rhino head by accident from Zulily. (It was supposed to be pair of raven bookends for my Dad’s birthday…)

Maddie isn't sure what to do with this surprise delivery

Maddie isn’t sure what to do with this surprise delivery

Of course I wanted to spray paint the head white and the horn gold and hang it in the nursery, but Brandon put the kibosh on it pretty quickly. (He likes the natural coloring of the rhino.) I’ve kept my eyes peeled for an additional rhino or other animal busts on my trips to Marshall’s and HomeGoods, but never found anything that I had to have.

I spend a lot of time on Pinterest and Etsy and stumbled across several great items, but they were all more than I wanted to spend, so I decided to make my own!

I looked everywhere for Crayola Model Magic, which apparently doesn’t exist anymore. So, after intense staffmember consultation and debate, I landed on DAS modeling clay from the University Bookstore. I also bought several unfinished plaques from JoAnn’s (similar to this one, the in-store selection is hit or miss and I lucked out).

The sculpting reminded me of my childhood and high school art classes and I really enjoyed it. Some of the ideas came from my head, while some came from the internet. I sculpted the busts around foil balls (so they were lighter when hung) and followed the instructions and let them air dry for several weeks. (Mainly out of laziness.)

Once they were dry I spray painted them a glossy white and Brandon used leftover stain to make the plaques a uniform color. I used ample hot glue to adhere the busts to the plaques– and voila! they were beautiful! I originally tried to adhere them with super glue and that didn’t work out. Hot glue was the way to go.

My clay animal busts

My clay animal busts

To finish off the projects, I hot glued a “D” hook on each plaque.

Hanging the busts

Hanging the busts

Here they are in relation to the nursery wall. I’m really pleased with how the nursery turned out. And look at that little two-week old Michael! He’s grown so much since then!

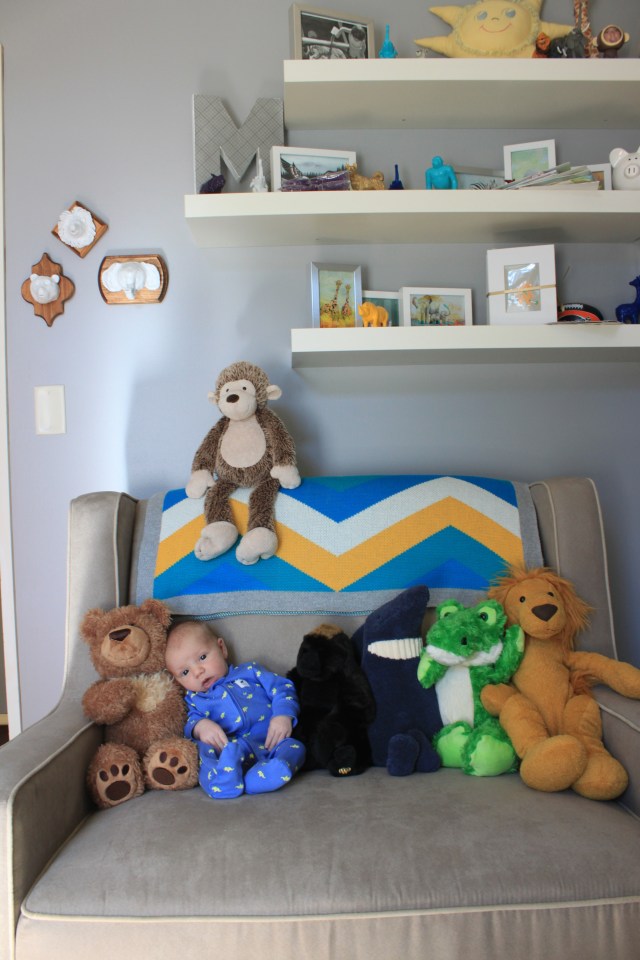
Michael and his friends, showing off his clay animal busts. (Sort of)

Michael and his friends, showing off his clay animal busts. (Sort of)

Happy crafting!


It’s football time!

‘Tis the season to get ready for football season! I’ve been gearing up on Pinterest and have compiled some of my football favorites here for you. We even went to a preseason faceoff between our hometown Seattle Seahawks and Brandon’s beloved Denver Broncos. (The Broncos won~ Go Broncos!) Baby-dependent, Brandon will be heading to the first home Husky game of the season on Saturday. I’ll be at home cooking something delicious. Maybe these ‘chos? {Better yet: pineapple and pork are supposed to induce labor!}

Since the season is long and we’ll have plenty of opportunities to share our tailgate and game day eats, I’m focusing on football crafts today. Specifically, AstroTurf crafts.

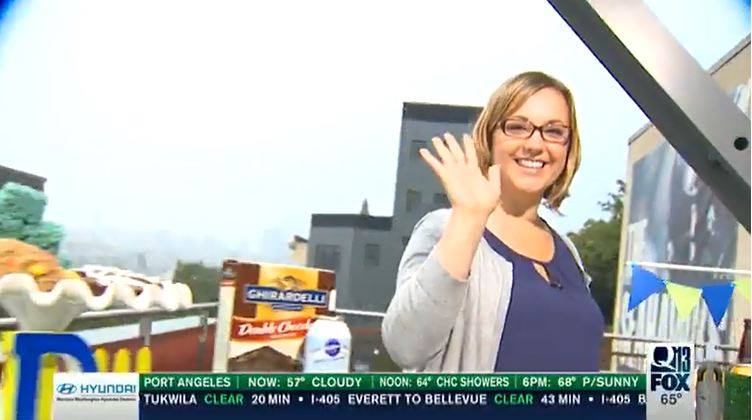
I had a lot of fun with AstroTurf last year, with my debut on Q13’s morning show.

Looked good on TV!

Looked good on TV!

I made koozies, coasters, platters, wine tags, “wreaths,” and more. {Full blog post and tutorial here} But those were so 2014.

Beer koozies

Beer koozies

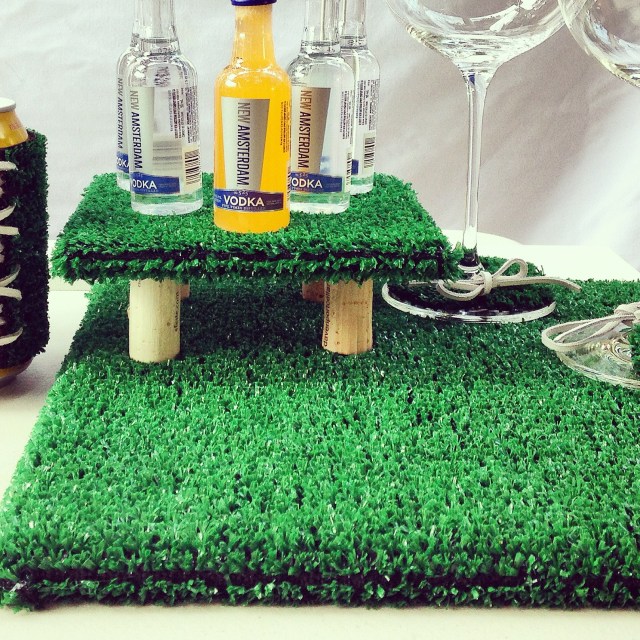
AstroTurf platters: works with any size tile!

AstroTurf platters: works with any size tile!

AstroTurf wine tags

AstroTurf wine tags

One of my most favorite crafts to date: An AstroTurf W!

One of my most favorite crafts to date: An AstroTurf W!

For the 2015-16 season, I’ve purchased a new roll of AstroTurf rug and found some new ideas:

An upgrade on my coaster idea: circles!

An upgrade on my coaster idea: circles!

This AstroTurf table is pretty amazing

This AstroTurf table is pretty amazing

An AstroTurf bulletin board

An AstroTurf bulletin board

I have several ideas swirling in my mind right now, and potentially a couple more weeks of free time to act upon them, so check back for my new 2015 AstroTurf ideas! Happy football season to you! Go Huskies, Broncos and Seahawks!