A few months ago I received a large rhino head by accident from Zulily. (It was supposed to be pair of raven bookends for my Dad’s birthday…)

Maddie isn’t sure what to do with this surprise delivery
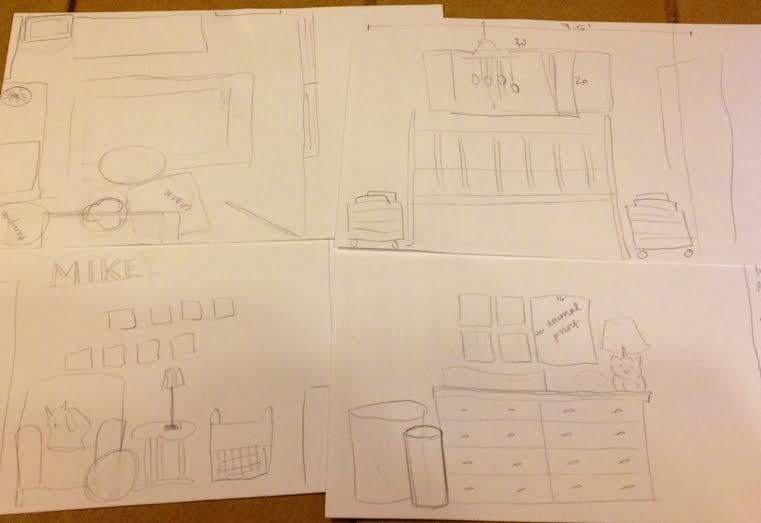
I spend a lot of time on Pinterest and Etsy and stumbled across several great items, but they were all more than I wanted to spend, so I decided to make my own!
I looked everywhere for Crayola Model Magic, which apparently doesn’t exist anymore. So, after intense staffmember consultation and debate, I landed on DAS modeling clay from the University Bookstore. I also bought several unfinished plaques from JoAnn’s (similar to this one, the in-store selection is hit or miss and I lucked out).
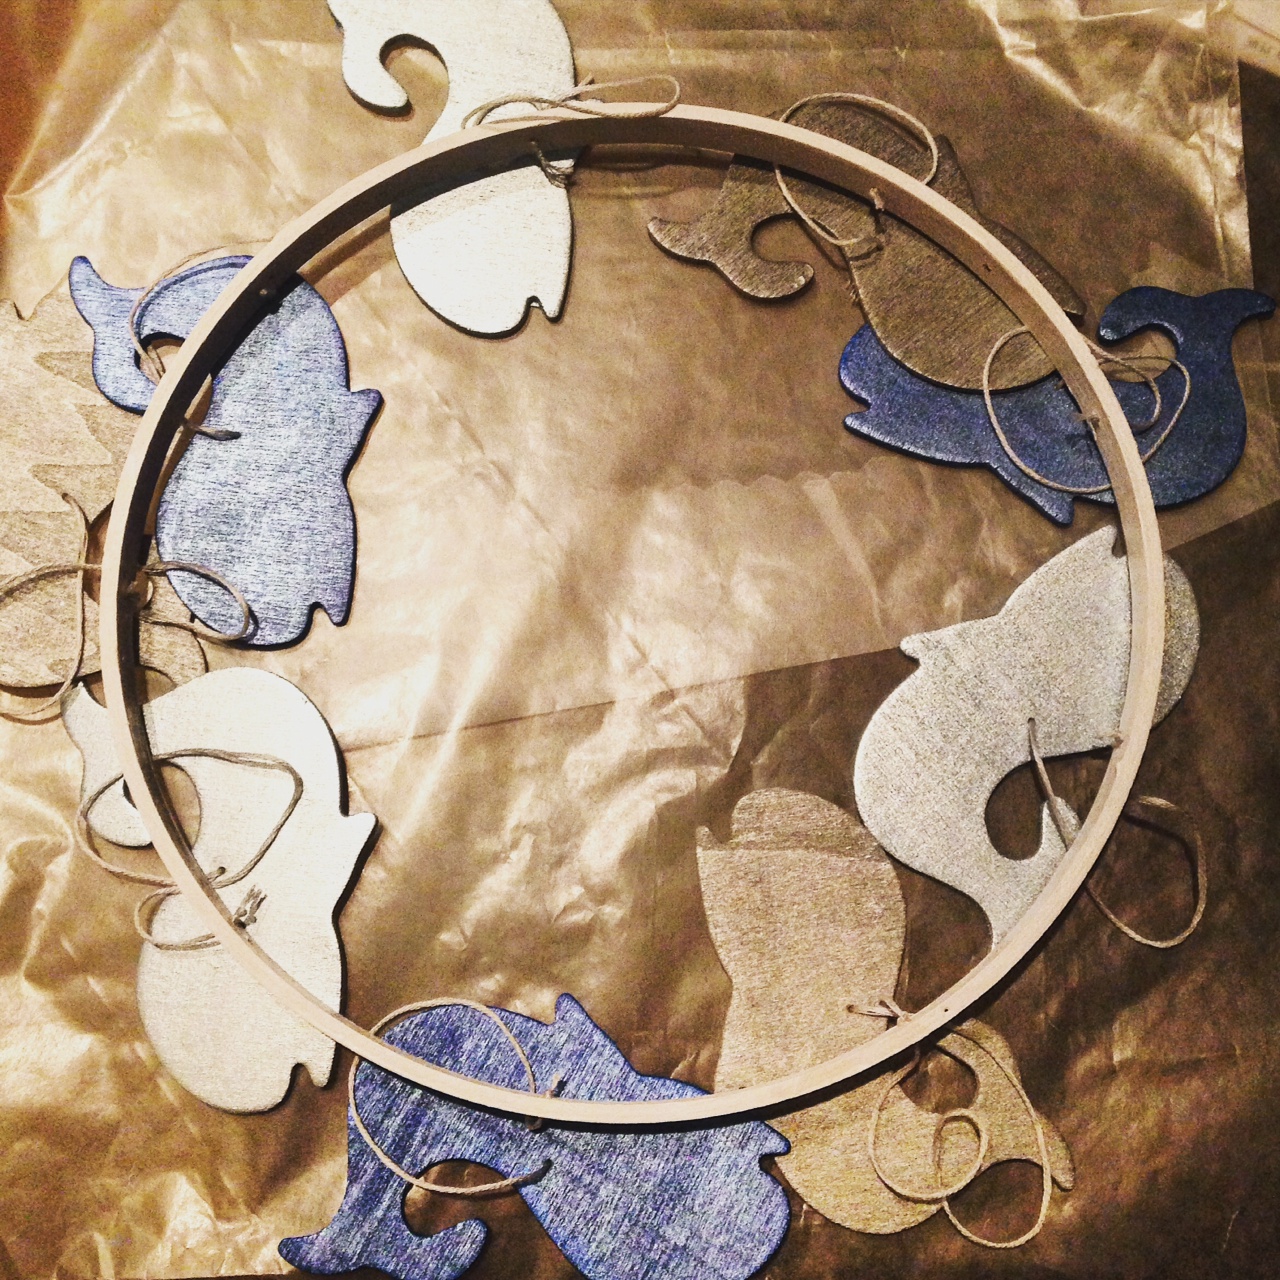
The sculpting reminded me of my childhood and high school art classes and I really enjoyed it. Some of the ideas came from my head, while some came from the internet. I sculpted the busts around foil balls (so they were lighter when hung) and followed the instructions and let them air dry for several weeks. (Mainly out of laziness.)
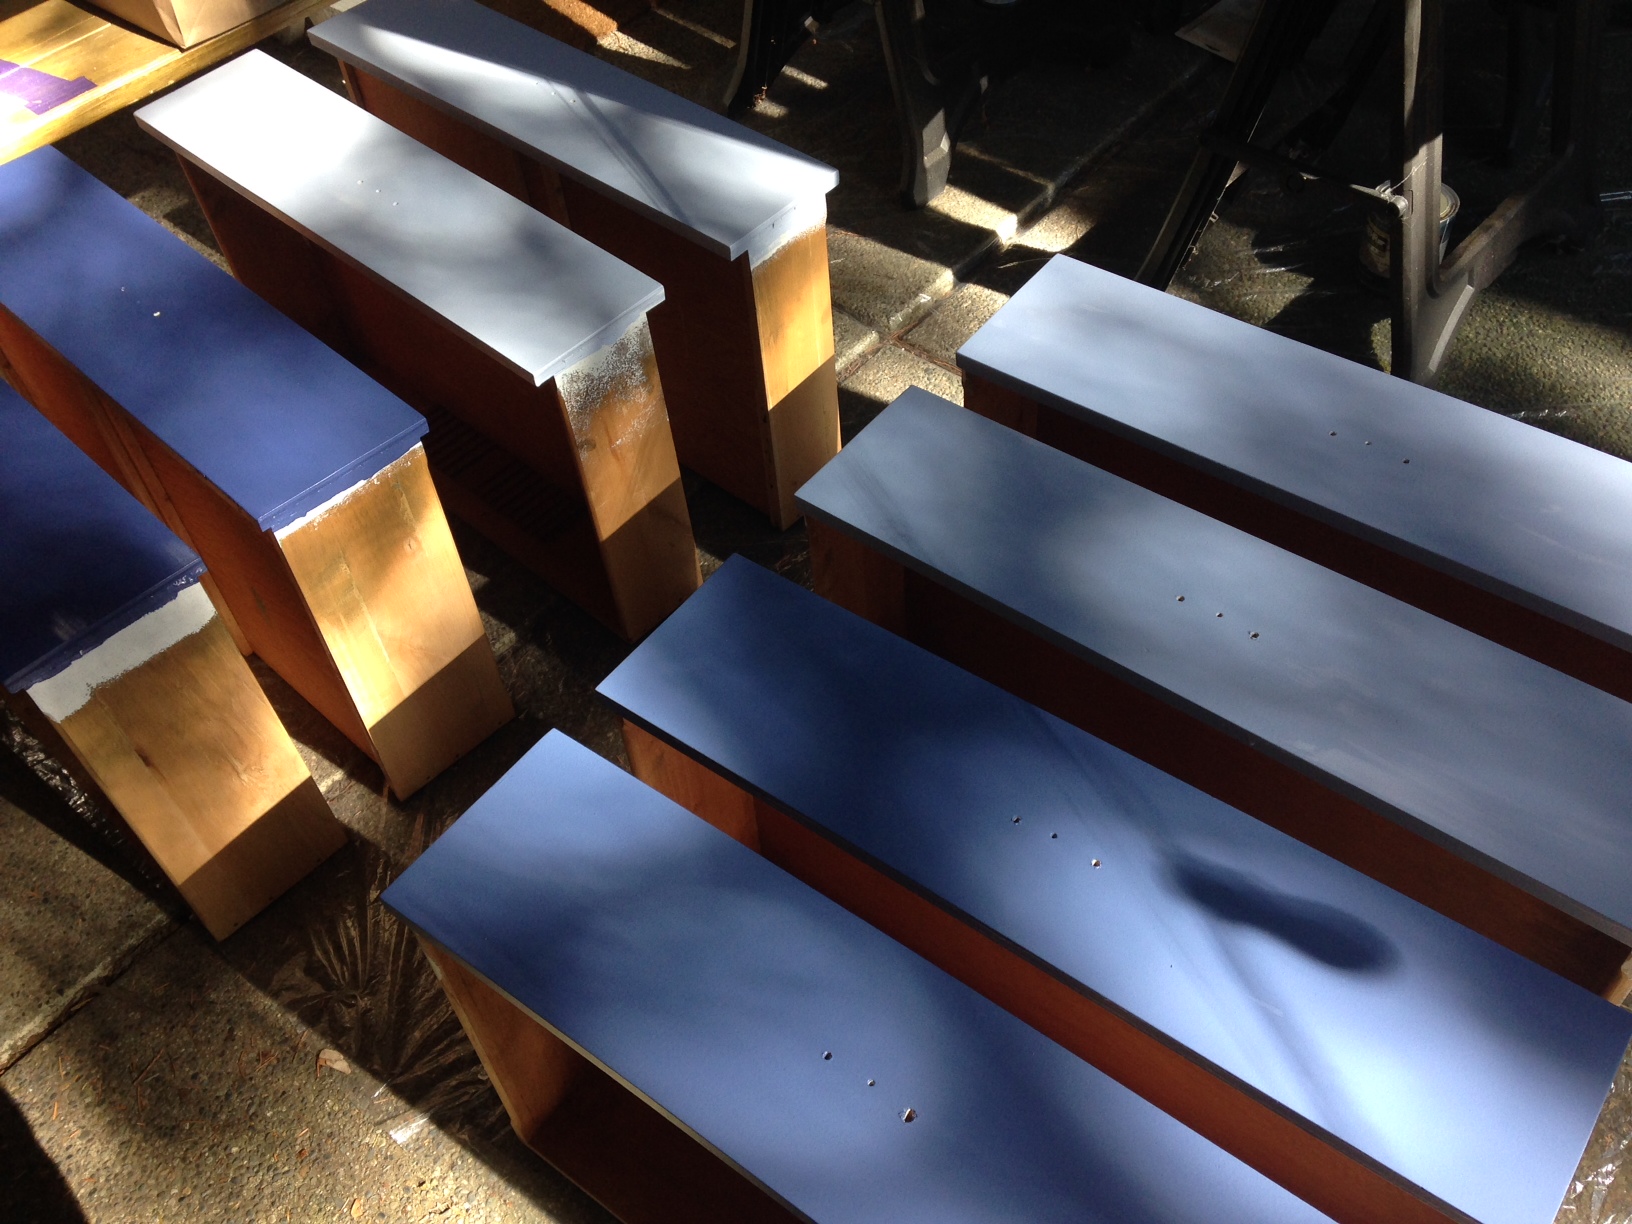
Once they were dry I spray painted them a glossy white and Brandon used leftover stain to make the plaques a uniform color. I used ample hot glue to adhere the busts to the plaques– and voila! they were beautiful! I originally tried to adhere them with super glue and that didn’t work out. Hot glue was the way to go.
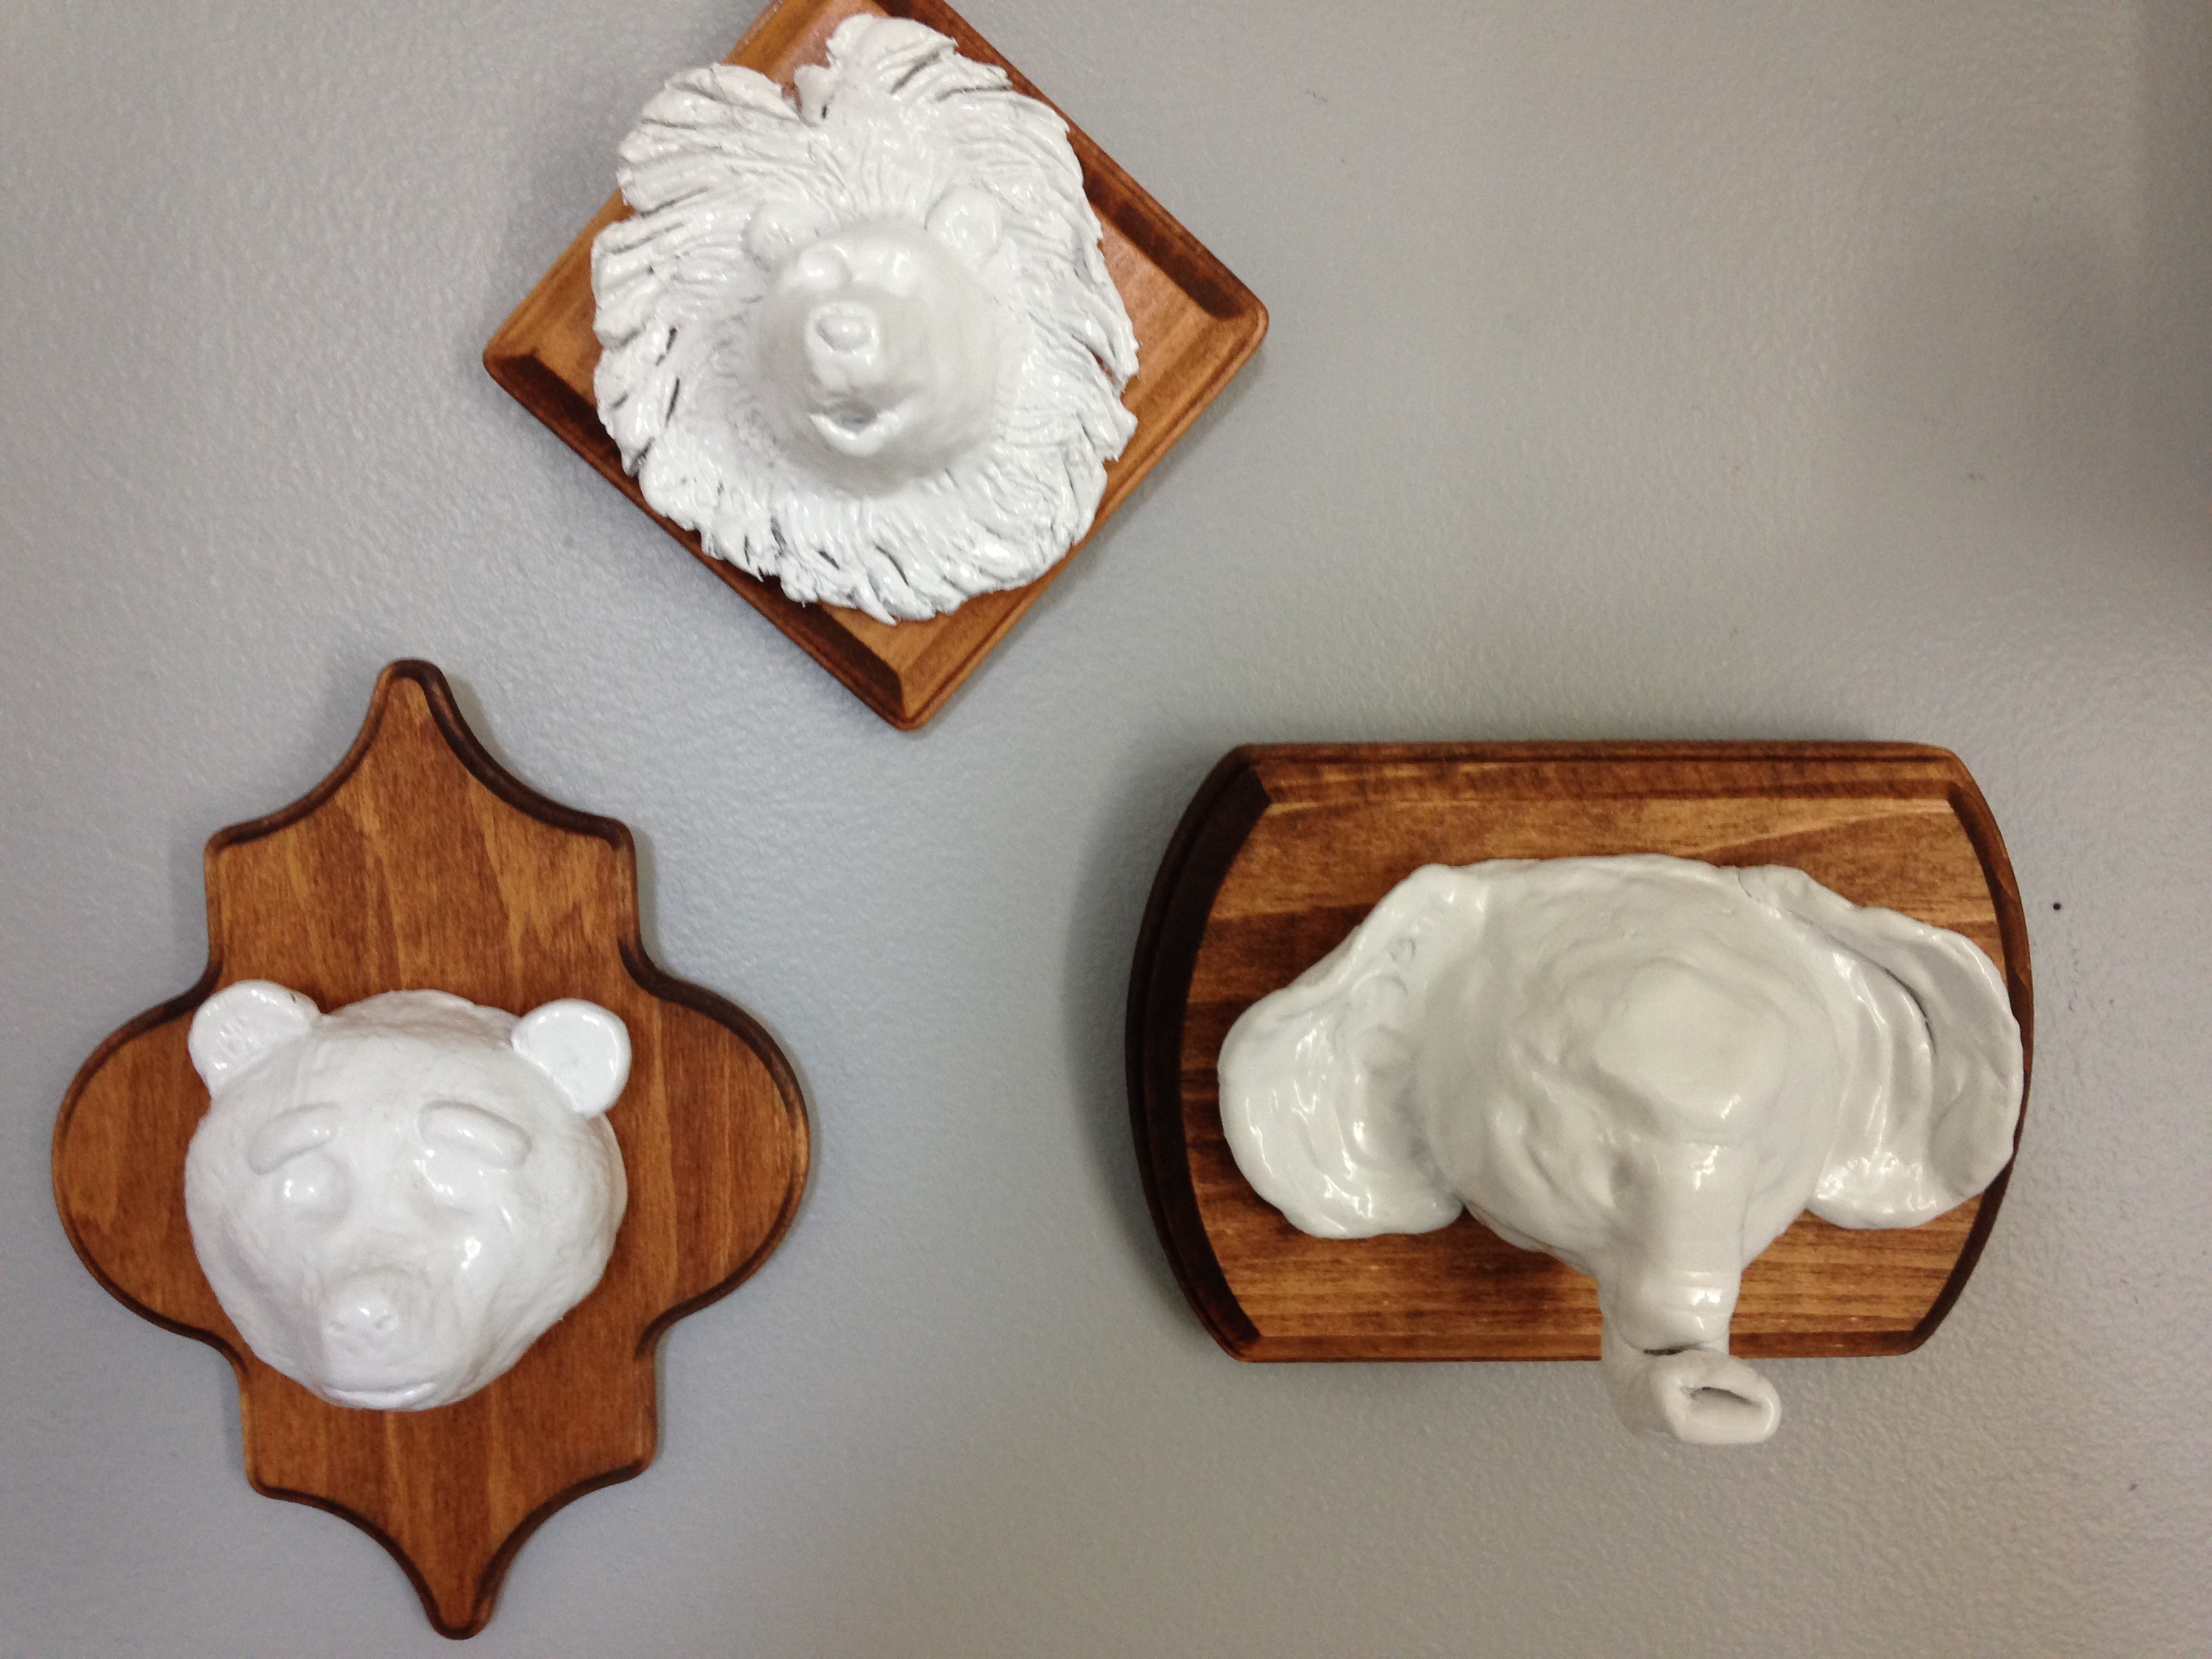
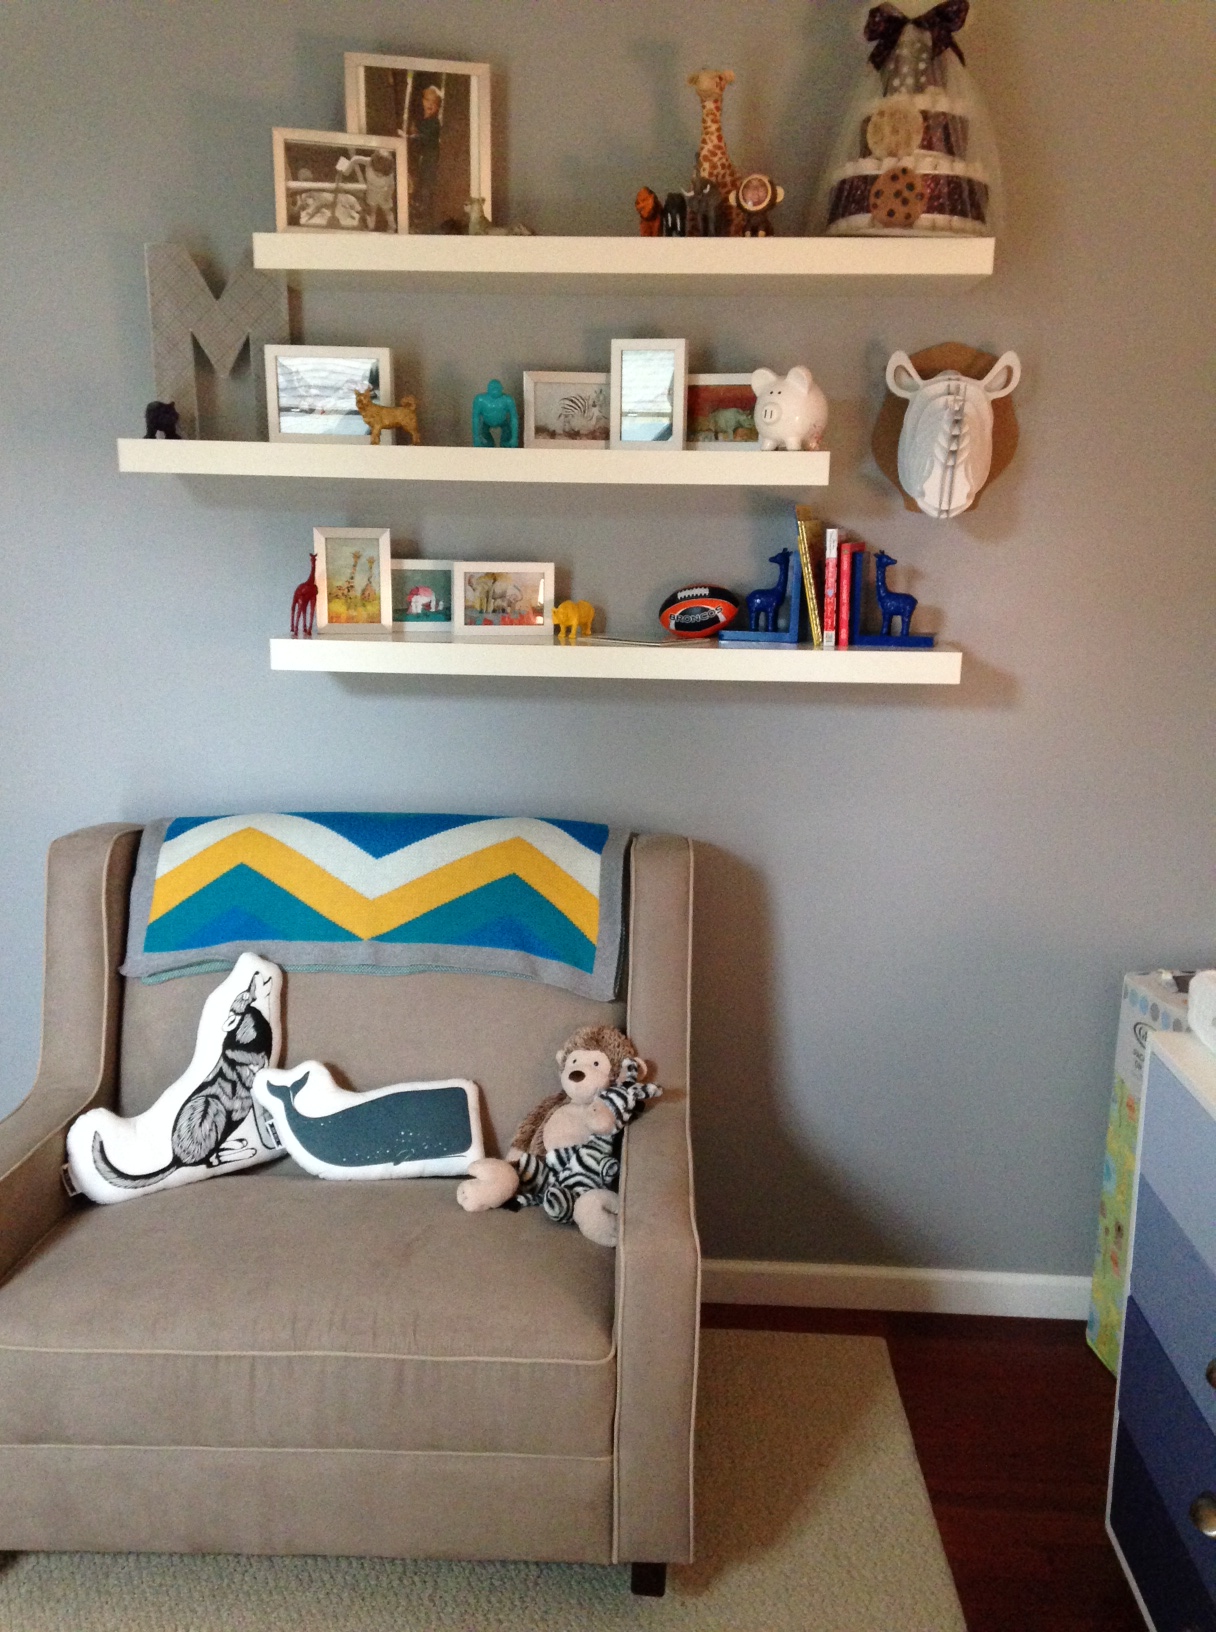
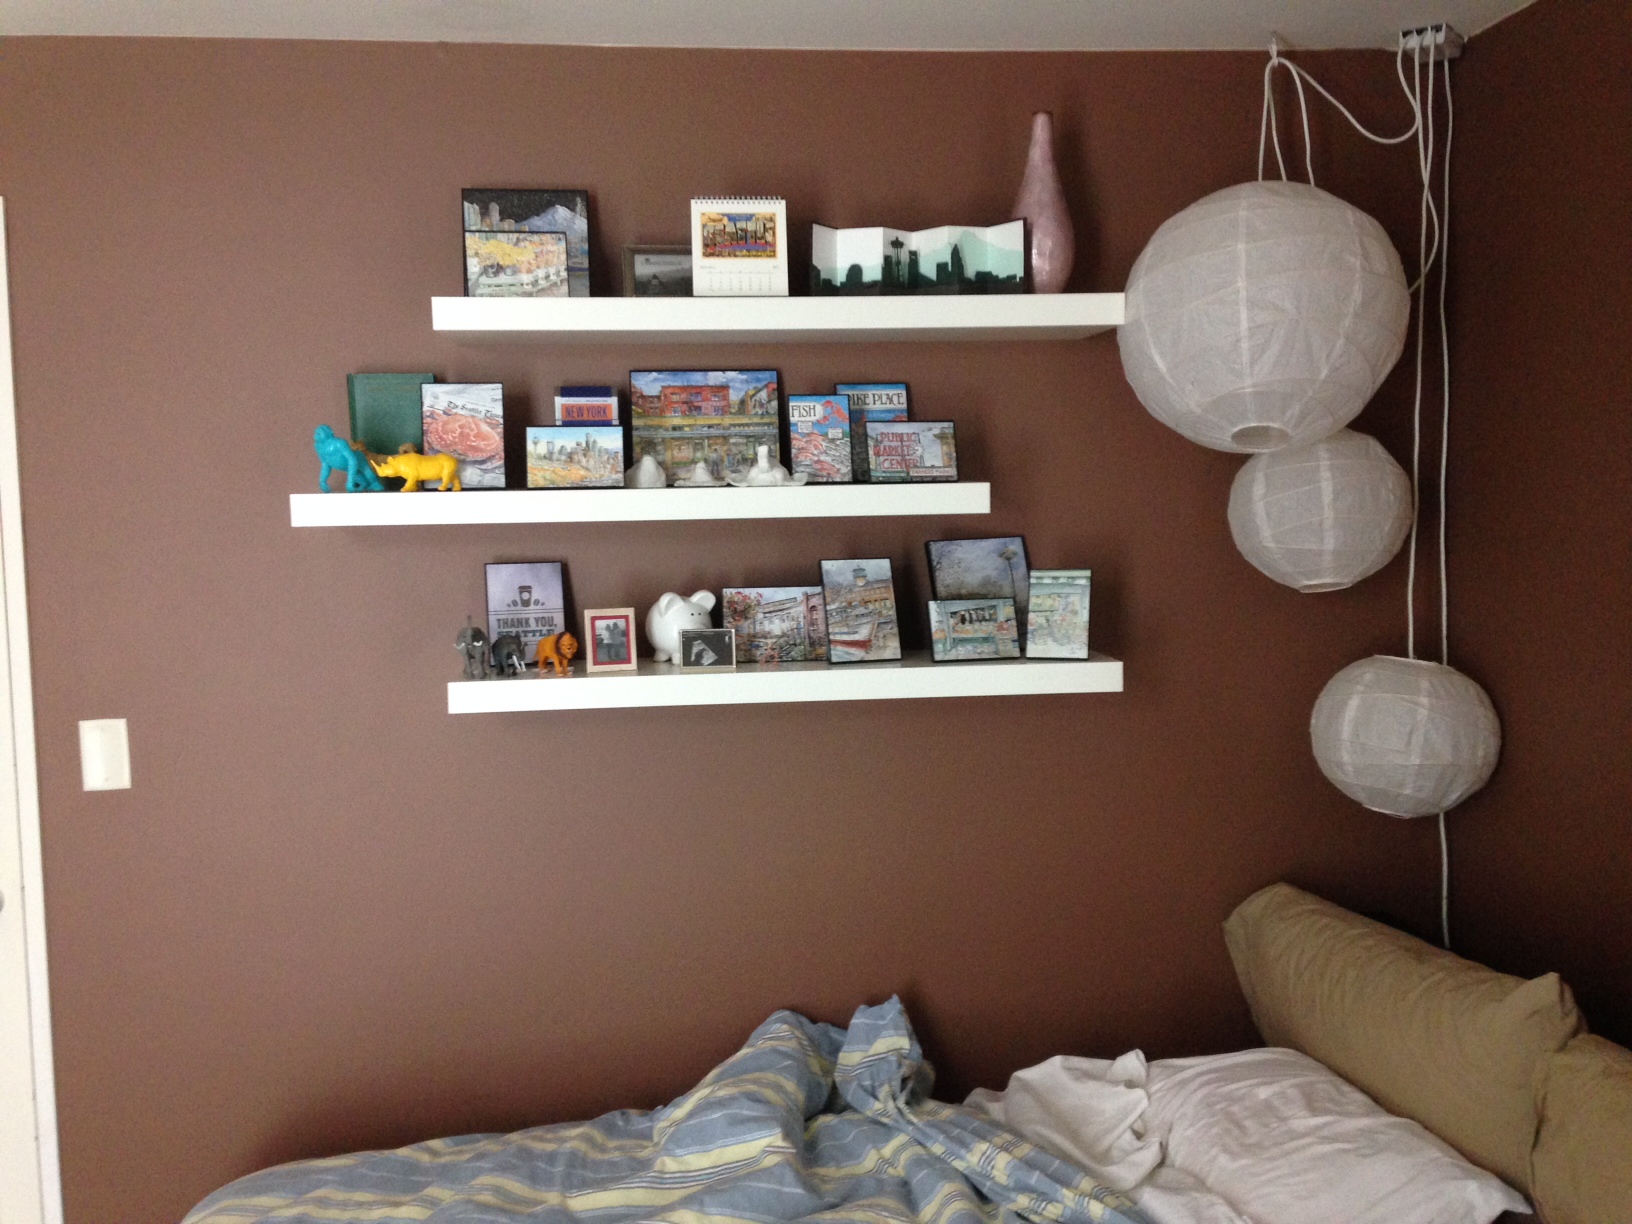
My clay animal busts
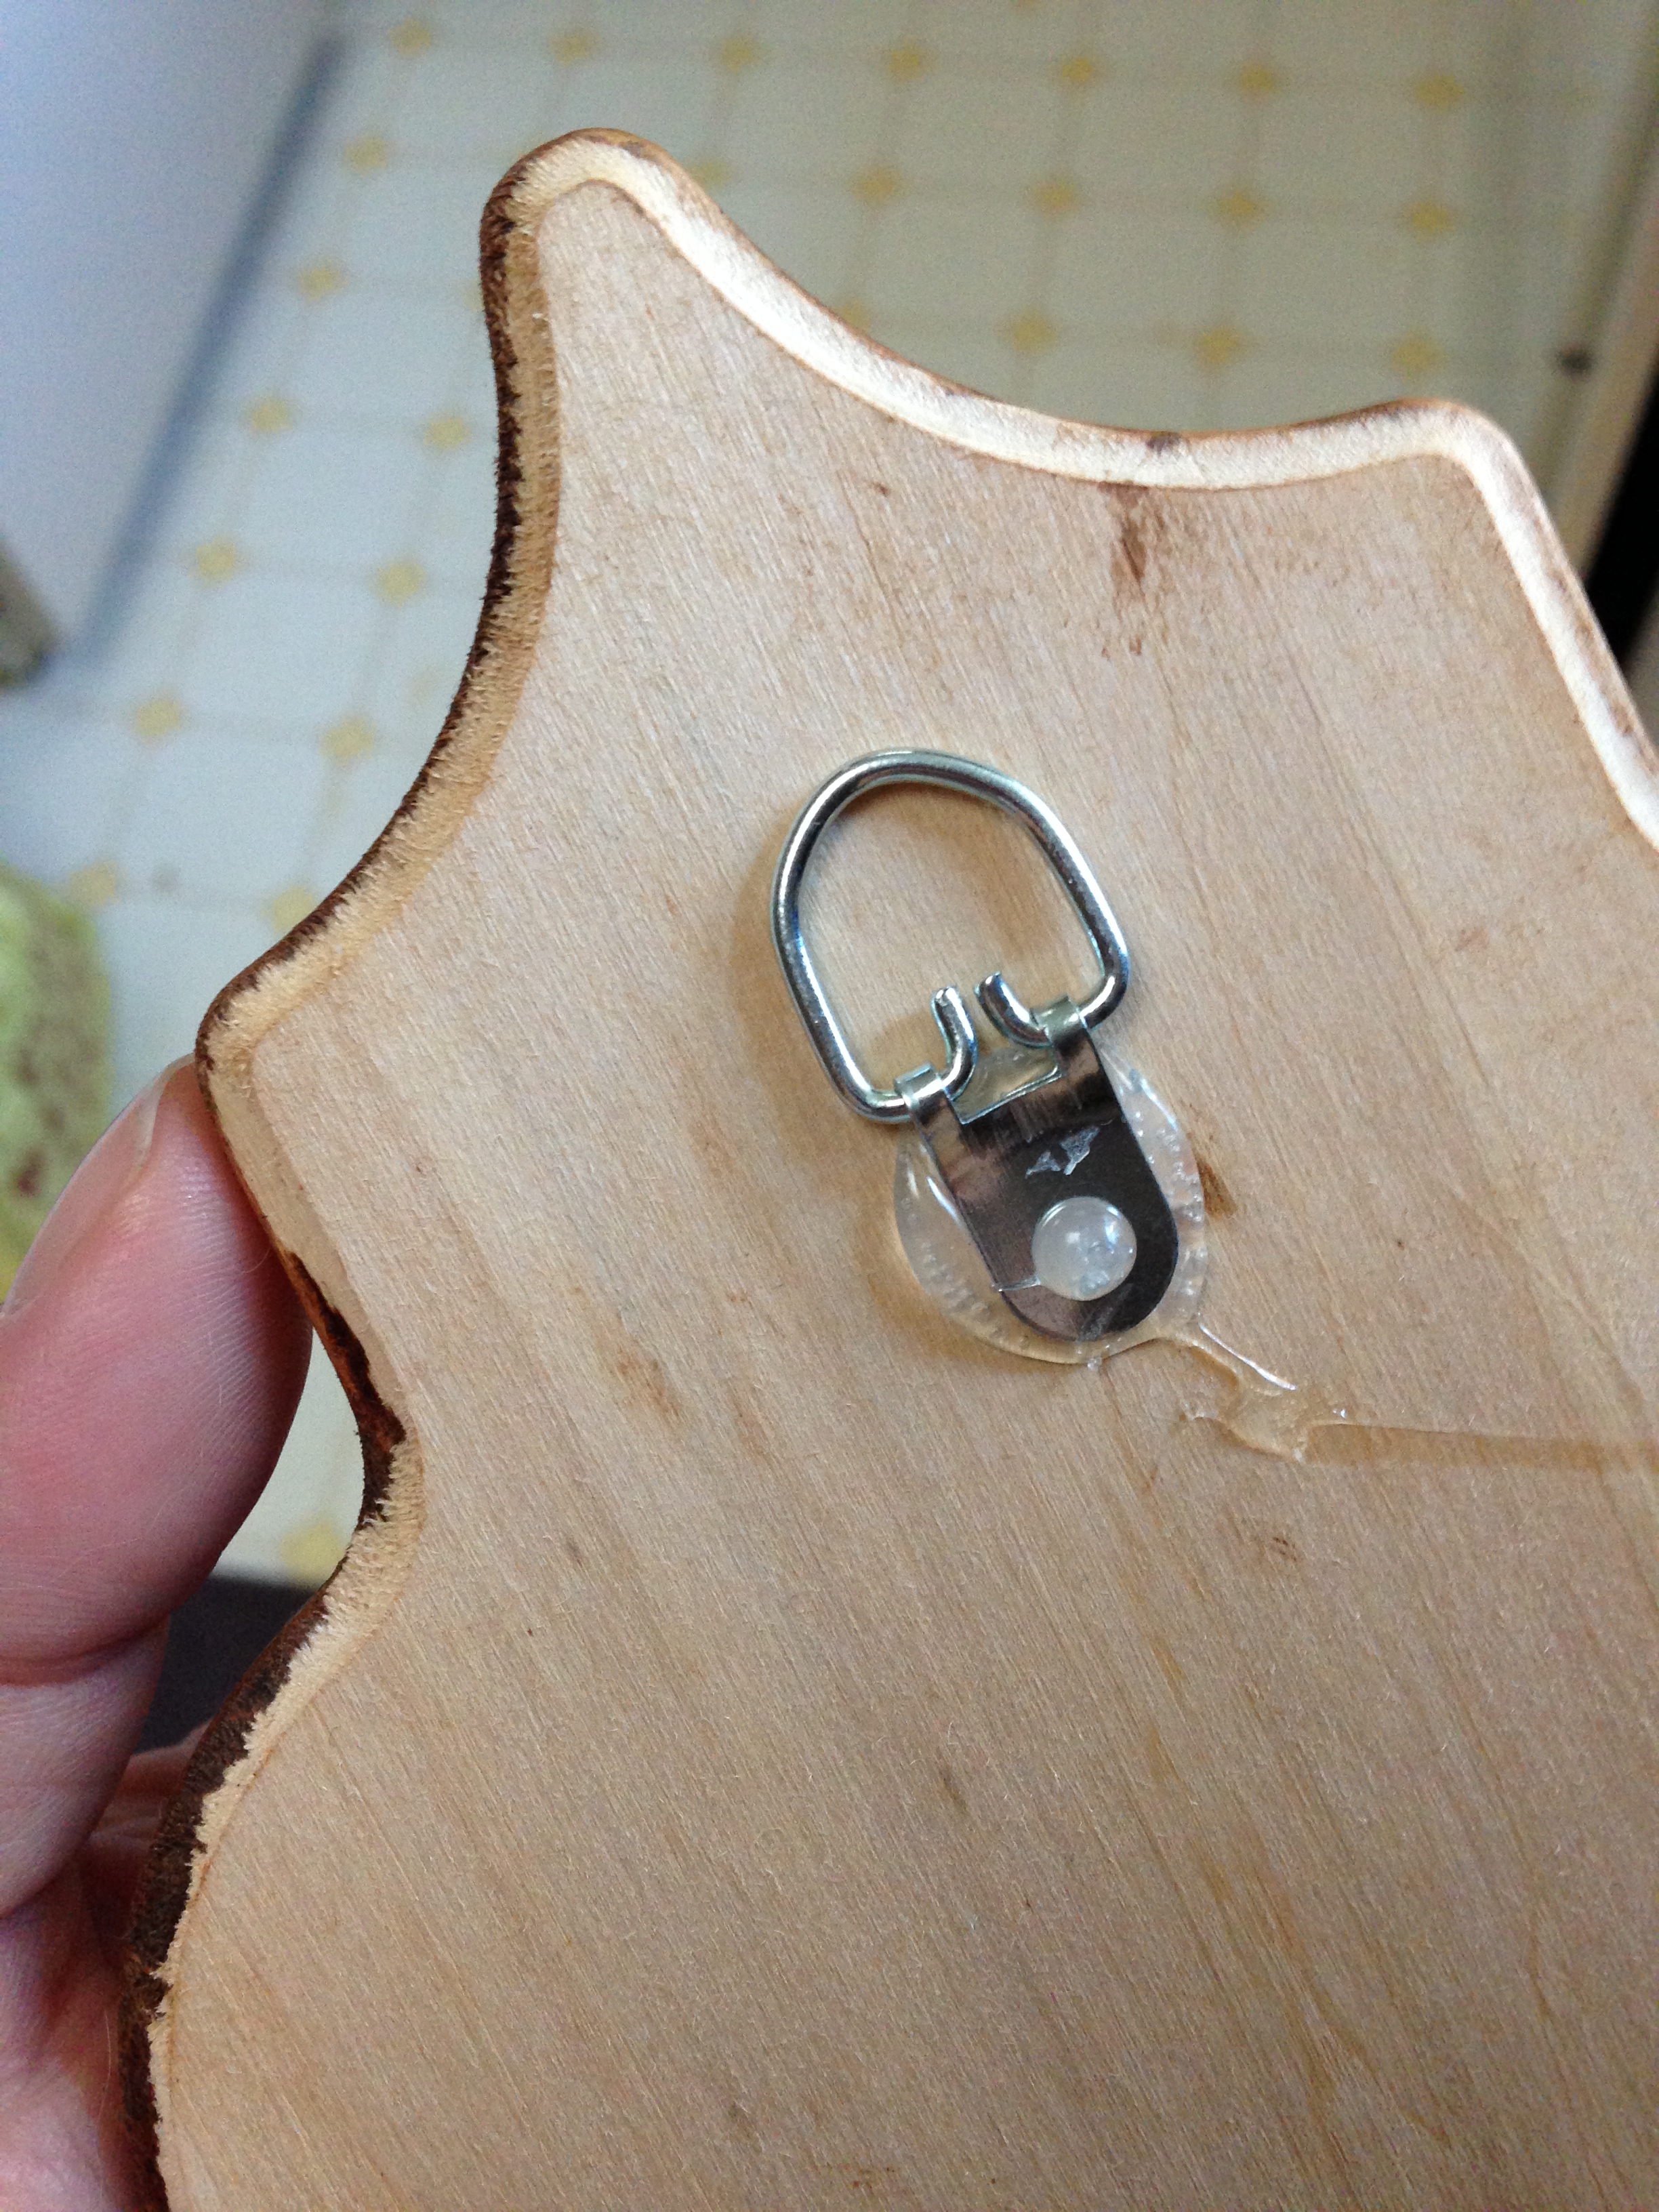
Hanging the busts

Michael and his friends, showing off his clay animal busts. (Sort of)