Cork snowmen ornaments (or wine charms or cute decor!)

Can you believe that Christmas is this week? I certainly can’t. The past four months — well, year, really — have flown by. We did manage to get Michael’s first Santa photo in, and we’ll hopefully visit two more Santas this week. Of course I’ll share the photos soon.

Last week I shared yarn ball ornaments. I have another super easy ornament to share with you: Snowmen wine cork ornaments!

As you know, I enjoy a good wine. As a result, I often have a cork or two on-hand for crafting purposes. (Sometimes I have hundreds of corks on-hand, when I want to make a cork wreath or something.) These little guys are so cute and so easy.

Wine cork snowmen!

Wine cork snowmen!

Gather your supplies:

  • Cork(s)
  • A block of orange Fimo or Sculpey modeling clay from your local craft store (The only difference that I’m aware of is that Fimo used to be hard before you warmed it up by sculpting with it. Sculpey has always been soft from the get go. Now they’re pretty much the same.)
  • Screw eye (also available at your local crafts store — in the jewelry-making section — or at your local Home Depot of Lowe’s.) These are one per ornament, so buy the appropriate amount.
  • Black Sharpie pen or black paint pen
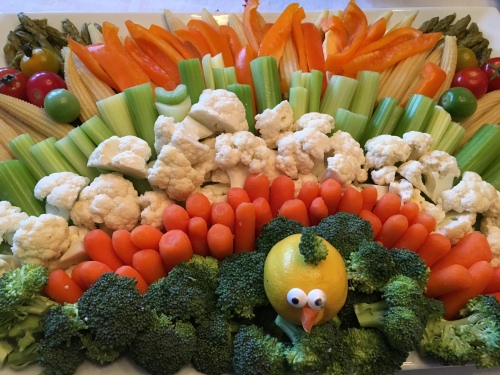
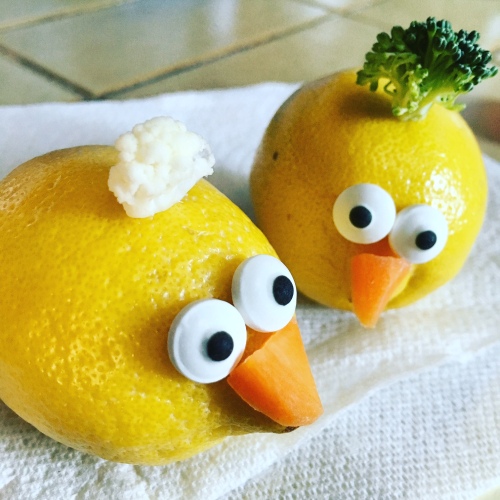
  • Super glue (possibly already on-hand from your Thanksgiving appetizer platter making!?)
  • Toothpick
  • Ribbon (optional)

Instructions:

1. First, roll out the carrot noses. Mold the clay with your fingers to the appropriate size. Mine are approximately 1/2″ long and 1/8″ thick. I roll mine a little wider on the base, to look more like a carrot. I also use the toothpick or my fingernail to add some lines. I sculpt the base of the carrot against the pad of my finger, so it’s a little rounded, matching the curvature of the cork. (This will help with the gluing in step 3.)

Sculpt the noses

Sculpt the noses


"Carrot" lines

“Carrot” lines

2. Bake the noses per the instructions on the clay. I overcooked my first batch, so watch them carefully and err on the side of under cooking them. They will burn, turn color, and stink up your house for days if cooked too long.

3. Once the clay has cooled, add a dab of super glue to the base of the “carrot” and attach to the cork. You’ll need to hold it there for 10 seconds or so, to secure it.

4. Use the Sharpie to draw on the eyes and mouth of your snowman. You don’t need mad drawing skills for this as you’re drawing circles. (Like I said, so easy!)

Snowmen in process

Snowmen in process

5. Screw the screw eye into the top of the cork.

6. Add a decorative ribbon if you’d like. Your new cork snowman can double as an ornament or as an accessory to a bottle of wine you’re gifting friends or family. Or, you can just set them out since they’re so dang cute.

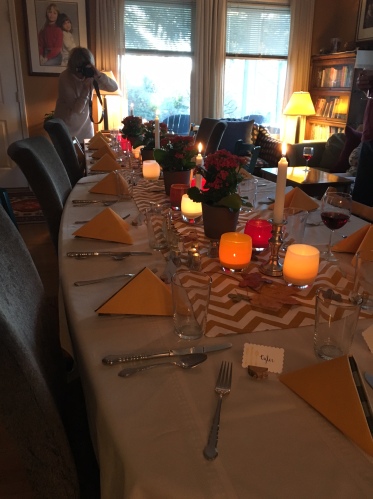
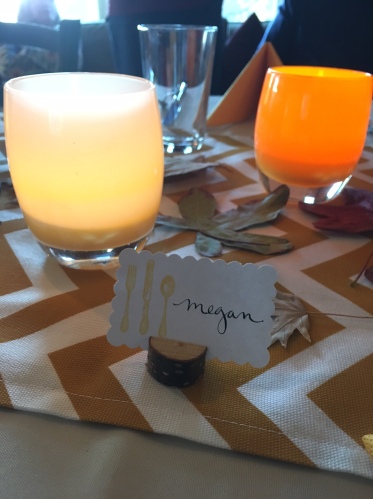
The possibilities are endless with these cuties. You can omit screw eyes and instead slice the top of the cork and turn these into place card holders! (Be sure to slice at an angle, which I didn’t do.)

Ornaments OR place card holders! All ready for Christmas!

Ornaments OR place card holders! All ready for Christmas!

Now, open a bottle of wine so you have a cork for this fun project!

I hope you have a great week! Now I’m off to brainstorm 2016 resolutions. Anyone have any ideas for me? Please share!


Yarn ball Christmas ornaments

With Christmas in only 10 days (!!!) I’m excited to share a Christmas ornament that is so easy, so cute and so perfect for anyone who knits or crochets or has a love of yarn. As I type this, my mind is going crazy with ideas about how to make this more cat-centric, it could even be a gift for the crazy cat ladies in your life too. (No judgment, I’ve been a proud crazy cat lady for 10+ years!)  I made four of these last year, and found the idea on Pinterest. (I love Pinterest!)

Yarn ball ornaments

Yarn ball ornaments

First, gather your supplies. A trip to Michael’s or JoAnn’s Crafts will set you up perfectly for this for pretty cheap. Depending on the value of coupons, this could be less than $5 total!

All the supplies you'll need for the yarn ball ornaments

All the supplies you’ll need for the yarn ball ornaments

  • A skein of the yarn of your choice (Yes, I looked up what that was called!)
  • A package of the ornaments you want to cover
  • Wood beads
  • Skewers (any size 6” or longer)
  • Super glue
  • Scotch tape
  • Scissors

For the needles

  1. Select pairs of wood beads that are similar colors.
  2. Cut sets of skewers (if necessary) in similar lengths
  3. Apply super glue to the inside of the wood bead. You could probably also use hot glue, but the hot glue might get everywhere. If you do use super glue, be very careful about applying the glue and having it unknowingly seep drip through the beads and onto your fingers. It glues very securely and very quickly! (Yes, I speak from experience!)
  4. Hold the end of the skewer flush with the outside of the wood bead, to make it look like a knitting needle.


Yarn ball ornament "needles"

Yarn ball ornament “needles”

For the yarn balls

  1. Start the yarn ball by taking the gold or silver “topper” off of the ornament. (It’ll be returned once the yarn has been applied)
  2. Take a piece of tape and tape the end of the yarn onto the ornament.
  3. Start wrapping the yarn around the ornament. And keep wrapping…and wrapping…and wrapping…and wrapping… But seriously, switch up the direction from time to time and wrap the ornament until all of the glass is covered and it looks like a ball of yarn.
  4. When you’re nearing the end, simply cut the yarn and tuck it into a previously-wrapped section.
  5. Put the topper back on, lace the “needle” through the yarn and your finished product is ready!
First thing first. Starting the ornament.

First thing first. Starting the ornament.

Wrap, wrap, wrap.

Wrap, wrap, wrap.

More last-minute Christmas present ideas to come! Have a great rest of the week!

Thanksgiving {2015}

With the excitement of the holidays and a newborn who isn’t fond of napping, my posts are a little delayed these days. But, without further ado, some photos from this year’s Thanksgiving extravaganza.

First, we’ll start with our little turkey. Michael sported a Babies ‘R Us onesie and was a champ. He met my extended family, in town from California, and even decided to nap a wee fit, obviously exhausted from the festivities.

Our little Thanksgiving turkey

Our little Thanksgiving turkey

Not knowing how much time we’d have to prep a dish for the celebrations, we brought appetizers. I was able to find the time (no more than an hour required!) to prep not one but two platters.

I took inspiration from my platters from 2013 and 2014 and created an antipasti tray and vegetable platter.

Thanksgiving antipasti tray

Thanksgiving antipasti tray

Thanksgiving vegetable tray

Thanksgiving vegetable tray

The “turkey heads” are easy to make. Start with a smallish lemon with a bit of a stem nub. Then, whittle a carrot beak and glue it, a “hat” and some candy eyes onto the turkey with super glue. Hats can be anything from a radish top, broccoli, cauliflower, or something inedible too! Once you have your hat, make sure both of the surfaces are dried off, to the best of your ability. This will help the glue stick.

Thanksgiving platter turkey "heads"

Thanksgiving platter turkey “heads”

The trays are easy to create as well. A quick trip to the store a couple of days before the holiday will suffice, with about an hour of “construction” time the morning of the holiday:

The antipasti platter: 

  • Cured meat three-pack from Costco
  • ~1 lb Beecher’s Flagship cheddar cheese (Costco)
  • A wheel of brie (Costco)
  • Trader Joe’s new four-olive medley
  • Marinated mushrooms (Trader Joe’s)
  • ~1 lb of reduced fat smoked gouda (Trader Joe’s)

The vegetable tray: 

  • 1 head of broccoli
  • 1 head of cauliflower
  • 1 bag of baby carrots
  • 1 orange pepper
  • 2 cans of whole baby corn
  • 1 can of asparagus
  • 1 heart of celery
  • A couple of tomatoes
  • Not pictured: Fat-free sour cream with the Hidden Valley Ranch powder packet mixed in. (My favorite veggie dip!)

Here is a photo of the table, with my Aunt capturing the spread from a different angle. It was fun having such a large group (19 people!) to celebrate the holiday!

Our Thanksgiving set up

Our Thanksgiving set up

I also put my new modern calligraphy skills to use (did I tell you that I recently took a class with some girlfriends and discovered a new talent!?) and made place cards for the dinner. Don’t they look nice? I’m so impressed with myself– and clearly very humble!

Place cards by me!

Place cards by me!

I hope these inspire you to make a meat and cheese or veggie platter next Thanksgiving. Now I’m off to help Christmas explode all over our house! Photos to follow!

Halloween preparations on Megan’s Island {2015}

2013-10-31-Halloween1

Man, this baby vacation is flying by and I’m not doing nearly the amount of fun festive crafting and blogging that I had hoped I would be! I had grand plans of decking the house (and the kid) out for Halloween, but I’m nowhere close. Alas, he’s worth it — and I followed through on decking him out!

Michael & Beary Goldberg: best friends!

Michael & Beary Goldberg: best friends!

BOO! It's Michael!

BOO! It’s Michael!

First things first, I found a bottle of wine for Halloween: the 2013 Dearly Beloved Forever Red. There are many bottles out there and this one matches Michael’s skeleton costume the best, so I had to have it. Plus the price was right at under $10.

Skeleton baby & skeleton head wine!

Skeleton baby & skeleton head wine!

I’ve seen lots of Halloween-y wines at QFC and Trader Joe’s, and here are some wine-specific candy pairing ideas I found this year. If wine isn’t your thing, VinePair had some great Halloween Candy/alcohol pairings last year. Read my post here.

For a festive dinner, I’ve been scouring Pinterest during middle-of-the-night feedings and have settled on a “scary” lasagna. I opted for this “Cheesy Brussels sprout lasagna” with a scary face topping. I’m hoping it looks like this, but without the red sauce:

Scary lasagna!

Scary lasagna!

Last year we made a zombie meatloaf (this is awesome, delicious, gluten-free, and quick and easy, if you need an idea!).

Turkey meatloaf zombie

In 2013, we made squid ink pasta with “brain” sauce.

Spooky Halloween Pasta | Megan's Island Blog

For more Halloween ideas, check out my Pinterest “Halloween Inspirations” board. So many great ideas that you could even do on short notice for this year!