Winter decomposition

It was just a few short months ago when our backyard looked like this:

Fall shade garden | Megan's Island Blog

Backyard shade garden, circa summer 2013

With the rain and wind and the changing of seasons, our yard now looks like this:

Fall shade garden decomposition | Megan's Island Blog

Looks like we traded UW Husky flamingos for hostas! 

Fall shade garden | Megan's Island Blog

A few weeks and showers later… It’s almost a winter shade garden

Where did all of those beautiful hostas go!? I know from previous experience that hostas die back in the winter, so I was prepared for the decomposition and their disappearance.

In fact, I’ve taken my sweet time planting most of these hostas and have had them in their pots for years. This is how it usually goes: Clean up the yard in the spring, look at the empty pots as I’m taking them out to the yard waste bin, see new plants sprouting! So, they stay in their pots another year. Summer 2013 was a big time for us in that we actually freed the hostas from their pots and planted them!

2013-11-17-Hostas-in-pots

Knowing that the hostas and a few of our fern varieties will disappear until the spring and that I’ll forget where I planted them, I bought some golf tees (~$5 for 100 of them from Target) to put in the ground, so I’ll know where not to plant next spring.

Here’s how it looks:

Golf tee hosta markers | Megan's Island Blog

Pretty inexpensive solution, right? As your fall gardens start to decompose, I encourage you to get some golf tees of your own to help with your spring planting.

Happy planting and decomposition!

Great Plastic Pumpkin Hack of 2013

You know IKEA hacks, right? They typically involve taking a generic, common product and customizing it. I took my own advice and did a last minute, DIY “hack” over the weekend, but not with a table or dresser from IKEA. Instead, I hacked one of those cheap orange pumpkin candy holders from Target.

My pumpkin hack was quick and dirty and I learned quite a bit as I went. I took my pumpkin straight from the store to my spray-painting station– a cardboard box on the back patio. Why was this wrong? I didn’t prep the pumpkin properly, so the paint didn’t really stick and there were a few places where the paint actually peeled straight off. I should have either wiped the surface off with rubbing alcohol or sprayed a coat of primer on, or both. Alas, hindsight is 20-20. And the pumpkin will be just fine for this year. Maybe I’ll hack it again next year, doing something completely different!

Once the pumpkin was painted with a few light coats of Rustoleum’s metallic black spray paint, I took a gold paint pen and filled in the “carved” portions of the pumpkin: the eyes, nose and mouth. While I was spraying the pumpkin, I used my metallic gold spray paint and sprayed “stretchy spiders” (that’s what Target calls them…) Once those were dry, I used hot glue to adhere them to the pumpkin. Another lesson here: it only partially worked: two spiders stayed adhered, two didn’t. I’ll be applying super glue to the difficult ones shortly. Hopefully they will cooperate.

Finally, I snipped off the boring black plastic handle and replaced it with a sheer gold ribbon that I found in the basement. I had just the right amount, which means that it really was meant to be.

So, what do you think of the Great Plastic Pumpkin Hack of 2013?

Plastic pumpkin hack | Megan's Island

Finished product!

Plastic pumpkin hack side view | Megan's Island

Oooh! Scary! Gold spiders in search of treats!

Of course you want to know what’s inside, right? We’ve got: Junior Mints, Whoppers, Snickers, Reese’s Pieces, Reese’s Peanut Butter Cups, Hersey’s milk chocolate and cookies ‘n cream bars, and Twix bars. All of our favorite things! Thankfully Megan’s Island sees very few trick-or-treaters, so most of that deliciousness will be kept for us.

Plastic pumpkin hack CANDY | Megan's Island

Nom. Nom. Nom. Think we’ll be able to save some candy for Thursday? Me neither.

Total cost for the great pumpkin hack?

  • Plastic pumpkin: $1 (Target)
  • Plastic spiders (4-pack): $1 (Target)
  • Spray paint of your choice: ~$4/can (I always use Rustoleum)
  • Paint pen: Varying costs, depending on what you get
  • 12″ of Ribbon
  • Hot glue (and then crazy glue)

Total for me: $2 and ~ 10 minutes of hands-on time.

{Gone pinning} Last-minute Halloween decor

GonePinning

So…did you realize that Halloween is in six days? Six days! If you’ve been as busy as I have, it’s possible that October zoomed right by and this weekend is your last chance to dress up your house for the holiday. Without further ado, here are some of the best last-minute, low-energy, no-creativity-needed DIY decorations ideas for Halloween. Check out all of my Halloween inspirations over on Pinterest.

Here, I’ll even give you the link to a JoAnn’s crafts coupon. Now there is no excuse not to celebrate:

Some red paint and a new shower curtain and bath mat make for a very Halloween bathroom.

Some red paint and a new shower curtain and bath mat make for a very Halloween bathroom.

Broom? Check. Three witch hats? Check. Some string to hang them from? DONE! Perfect for the entryway or a Halloween photo booth

Broom? Check. Three witch hats? Check. Some string to hang them from? DONE! Perfect for the entryway or a Halloween photo booth

Classy, easy-to-make "wicked" candles.

Classy, easy-to-make “wicked” candles.

Possibly the cheapest napkin holders ever... Eight vampire teeth for $1 at Target

Possibly the cheapest napkin holders ever… Eight vampire teeth for $1 at Target

Wreath + hot glue + snakes + spray paint = Perfect, scary wreath

Wreath + hot glue + snakes + spray paint = Perfect, scary wreath

Cheesecloth + styrofoam heads + fabric stiffener. I bought the supplies for this project years ago. Maybe this year I'll actually make them!

Cheesecloth + styrofoam heads + fabric stiffener. I bought the supplies for this project years ago. Maybe this year I’ll actually make them!

More cheesecloth and fabric stiffener. He's just so cute mummified! (And then maybe sprayed with glow-in-the-dark paint!?)

More cheesecloth and fabric stiffener. He’s just so cute mummified! (And then maybe sprayed with glow-in-the-dark paint!?)

{Wine Wednesday} Party pumpkins

WineWednesday

Holy cow!! Look at what I found while cruising the interwebs earlier this week: the best party accessory ever (besides a pinata, of course): A pumpkin keg! Yes, it’s not wine per se, but it’s booze-related and it’s awesome and technically if you wanted to fill the pumpkin with wine, you totally could. Or cider or something non-alcoholic, the possibilities are endless!!

2013-10-16 Pumpkin keg

This tutorial is taken from Celebrations. Watch their video tutorial here.

SUPPLIES

  • One large pumpkin
  • Marker or pencil
  • Carving kit
  • Plastic Spigot (aka tap)
  • Lots of Sam Adams Octoberfest beer
DIRECTIONS

Step 1: First, draw a ring around the top of your pumpkin. This will be your guide to carve the lid. Try to keep this pretty close to the top of the pumpkin so you optimize the hollowed out space that will hold the beer.

Step 2: Once that’s done, carve it! If you’re sans carving kit you can use a serrated knife. Whatever your tool of choice, poke it in at an angle and work your way around the ring.

Step 3: Pop the lid off once you’ve gone all the way around and clean out your pumpkin. Make sure you get all the seeds out and most of the pulp, but don’t worry if some of that’s left behind since it’s responsible for flavoring the beer.

Step 4: Now, find the spot where you want to place your spigot. Using your pencil or marker, trace around the rim once you’ve decided upon the spot. Cutting the hole here will require a pretty fine serrated knife, so the carving kit proves really worthwhile at this point.

Make the hole as clean cut as possible, then pop in your spigot. If your pumpkin is as thick as ours was you’ll have to thin out the pumpkin’s inner wall to fit the spigot properly. Don’t be afraid to dig in – the pumpkin can take it.

Step 5: Once your spigot is secured, you’re ready to go! Pour in your Sam Adam’s Octoberfest (because that IS the official beer of fall as far as we’re concerned) and pop the lid back on your pumpkin.

Step 6: Celebrate fall and all your hard work with a cold brew from your pumpkin keg!

————————————-

The possibilities are truly endless on this project. I am headed to buy a spigot right now for seasonal gourd/watermelon drinking fun. Have a wonderful, festive Wine Wednesday!!

Hello, fall.

Fall Flowers It’s officially here: fall, my favorite season. How did I celebrate? I set my DVR for this week’s new shows, watched football, napped with the cats, bought some very fall-colored flowers, shopped for Halloween and Christmas (yes, I’m crazy) crafts and gifts, busted out my slippers, oh, and I did some spring fall cleaning.

In due time I’ll share my holiday crafts (they’re really good!) and in the meantime, here’s another necessary life tip that I found on Pinterest: getting that stank out of your towels. Our first necessary life tip was a solution for fruit flies. If you have a fruit fly issue, do this. You’ll thank me. I promise.

Our second anniversary is coming up on Tuesday and I was worried we were going to have to our fancy, still soft and cozy towels, because of their “funk.”

Towel recharge via PinterestWe’ve tried bleaching the white towels and that sort of works, but we were at a loss for how to un-funk the green ones.  So, I searched “towel smell” on Pinterest and about one million results came up, all pointing to one solution: vinegar and baking soda.

I gathered my supplies and threw our towels into the washer this afternoon I just pulled them out of the dryer and… drum roll please… IT WORKED!

Add this to your to do list, if your towels need some rejuvenation. I couldn’t be happier and I’m totally going to wrap these up for an anniversary gift for Brandon. Cotton is cotton, right!?

Have a great week!  (I’m off to shower and use our better-than-new towels!)

Finishing the foyer

FINALLY: a DIY craft project to share with you! We’ve been so busy with finishing the backyard (which will never be fully ‘done’) and the pizza oven (which is oh-so-close to being done) that I’ve been totally slacking on the ‘everyday’ crafts and fun projects for inside the house. I guess that happens with summer, right? We’ve got to take advantage of the nice weather when we’ve got it.

Before our big backyard debut/patio-warming party, I had a few projects that I wanted to finish on the inside of the house. Some of them were finished, and for the others, I printed out over-sized band aids with “Work in progress” written on them. (More than a month later we still have some up and … I kind of like them!)

One of the more important projects on my list was the foyer. It’s remained mostly un-touched since I moved in, more than five years ago. It was time for a re-fresh. In my mind, the re-fresh was easy: throw some paint on the walls, build a new table for the landing and think about other decorations. Turns out, that was a bit pie in the sky.

I had wanted to try and make a table similar to this one from Room & Board. The more I thought about the table, the more I realized that it wouldn’t be right for that space. (Especially since Jack likes to use the table in that spot as a shortcut up the stairs.) If I made a table as tall as the Room & Board one, it would topple over on a regular basis. So, I had to re-think my idea.

It just so happened that right around that time, my Grandma was downsizing and getting rid of some furniture. It was just my luck that one of the pieces she was getting rid of was perfect for our foyer!

Tada! Our new entryway

Tada! Our new entryway

Once we had the base in place, I needed something to go on top of it. I spent some quality time with a girlfriend searching at the Goodwill (my favorite is in Bellevue, WA) for a tray or some sort of inspiration. I ended up finding a little ceramic dish, but it doesn’t look right. It’ll be used for another project. Instead, I discovered some inspiration at Marshall’s in the form of a mail tray lined with decorative nail heads. The tray wasn’t right for our space, but, it gave me a general idea and I was off to JoAnn’s, to get the tools so I could make the perfect tray myself!

Assuming you have all of the necessary tools, making a tray like this is super easy. (I don’t have the proper tools, but my parents do, so I headed over for a quick visit…)

Nail-head trim tray

Tools needed*

  • The shortest, cheapest 8″ wide piece of shelving you can find (I used an MDF board)
  • One long piece (about 6 feet long) of 1.5″ MDF trim (slightly rounded on one side)
  • Gorilla Wood Glue
  • Nail gun and small nails (courtesy of my Dad)
  • Miter saw (Thanks again, Dad)
  • Spray paint in the color you’d like to paint the tray (I used Rust-oleum Black Metallic, one of my favorites)
  • Packages of nail heads for the trim (I used 4 packages of the 3/8″ size)
  • Rubber mallet for setting the nail heads (it’s gotta be a rubber mallet, not a hammer)

Instructions

  1. Decide how long you want your try to be and cut the bottom of the tray that length.
  2. Measure and cut the trim the length of the tray. Match up the edges and make a 45 degree angled cut, so that the edges of the trim are flush with one another and jointly form a 90 degree corner. If your trim is rounded, make sure that your cuts are consistent and the rounded edges are all on the outside or inside, but not split up.Megan's Island Foyer 2
  3. Place Gorilla Glue (or some other wood glue) in a zig zag/dotted pattern where the trim meets the base. Only do one piece at a time.2013-9-16 Foyer8
  4. The glue should hold the trim on, but I used four small nails on each side, to make sure that the trim was secure. Plus I hadn’t used the nail gun yet and I wanted to try it out. I’m a natural.Megan's Island Foyer 3
  5. Let the glue dry and spray paint your tray. I used some red keg cups to hold the tray up, making sure that I got the base. I used three thin coats.Megan's Island Foyer 5
  6. Once the spray paint is dry, it’s nail head time! The MDF was pretty soft, so I used my thumb to line up and push them in. It worked pretty well. I also kept a large paperclip on-hand, in case I needed to pull one out. Once each row was in place, I hammered them in with the rubber mallet. My lines aren’t the straightest, but I think it adds personality.2013-9-16 Foyer4


*Please note: This tray is mostly for show and is pretty heavy. I don’t think it would be good for moving or carrying items on.

2013-9-16 Foyer1What did I put in the tray? It’s pretty clear in the photo, but I painted a cheap ceramic votive holder that I found on clearance at Michael’s  and some grey IKEA 4″ x 6″ ribba frames that I bought thinking they were black. Oops. But they’re prefect for this spot. And now they’re all GOLD. (I have a problem.) I found some fun images online and printed them on cardstock. The images I’ve got now are great, but I plan on switching them out with the seasons and holidays. The tray is just the right width and the three frames and candle holder fit perfectly.

I also made a cool terrarium with a hurricane we used for our wedding, a pre-historic looking plant that we had growing very tall in the kitchen and a small pot of mixed succulents. It turned out great an cost less than $3!

I need to get back onto Pinterest for un-focused, general browsing and find myself some more crafts! What are you crafting these days? Anything that you think I should try my hand at? Tell me in the comments!

Pizza, Pizza: I can almost taste it!

I’d like to thank Mother Nature for this blast of 80+ degree days this past week: it’s been essential for the progress we’ve made on our backyard oven. (Of course, it would’ve been nice for the rain to have stayed away last week when I was off of work…)

Here it is:
20130912-080607.jpg

Seattle’s nice weather is supposed to continue into the weekend and we’re ready to finish this baby off!

Unfortunately, there are still a few more steps once we’ve finished the brick work. Next, and somewhat weather-dependent, we have to waterproof the whole oven and caulk the major seams and then start building our curing fires.

In advance of the curing fires, we picked up some apple wood last weekend in Central Washington.

Yes, we pulled across the highway for a trunk full of apple wood. Wouldn't you?

Yes, we pulled across the highway for a trunk full of apple wood. Wouldn’t you?

So sometime very soon… It’ll be time for pizza!!

{Gone pinning} Damn fruit flies

GonePinning

2013-9-6 FF‘Tis the season for bugs: mainly spiders but also fruit flies. As a regular reader, you’re familiar with our love of wine. Well, we’re apparently not the only ones in this house who love wine. (No, the cats don’t drink. They’re too young…) The fruit flies also love our wine and tonight it reached a breaking point and we took our problem to Pinterest.

Anyway, Pinterest had some great ideas for us. We chose a pretty easy one with ingredients that we had on-hand. It was 9:30 p.m. on a Friday night… We opted for the “shot glass traps of apple cider vinegar and a teaspoon of dish soap.” AND… it worked!

Please note: we don’t normally have a lot of fruit flies. I’m attributing this surge in fruit flies to the overripe bunch of bananas in the fruit bowl and the unusually humid weather. We’re not dirty people. (Brandon says and he’s always right…)

We still have the note cards (extra two-year old wedding invitations) draped over the glasses to protect our wine and there are still fruit flies overhead, but I’d say we’ve caught/drowned 80 or so fruit flies between the three traps. Per the instructions, we first used a shot glass and filled it with the vinegar and soap. It worked pretty well, especially when we “assisted” and blew the fruit flies on the edge into the death mixture. (Sorry…it was right there in front of us…)

2013-9-6 FF-2

We then took one of our mini pie dishes (from Crate & Barrel, apparently not for sale anymore. I couldn’t find the link…) and filled it with the death mixture. It worked like a dream. I’d highly recommend the mini pie dishes — they’re great for tea bags, random pins and screws and snacks — and this concoction. It’s cheap, easy and effective. That is the winning combination for a successful pin. And that’s why I love this death mixture. Thanks, Pinterest. I can now (almost) drink my wine in peace.

How have you dealt with fruit flies in the past?

Pizza, pizza: We’ve got a ceiling!

We’ve been busy planning for our big backyard debut party this weekend (menus! decorations!) but managed to make some progress on the backyard pizza oven. What do you think?

20130821-082704.jpg

We took out the first round of supports and… It held! I was pretty nervous about it. In fact, I freaked out a bit about not having a “keystone.” As it turns out, you don’t need a keystone if you’re using grout. (Thanks, Dad.)

We got inside the oven (so did one of the cats) and chiseled off some of our grout drips. We filled in the seams on the first bend of the arch and then added the remaining two rows. Ta da!

20130821-082848.jpg

Clearly the oven is on my mind: I designed the entryway in my dreams last night – along with something about Sesame Street, which I haven’t thought about or seen in at least 10 years. I think it was that the letter of the day is “s.” Somebody analyze that and let know. Maybe it means that I need to enjoy a “S”yrah tonight? Anyway, I took some remaining measurements before I left for work and will continue designing it in my head today.

We’ll buy bricks tomorrow after work and hopefully get the firebricks covered by Friday and the forecasted rain. Hopefully it rains just enough to refresh the plants, but not so much that it ruins the backyard’s debut party on Saturday!

Happy wine Wednesday!

Pizza, pizza: We’re making progress…

IMG_5121In anticipation of the great work and progress that Brandon and I are going to make on the pizza oven this weekend, I’d like to give us a hearty pat on the back! (We’re already making great progress and I’m excited to share it with you guys soon!)

Here’s the update:

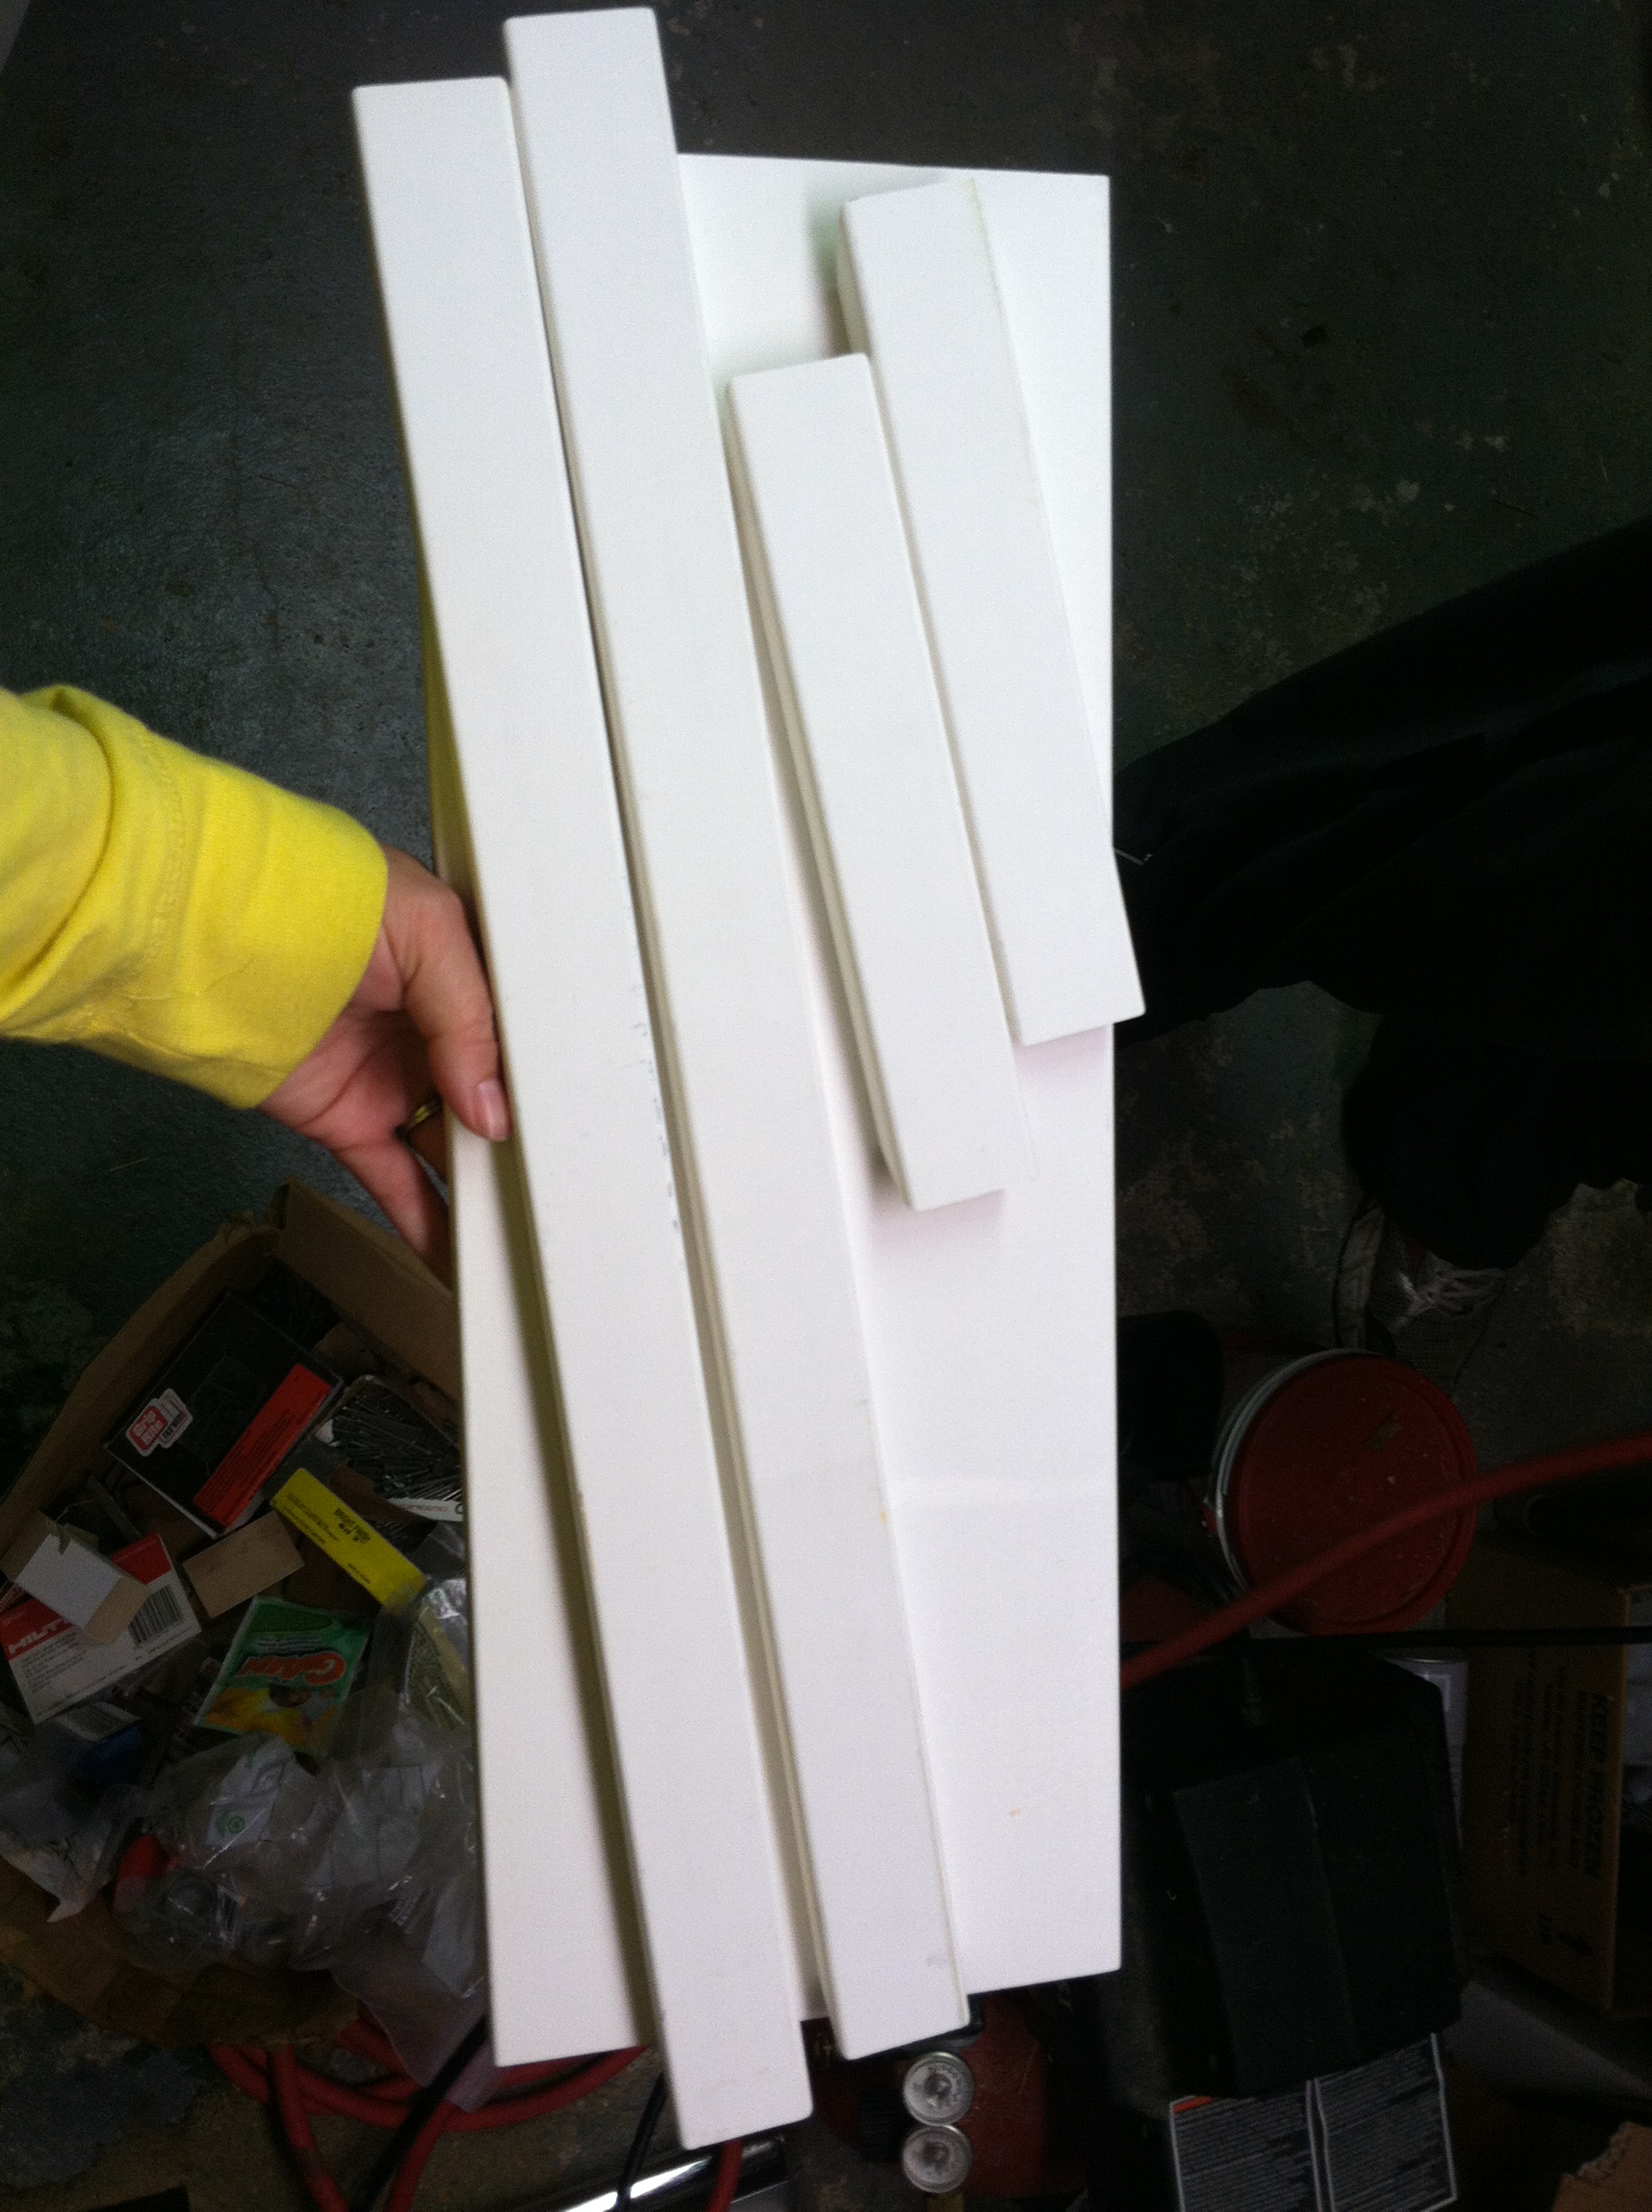
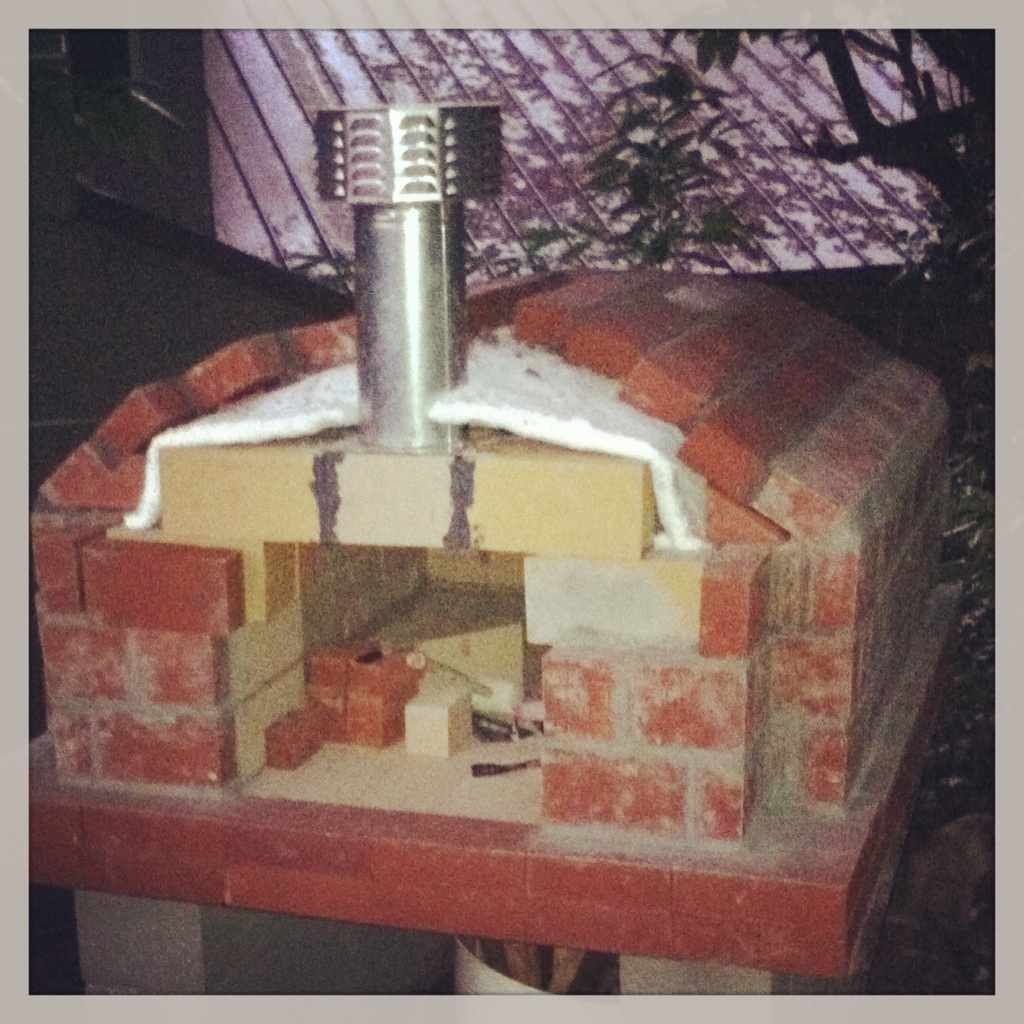
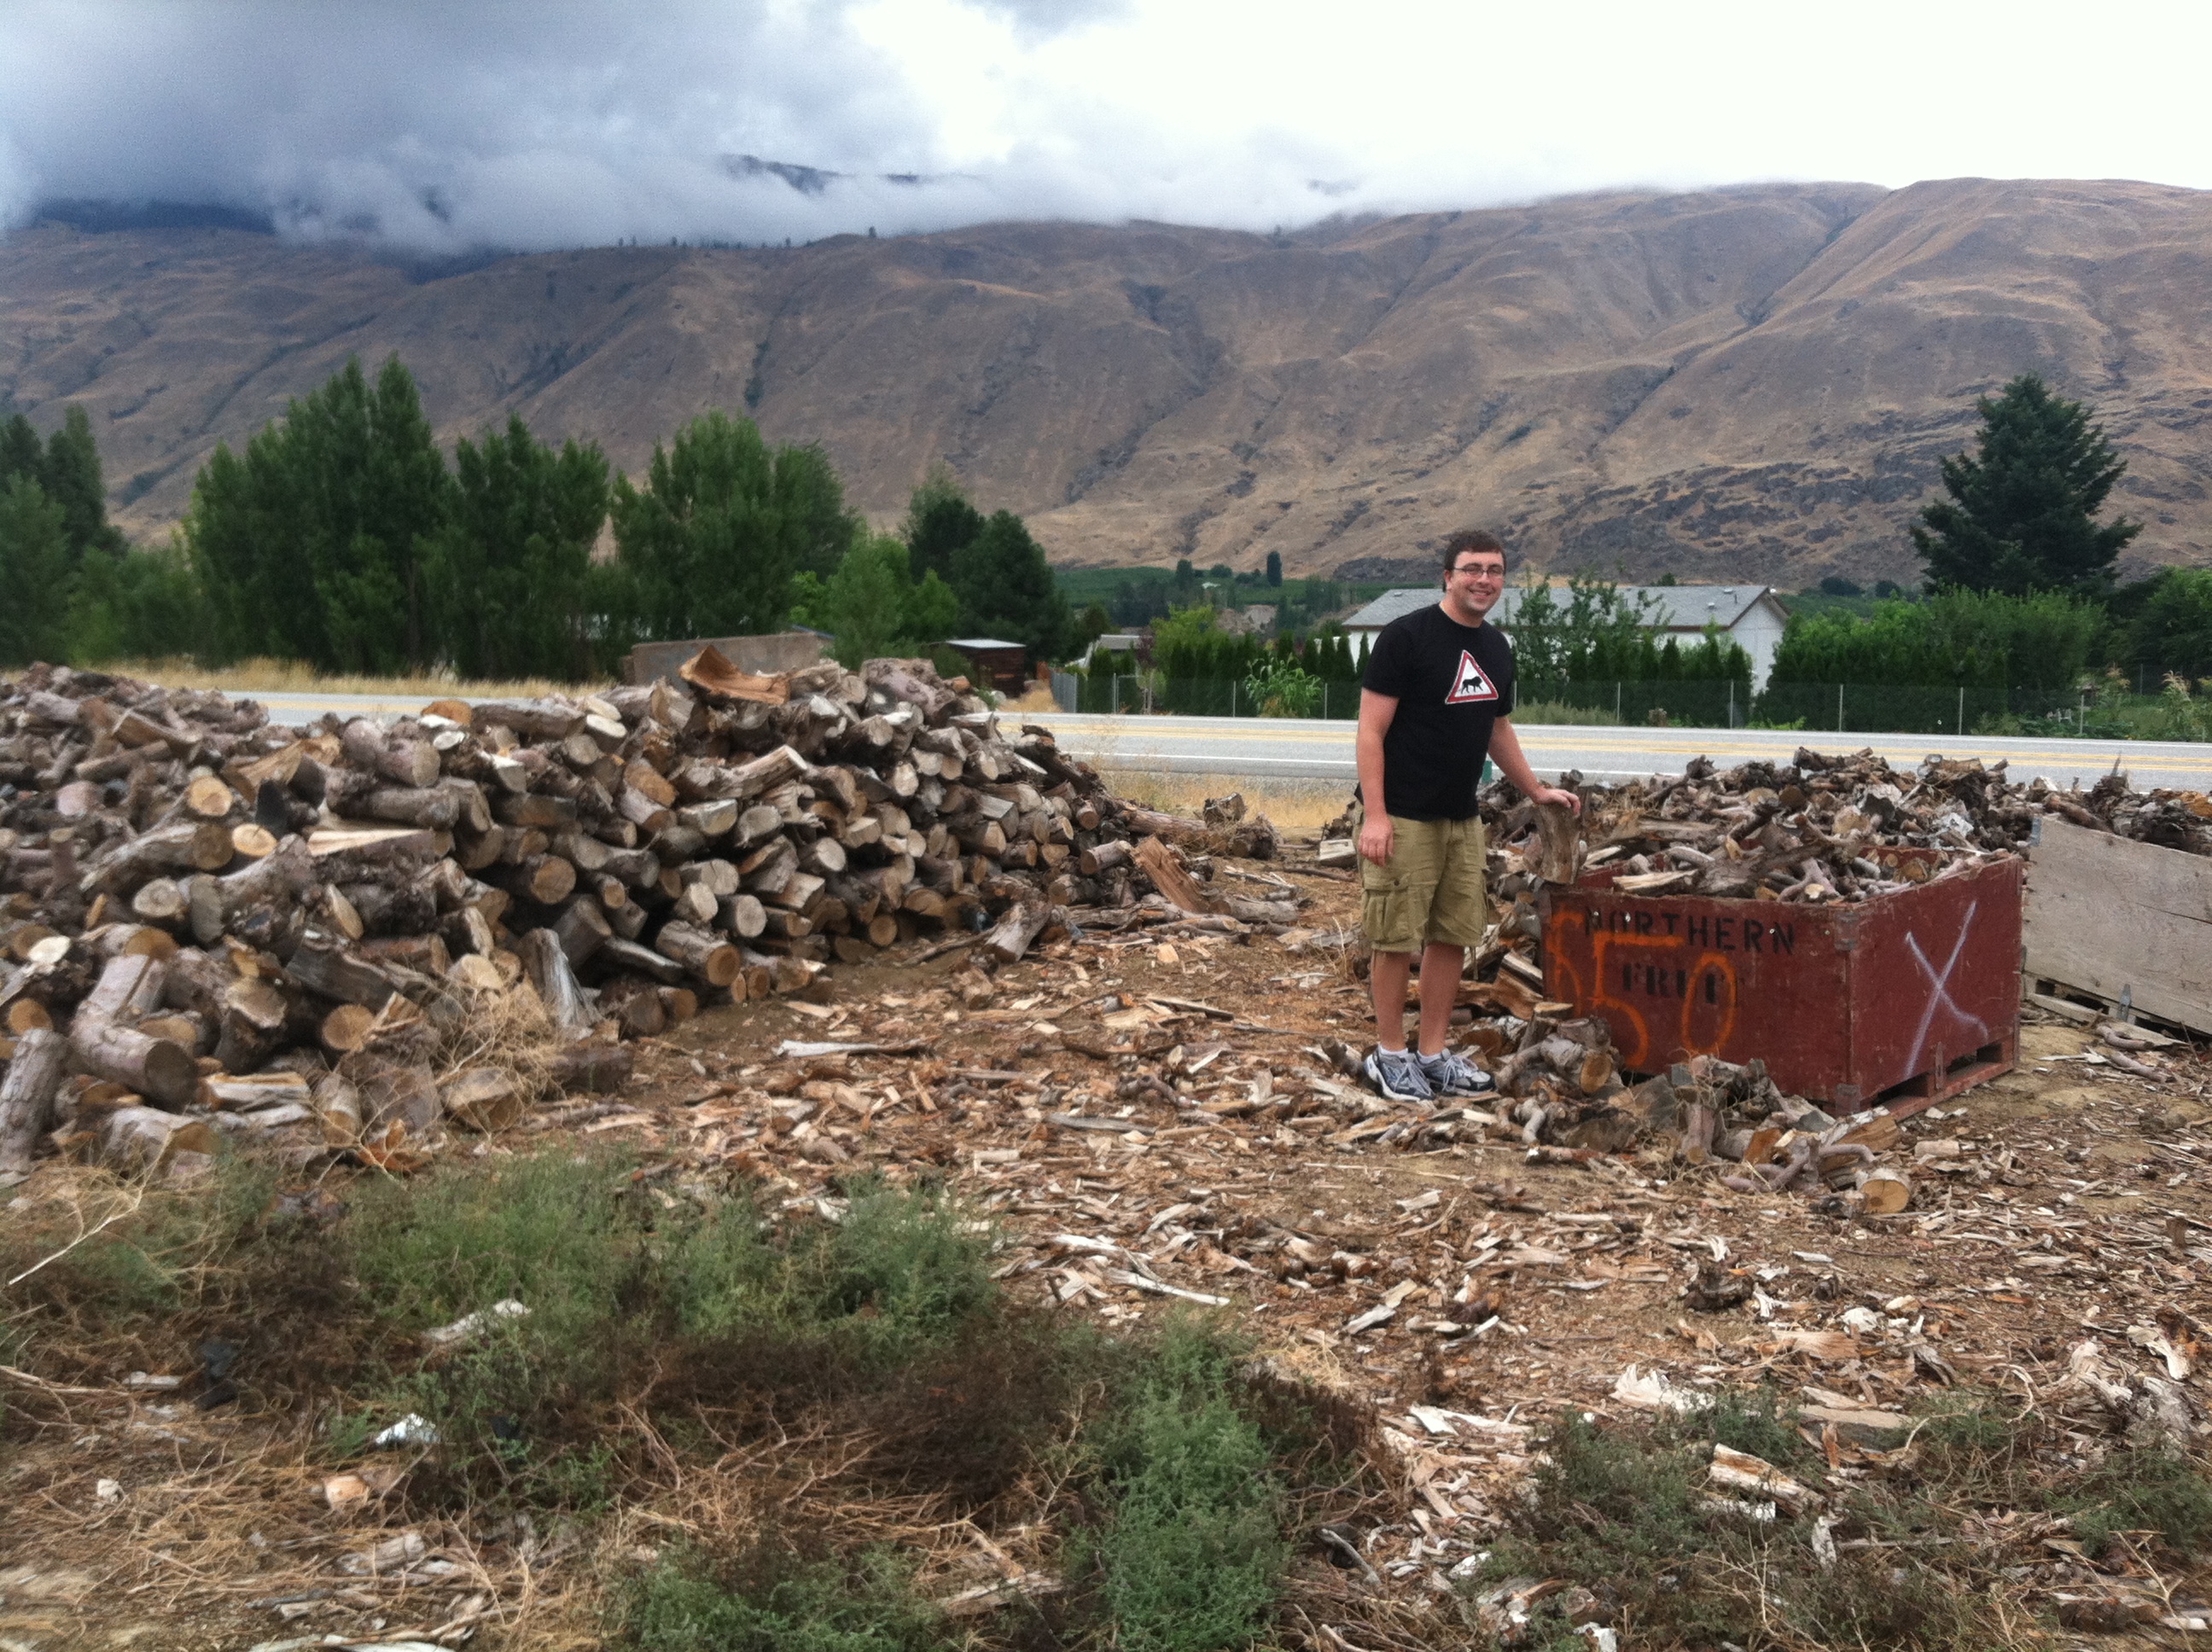
We’ve bought the materials and Brandon’s Dad came up to Seattle to visit us this weekend, complete with his masonry skills and brick cutter. We’ve got a plan and the weather has been cooperating, meaning we’re making great progress on our backyard wood-fired oven project. We won’t be ready to make pizzas for tonight’s True Blood party, or for our party next week, but soon!

We’ve also been testing different dough and sauce recipes — it’s a tough job, but someone has to do it– and have settled on winners!

Our favorite dough comes from Forno Bravo, our favorite everything-to-do-with-building-a-pizza-oven website:

Authentic Vera Pizza Napoletana Dough Recipe

Ingredients

  • 500gr (4 cups) Molino Caputo Tipo 00 flour
  • 325gr (1.5 cups) water (65% hydration)
  • 10gr (2 tsp) salt
  • 3gr (1/2 tsp) active dry yeast

We highly recommend cooking by weight. It is fast, and easy to get the exact hydration (water to flour ratio) and dough ball size you want.

Personally, I do not use recipes or a mixing cup when I cook dinner for the family, but pizza and bread dough is different. Being exact counts, and nothing works better than a digital scale.

Mix the dough in a stand mixer, by hand or in a bread machine. If you are using a stand mixer, mix it slowly for two minutes, faster for 5 minutes, and slow again for 2 minutes.

Cover the dough and let it rise for 1 1/2 – 2 hours, or until double. Punch it down and push out the air bubbles. Form the dough into a large ball, then cut it into three 275 gr equal pieces.

To make your pizza balls, shape each piece of dough into a ball. Gently roll your dough into a ball, then stretch the top of the ball down and around the rest of the ball, until the outer layer wraps around the other side. Pinch the two ends together to make a smooth ball with a tight outer “skin.” Set your ball seam-side down where it can rest. Dust your pizza balls with flour, and store them under a damp towel, in a proofing tray, or under plastic wrap. This will prevent the outside of the ball from drying out and creating a crust, and becoming difficult to work with. The top of the pizza ball should be soft and silky.

Your pizza balls will need to rest for about an hour to become soft and elastic, so that they can be easily stretched into a thin crust pizza.

If you won’t need your dough for more than an hour, refrigerate it until you are ready to start.

If you won’t have an hour to let your dough rest, read our Dough in a Hurry strategy. By cutting back each phase of dough preparation by the right amount, you can make great pizza or focaccia dough in as little as an hour.

We normally don’t measure when following recipes either, but Brandon busts out my Little Britches Bakery postal scale for dough measurements. He means business! (I so want to make fun, but I can’t, since the dough is that good!)

And our favorite sauce recipe, also from Forno Bravo: 

Smashed Tomato Sauce 
1 can (28 oz) San Marzano tomatoes 
1/4 teaspoon freshly ground black pepper 
1/2 teaspoon of salt 
1 teaspoon of oregano 

Options 
1 teaspoon dried basil or 2 tablespoons of fresh basil 
1 tablespoon garlic powder 
2 tablespoons red wine vinegar or lemon juice 
1 tablespoon olive oil – done forget to swirl excellent extra virgin olive oil on your pizza right before you put it in the oven

 Watch the Forno Bravo Pizza Sauce Video on YouTube.

I love to provide recipes, but I also love to provide facts. Here is the latest infographic I found on pizza. I have no idea how truthful or valid it is, but it makes me hungry for pizza, so it’s ok in my book… Happy pizza eating and I’ll be back soon with some photos from our weekend of building!

2013-8 Pizza infographic