The deck is one of my favorite parts of our house. We have a view of Lake Washington and Seattle, Seward Park specifically. We have a lot of trees on Megan’s Island, but we’re able to see the sunset from time to time. This was one of the most spectacular sunsets I’ve seen in the last five years. (This photo doesn’t do it justice!)

Hello, sunset
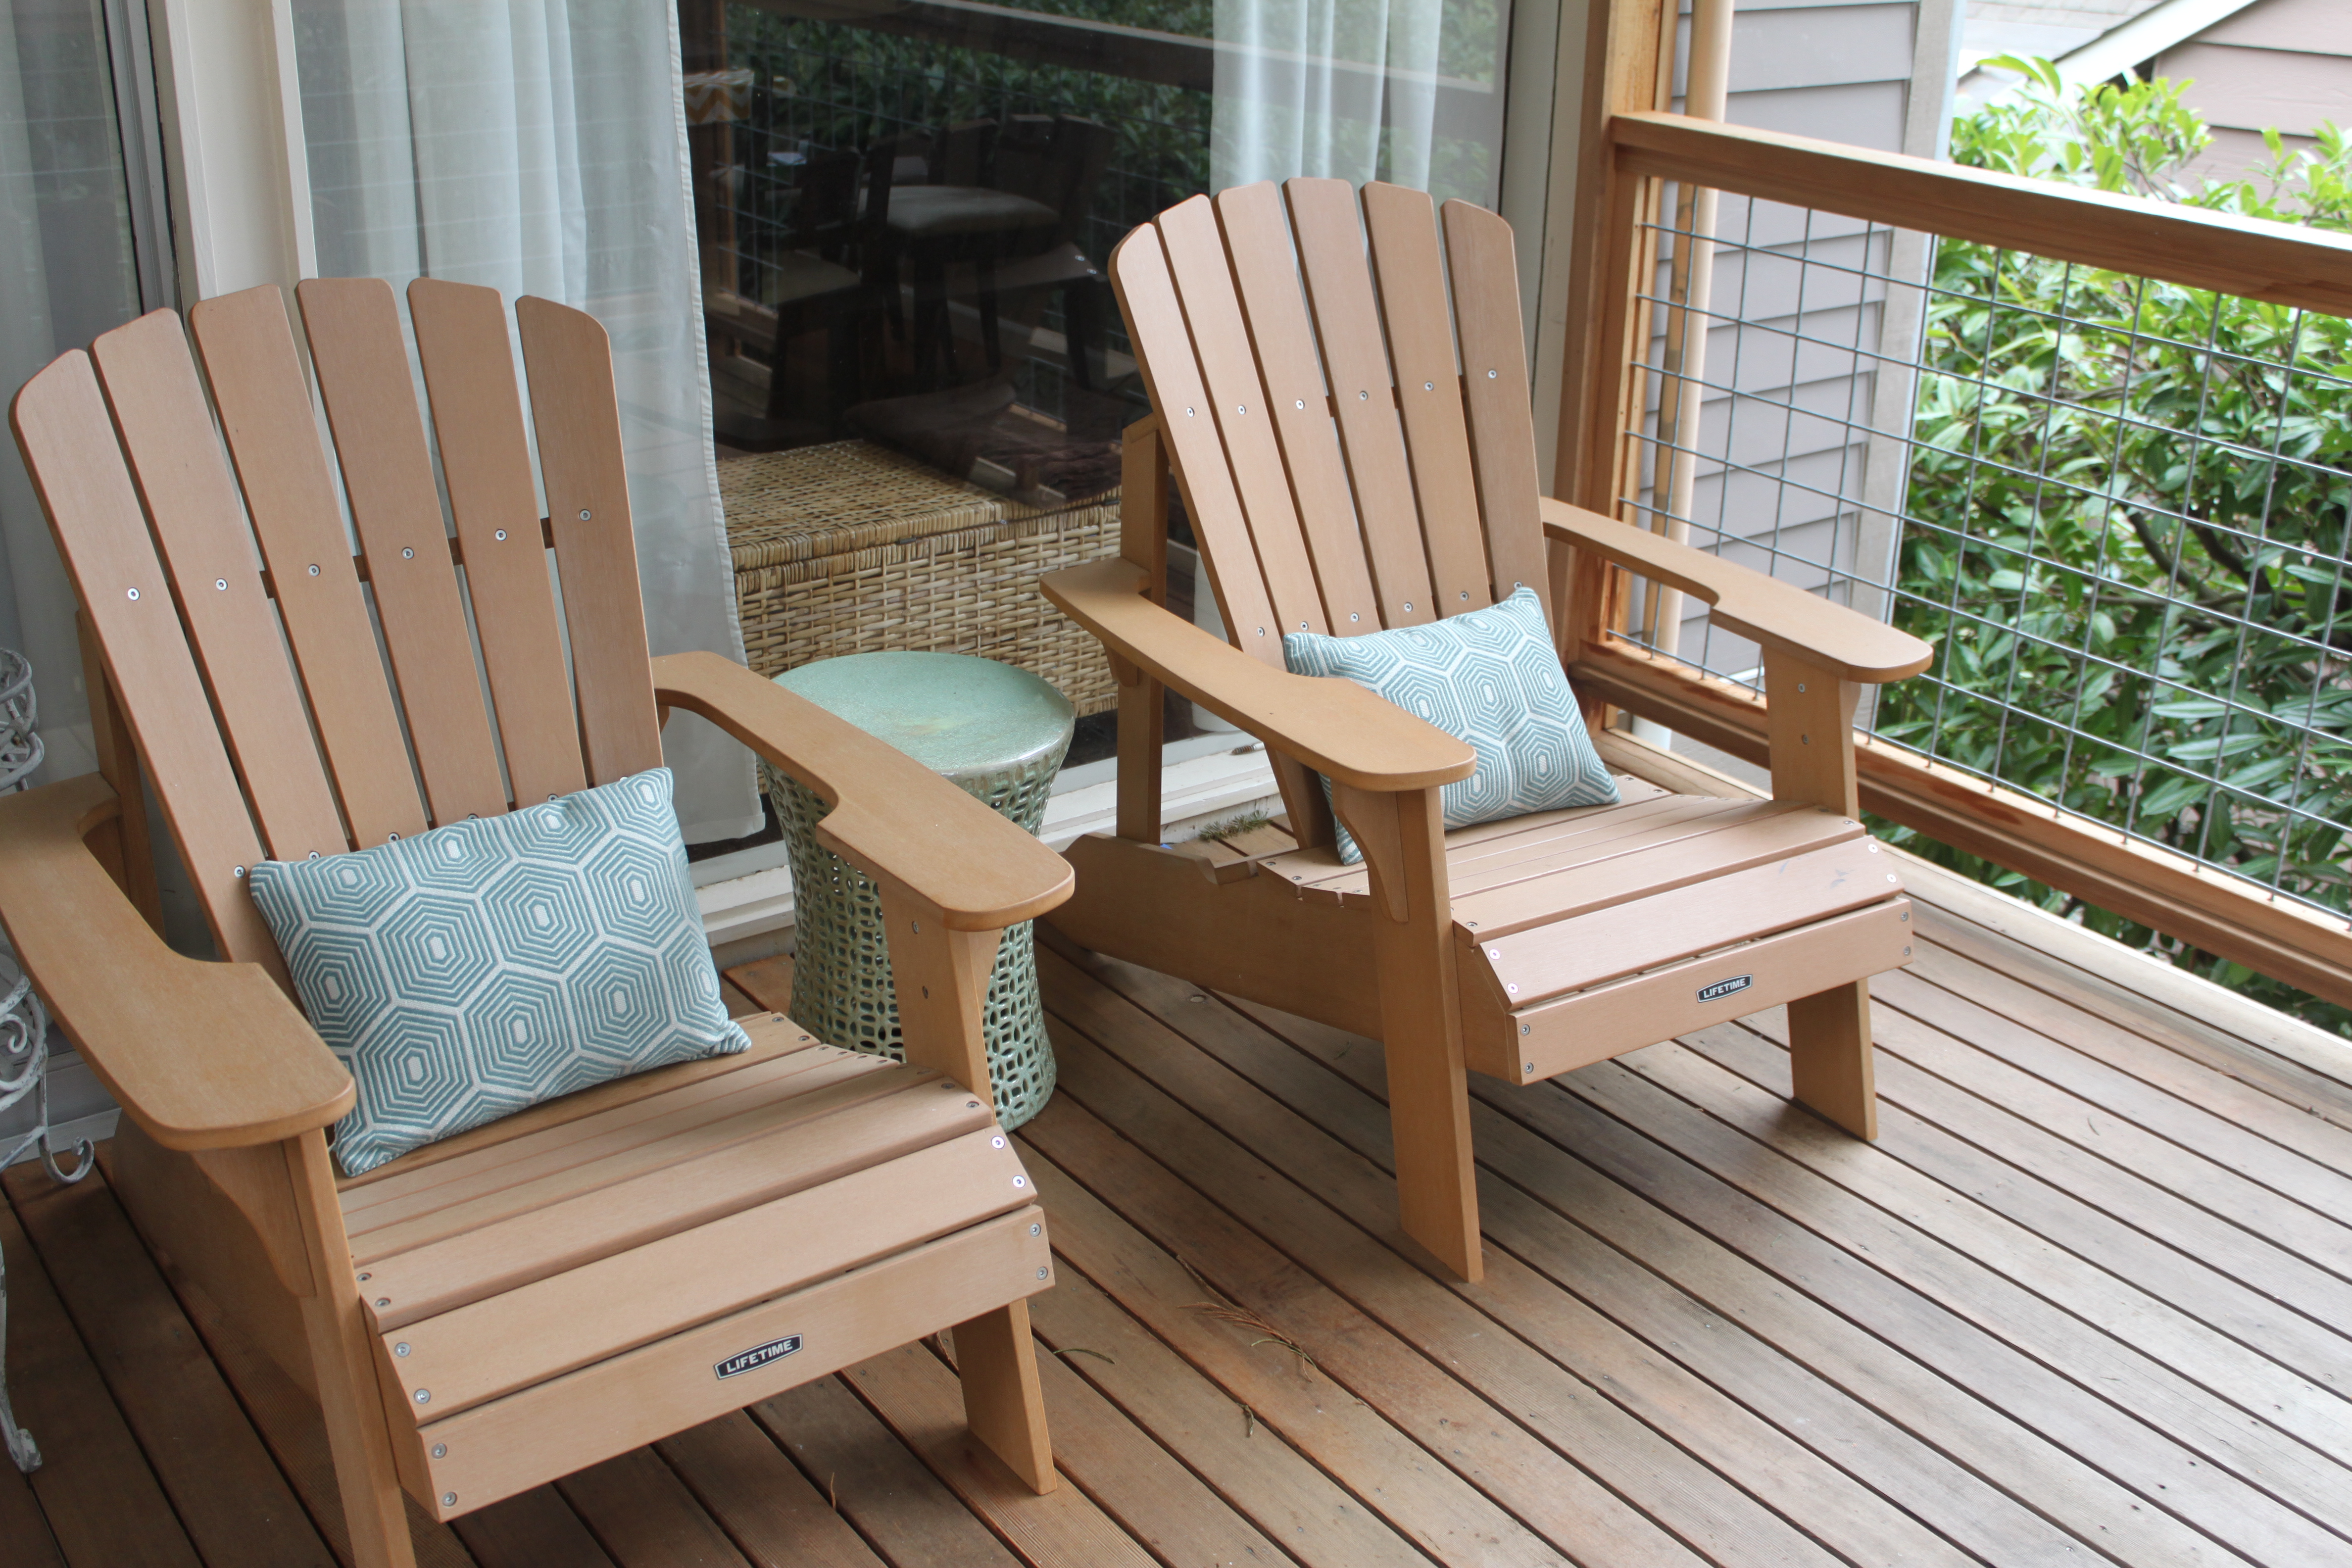
With our deck remodel in mind we bought two Adirondack chairs last summer and haven’t really had a chance to enjoy them…until now. The deck has been retrofitted and is as stable as can be. The patio is built and we’re ready to move the wrought iron table and chairs to their spot down there (photos to come on the next sunny day, when we can properly stage it).
Those Adirondack chairs have been pretty lonely looking so I set out on an outdoor pillow and stool mission. My mission started with talking to my friend Esther, who is in charge of all of my sewing projects. (I tried creating and sewing a pair of shorts one time in high school and was fired from sewing from there on out.) Esther agreed to help me sew some pillowcases so I started browsing fabrics online. I wasn’t able to find exactly what I was looking for, so I waited before buying. Turns out my delay was a good thing…

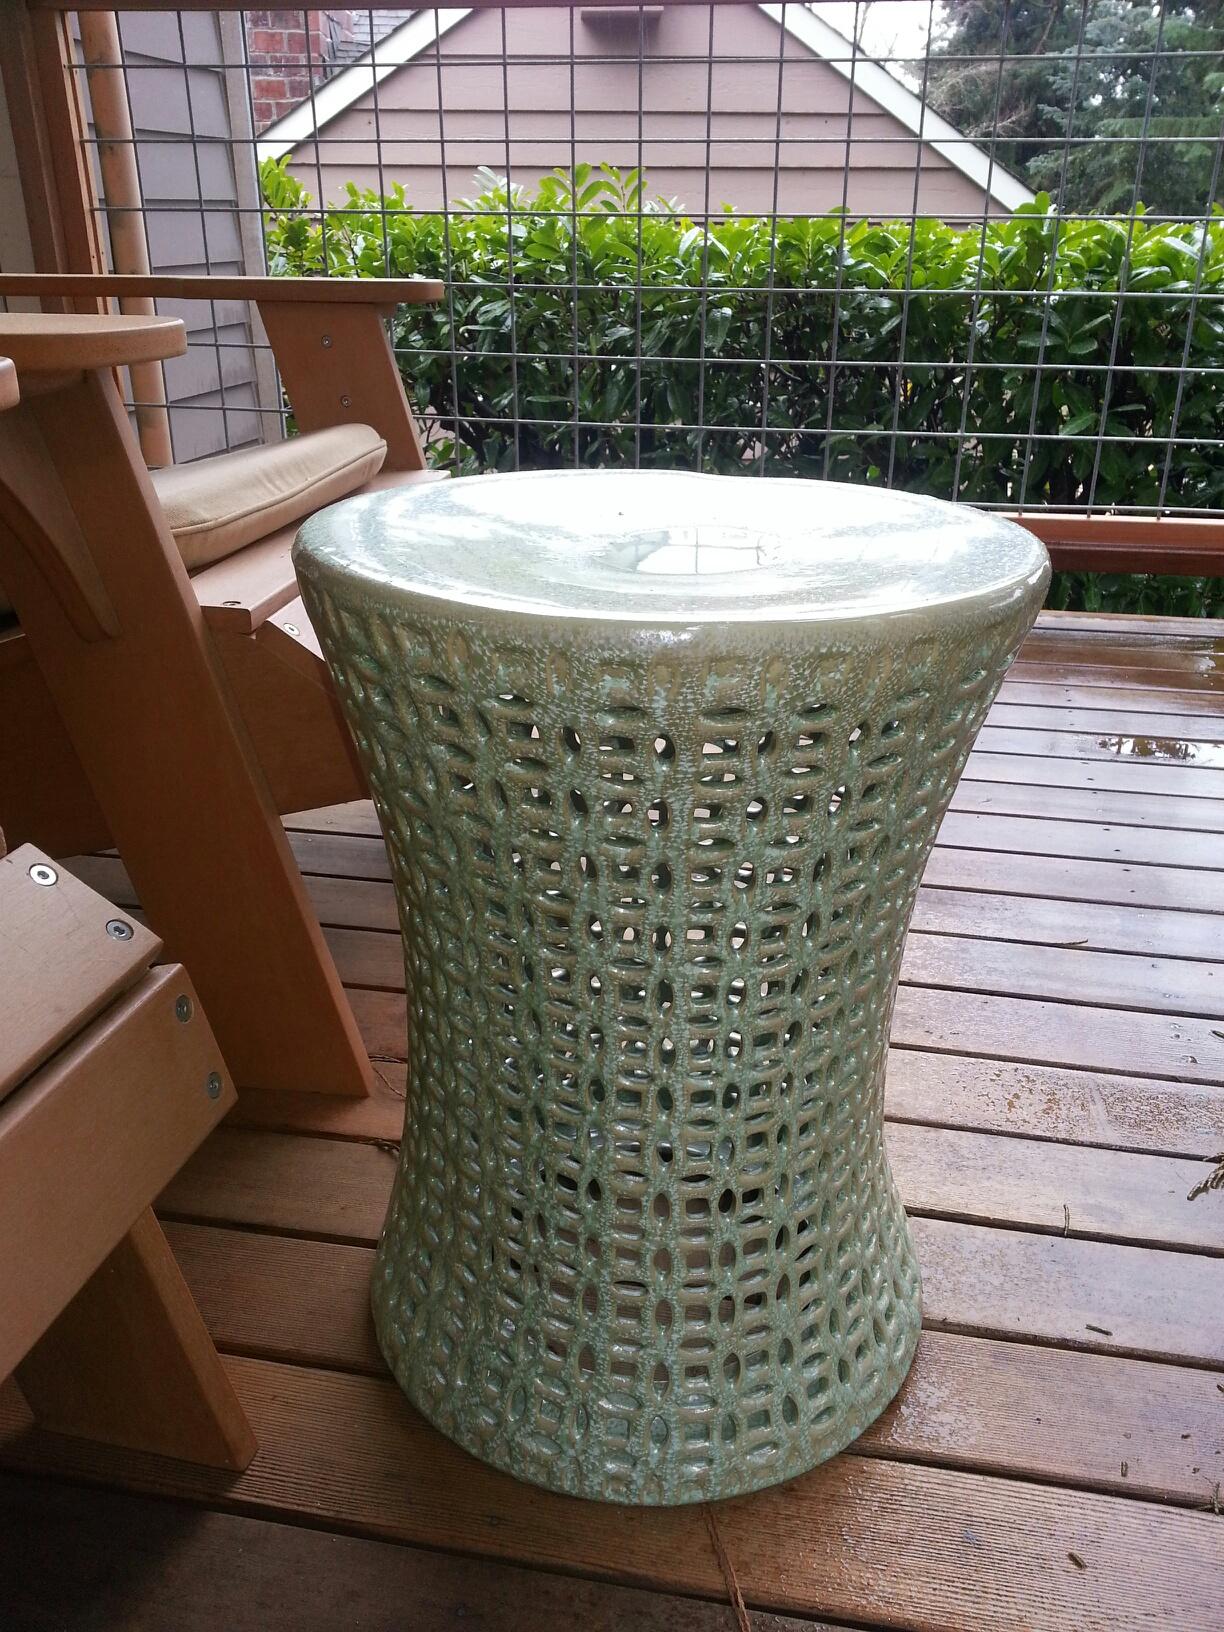
Our new ceramic stool
When we were in Portland over our spring break we stopped at HomeGoods and picked up some great stuff for our back patio and deck, mainly in search of a ceramic stool to use as a table between the two chairs. I had seen several that I liked online but wanted to spend less than $100. We found this gem for $79. I was pretty indecisive about buying it — I was hoping for something a little more colorful — and Brandon convinced me that this stool was everything that I was looking for. And I do have a pretty neutral color palate, so it was perfect.
Once the stool was picked out, it was time to find pots and pillows to match. Lucky for us, HomeGoods had quite the selection. I found a large rectangular indoor pillow that had a really cool hexagon pattern. They had two of the same pillows: one in teal and one in green. I was debating whether or not to buy them both or just one. I ended up buying the teal one and had a fun Esther sewing party in mind! The pillow was too wide for the Adirondack chair, but cut in half it would be absolutely perfect. Best part about it? It only cost $17. Not too shabby.

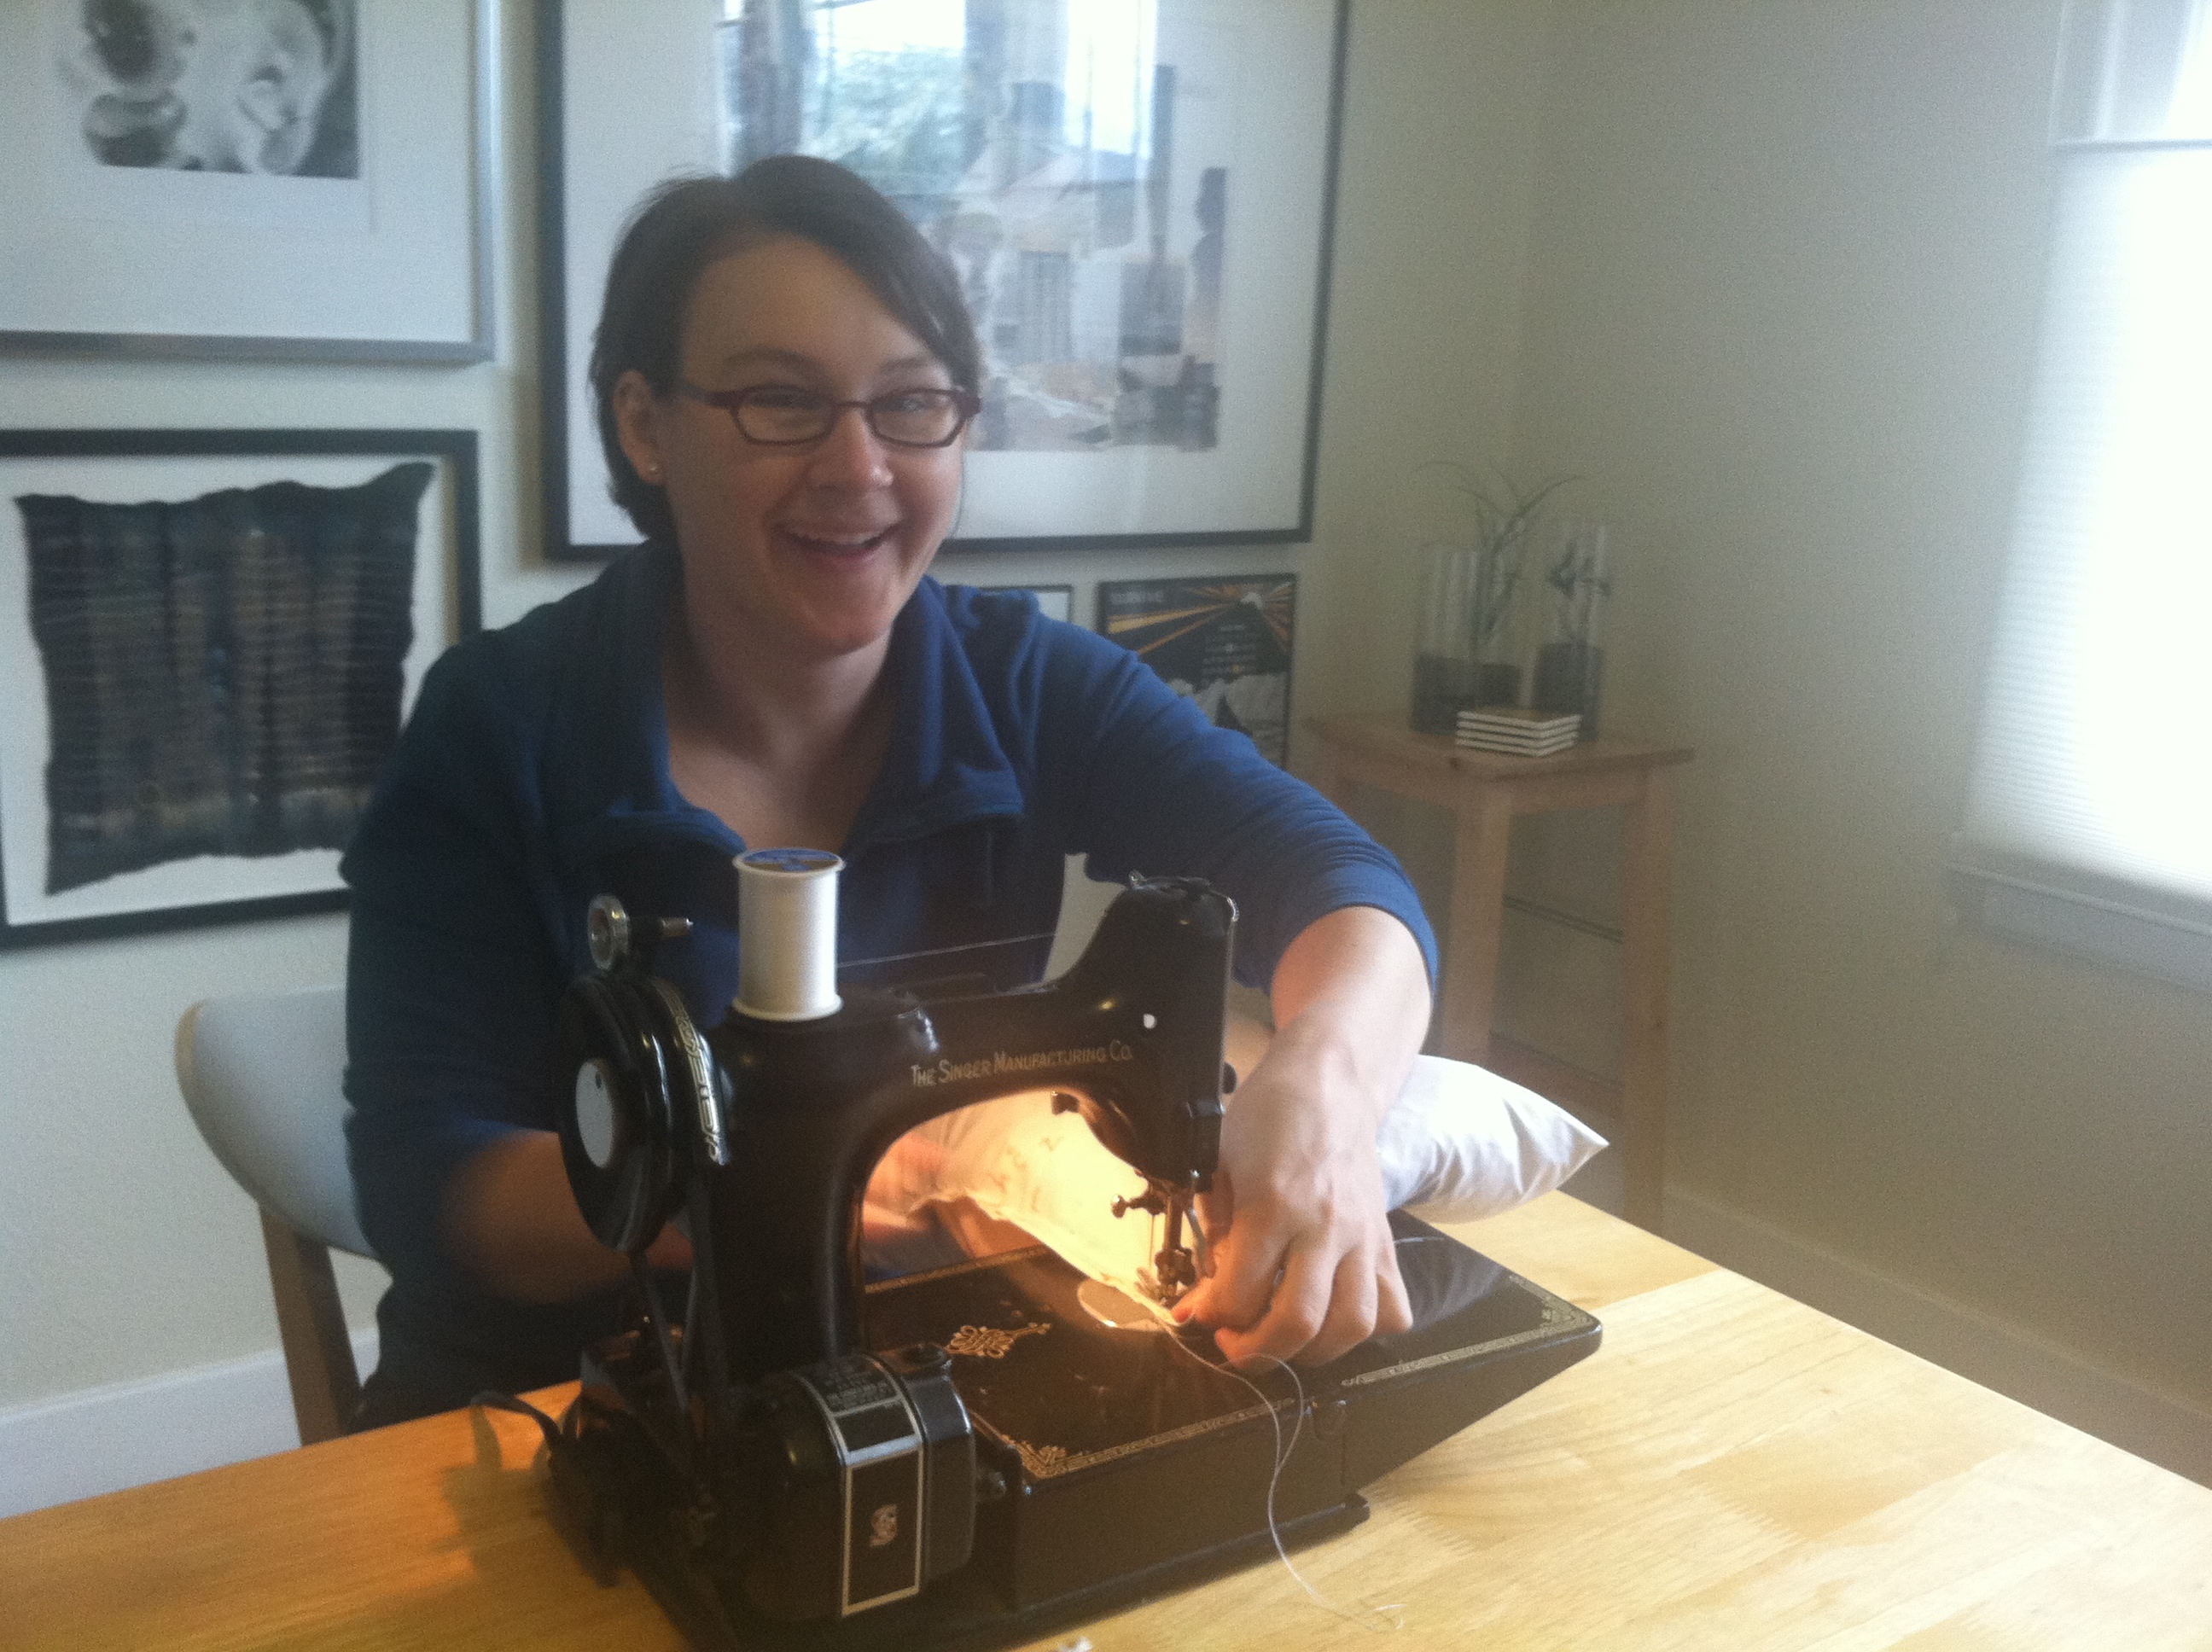
Esther: the official sewer of Megan’s Island
Esther and I got together last weekend for our sewing party (she sewed, I brought pastry) and the whole project took just under an hour. At first Esther was skeptical of my ‘cut the pillow in half’ idea, but she’s game for most everything and offered me her best, sharpest scissors.
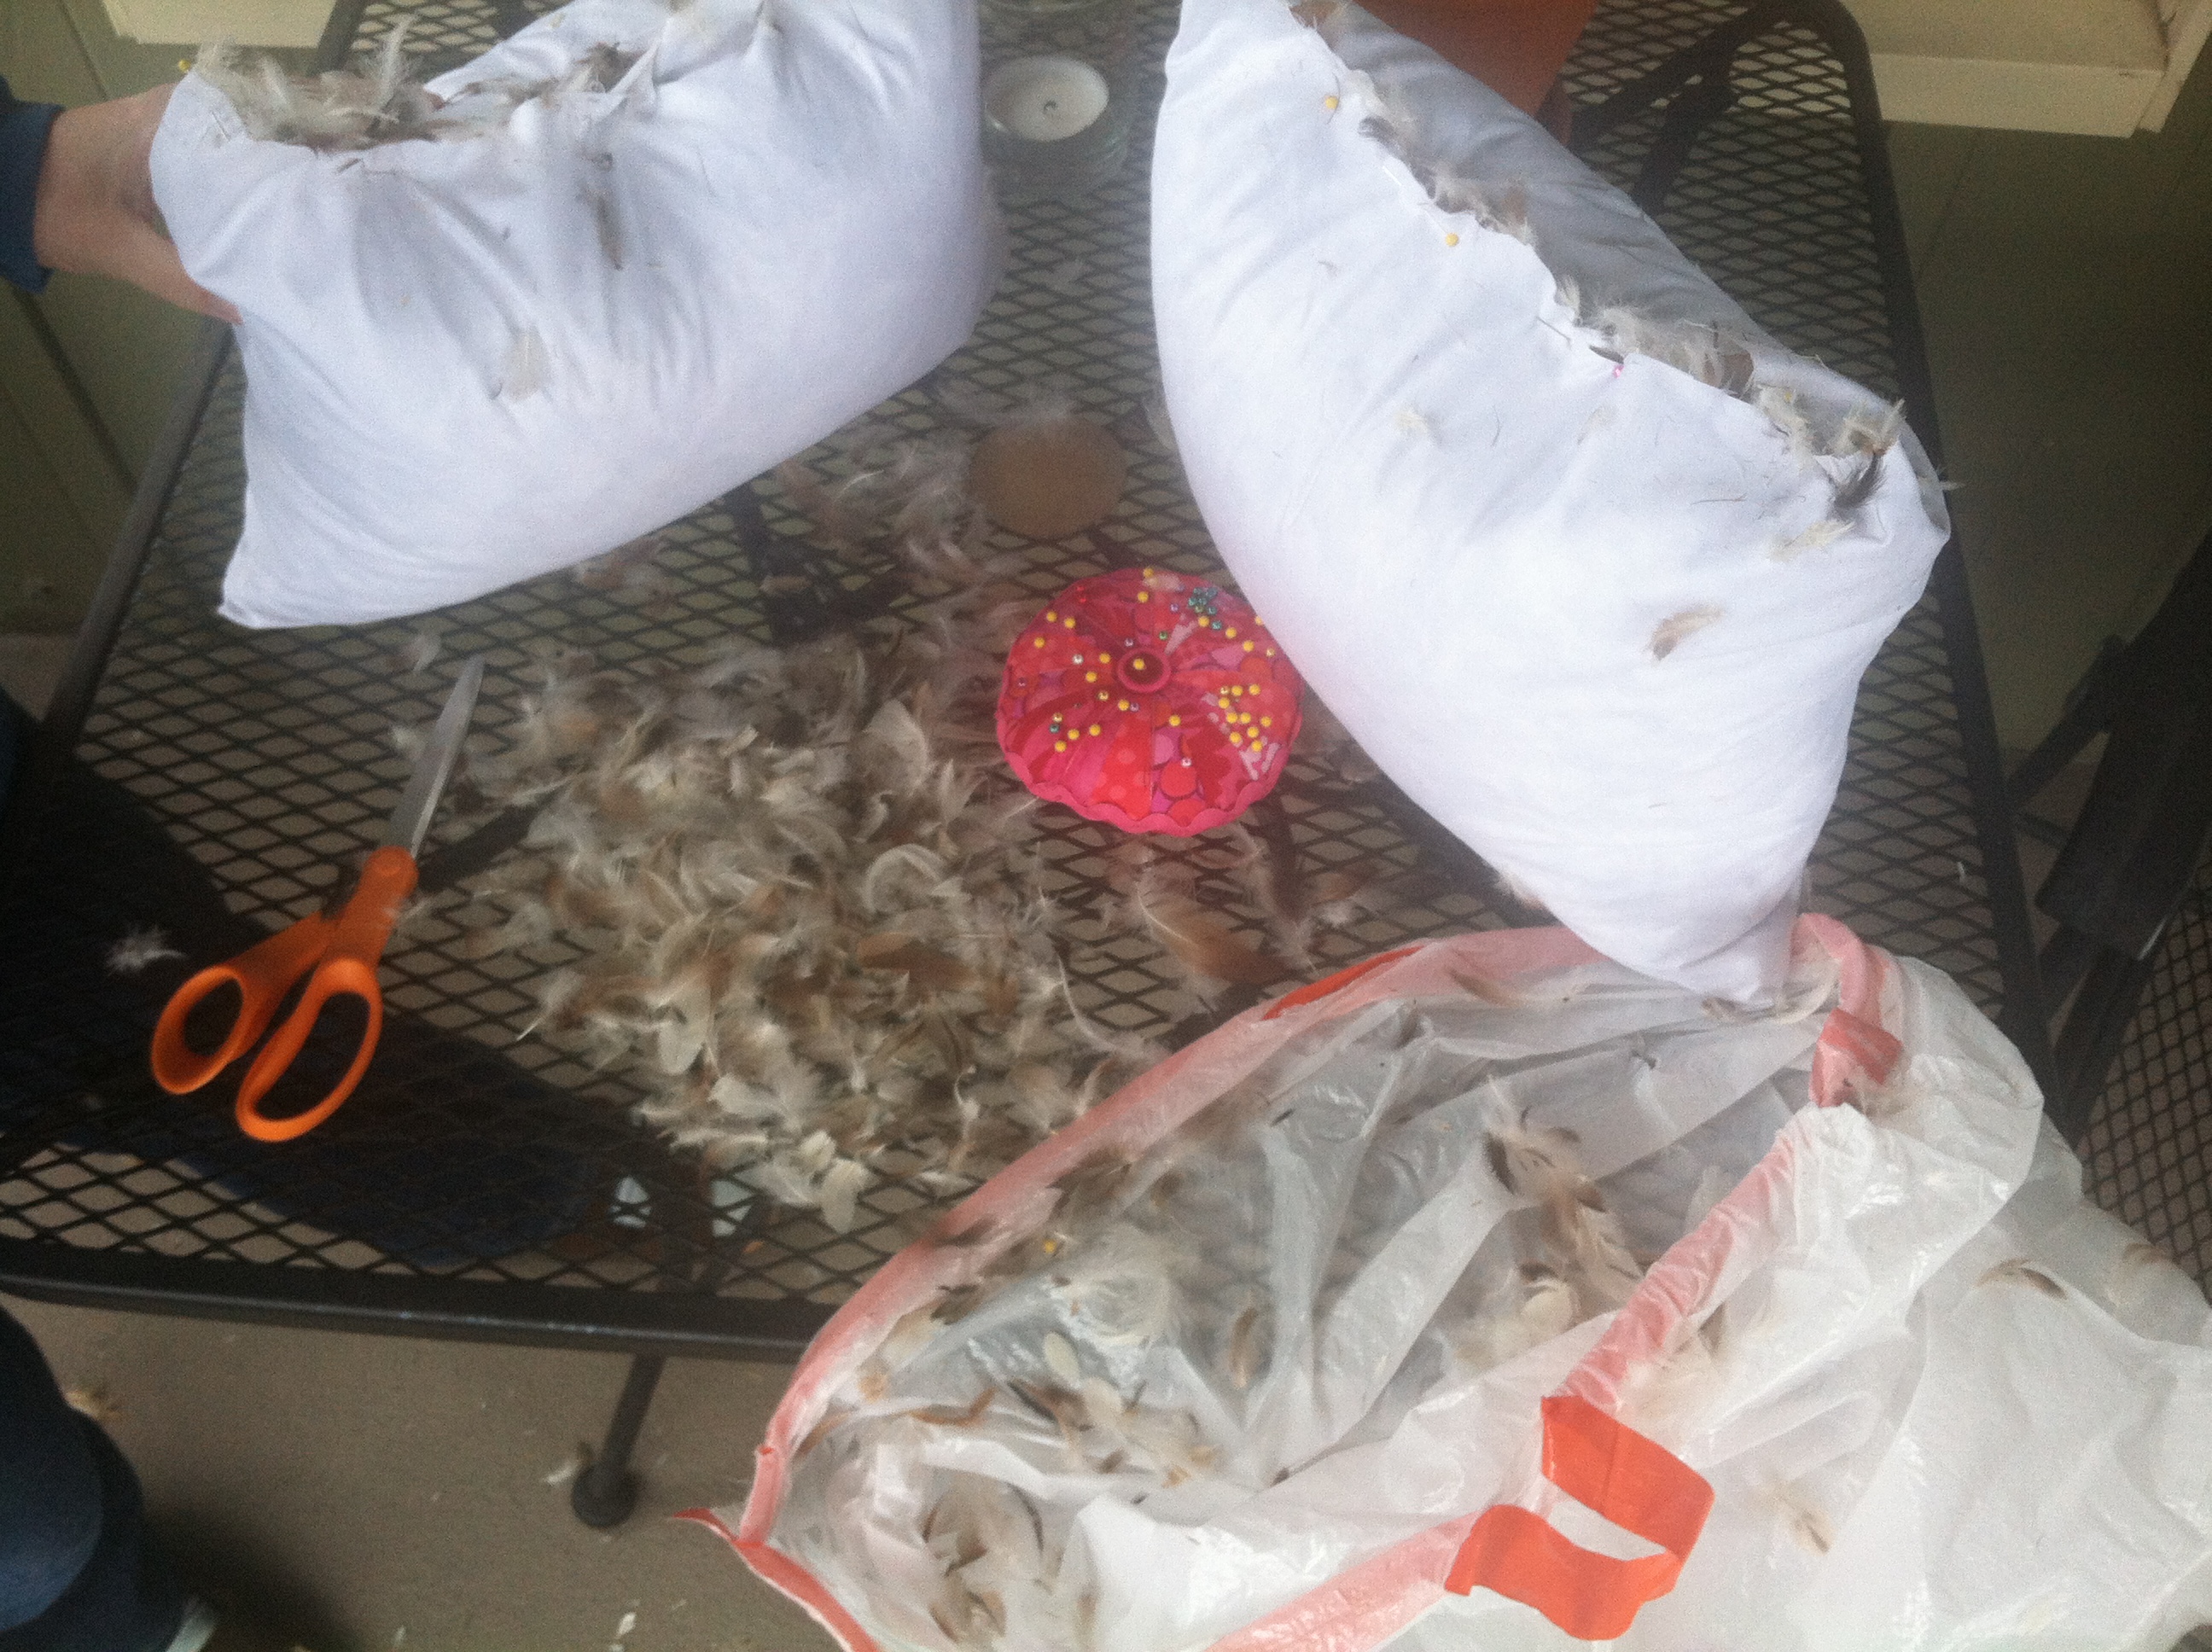
Cutting and sewing the pillow case was the easiest part. We literally cut it in half, including the zipper and then sewed it back together. The actual feather pillow was a different story. We started off inside and quickly moved out to the deck. Turns out there are a ton of feathers in a feather pillow and cutting a pillow in half creates quite the mess. We grabbed a few garbage bags and started removing some of the feathers, and kept cutting. Here’s a photo mid-way through. We were skeptical of the cut and sew plans and were ready to call this a DIY Fail. It was a particularly windy day and many of the extra feathers literally took flight. It looked like we killed a few birds on the porch.

DIY Fail? Only time would tell
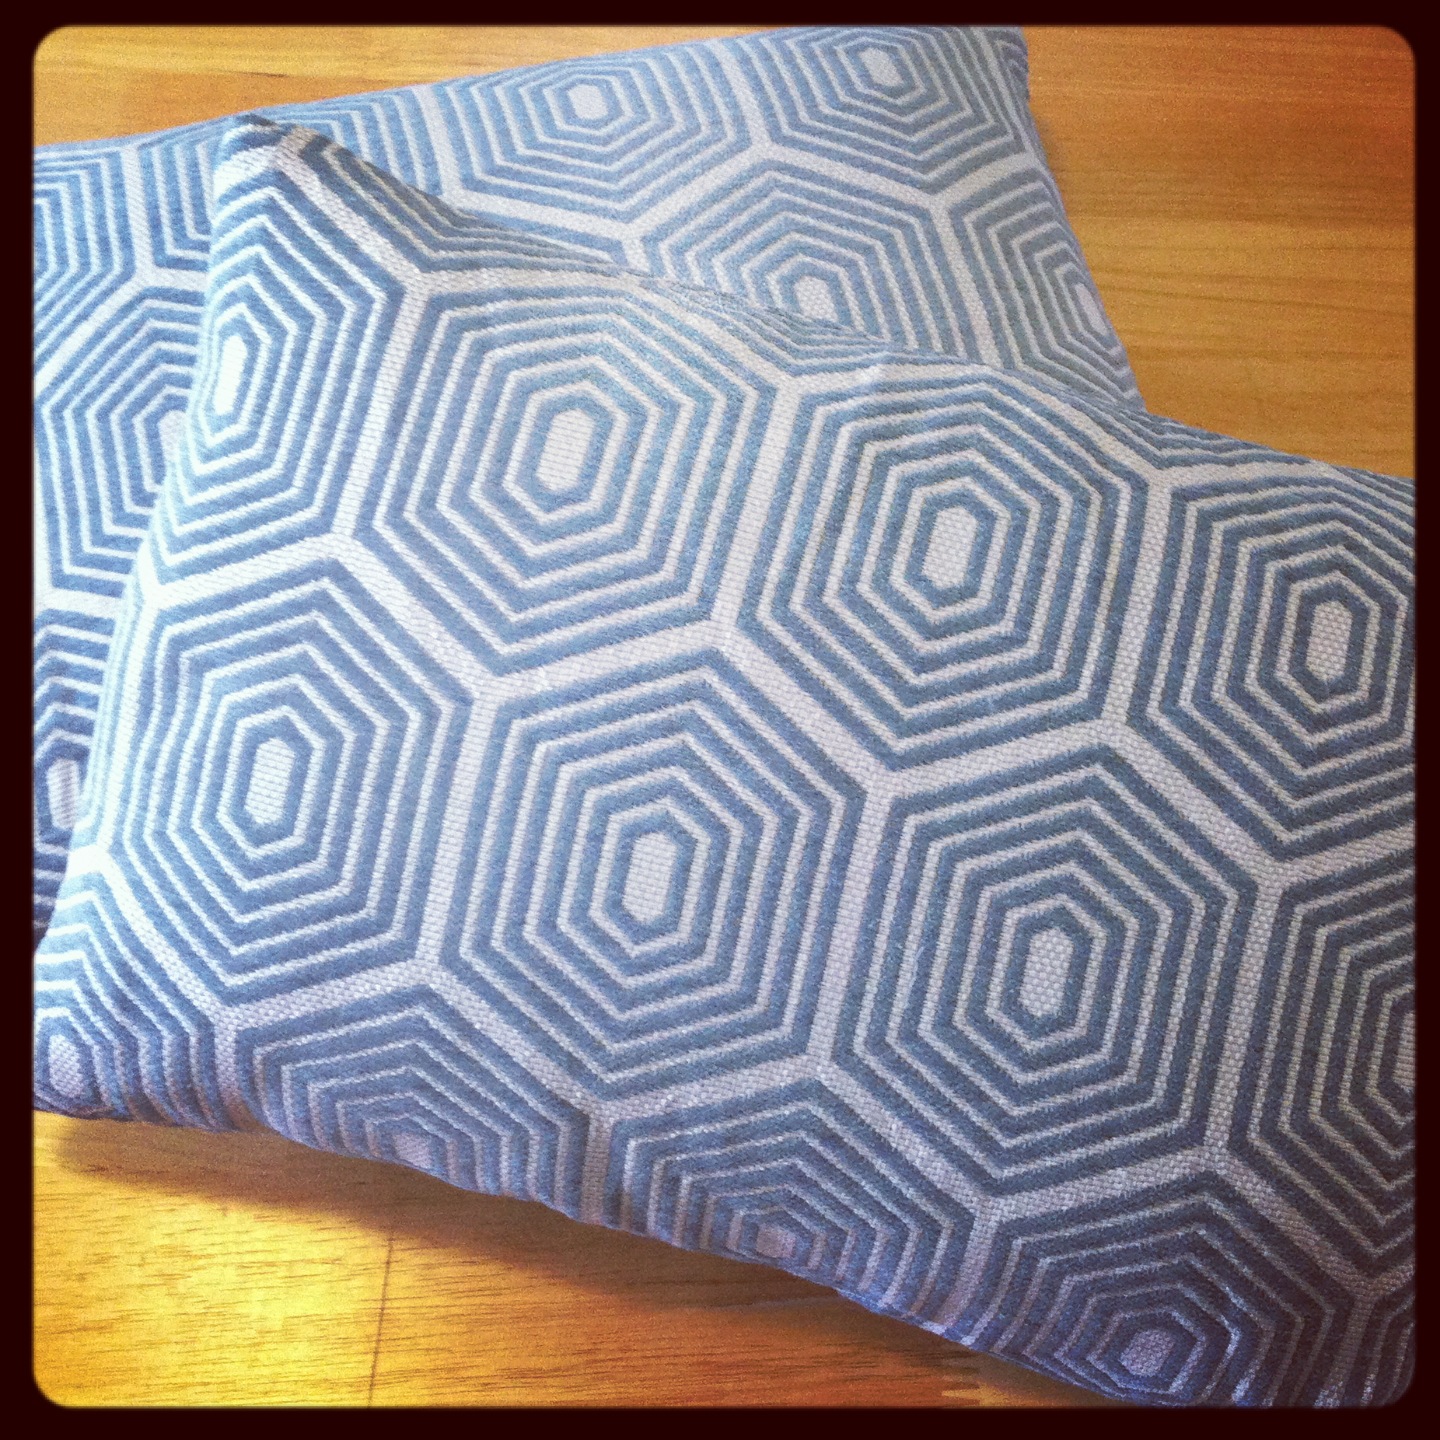
But, we pressed on, pinned the pillows back together, sewed them shut and then put them into the cases. Voila! A miracle! And they look so, so good, don’t you think? One of them even has a fully-functioning zipper!

Final product!
Here’s the final product. I’m ready for that sunset and glass of wine now.

All I need now is a glass of wine and a good book