Last week I detailed my very ambitious plans for the long Memorial Day weekend. The weather didn’t really cooperate and most projects took longer than I expected, but all in all, I’m quite proud of all of the work we did.
Our ambitious original list: (Updates/commentary in bold)
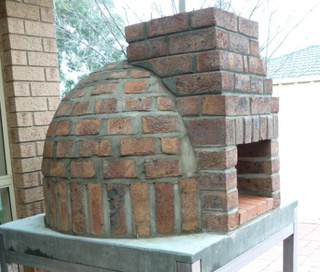
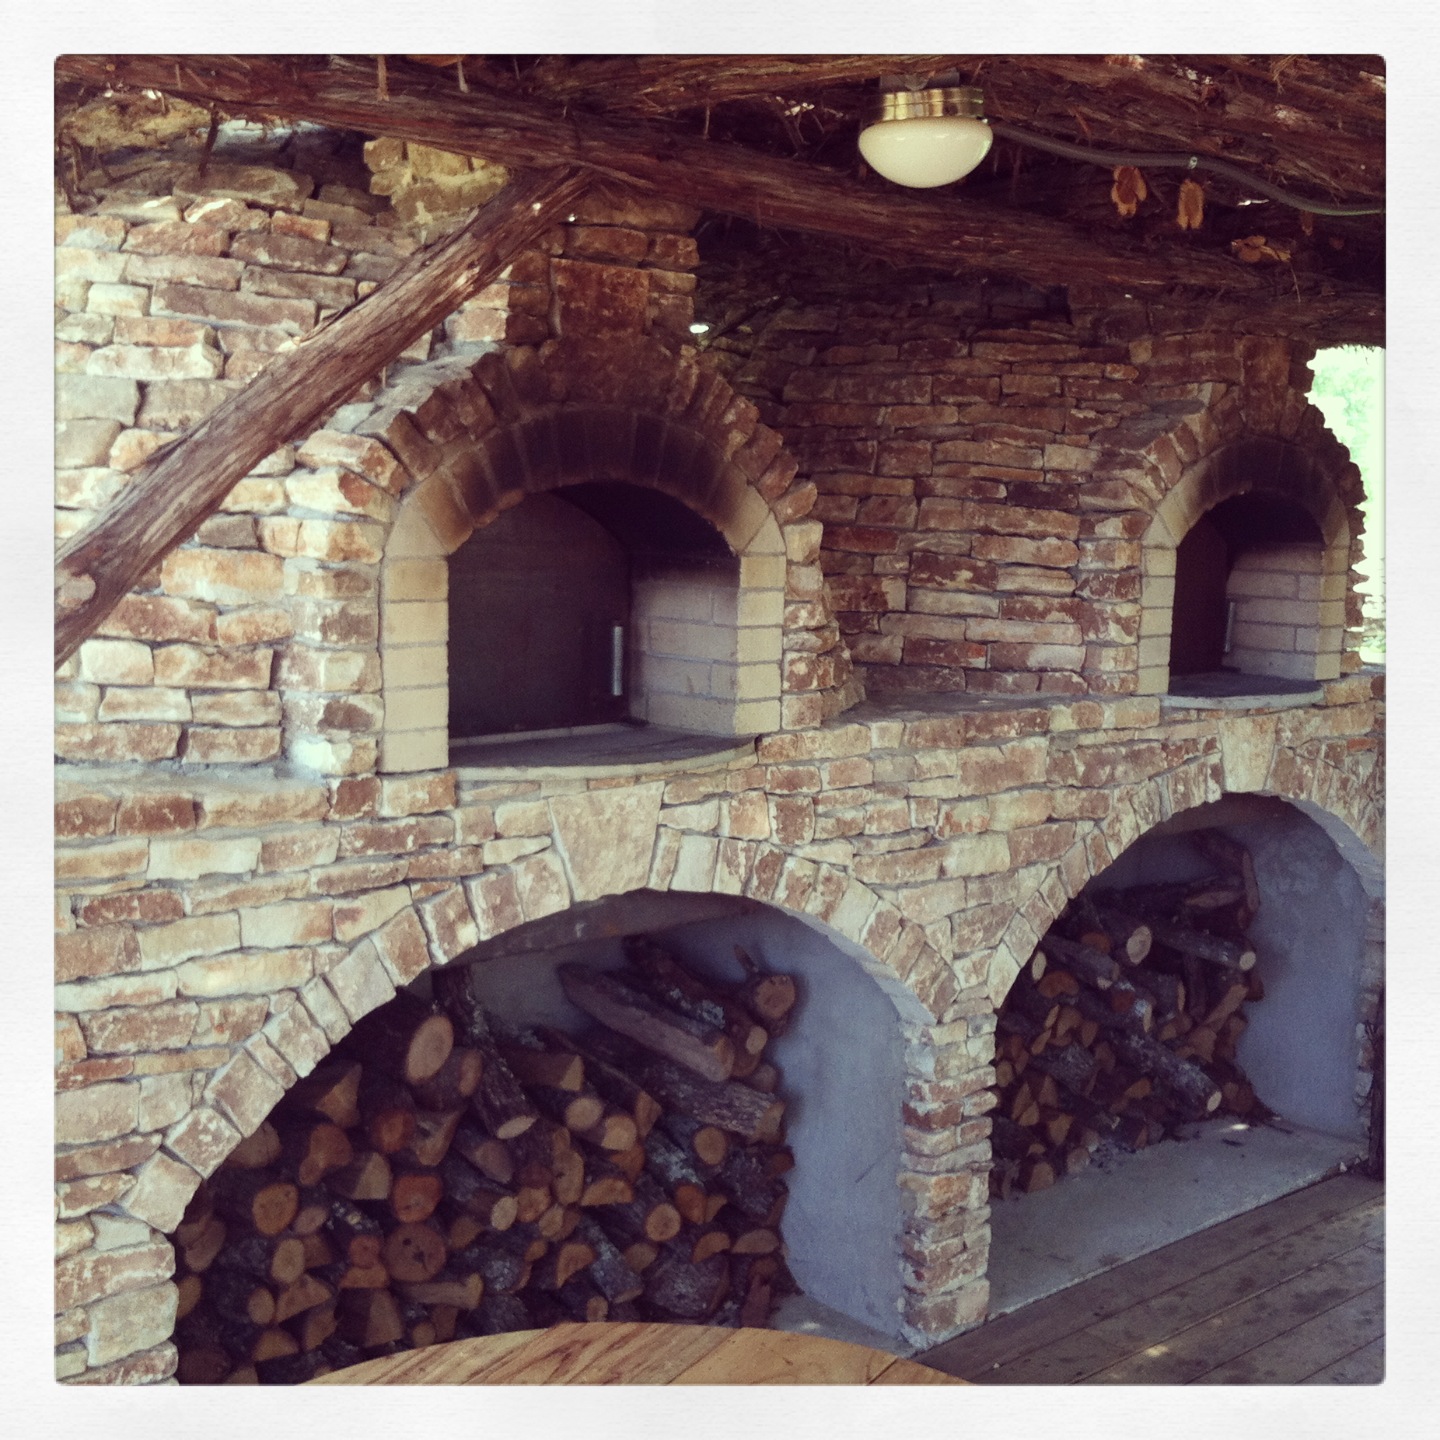
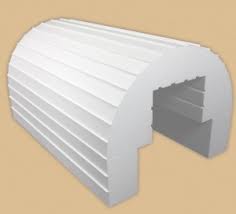
- Buy all of the components for the pizza oven (just in case it doesn’t rain!) <– We hope to finish the design this week and look at sourcing our bricks and insulation boards and blankets (Who knew, right!?)
Build the pizza oven base and secure the steel sheet<– Way easier than we expected. Just heavy. (And even then, it was mainly Brandon!)- Repair (re-do) the step under the new stairs in the backyard (concrete blocks and bricks) <– I think I have most of the necessary project components, but ran out of time — I blame the old cement and rebar that we spent an hour trying unsuccessfully to dig out.
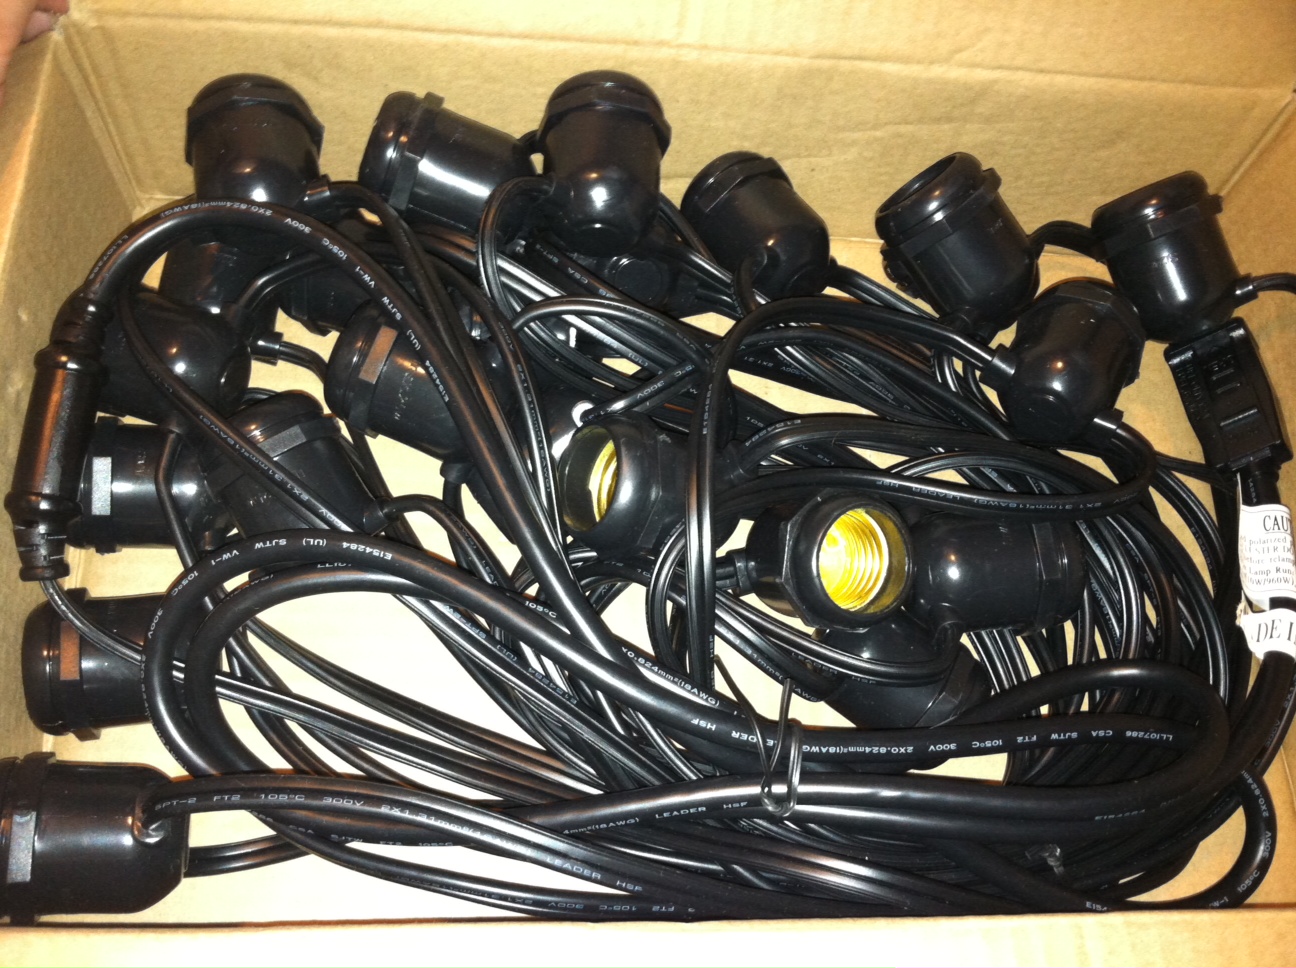
Put up the bistro lights (!!!)<– LOVE! LOVE! LOVE! Let the patio parties commence!Cut the wine barrels in half (If it works: stain and remove rust and figure out what to plant)<– Major success on this one. HOWEVER, it took WAY longer than I expected it to. I’m excited to start on the tutorial and share it with my faithful readers, likely in next week’s Wine Wednesday post. Check back on June 5.Take a trip to the dump, if there is time
- Paint the new trim in the living room, touch up the wall paint <– I had too much fun celebrating birthdays and visiting with family. I’ll get to it one of these days…
- Paint the new bathroom baseboards <– Ditto
- Caulk the hallway siding <– Ditto
- Paint the ceiling patch in the hallway <– Ditto
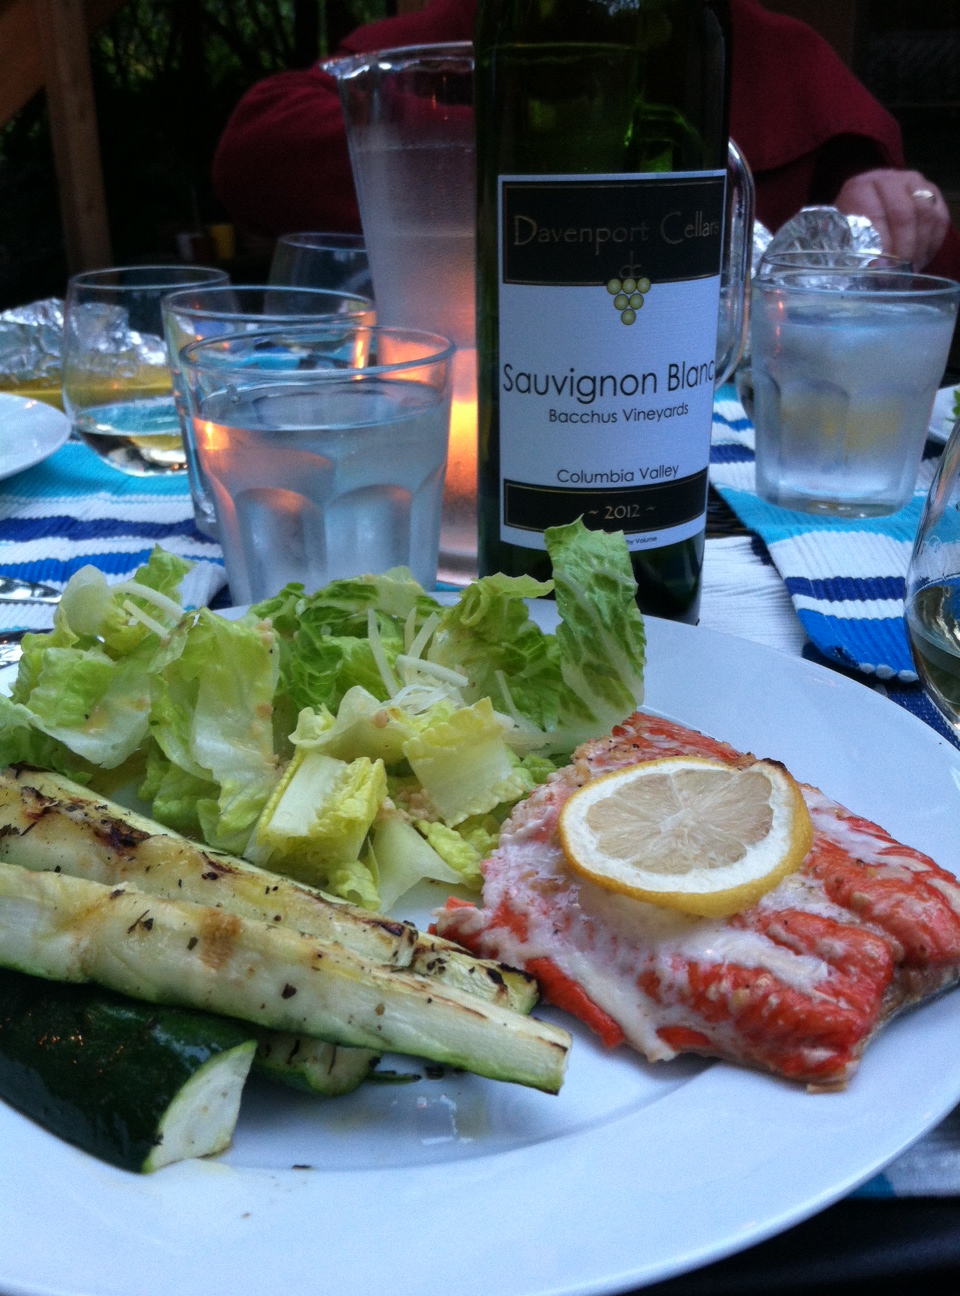
Put the extra hardy board siding on Craigslist/take it to the dump<– Dump run!Buy some Copper River salmon and cedar plank it on the grill. (YUM! One of my favorite culinary times of the year!)<– We shared the deliciousness on Sunday’s Long Weekend Progress Report post
And now? I’m exhausted. I need a weekend from my weekend. Time to relax on the couch with the cats.
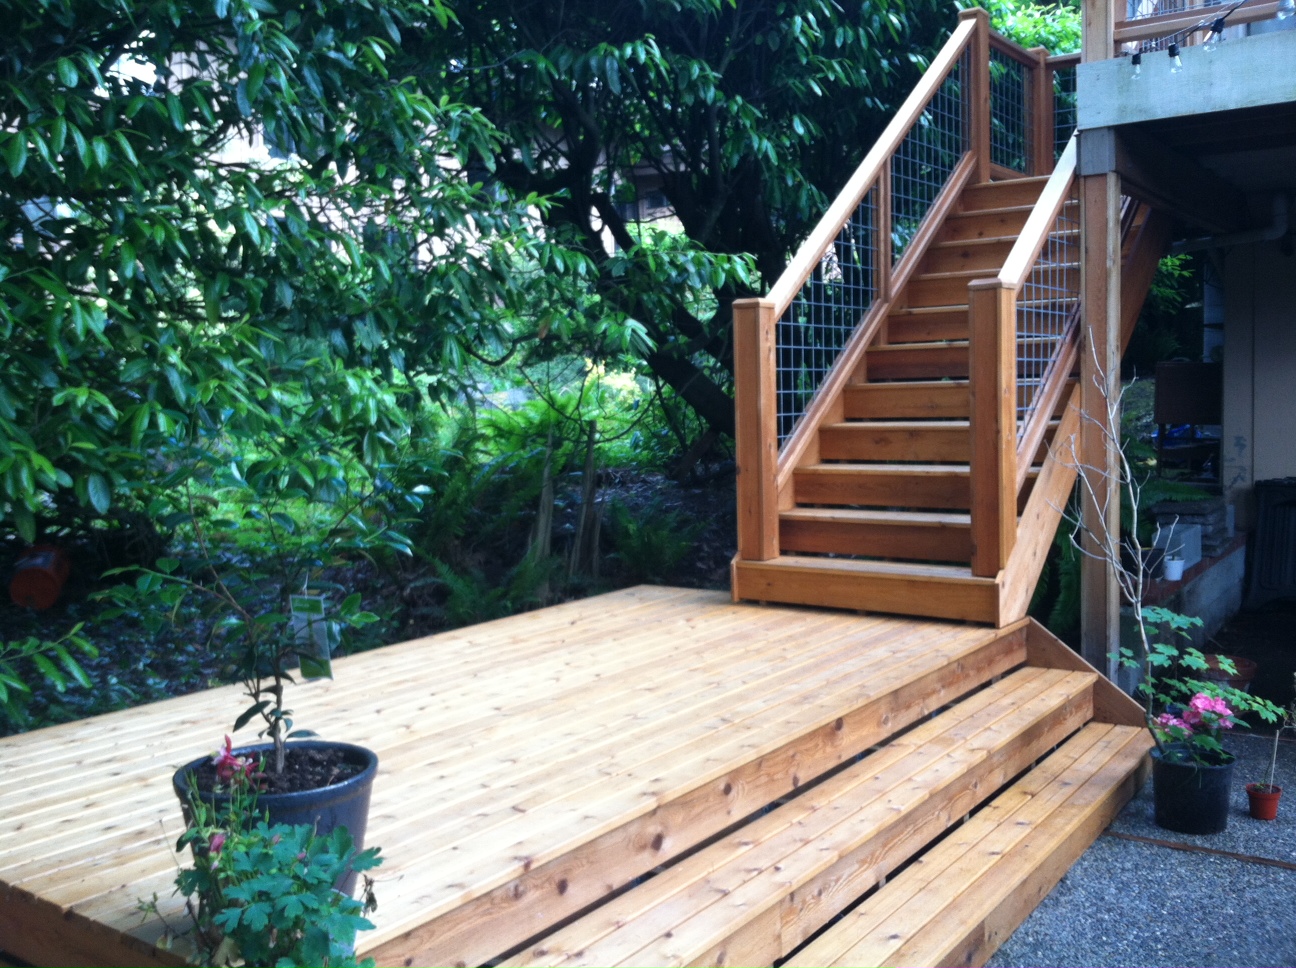
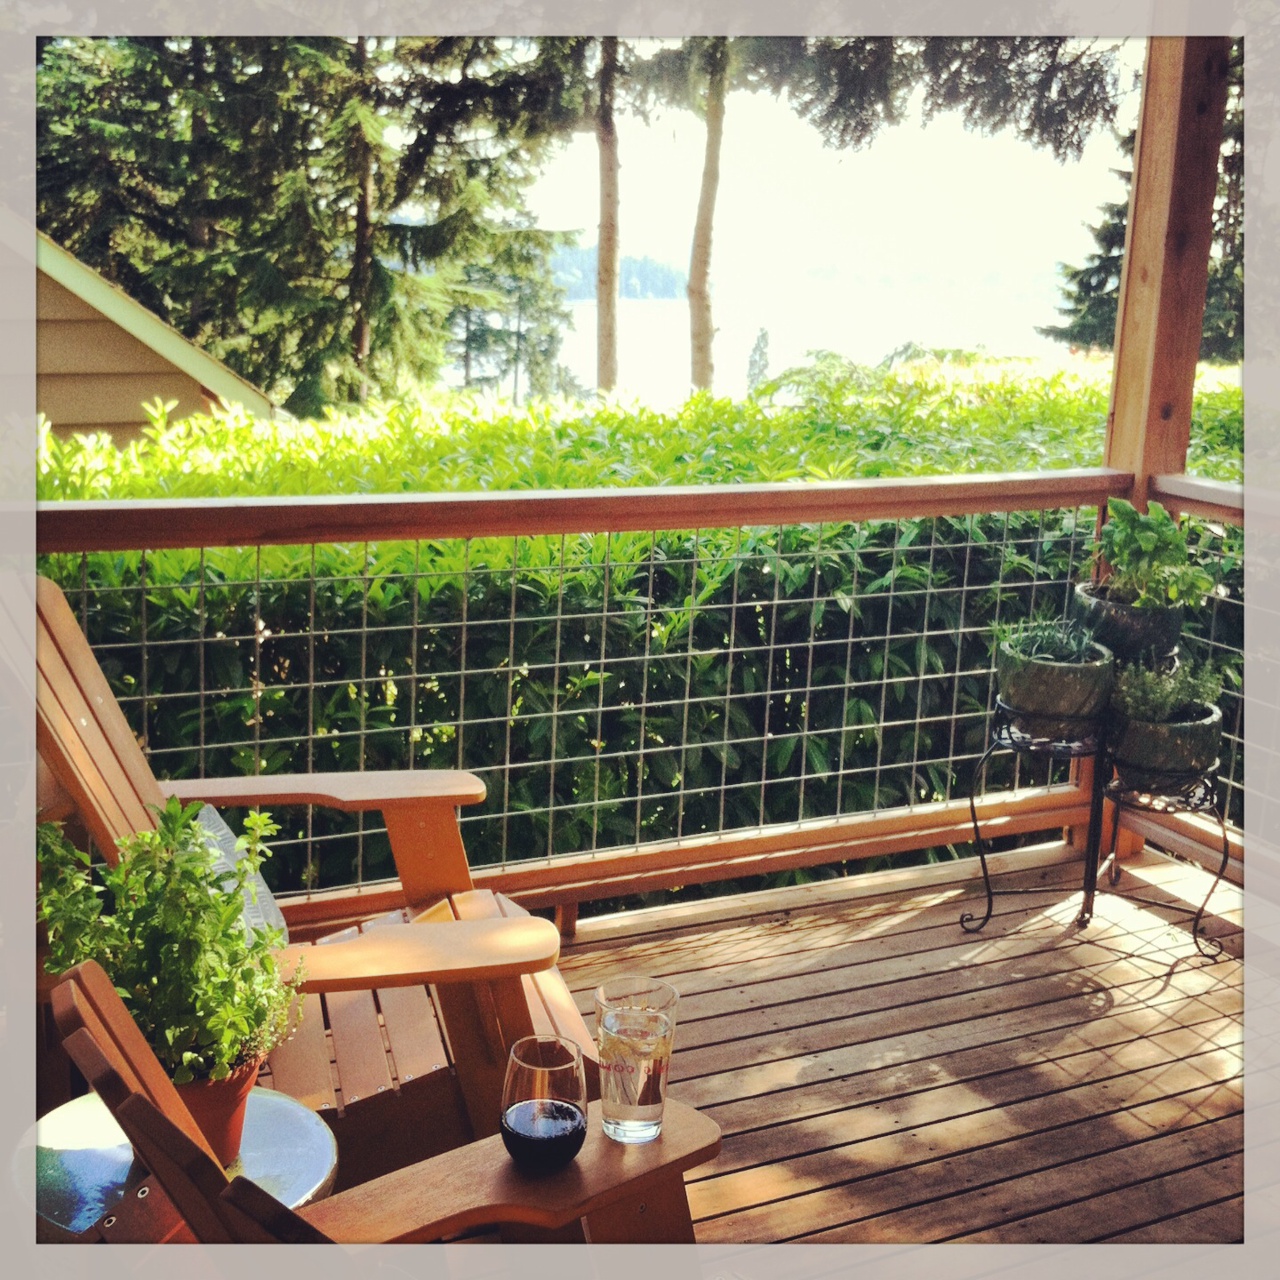
I’ll leave you with the latest from Megan’s Island: our backyard! At least all this rain is good for something! Most of those plants were planted in the last month!

Hello, gorgeous. I love our backyard!
Have a great week!