Ta-da! Top Pot co-founder Mark shares his fresh chocolate, creme-filled doughnuts
Brandon and I recently had the pleasure of attending a private tour of one of Seattle’s hottest doughnut-teries (like a bakery, but solely for doughnuts): Top Pot Doughnuts.
Brandon loves, loves, loves doughnuts and we make it a point to visit well-know doughnut shops when we’re out of town, on vacation. Some examples include: VooDoo and Blue Star in Portland, Gourdoughs in Austin, and Doughnut Plant when we were in New York City for our honeymoon. We record food and travel network shows about doughnuts and doughnuts often grace our breakfast table.
I’m less of a doughnut fanatic (rather than a sweet tooth, I have more of a savory tooth) but I can’t say no to a good maple bar or frosted doughnut with sprinkles.
Top Pot Doughnuts opened in Seattle in 2002 and they currently have 16 locations here. (Plus a newly-opened shop in Dallas. If you’re reading from Dallas, you should go check them out!) One of the locations is very close to my day job and I’m lucky enough to have doughnuts grace the office kitchen once every couple of weeks. They have many varieties of doughnuts, with the classics and several seasonal favorites. In fact, I just saw on Facebook that the blueberry cake doughnut made its seasonal debut. I’ll have to pick some of those up soon.
Mark Klebeck and I met through my day job and the more I spoke to him, the more excited I was to share his glowing personality and doughnut knowledge with Brandon. Mark and his brother are true entrepreneurs and I was so excited to hear how they started this and so many other businesses.
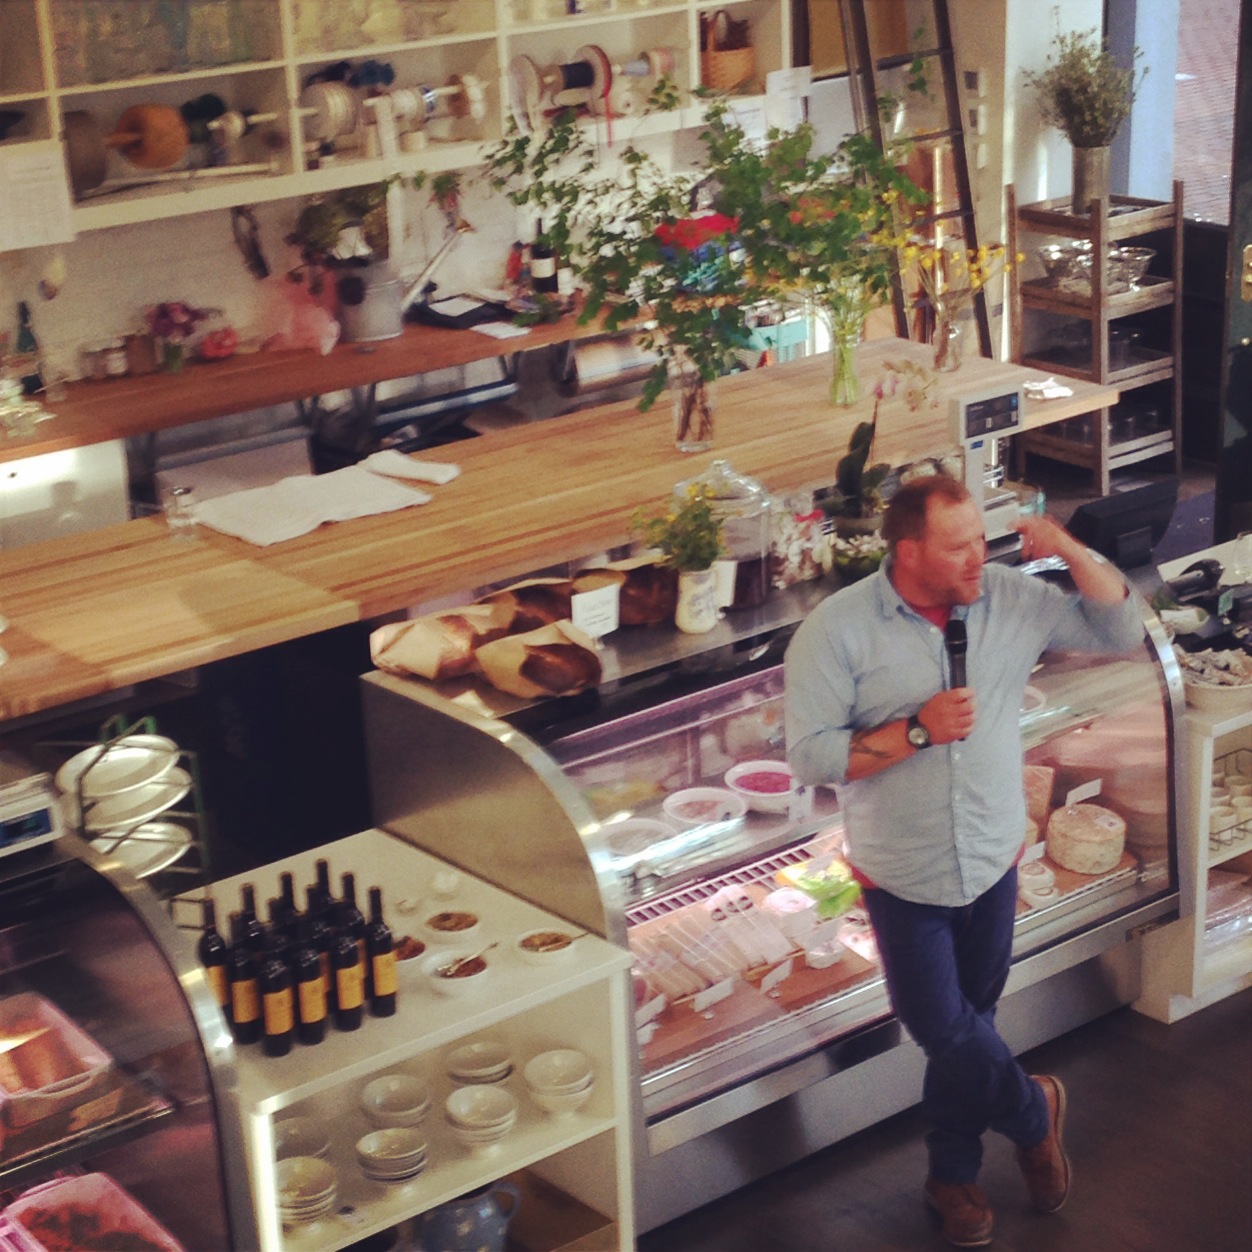
Mark met my Dad, Brandon and I at the Top Pot flagship store on 5th Ave in Seattle. (It’s kind-of famous, thanks to a former Seahawk with a sweet tooth.) This location makes 3,000 dozen doughnuts each day to supply doughnuts for the greater Seattle area (that’s 36,000 daily) and runs pretty much around the clock, shutting down for a mere 4 hours each early morning. We stepped behind the counter and into the back to a world of hand-forged doughnut delight.
Mark and his brother, Michael, created a cookbook for their doughnuts and you can find their dough recipes in there.

Yeast doughnut dough at Top Pot
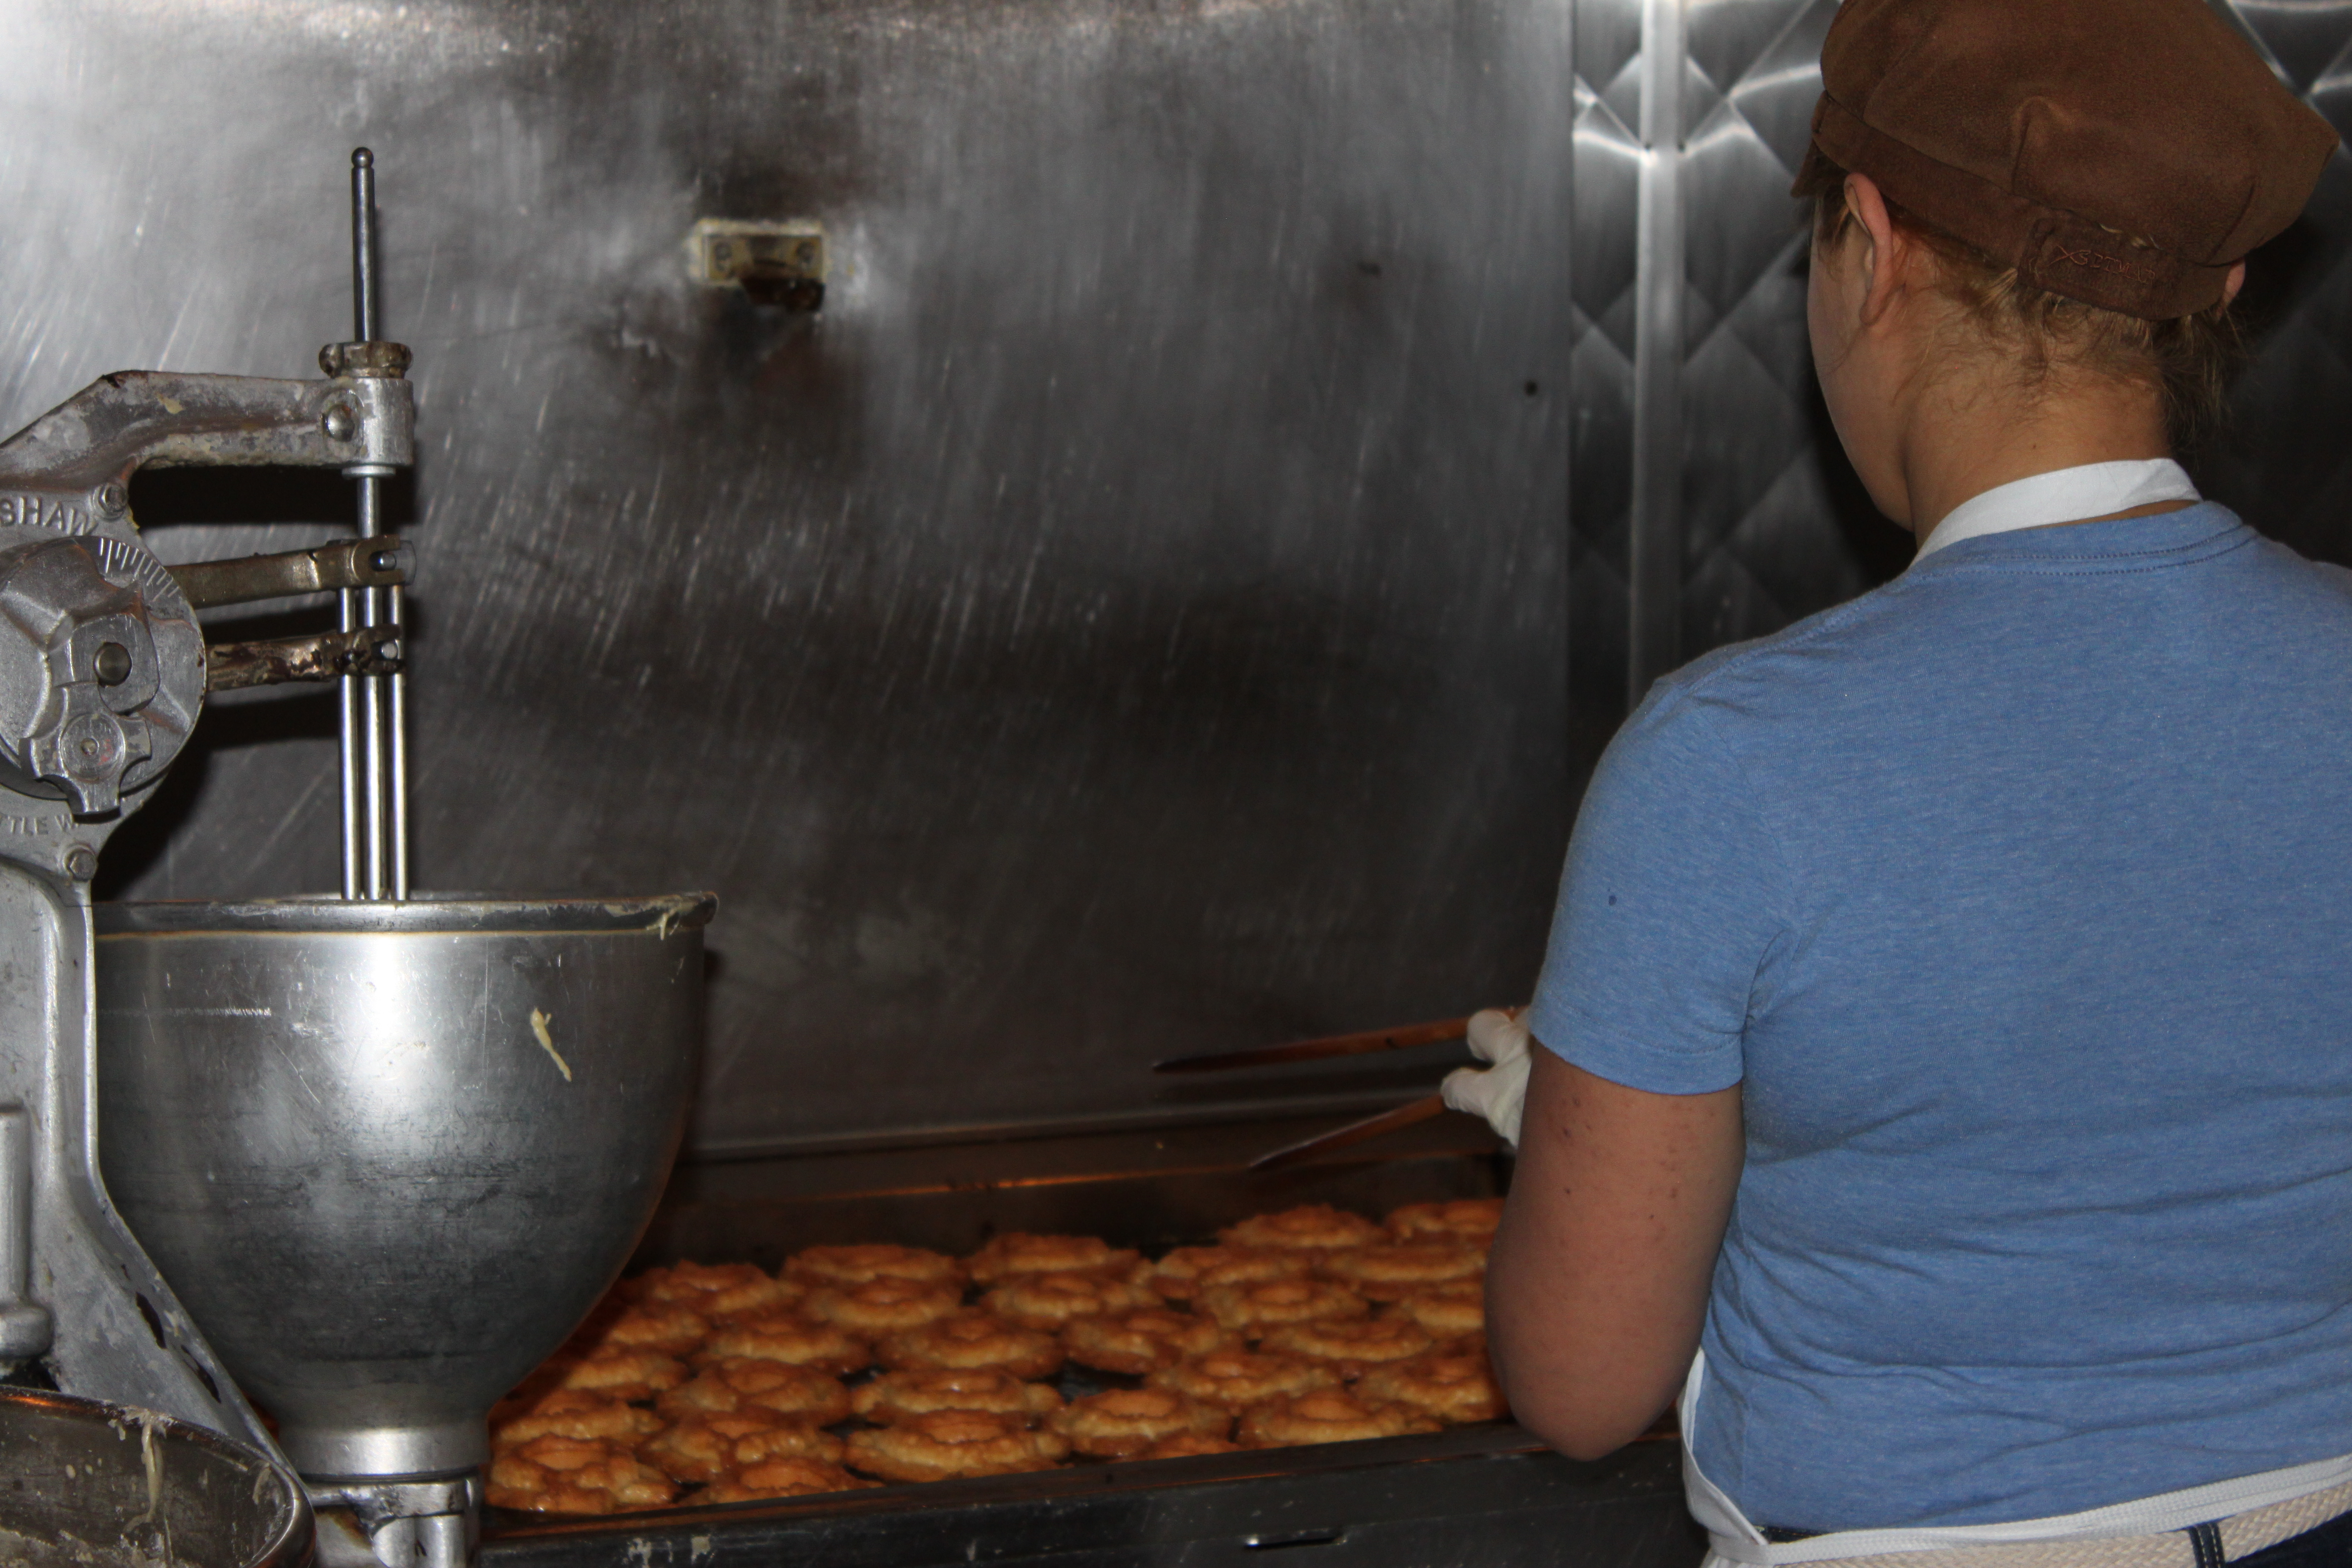
The doughnuts rise 300 percent, so they start off much smaller than you think they’re going to… Like these maple bars being punched out. Doughnut making at Top Pot is an incredibly manual process (truly hand-forged) and the dough above gets rolled flat, perforated and then run through an old-fashioned press that punches out yeast-raised doughnuts like these:

Maple bars: the early stages
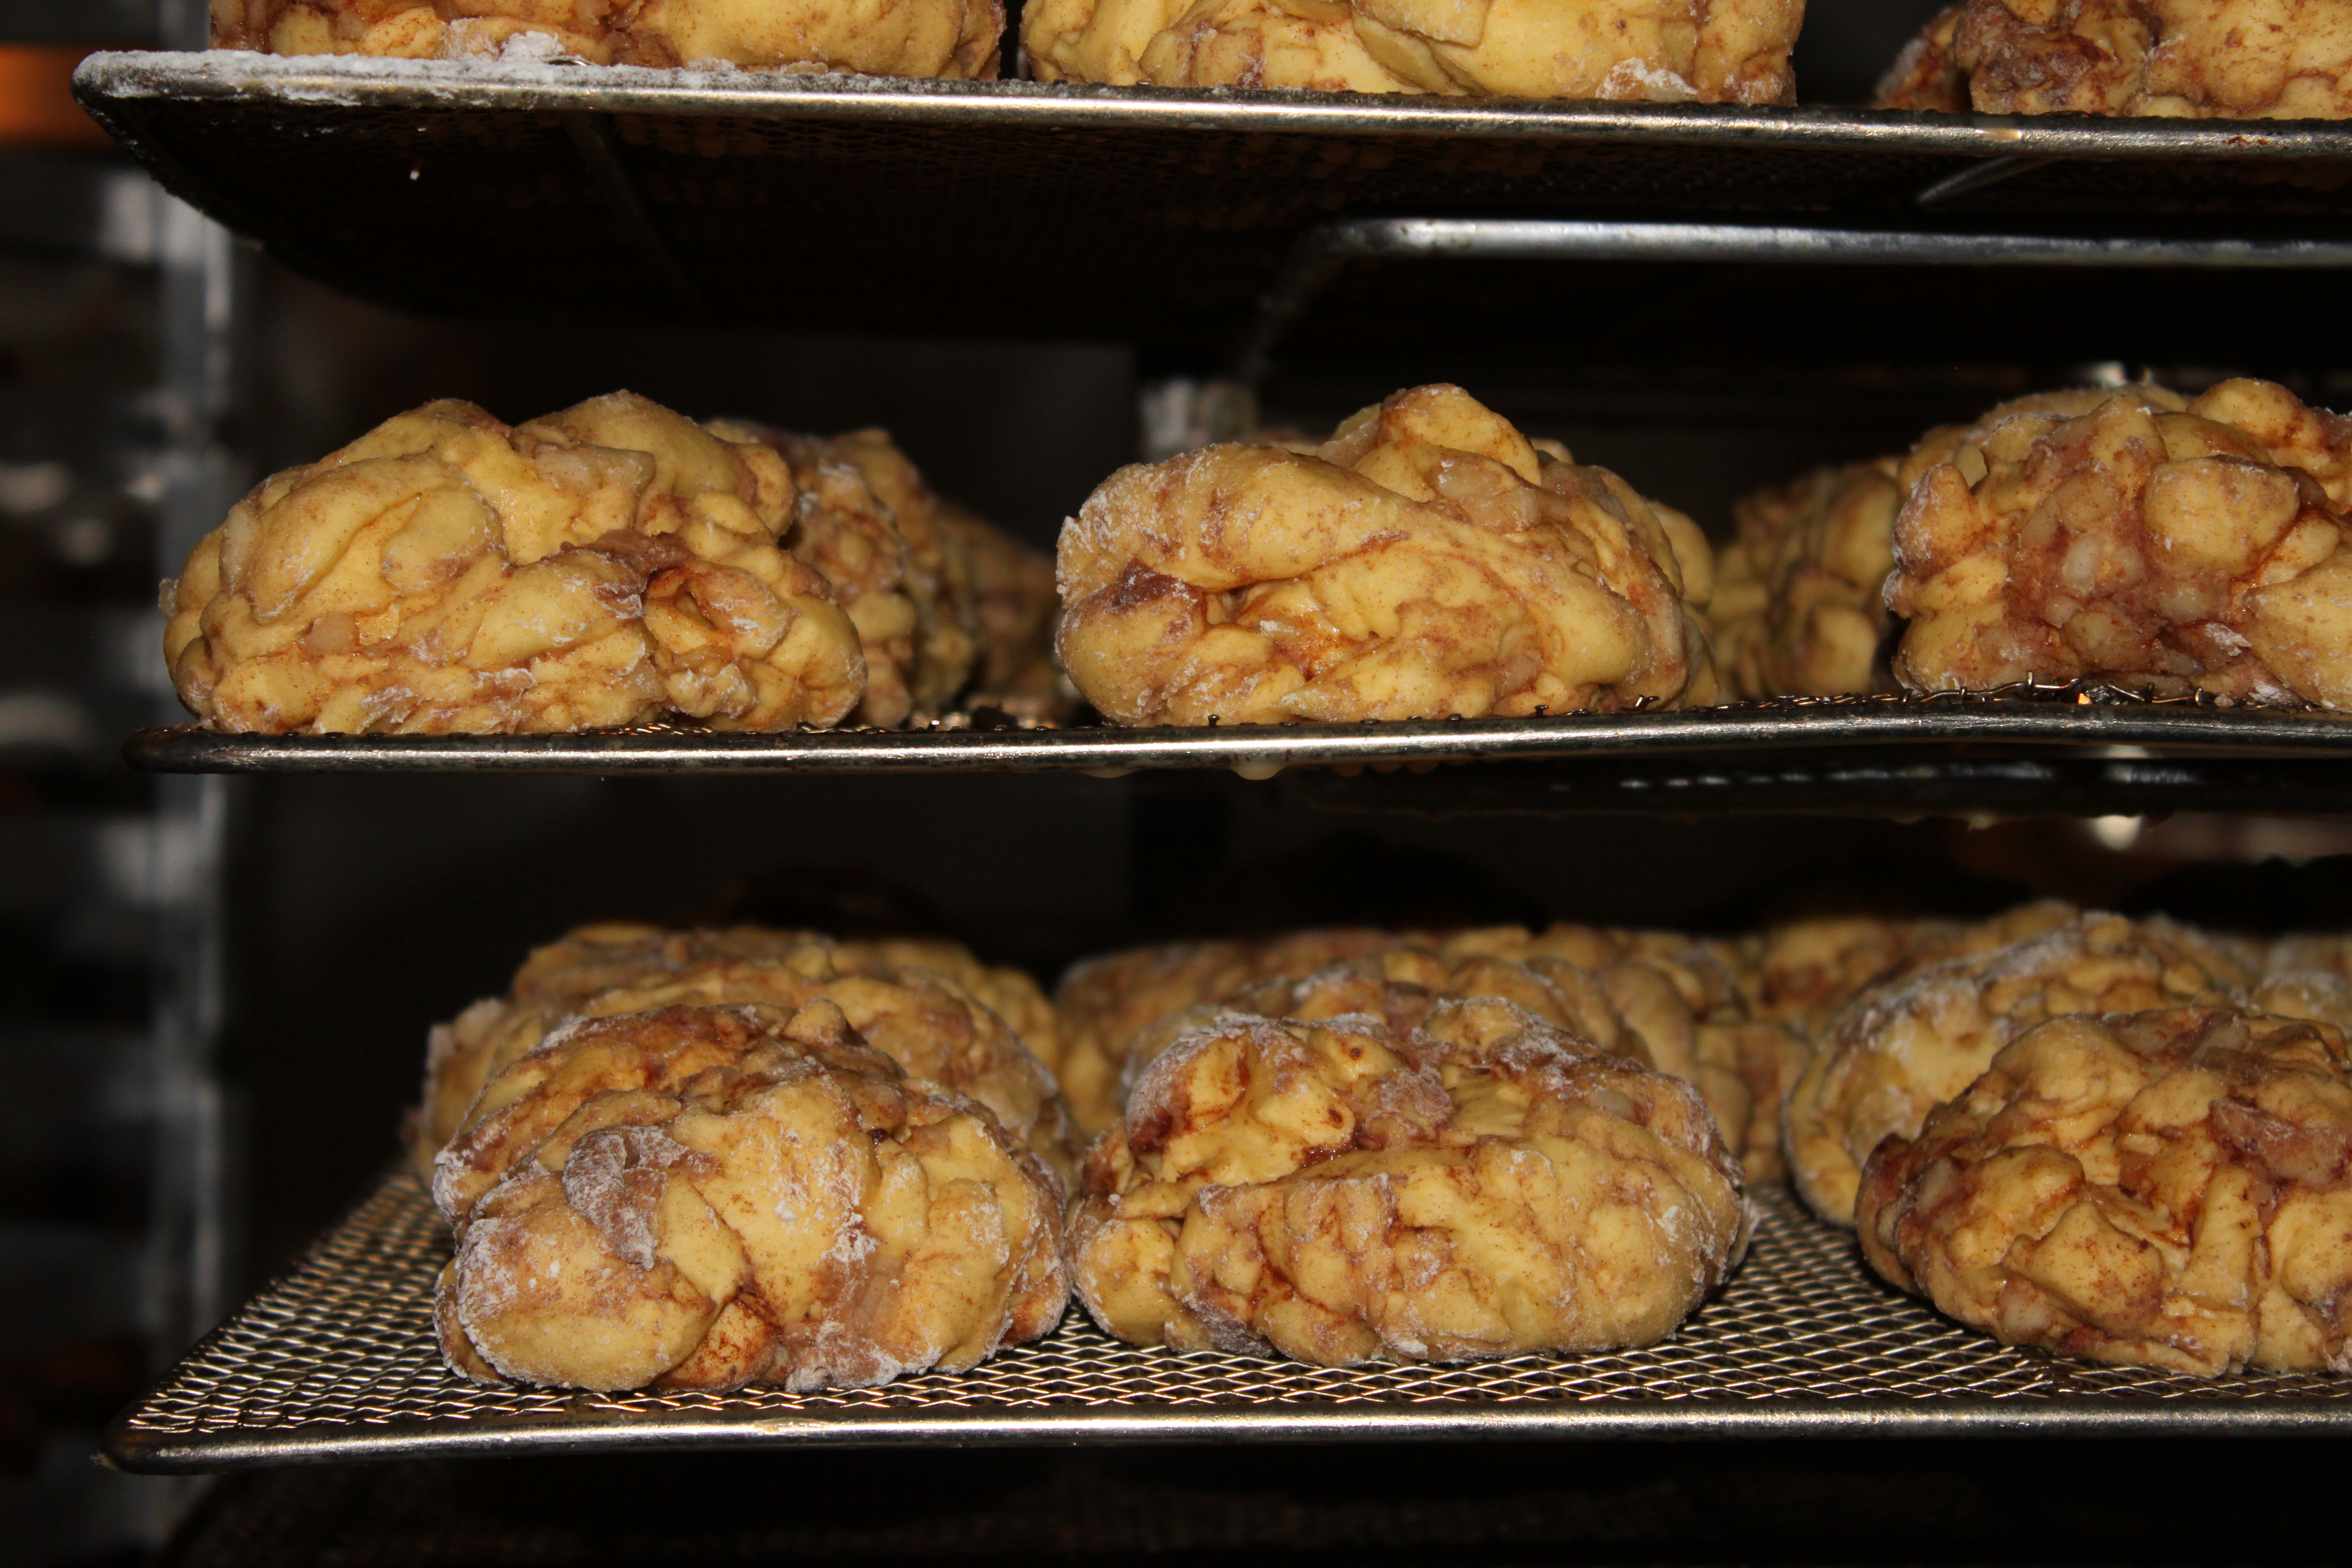
Nothing gets wasted in this process. The leftover yeast dough scraps from the bar and circle doughnuts gets combined together to form Top Pot’s famous apple fritters. (One of Brandon’s favorites.)

Leftover dough = apple fritters

Apple fritters before the fryer and glaze
Once the doughnuts are in their shape, they need to rise. Top Pot has a walk-in proof box where the doughnuts go to rest and grow. This process takes less than an hour. Once they’re plumped up, it’s off to the fryer! All of Top Pot’s doughnuts are fried and we were able to watch cake doughnuts, yeast-raised doughnuts and apple fritters get fried all at once, in separate vats.
For the cake doughnuts, this machine plops the ring of dough in the oil. As it cooks, the doughnut rises. Here is a batch that are almost ready for their glaze!

Doughnuts in the fryer
Once they’re all cooked and floating, the metal tray that is hiding at the bottom of the fryer is lifted out and the doughnuts get cooled:

Hot doughnuts, comin’ through
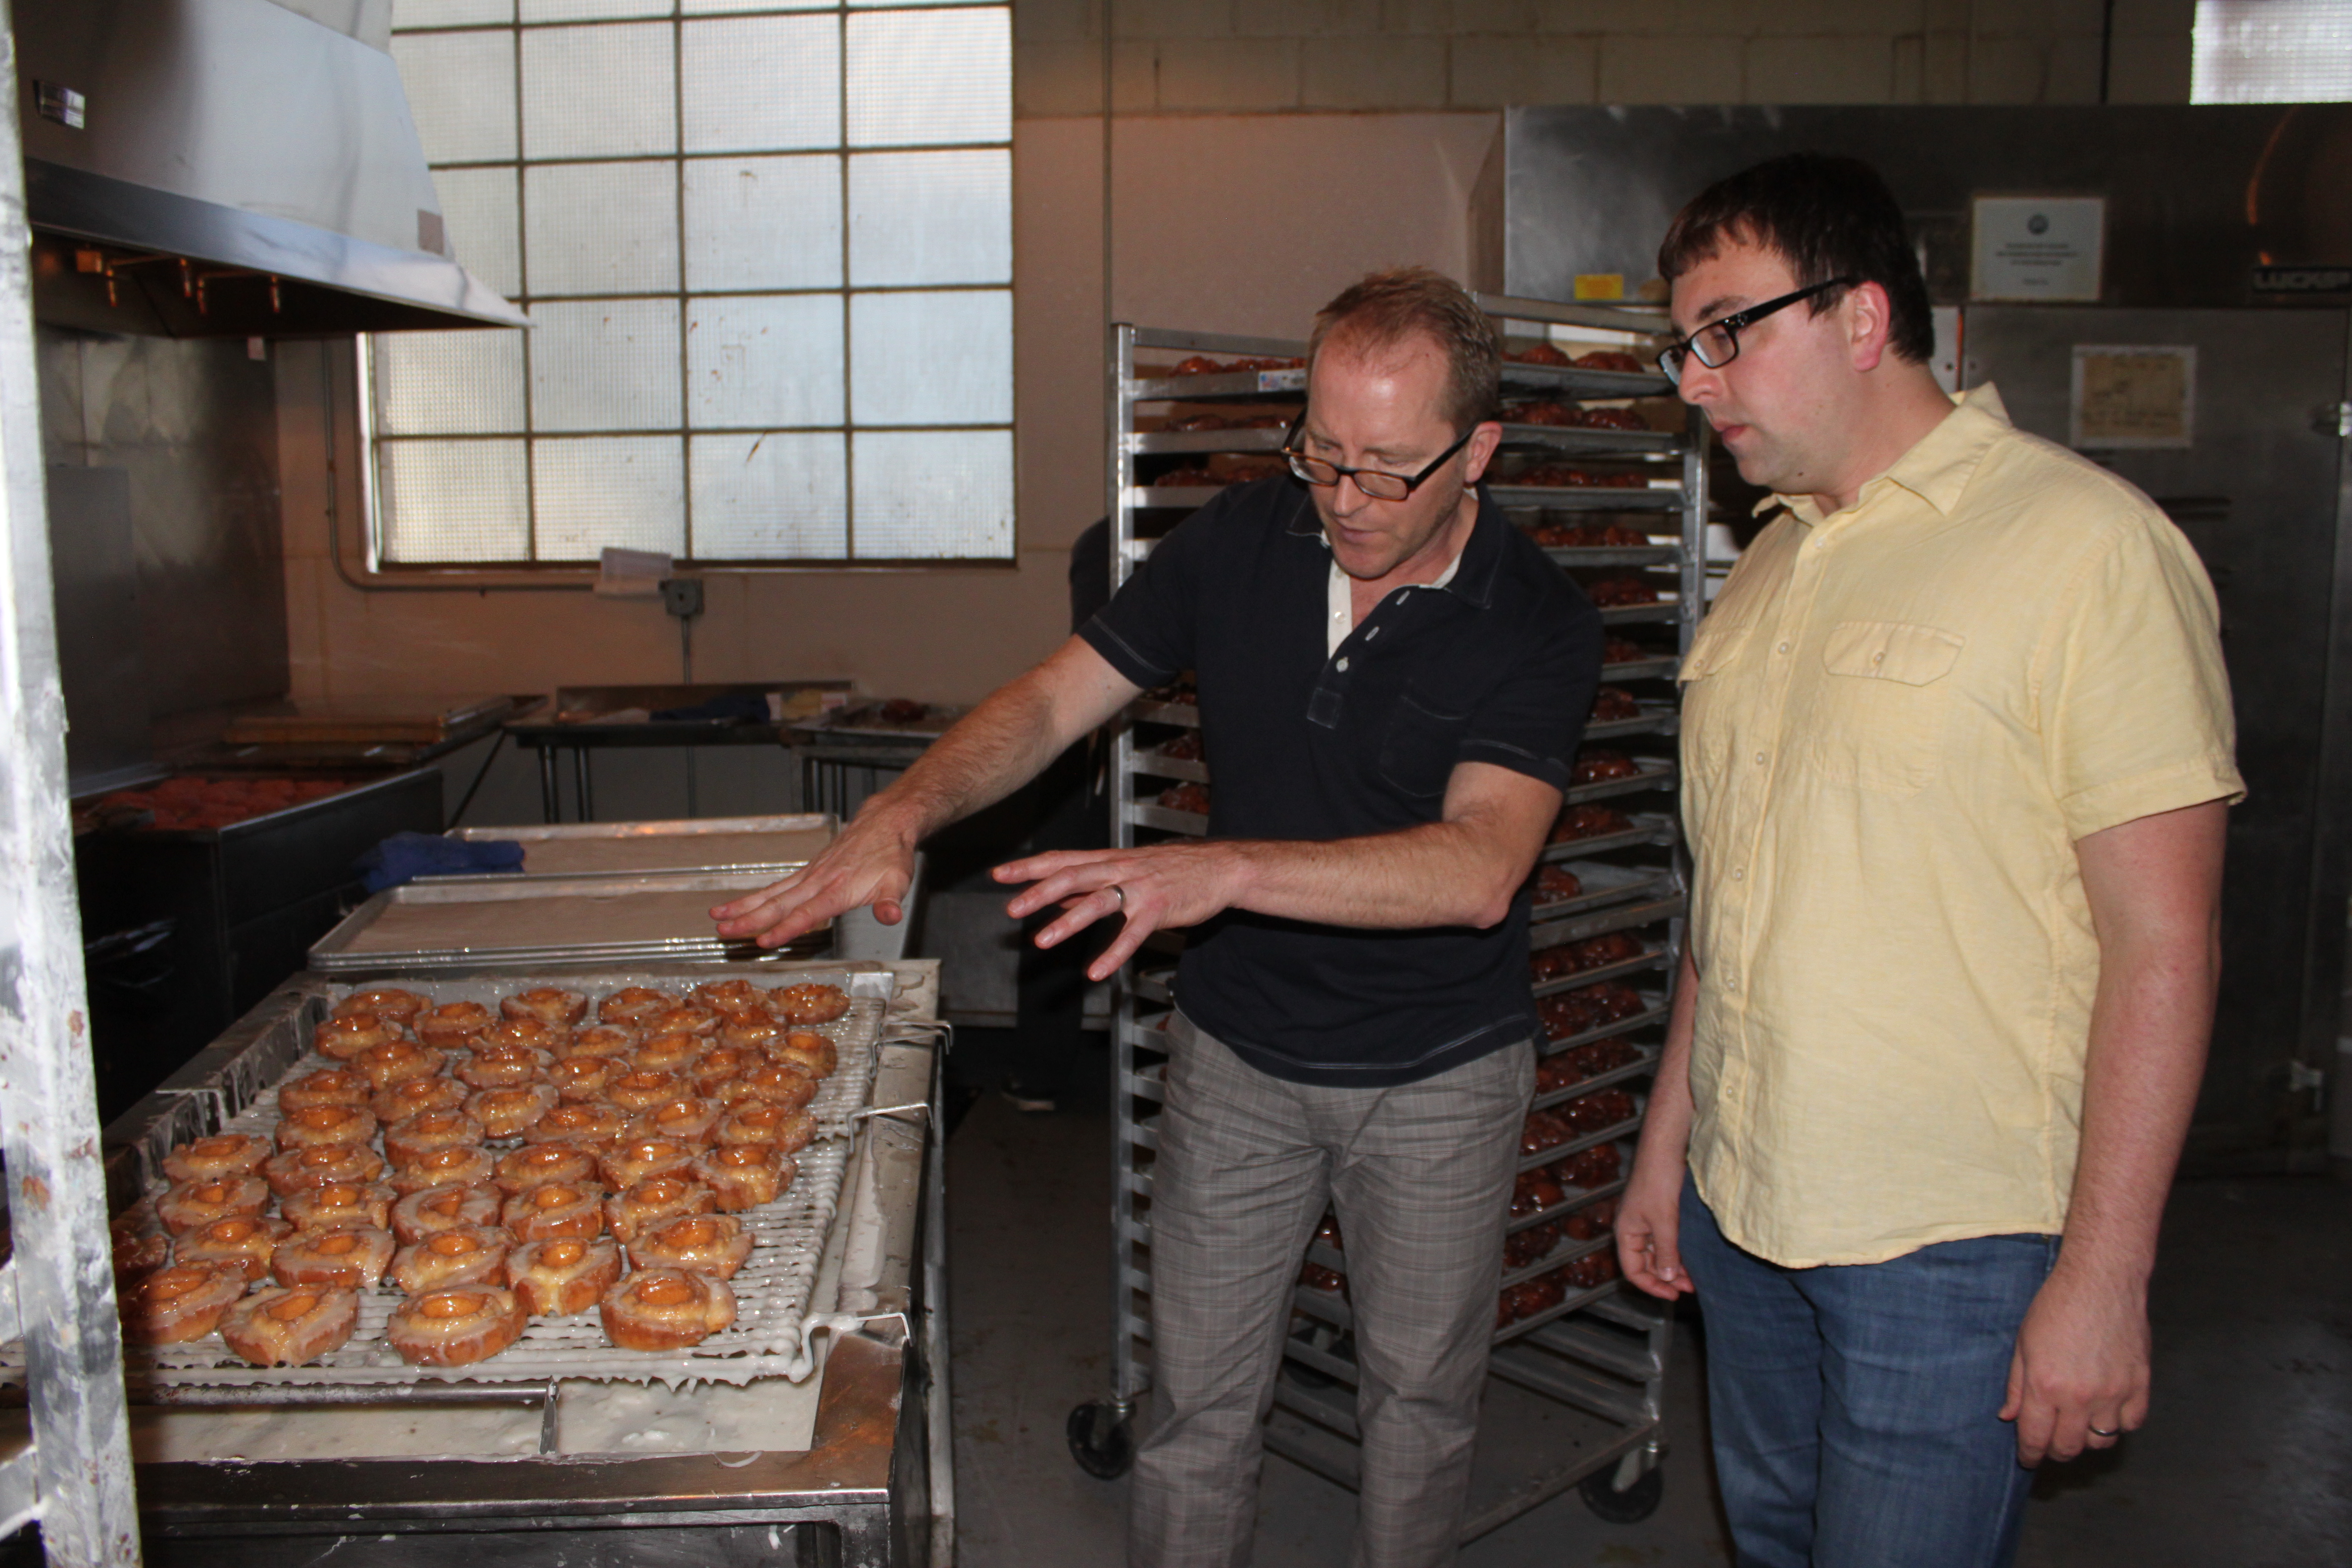
Once cooled, many of the doughnuts (fritters, old-fashioned, etc…) get glazed. The glaze-r is so cool. The doughnuts are placed in a single layer on their wire rack and the whole rack makes its way to the glaze table. Then this trough gets filled with glaze and the doughnut maker covers the whole rack in a swift motion:

Well-glazed glazed doughnuts
Here is Mark walking us through the process. Brandon was really intrigued and was hoping for a sample.

Mark & Brandon: Best buds at Top Pot Seattle
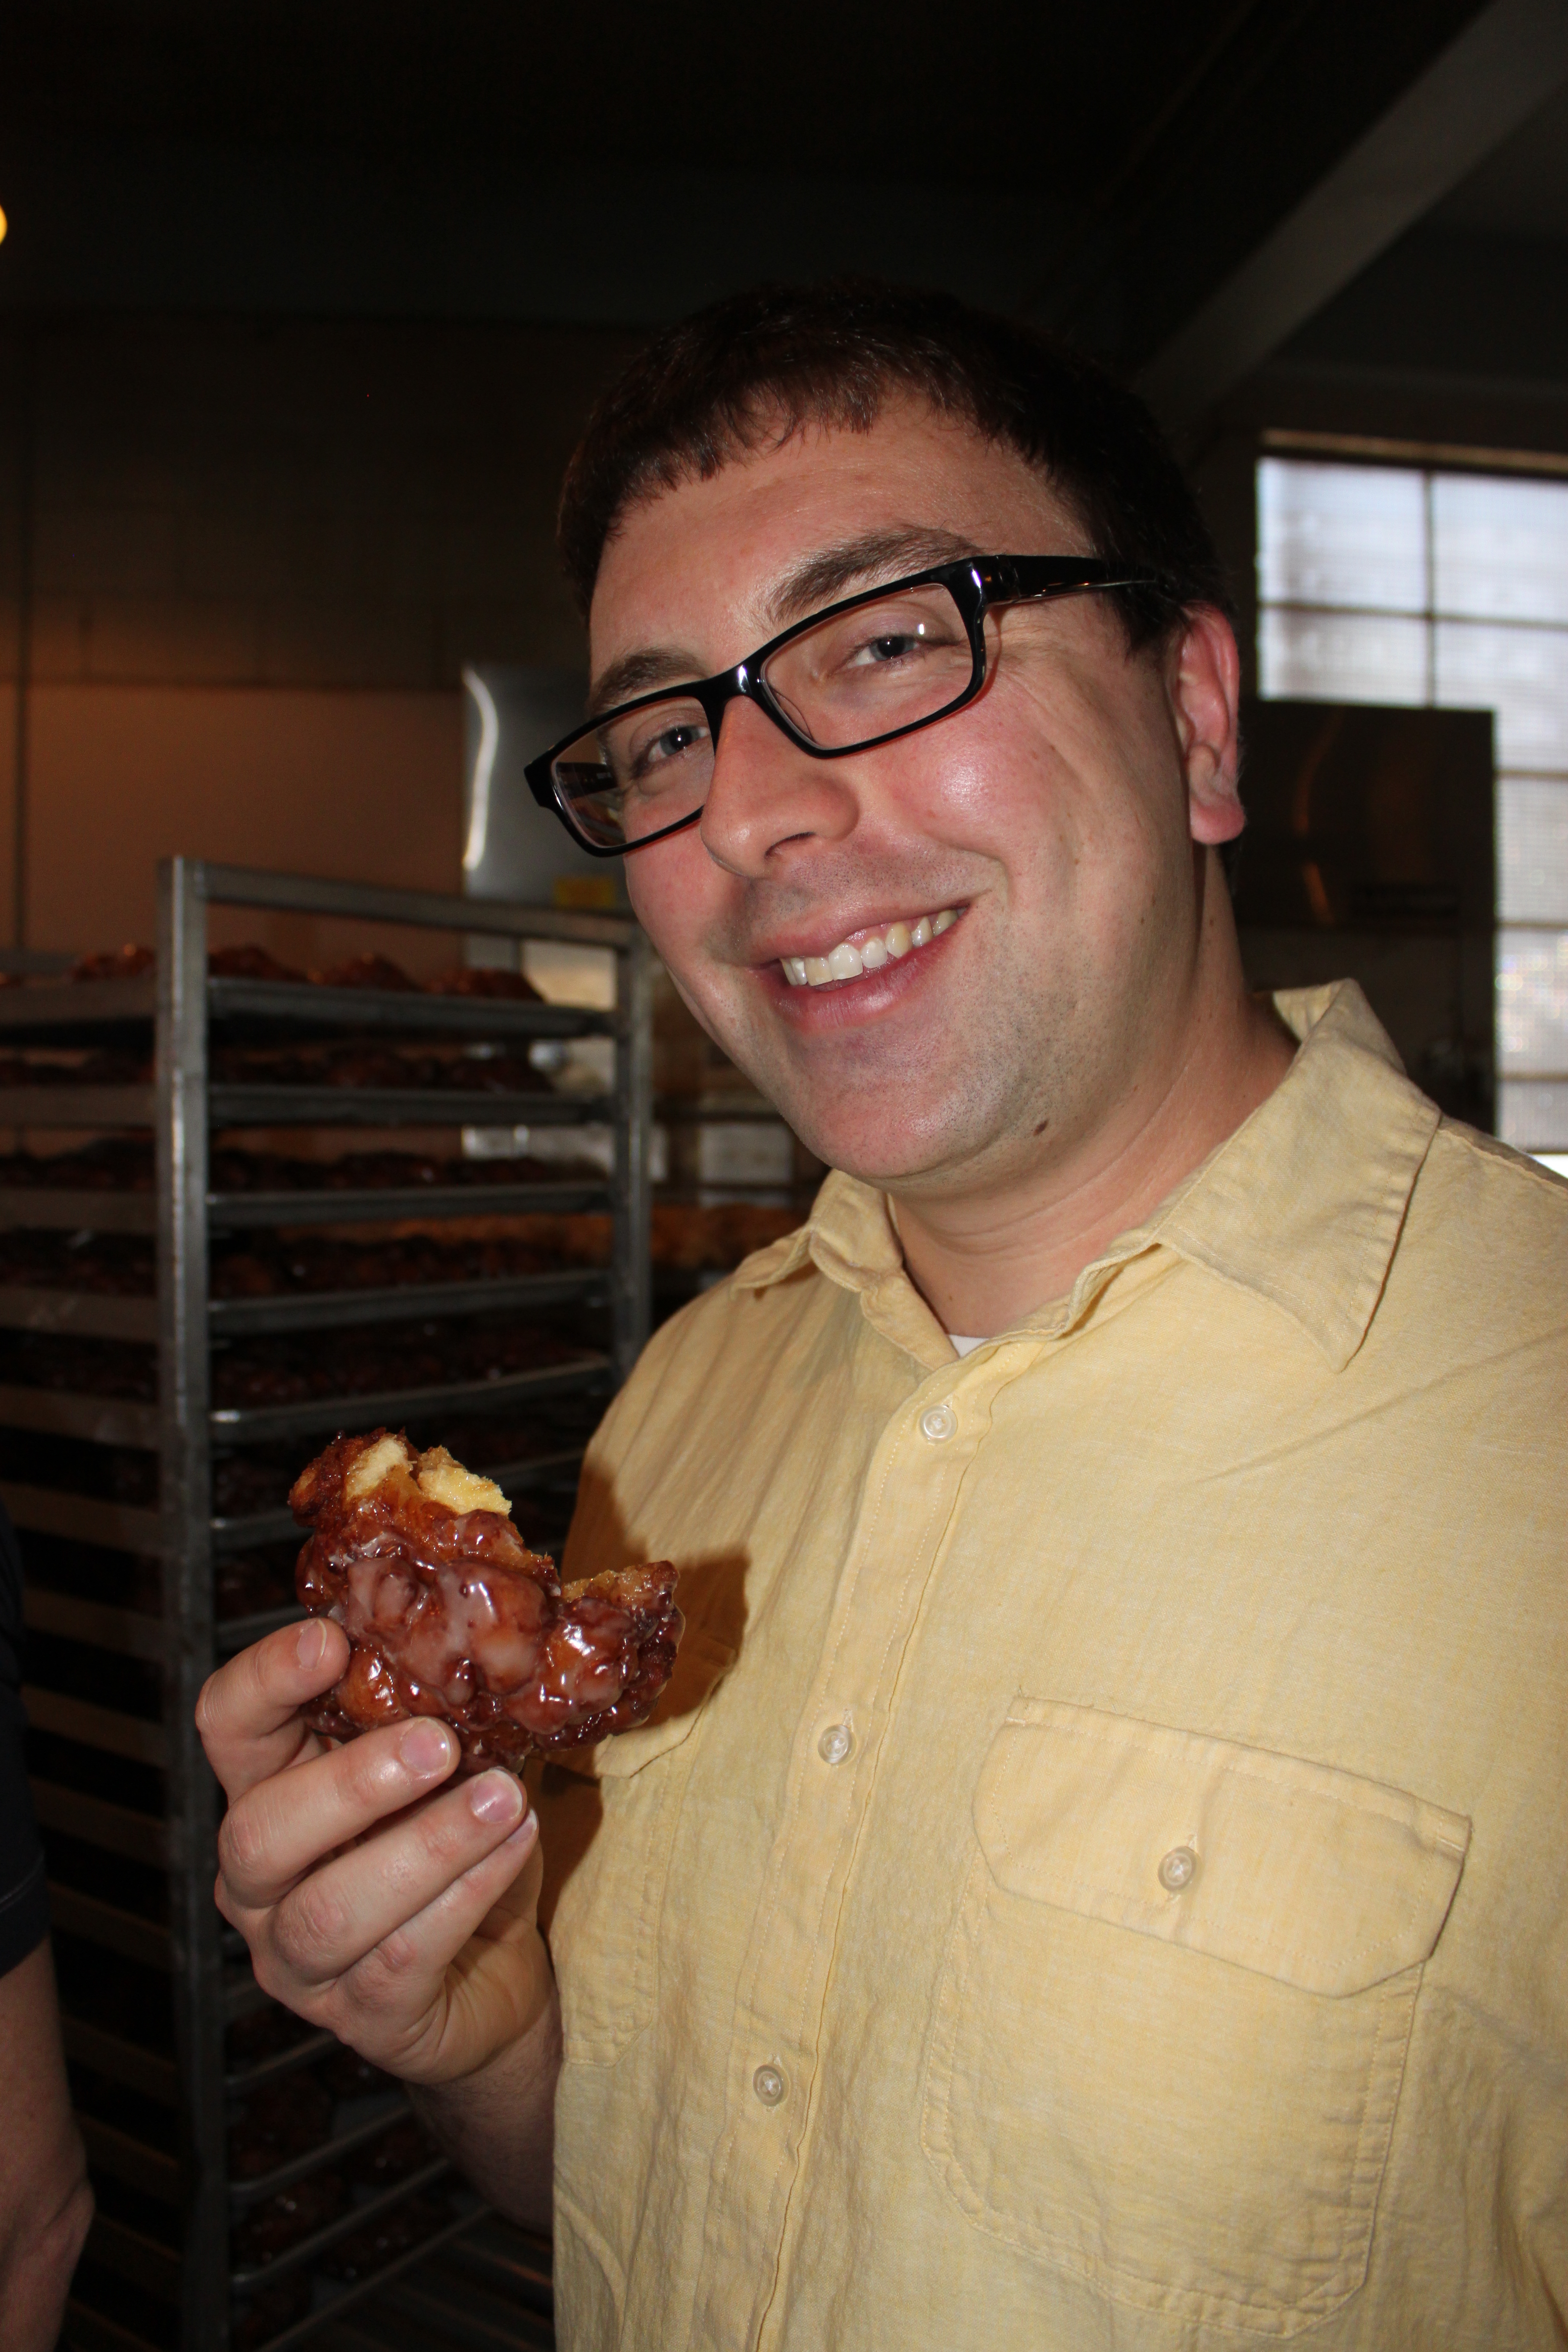
Lucky for him, Mark is generous and Brandon was able to eat his favorite, still warm, doughnut, an apple fritter! He was happier than a kid at a candy shop. Or a kid at a doughnut shop. Same thing, I guess.

Fresh doughnut? Yes, please.
Our tour finished with more sampling and more learning about the doughnut business and coffee bean roasting business, the profitable side of Top Pot Doughnuts that Brandon and I, the only two Seattle-ites who don’t drink coffee, have very little experience with.

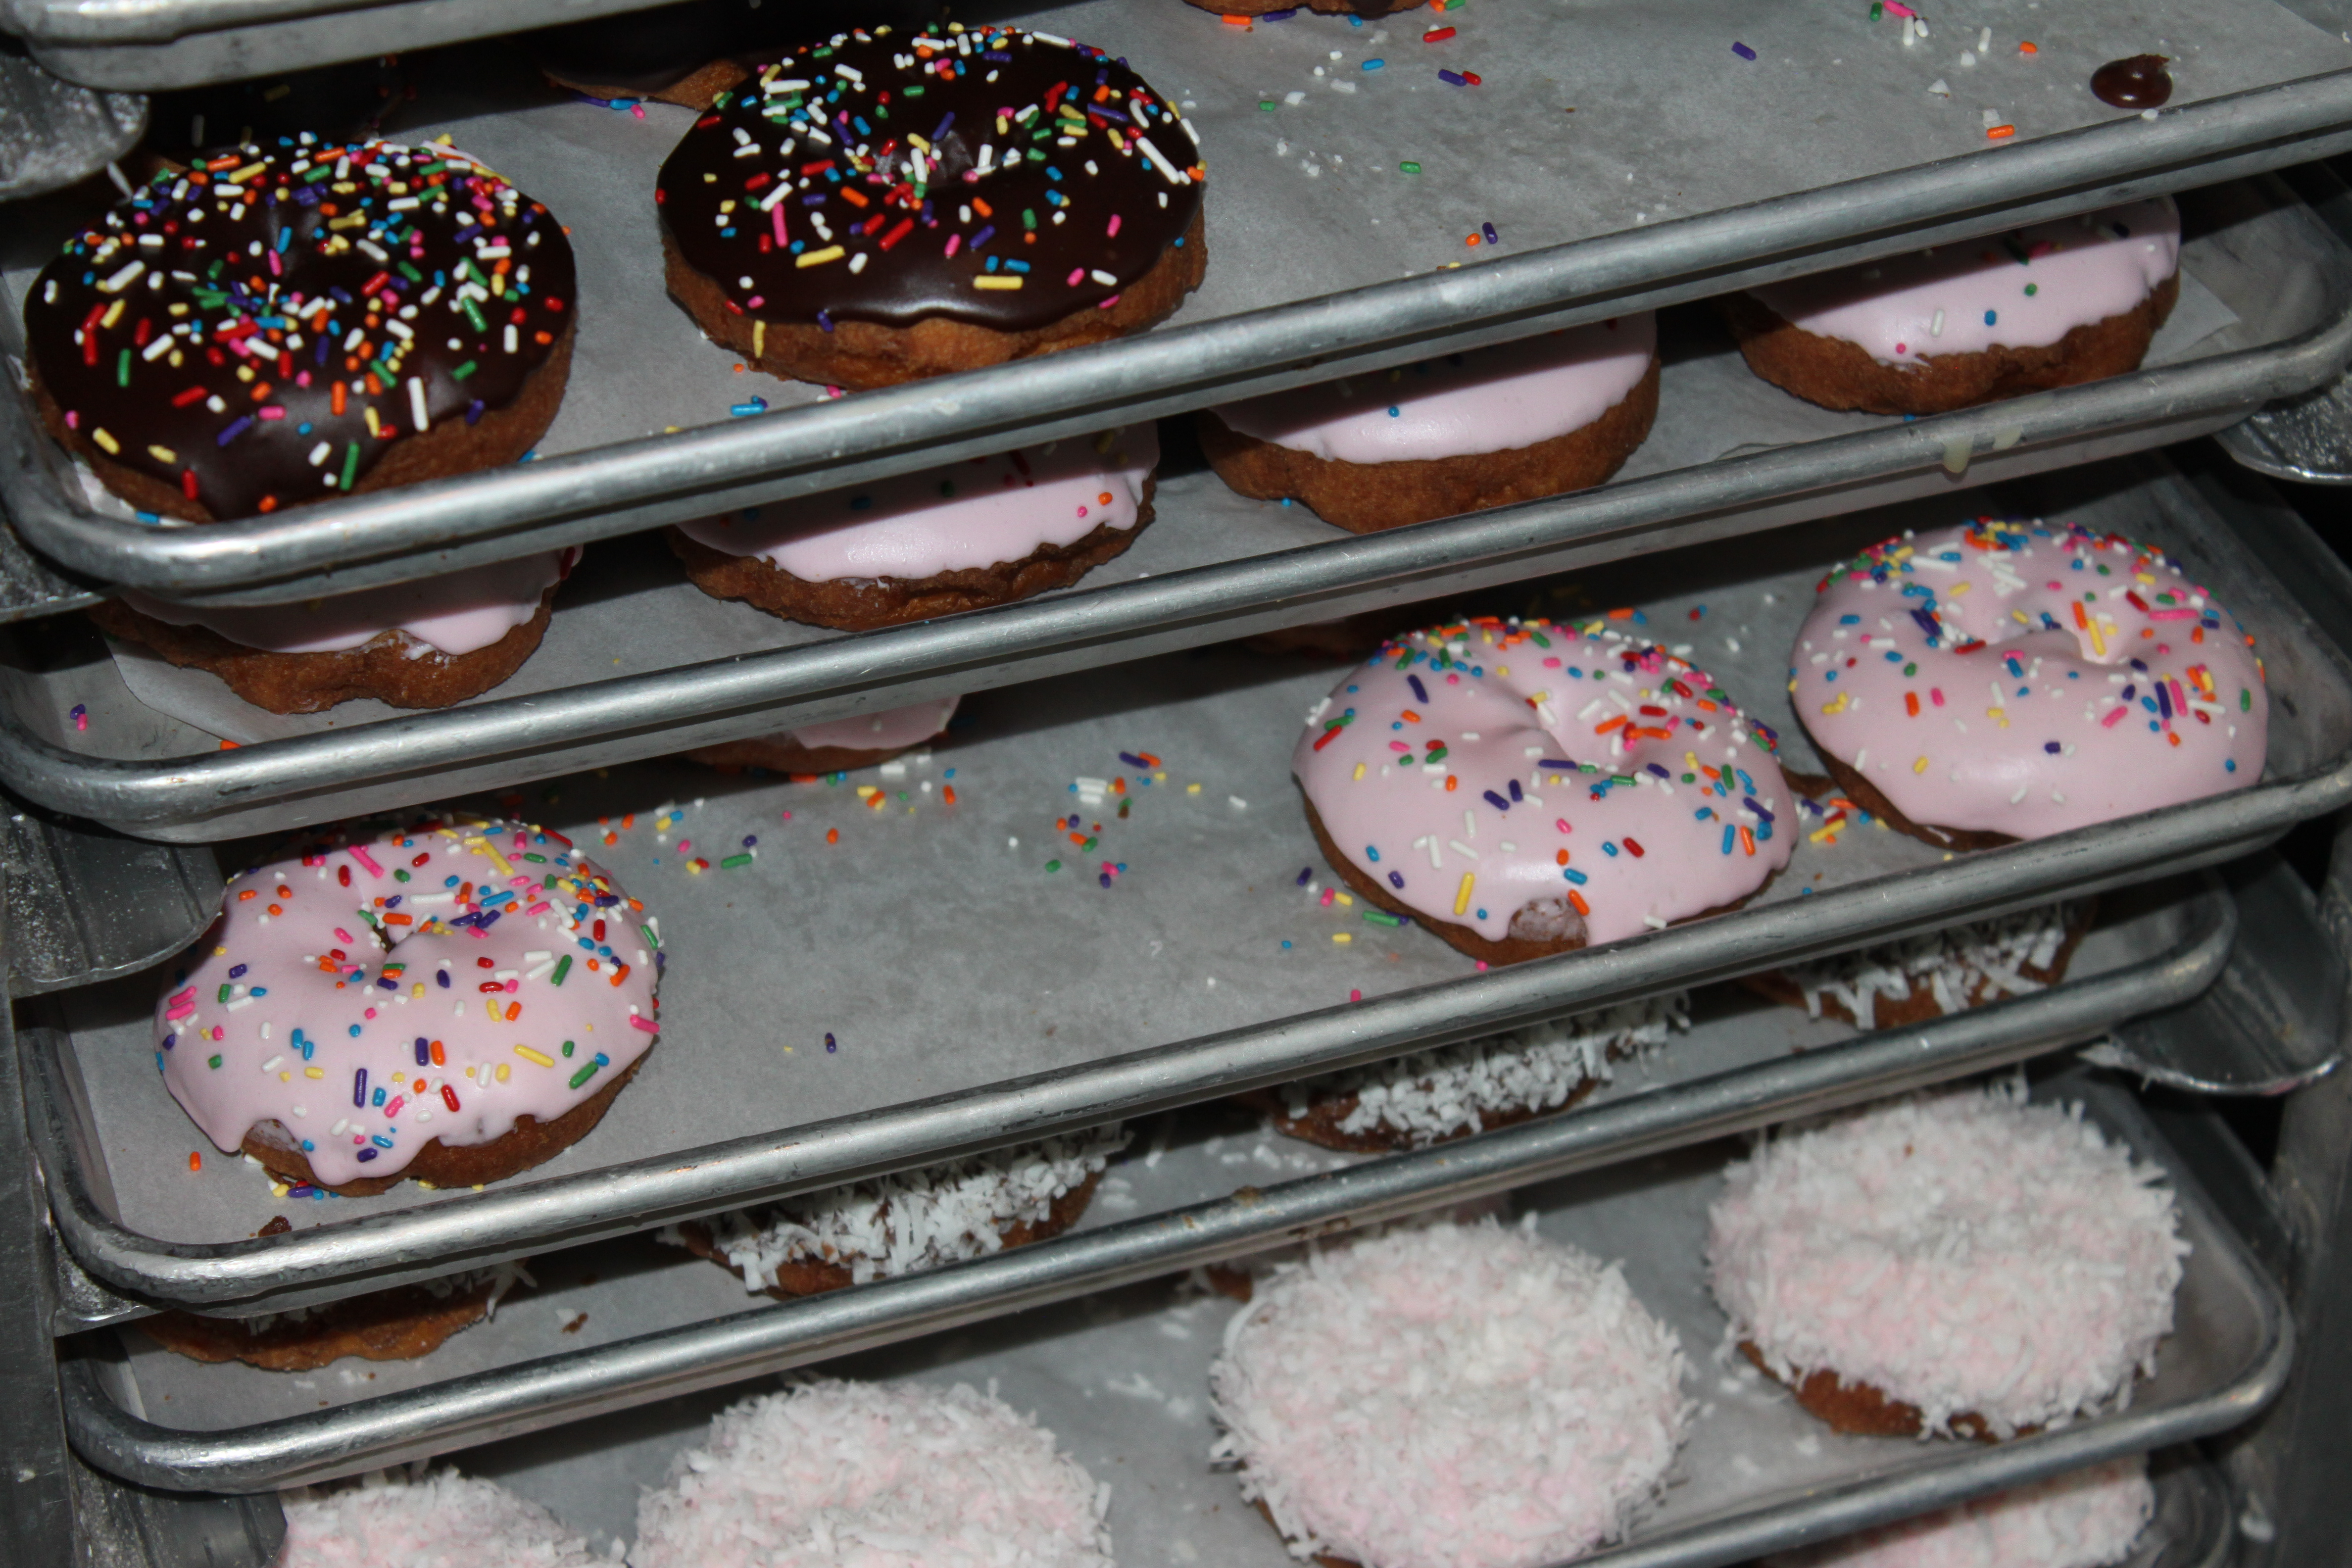
My Top Pot favorites: frosted doughnuts! (Not pictured: my other favorites: the maple bar)
And Mark was nice enough to autograph our Top Pot cookbook…

Autographing our Top Pot Doughnuts cookbook
…and pose for a photo with us!

Brandon, Mark, and Megan | Top Pot Doughnuts, Seattle, WA
Top Pot is really invested in their community and they have partnered with Northwest Harvest to sell raffle tickets to the Seahawks/49’ers re-match in San Francisco over Thanksgiving weekend. Buy your tickets at any Top Pot location and know that each ticket purchased provides 45 meals. More info can be found here. The drawing is held on June 6.
Thank you to Mark and Top Pot for a wonderful, fascinating, and tasty tour and we look forward to continuing our adventures and trying every doughnut variety you produce!
Oh, National Doughnut Day is on June 6. I know I’ll be celebrating and I hope you do too… perhaps with a visit to Top Pot? Maybe I’ll see you there!