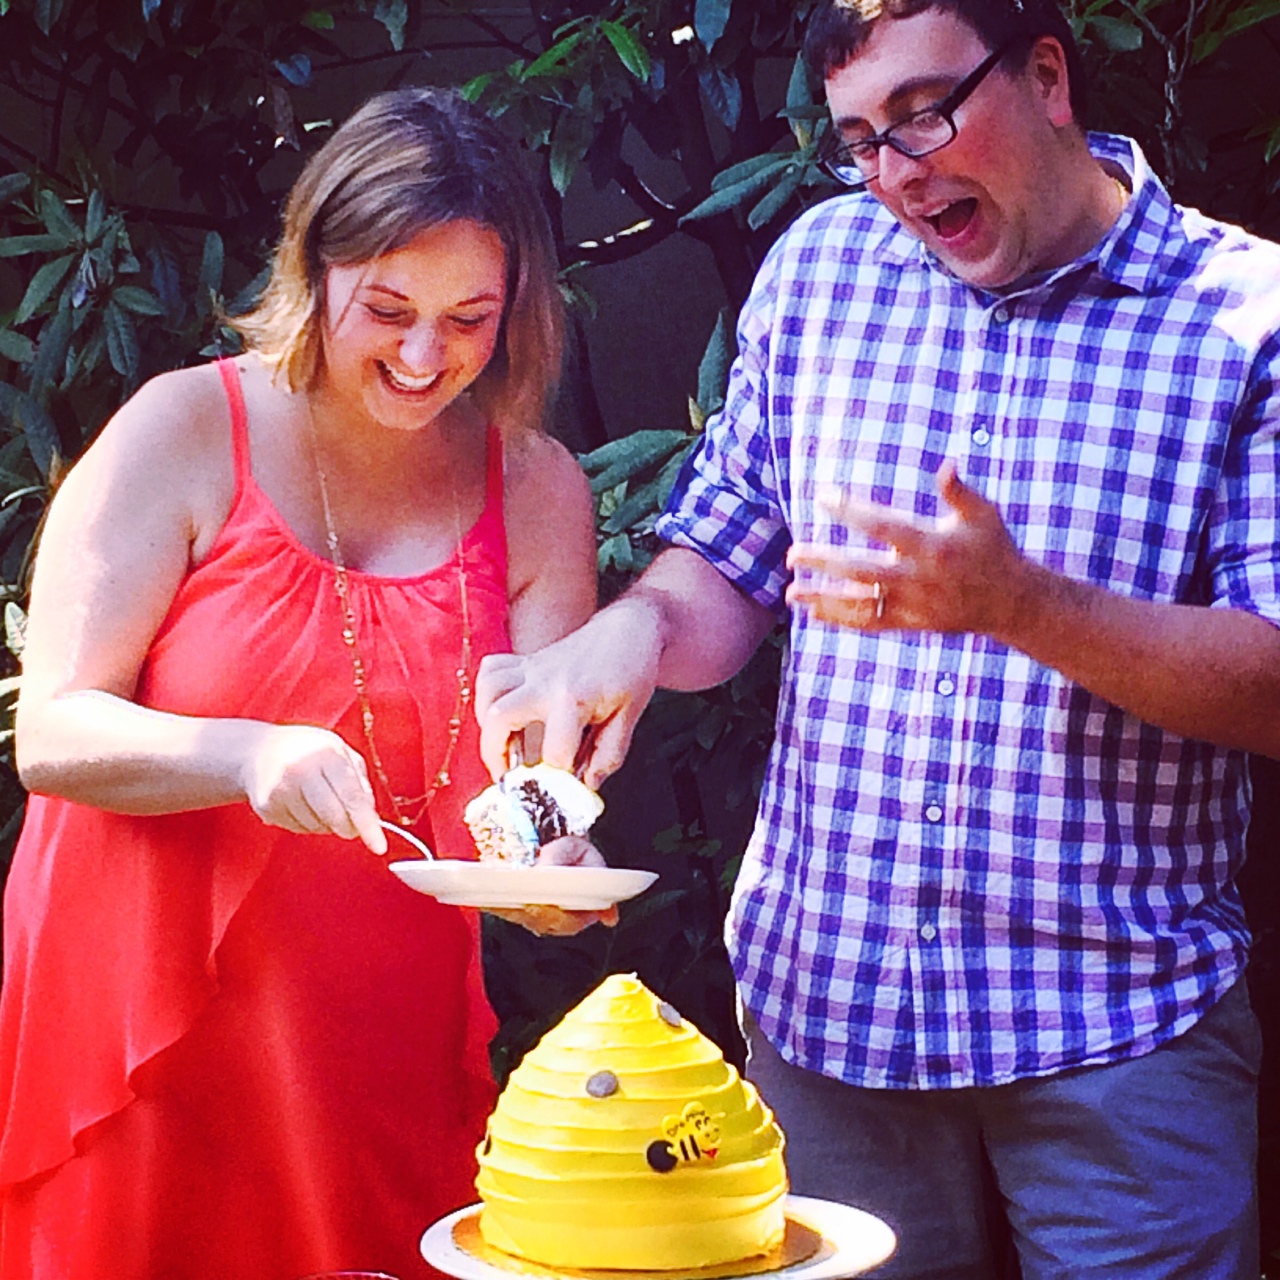
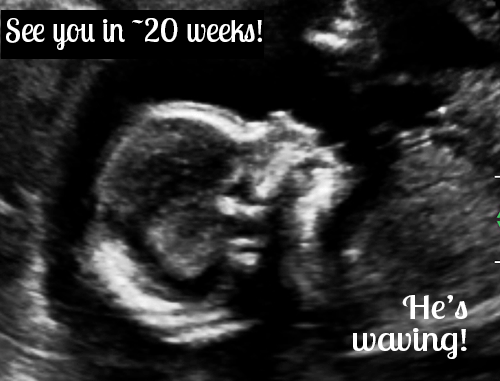
Brandon and I are celebrating our FOURTH wedding anniversary in a little less than a month and with Baby Michael due just a mere 10 days before our anniversary, I’m a little early with this post, since I’d like to have Brandon’s gifts on lock down by the time the kid arrives!
We like to buy one another “traditional” anniversary gifts, as dictated by… Hallmark.
Check out our first (paper) anniversary gift ideas, second (cotton), and third (leather). (Pinterest became popular after our first anniversary, so I don’t have any ideas to share beyond what we did for one another: I made Brandon a book of coupons {I don’t think he’s redeemed any yet} and he gave me a photo album to capture our future memories together that I am sorry to say I haven’t used yet either. I’ll put it on my ‘to do’ list on my baby vacation!)
The fourth anniversary is the “fruit and flower” anniversary, so we’re using that to guide our gift giving. I typically turn to the internet for my gift-giving ideas and this anniversary is no exception. Here are some of the items that fit the bill:
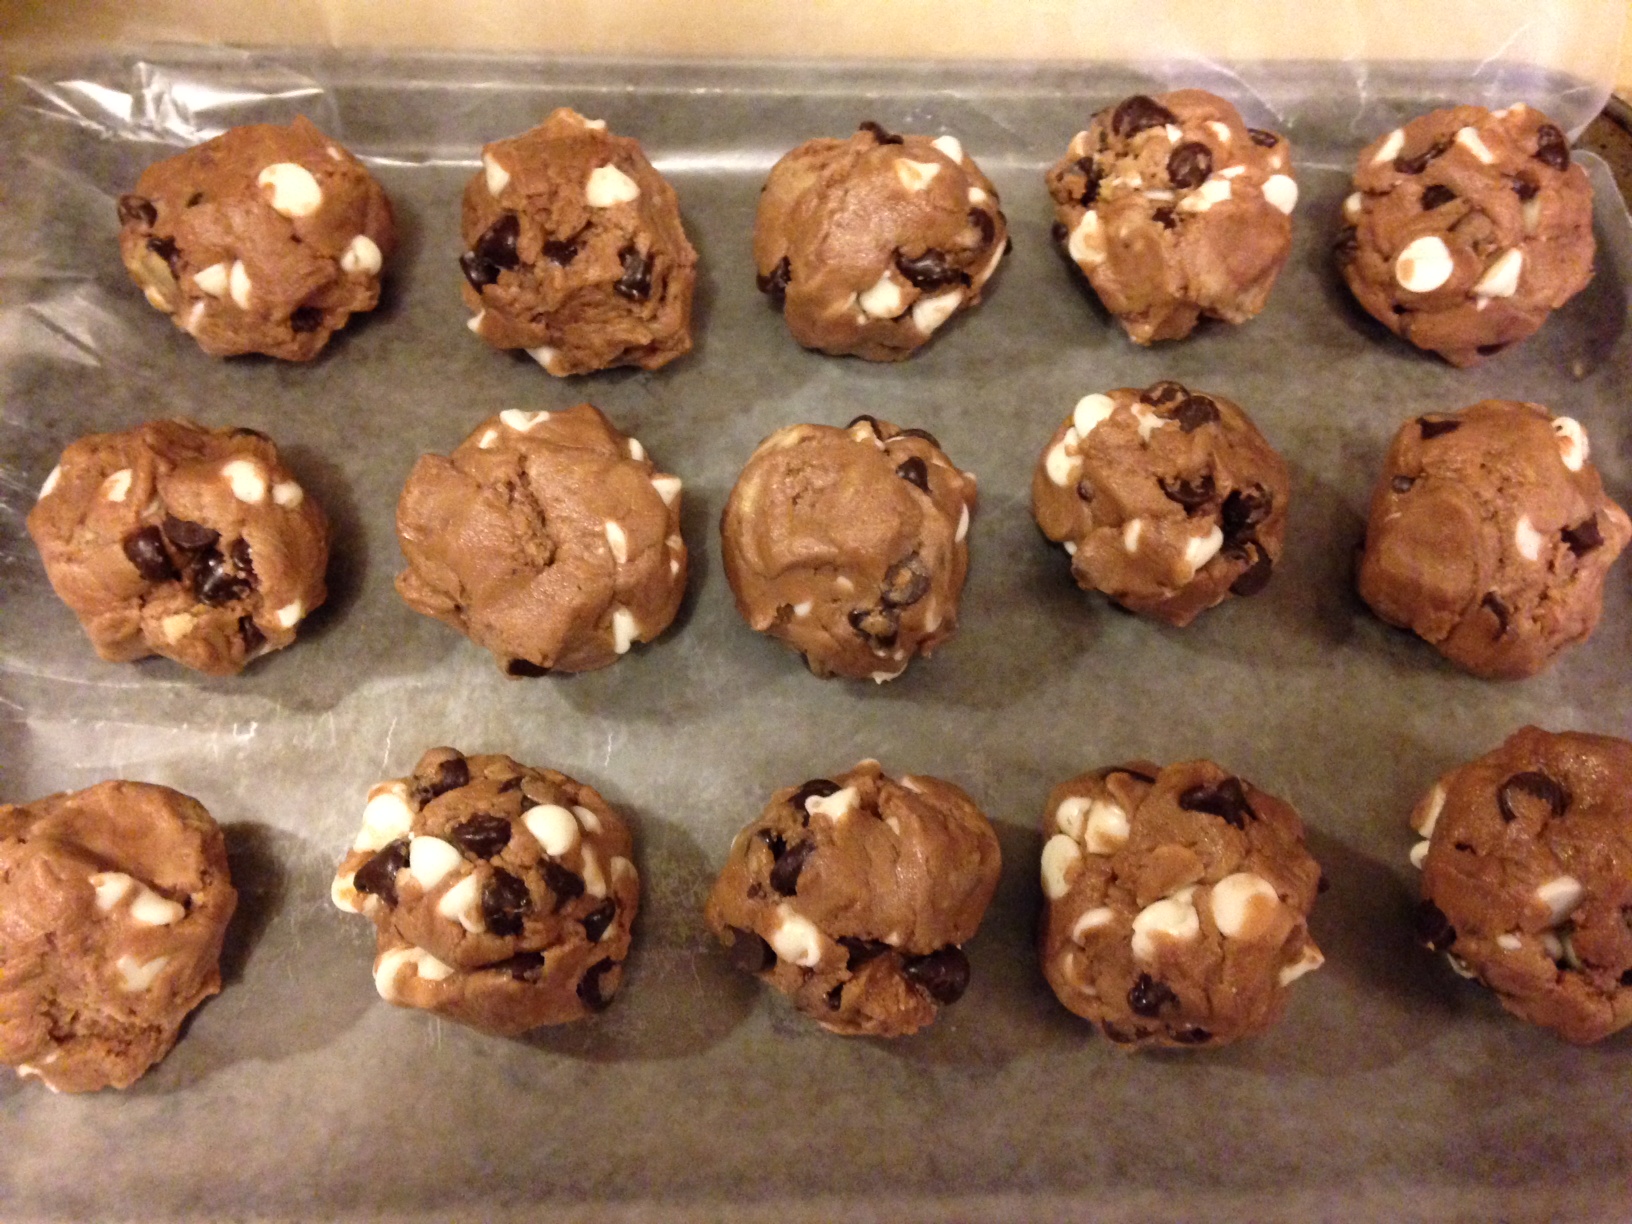
Oh! Chocolate dipping class
We did this chocolate class when we had just started dating and it was a blast! We dipped everything and consequently ate everything too! Chocolate comes from a tree in tropical regions, so I’ve classified it as a fruit. Makes sense, right?

Oh! Chocolate dipping glass
Butchart Gardens in Victoria, BC
I’ve been to Victoria twice while Brandon has yet to visit– a first for us! (Brandon is much more the traveler of our couple.) A jaunt north on the Clipper would be a blast. Butchart Gardens looks pretty spectacular and it might be fun to try out a completely new place for both of us. We’d just have to get little Michael a passport!

A trip north, to Butchart Gardens, perhaps?
Bloedel Reserve, Bainbridge Island
We’ve already been here too, and it was great. We actually went to Bainbridge Island for our first anniversary. It was also the first time Brandon received a student discount on admission to the Reserve. Clearly it was quite memorable. We would highly recommend that you pay the nominal fee (especially if you’re a student!) and walk through the beautiful grounds. It would also be great for a stroll with a wee babe!

The Bloedel Reserve on Bainbridge Island
Pike Place Market
We often cruise to the Market and could again for our anniversary. We could grab some mini-doughnuts, pose with the pig, and pretend (but for real) that we were there four years before doing the exact same thing!

Flowers from the Pike Place Market
Edible Arrangements
What about fruit as flowers? The best of both worlds! This could be an option for Brandon, as long as it’s covered in chocolate!

Edible Arrangements
Wine items
Wine comes from grapes and grapes are fruit, so I think we just hit the jackpot! Any sort of wine accessory could work. Maybe these wine glass screen hats for those blasted fruit flies? Or some new glasses, specific to the varietals that we drink most often? Maybe those wine glass picnic stands? I’d have to start going to more concerts and picnics. ‘Course, I could just get this instead…

Fancy wine glasses!? YES, please!
Or, maybe I’ll deviate from the list and get something even more creative! (Hint, hint!) You’ll just have to check back in late September to find out what we gifted one another!