I’m a bit overdue in posting this, but it’s well worth it, so make sure you read on.
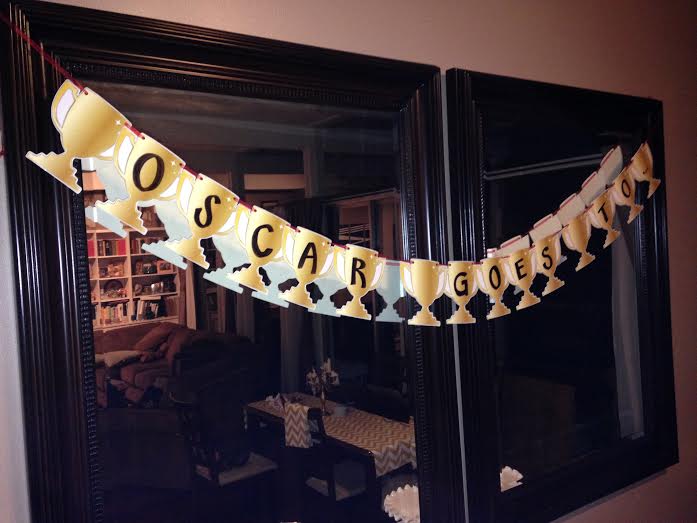
“Oscar goes to…”
While I rarely watch all (or any, for that matter) of the Academy Award-nominated films, I have friends over each year to watch the Oscars.
The menu is different every year– we’ve gone from elegant appetizers to a panini bar and this year everyone brought a dish, potluck-style. The potluck is definitely the way to go. It was so easy!
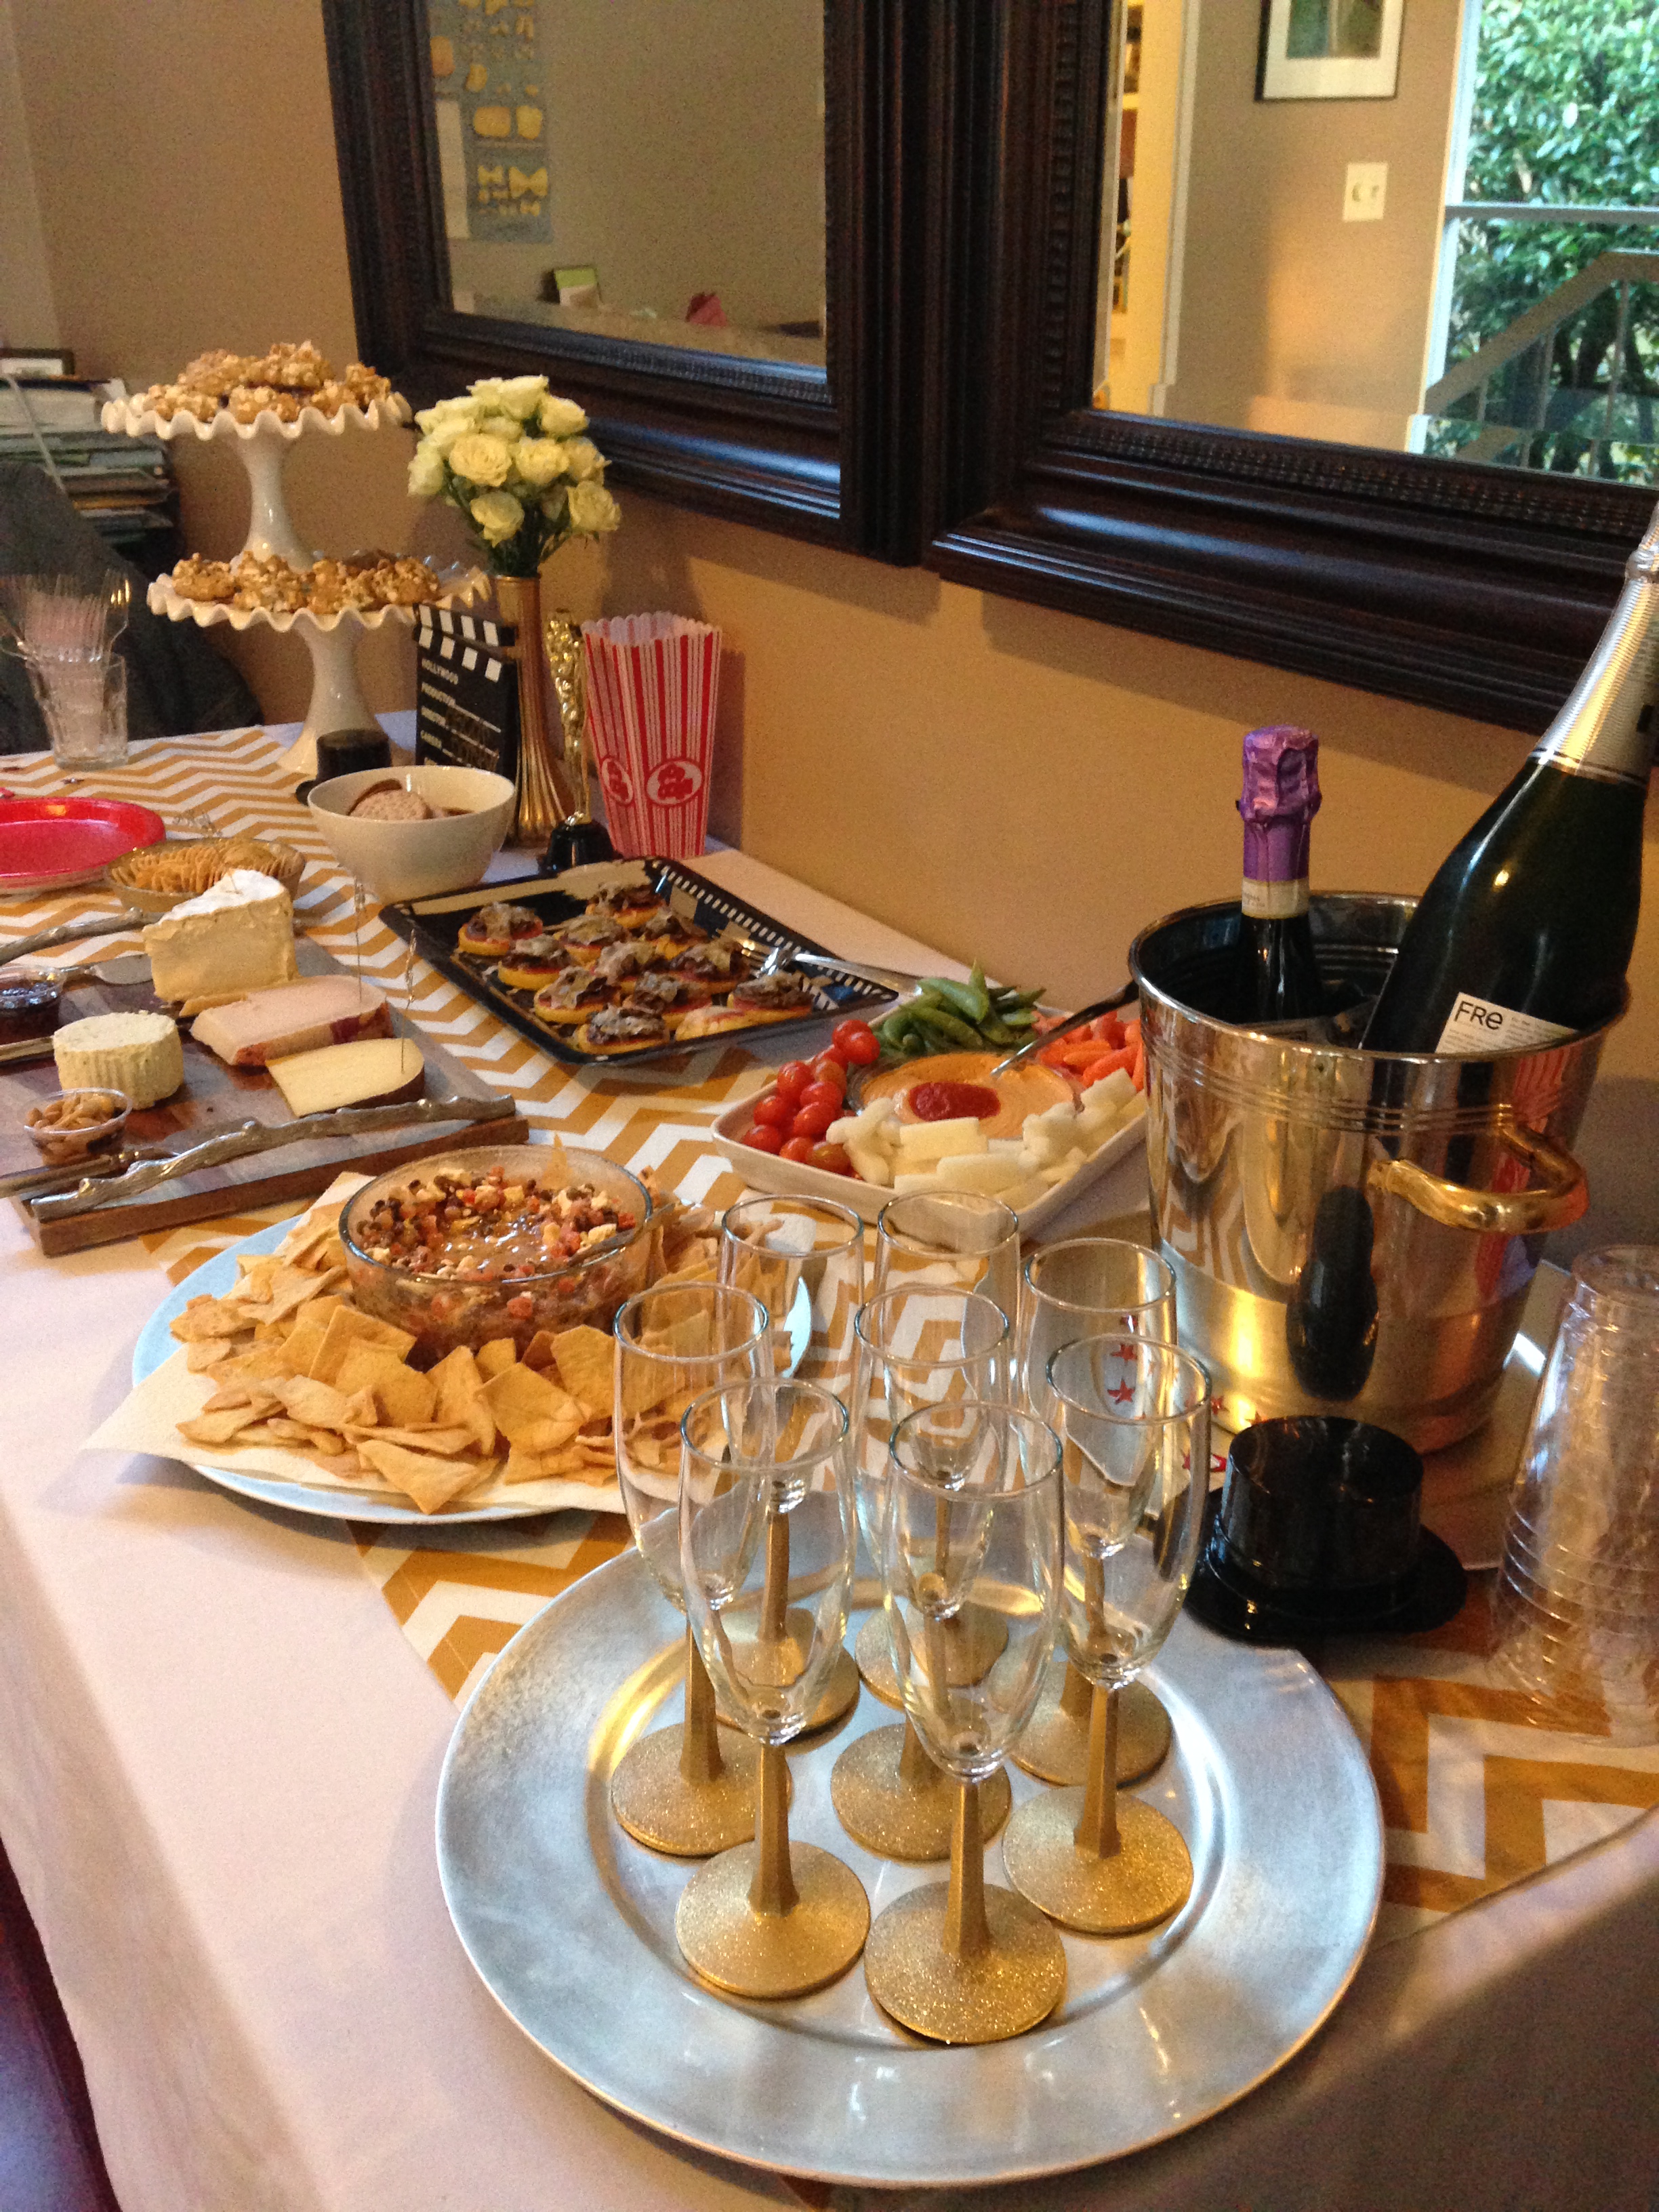
Our 2015 Oscar feast
We made a couple of dishes and both were total keepers!
First, these mushroom polenta bites. I basically followed my friend Kelsey’s recipe on her blog, A touch of lovely. I opted for the tomato sauce as the spread and the chubby polenta loaf from Trader Joe’s. I threw the polenta in the freezer while I cooked the mushrooms and after a few minutes of chilling it cut very easily into perfect rounds. I followed the instructions on the package for the polenta. Our “bites” were larger than bites and they were delicious!

Mushroom polenta bites
For dessert I made the Smitten Kitchen’s buttered popcorn chocolate chip cookies. I really had no idea what to expect with these — I love both buttered popcorn and chocolate chip cookies independently — and was pleasantly surprised. These cookies were delicious! I substituted Trader Joe’s gluten-free all-purpose flour and couldn’t even tell there wasn’t gluten in the cookies. Next time I would have made less popcorn and would’ve added more melted butter to the popcorn. Try out the recipe and let me know what you think!
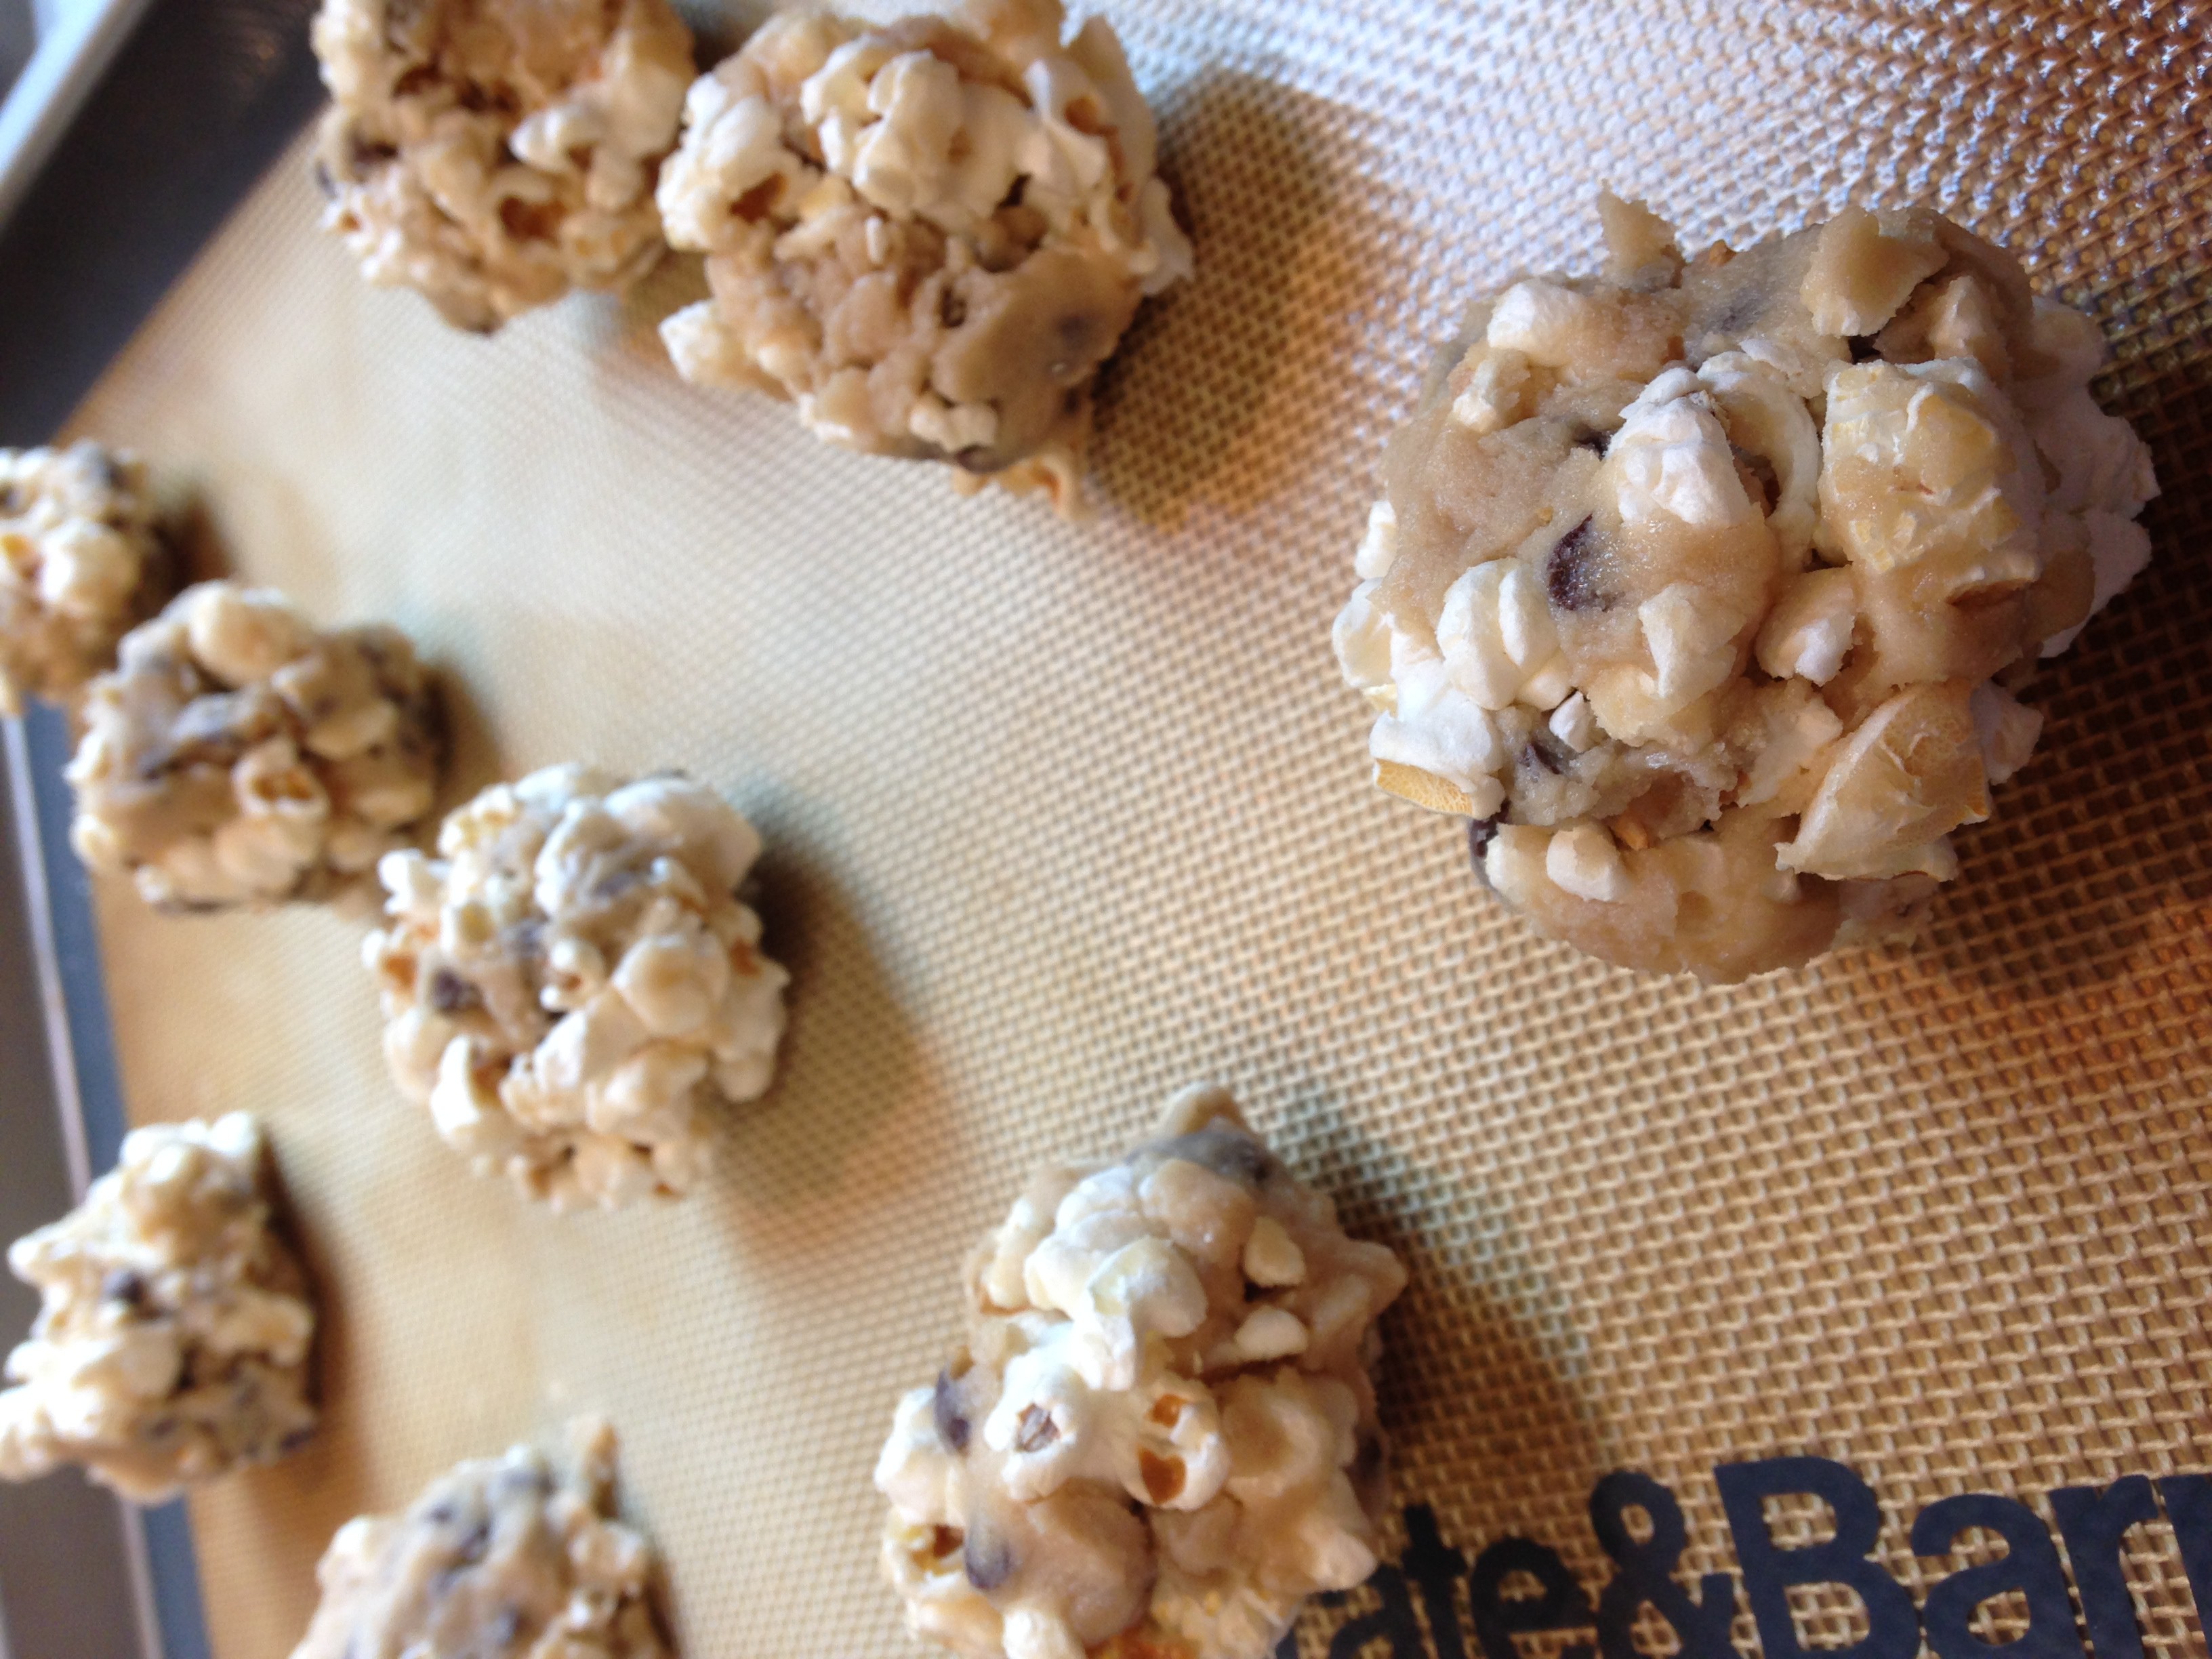
Buttered popcorn cookies, uncooked

Buttered popcorn cookies, cooked
Each year I have guests fill out their ballots, and just like every other year, my friend Kimmy won the award for the most-properly-guessed winners. There are some great ballot designs out there and we chose this ballot design.
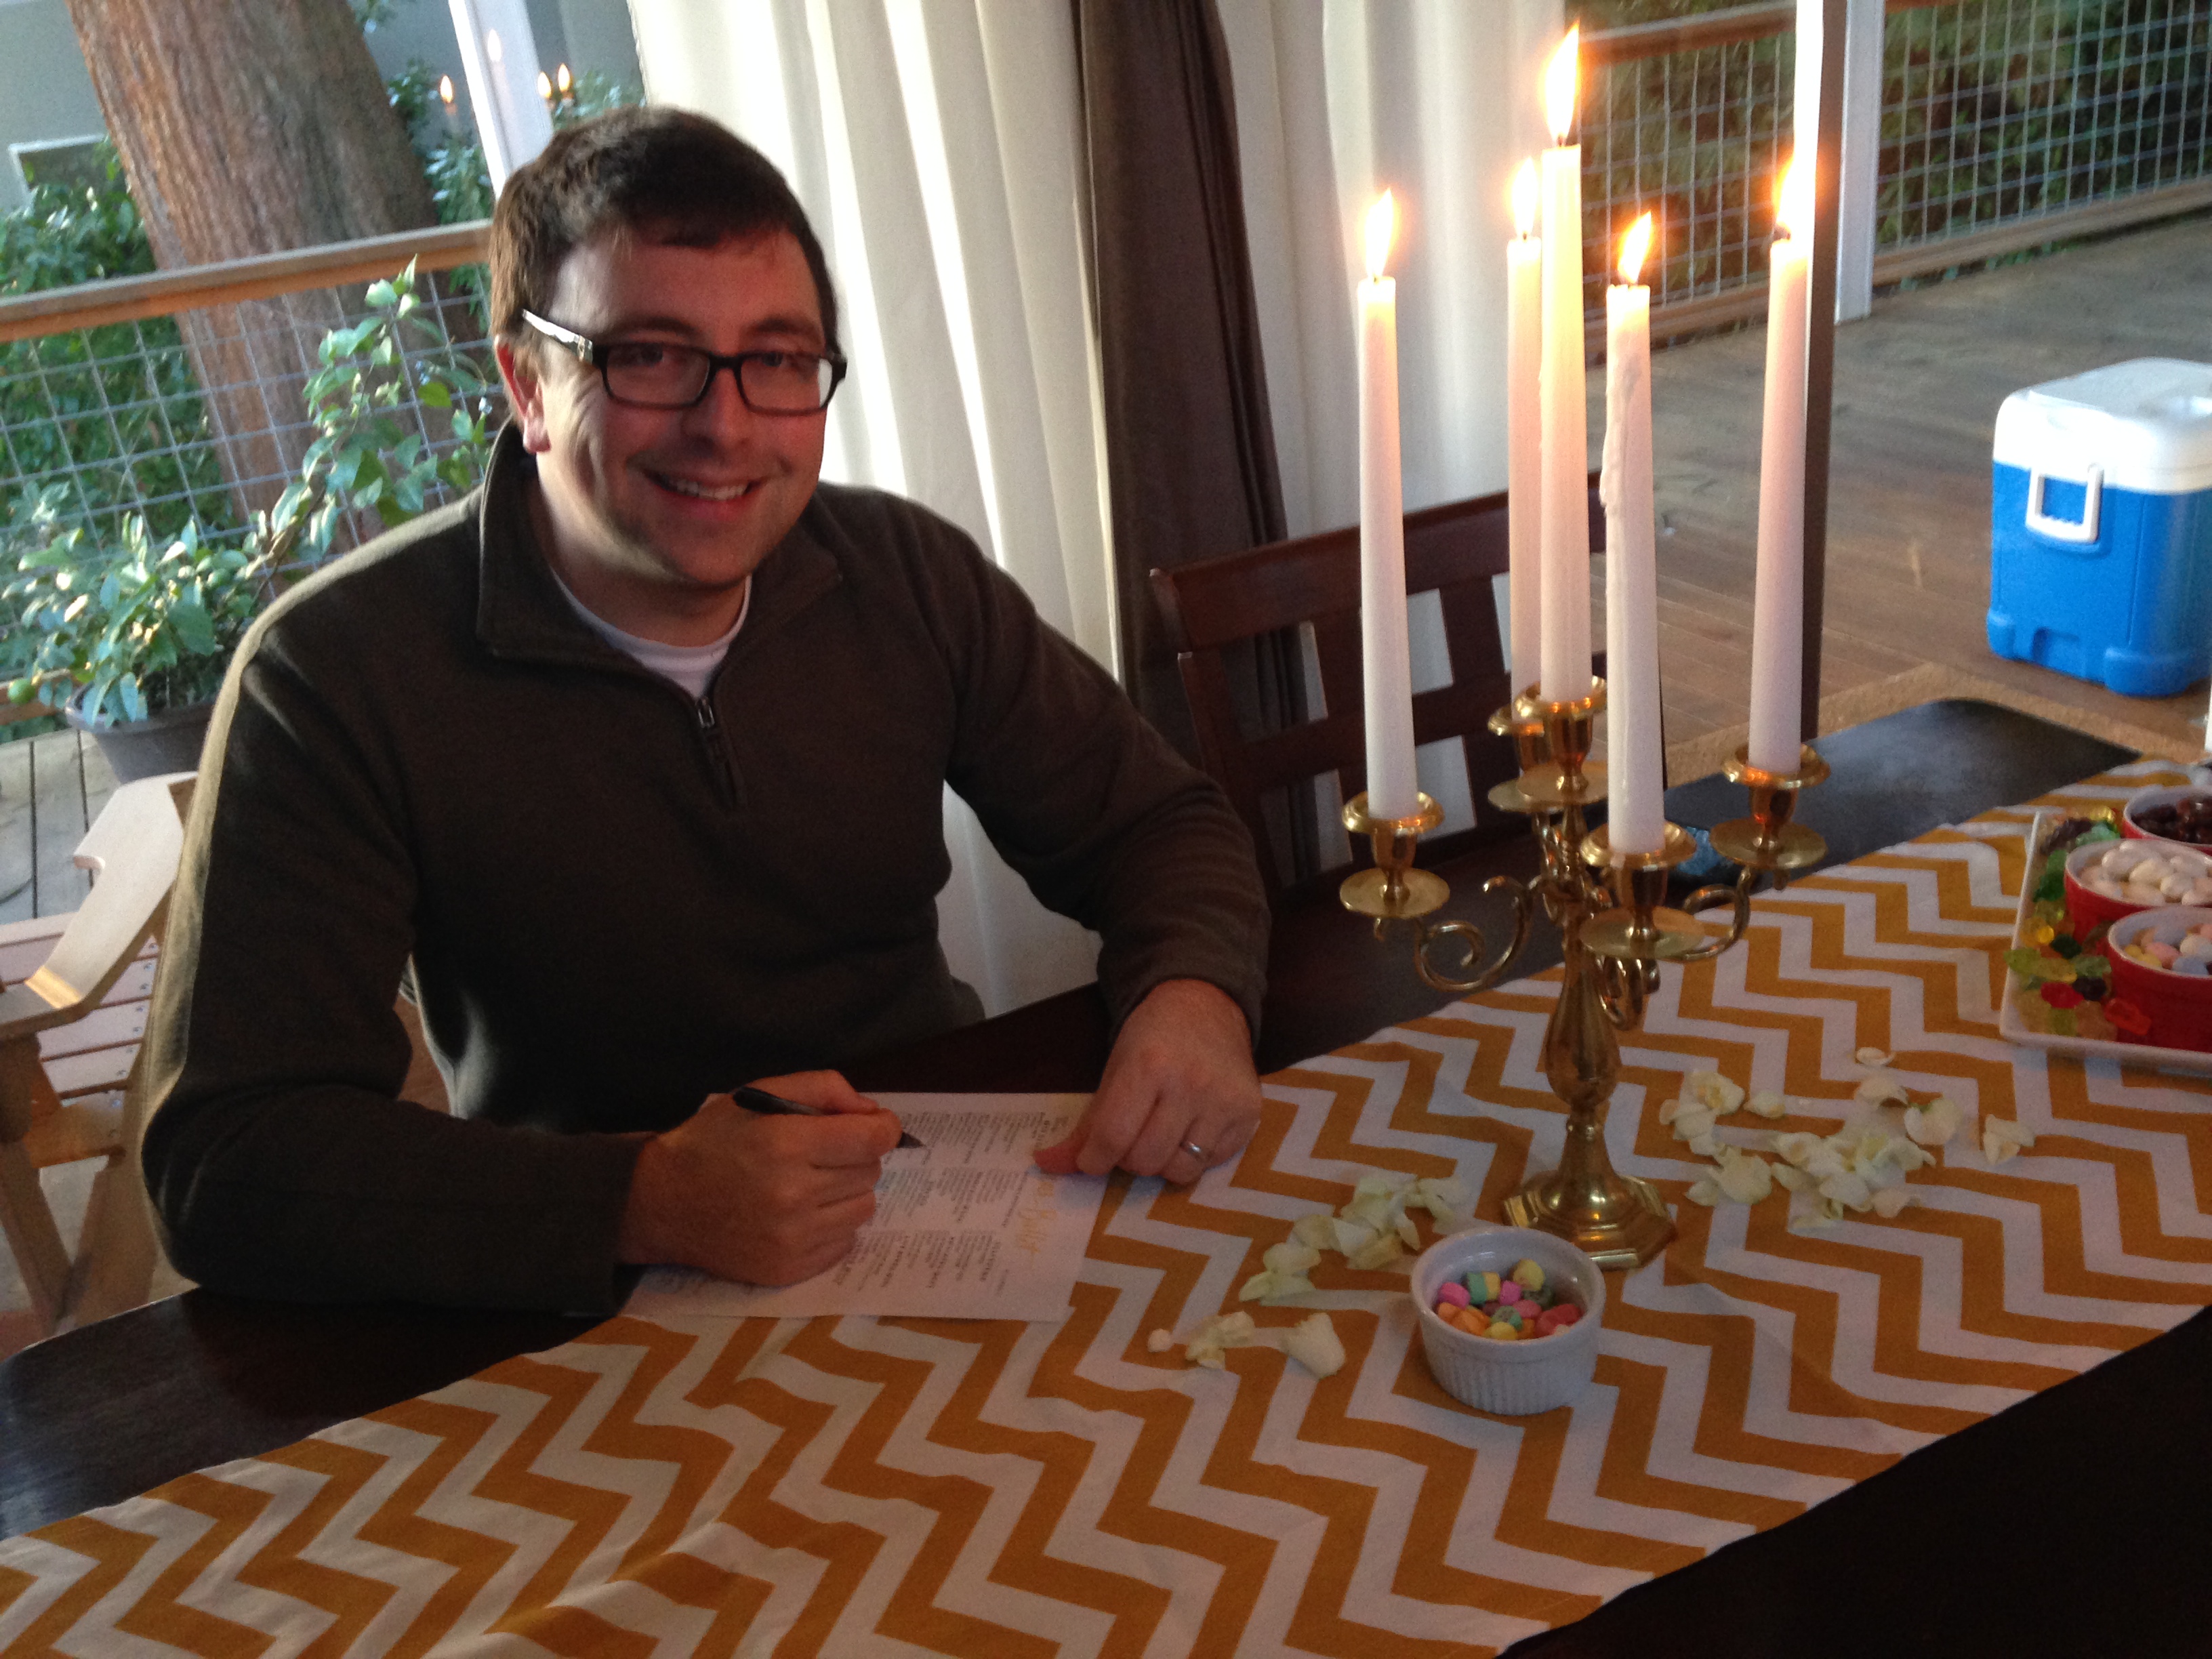
Brandon making his Oscar predictions
I basically have a party-in-a-box for the Oscars that lives in my storage room. It includes a banner, set of silver chargers, a gilded vase, a silver and gold ice bucket, and several movie-themed party plates and decor. This year I found some great ideas on Pinterest and acted on a couple of them: my own Oscar statue and gilded, glittered champagne flutes.
I’m calling my Oscar statue “Oskar” and he started off as a very unfortunate Ken doll from the Goodwill.

Oskar, as Ken
Oskar cost $1.99 (he came with a Barbie that looked like she had leprosy; she went in the garbage) and I super-glued his hip joints standing straight and then his feet to a wood base from Michael’s. After he was dried, I spray painted him gold. After several coats, here he is!
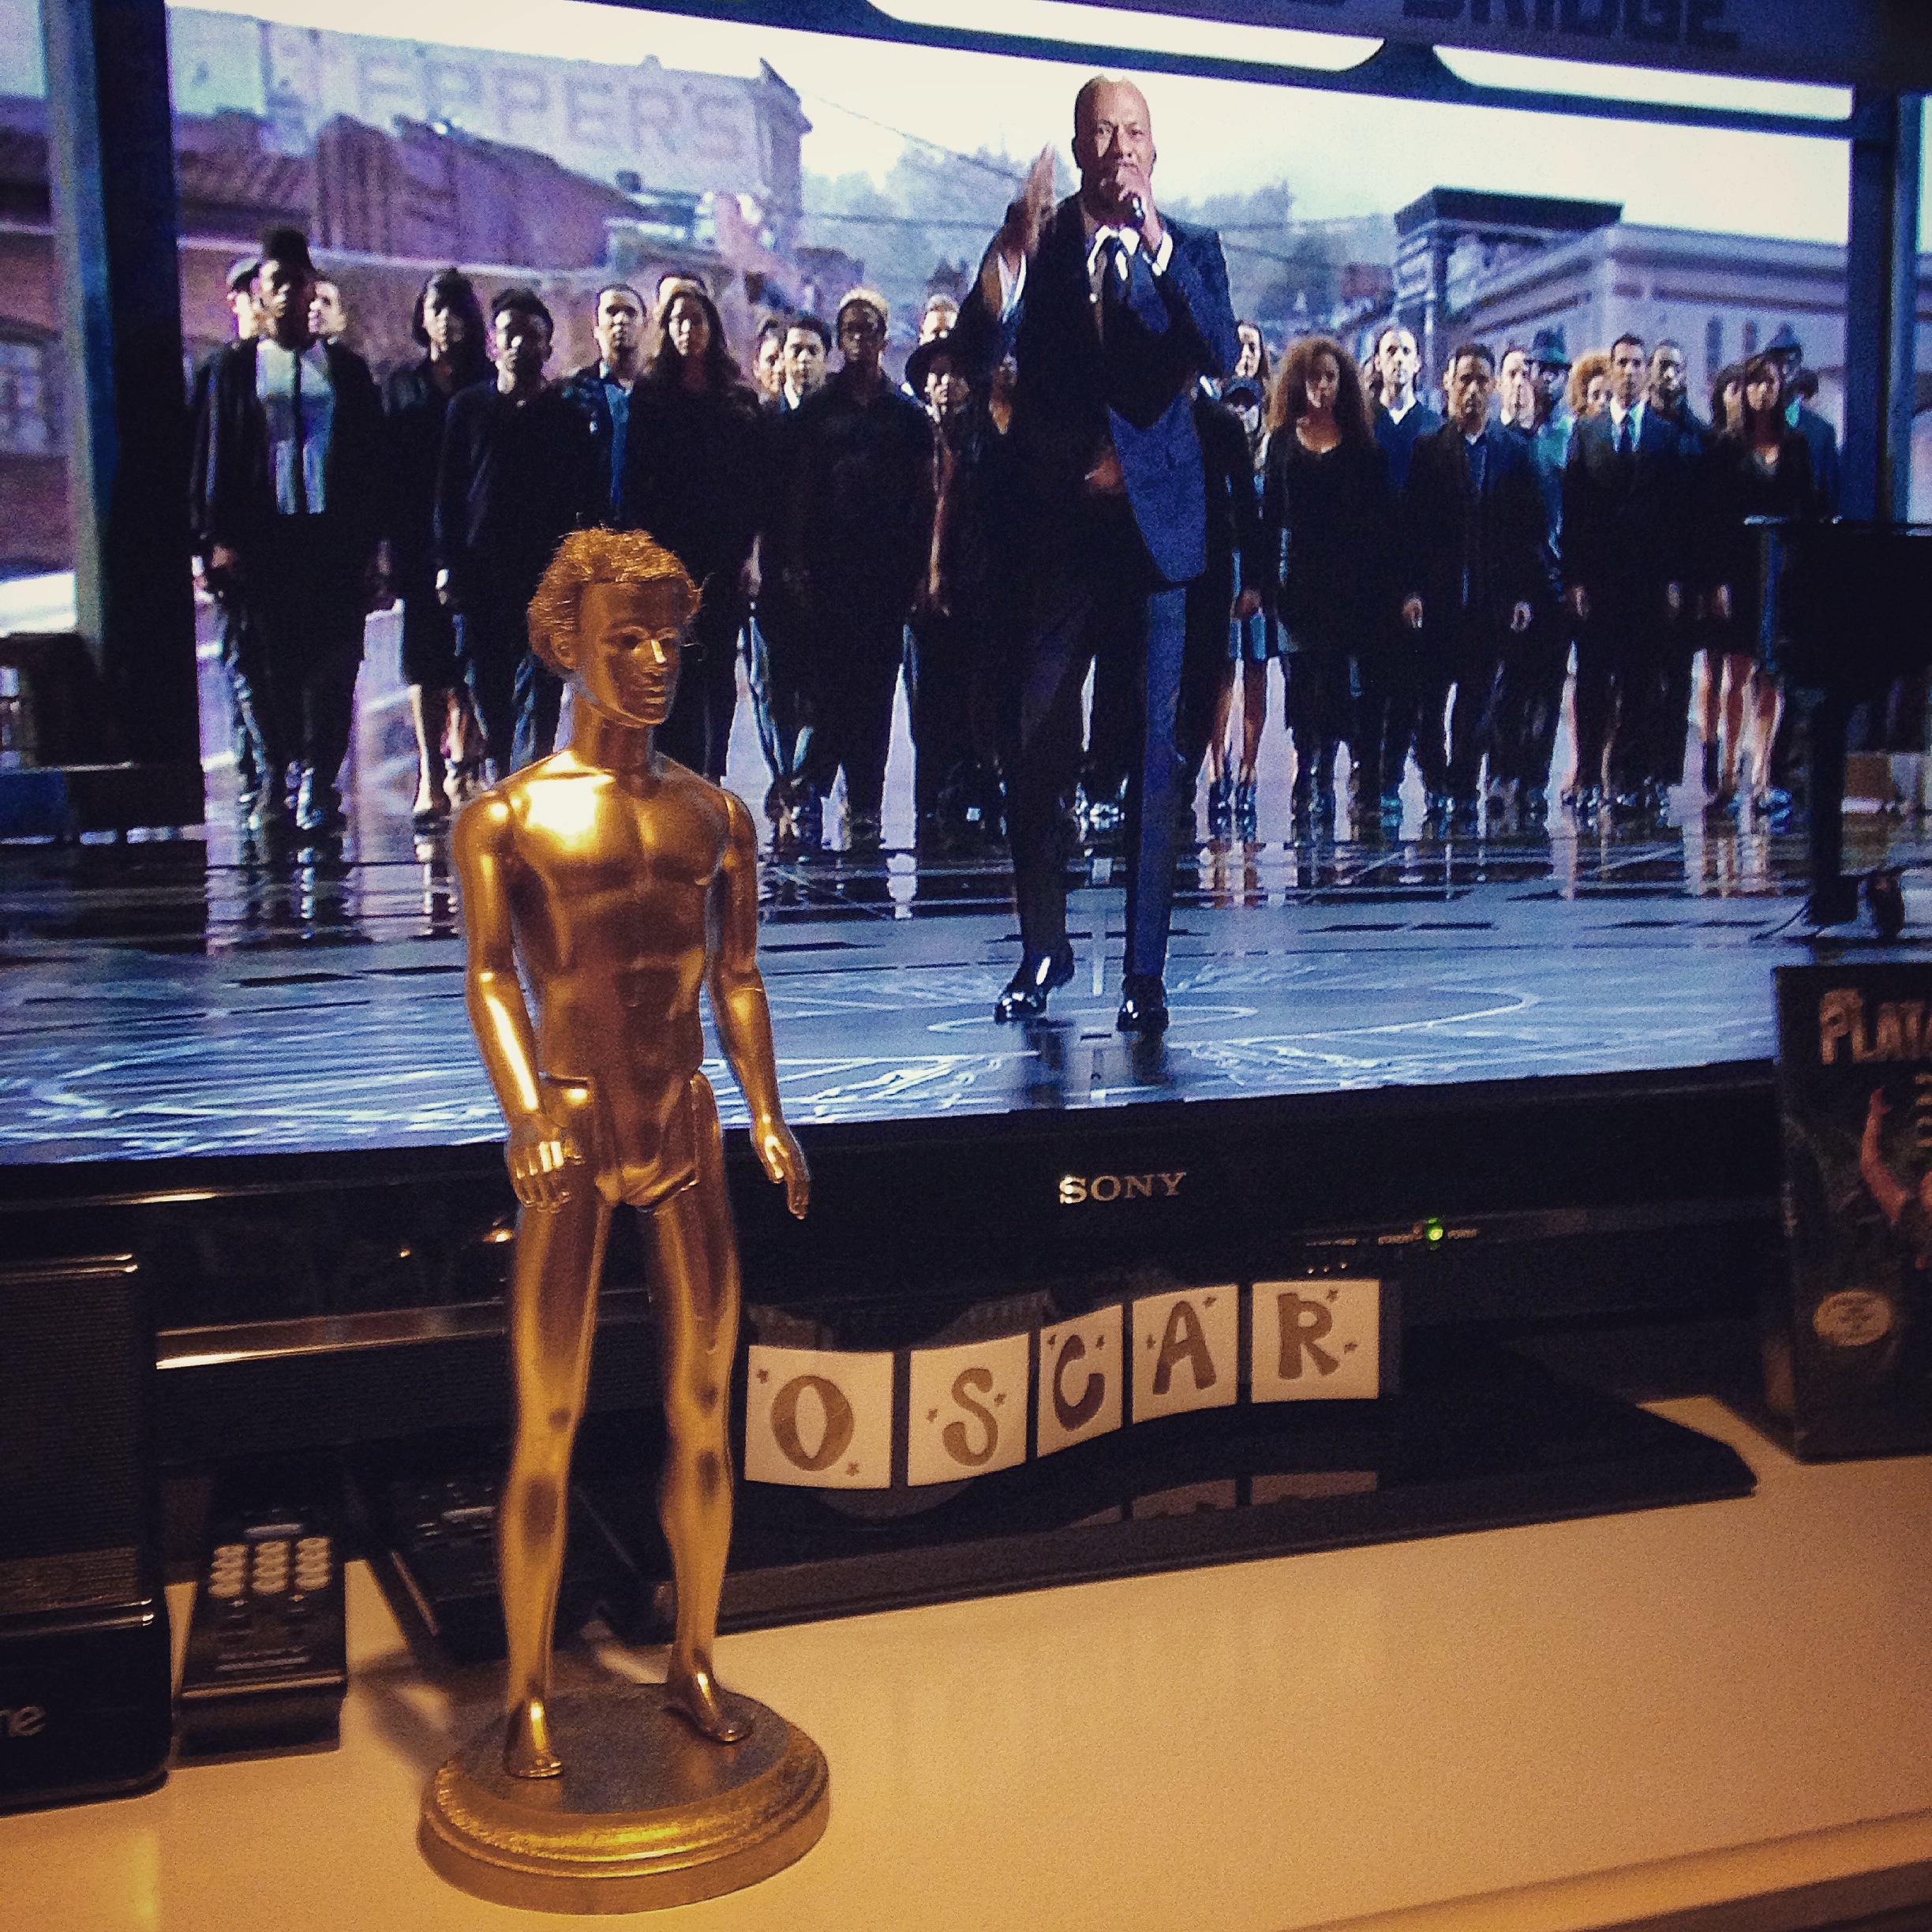
Our “Oskar”
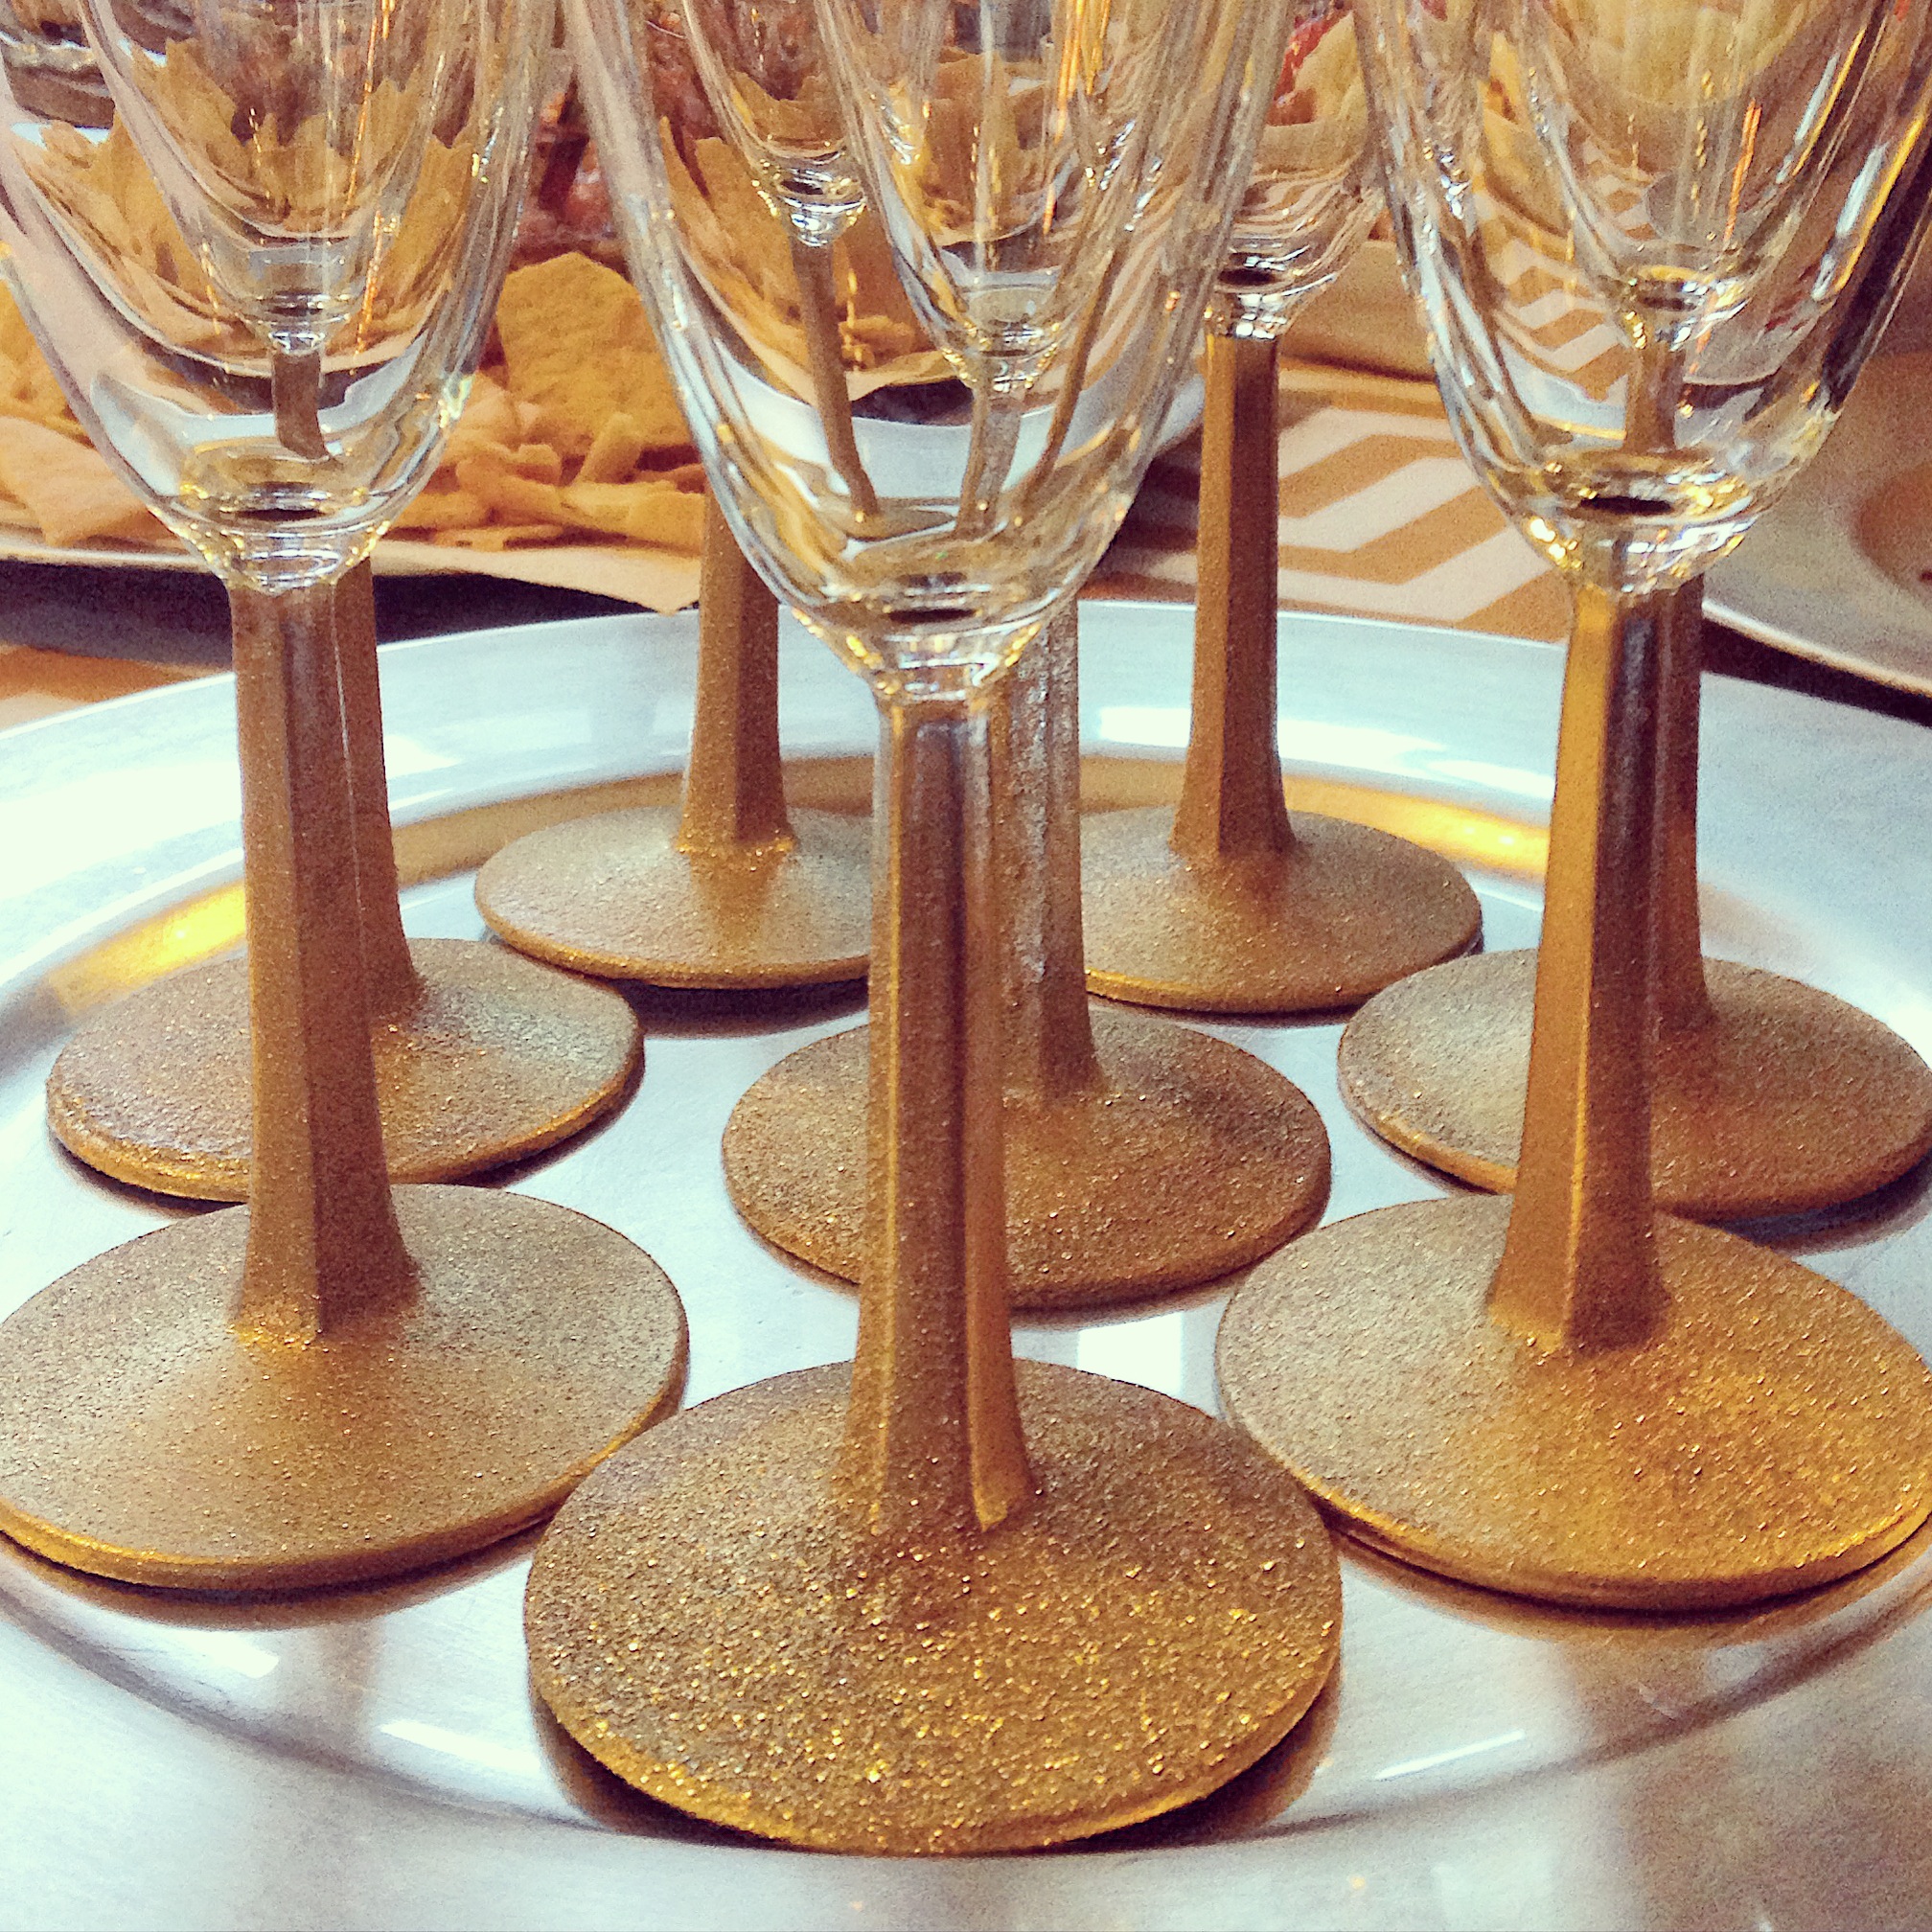
I bought the champagne flutes at Target for $1 each and the Krylon gold glitter spray paint (which I wouldn’t recommend) for ~$7 from Michael’s. I had the gold spray paint on hand. On any given day I have at least 3 cannisters of this stuff in my basement!
Bottoms up! Oscar bubbles
I started by thoroughly washing the glasses with soap and water, taped the bottom at the stem with painters tape and sprayed, sprayed, and sprayed some more.
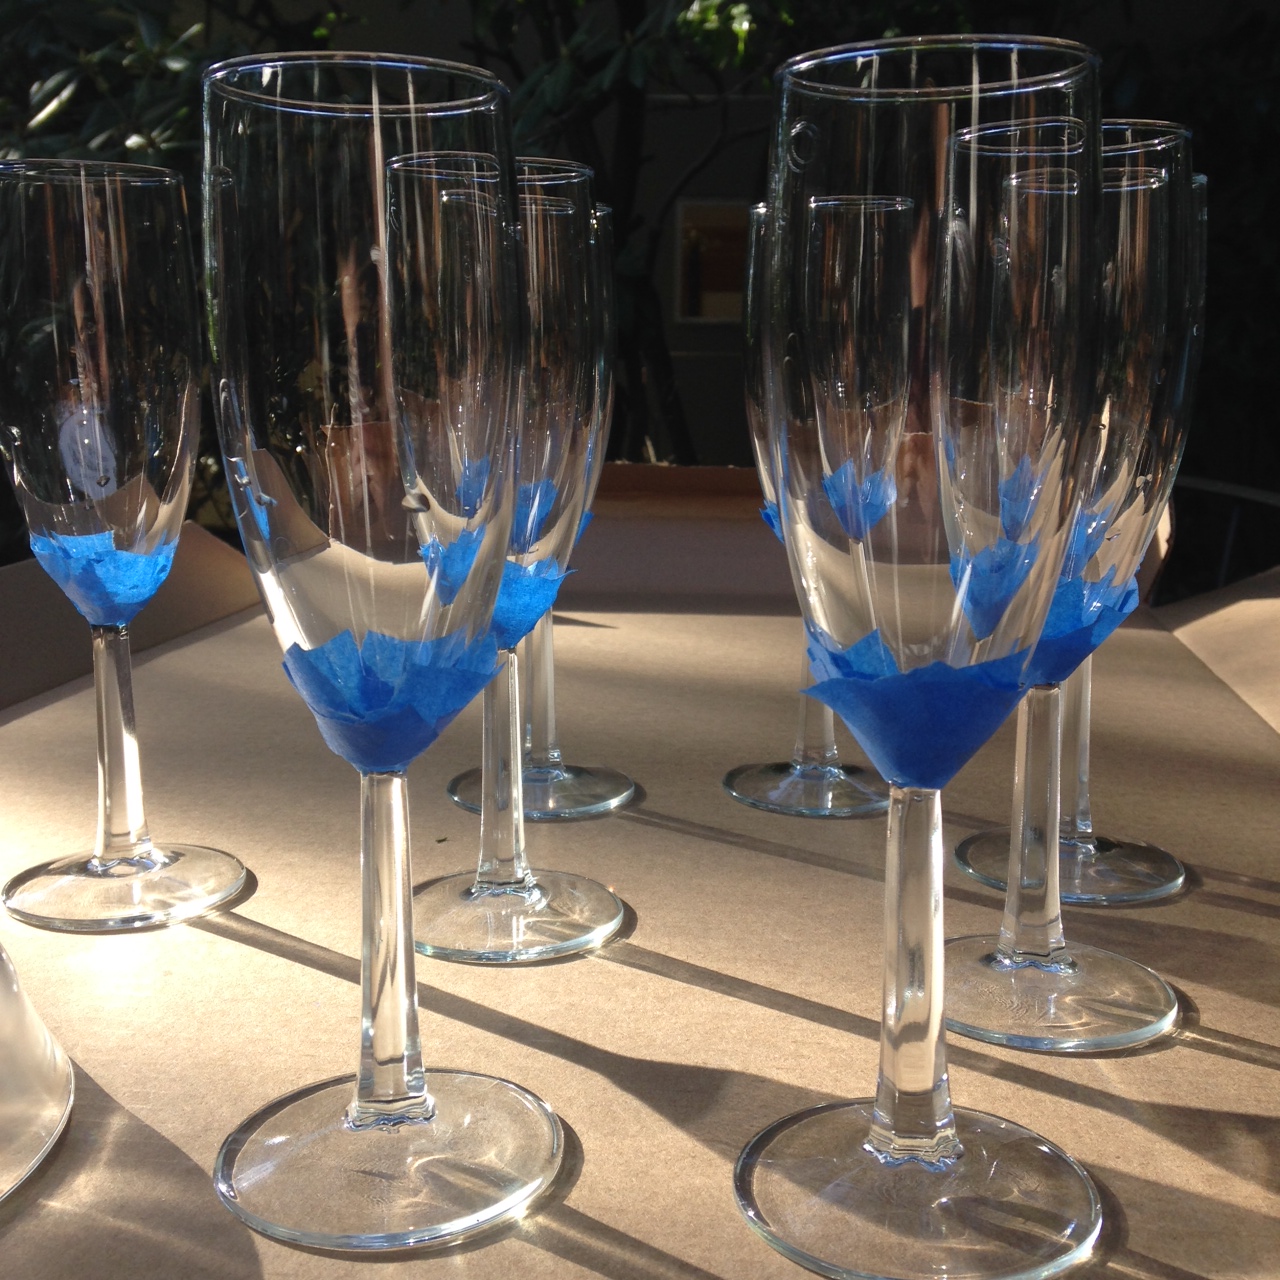
Champagne glass taping
I tried using just the glitter spray paint and it didn’t cover well, so I started with the solid gold. I added the glitter spray paint on the second coat. All in all I am very happy with how these turned out!
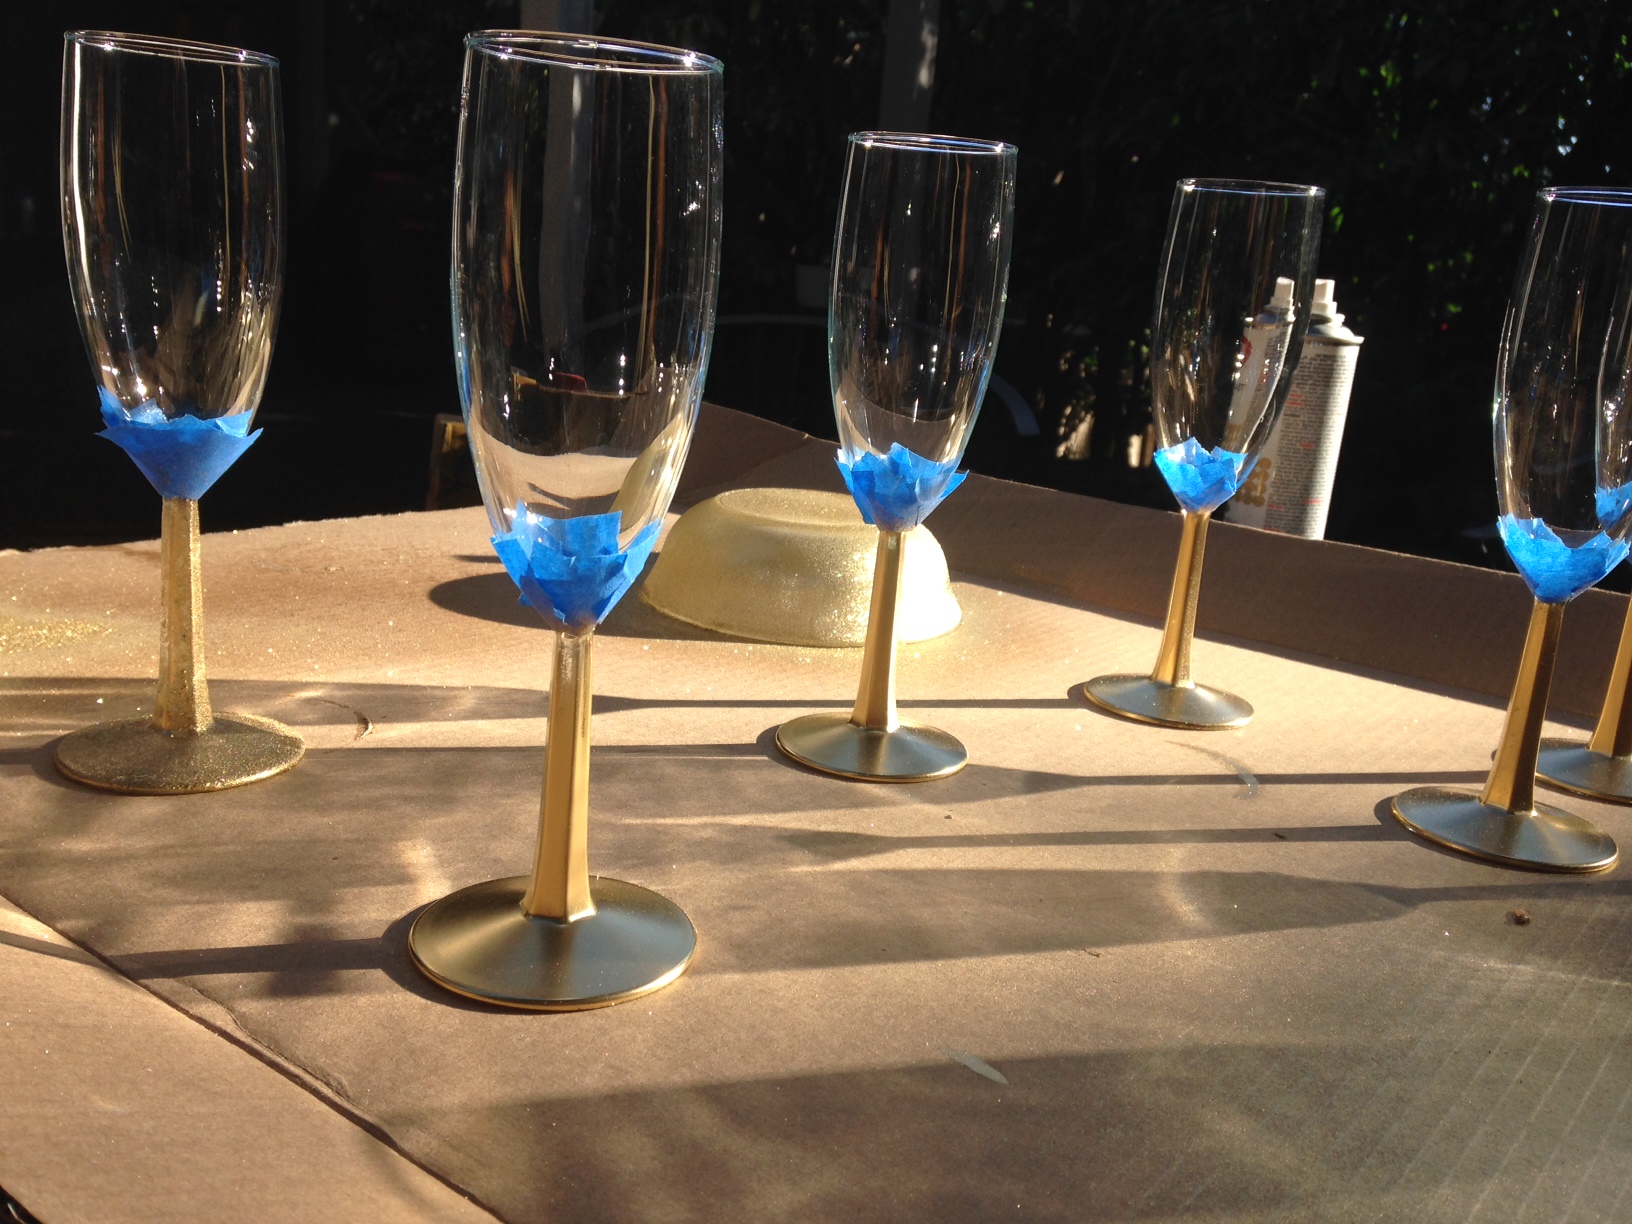
Half painted golden champagne glasses
It’s never too early to start planning for next year’s Academy Awards! Visit my Pinterest “parties” board for about a million ideas.