About 50 days ago I blogged my master to-do list for the baby’s room.
Well, time has flown by and over the weekend we hit the 50 days until D-day mark. We also spent a lot of time wrapping up some of the nursery projects.
Here’s a update of where we are, and what we still have left to do before the little guy comes in just about seven weeks. (Or sooner?!)
UPDATED master to do list:
Remove the mattress and bed frame. Wrap for transport to the cabin.Transported to the cabin over the Fourth, where I won an award for my quinoa salad!Apologize to Maddie for stealing her favorite napping spot.She still sleeps in there, and has made do with the bassinet. She’s in for a rude awakening when that bassinet is full with an infant!Wash sheets, take comforter to dry cleaners.Remove ball lights.Clean out and remove the bookshelf side table.Vacuum and dust thoroughly!Buy paint and paint the room. We’re debating between Behr’s Sparrow and Anonymous. Which one is your favorite?We went with Sparrow. It’s very pretty and so serene!Secure baseboards. Touch up with paint if necessary.Hang curtain rods and curtains.Place the art on the shelves and think about where wall art will be placedWe still have some art to frame, but it’s we’re running out of space!Empty Brandon’s clothes from the dresser.He’s all moved into the master bedroom! It only took 5 years…Replant and move Brandon’s terrarium.It looks so good! I realized that I never posted about it. I’ll add that to the list of blogs to work on!Assemble new rocking chair.Assembled! And we’ve used it several times. We have this pouf on order to complete the look!Grab crib from home-home and set it up.It’s grabbed, but it turns out my sister busted one of the rungs when she was a kid. It’s in Dad’s shop now, getting repaired. We’ve got the mattress and lots of sheets for it!- Finish whale mobile. It’s almost ready. I just need to find the embroidery floss in my rather cluttered craft room. Maybe this weekend I’ll finish it!
Finish painting ceramic fish and lampshade.Painted. Now I just have to find a spot for the fish and put the lampshade on the lamp.Measure dresser, cut whitewood (or other kind of cheap wood) to create a top. (We’re making something like this, but only the top.)We a went a different direction; one that I’m really pleased with the direction we went! See the photo of Michael’s new ombre dresser below!Sand and paint dresser, replace drawer pulls.Painted. Pulls replaced! See photo and let me know what you think!- Sand and stain
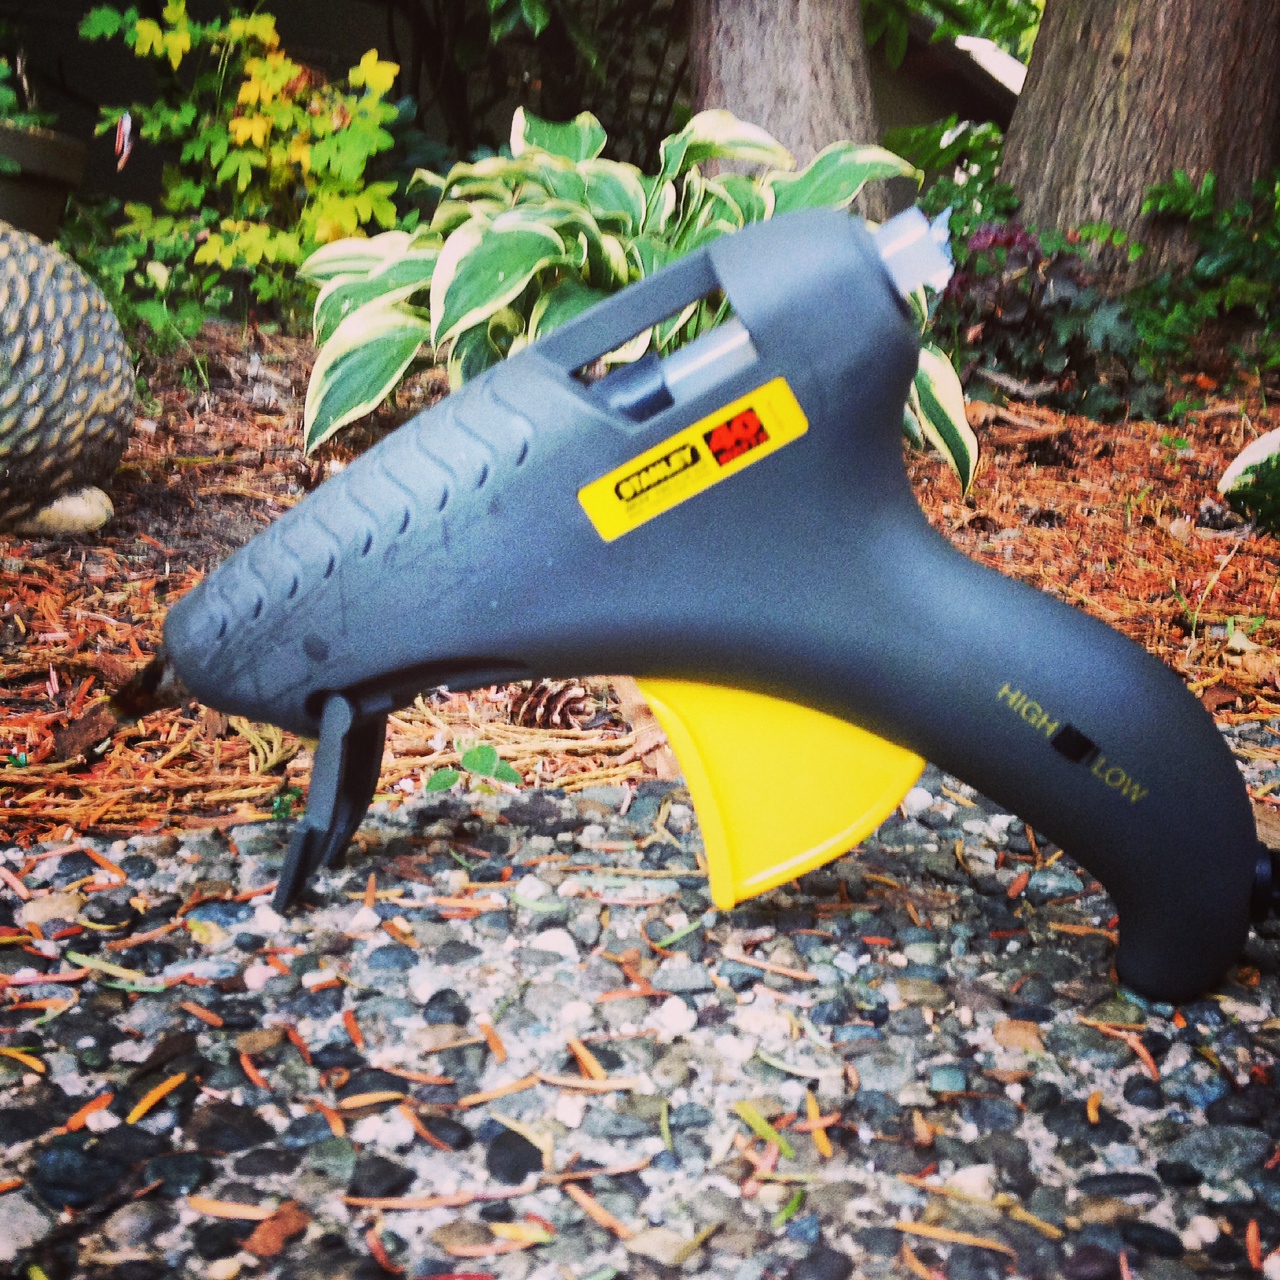
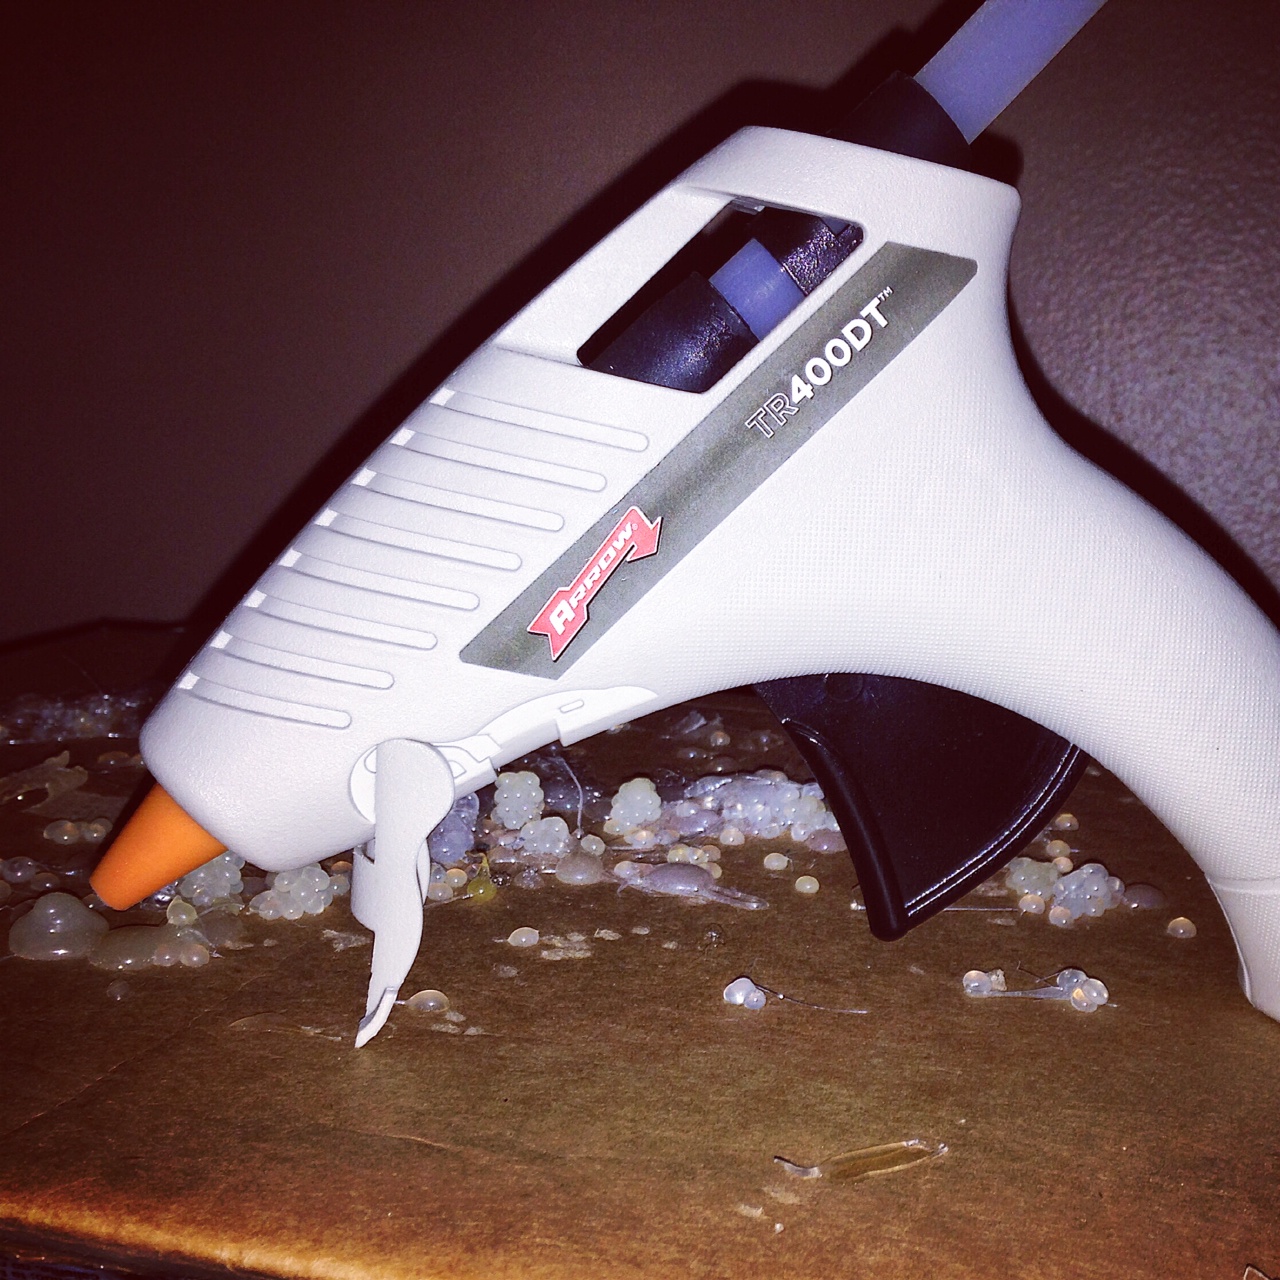
dresser top, elephant rocker, side table,trophy bases and book boxes. Rocker and side table sanding/staining are still on the to do list, but the trophy bases and book boxes are done and look great. Spray paint the ceramic animal heads, adhere them to the wood trophy bases. They’re painted and now they need to be adhered. I’m debating between using super glue and hot glue. Anyone have any recommendations?Make rope basket “zoo” for stuffed animals.It’s a great idea and project, but I could not find the rope anywhere. Then I went to Homegoods and found an adorable bin for far less than it would’ve been to make the rope basket.
Some new to do’s, in addition to the ones not crossed out above:
- Get sun from home-home, hang in the corner of the room. Michael and I will grow up with the sun in our rooms, made by my Aunt Peggy!
- Buy laundry hamper.
- Clean out ‘candle drawer’ in the kitchen, so we have a place for all of his bottles and supplies. (Yes, we have a candle drawer.)
- Clean out the bathroom a bit, making room for all of Michael’s new stuff.
And what you really came here for… updated photos!
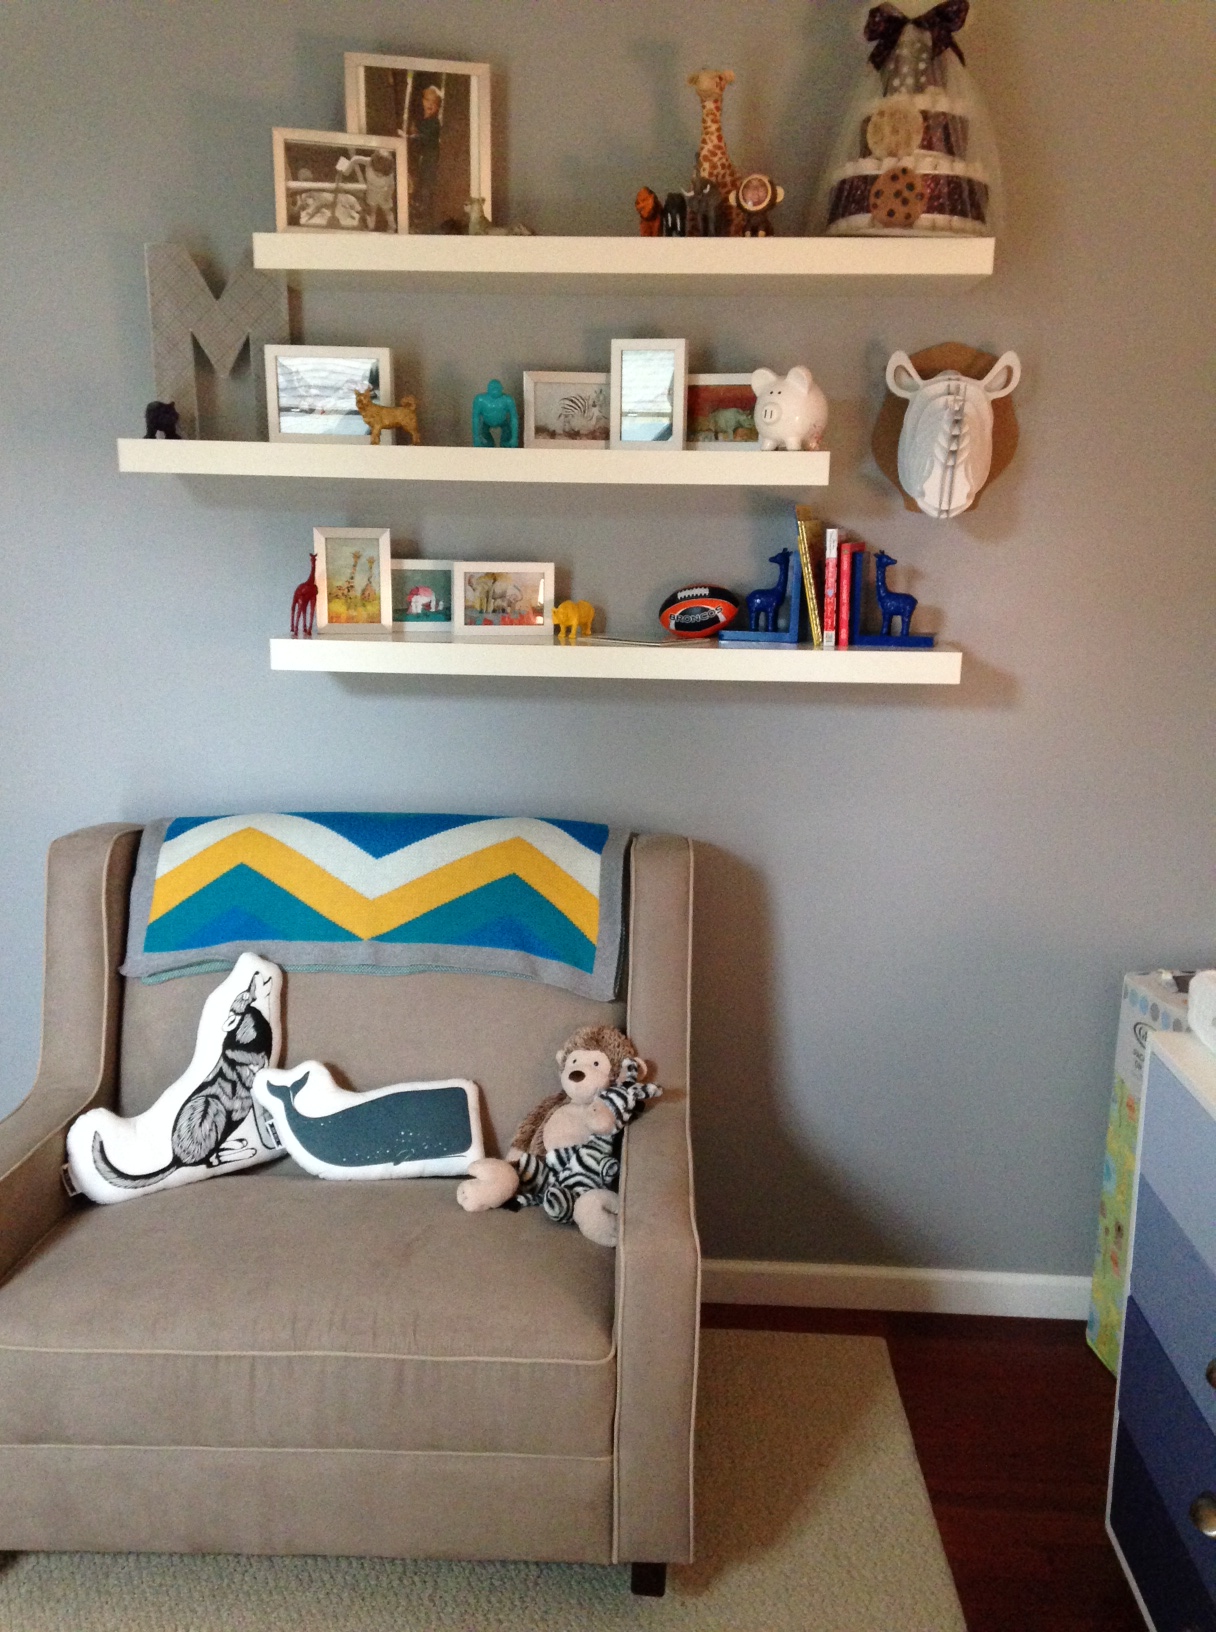
Here’s our super-sized rocker and the photo area. I’ll be spending some quality time here soon!

Here’s the ombre dresser and changing table area.
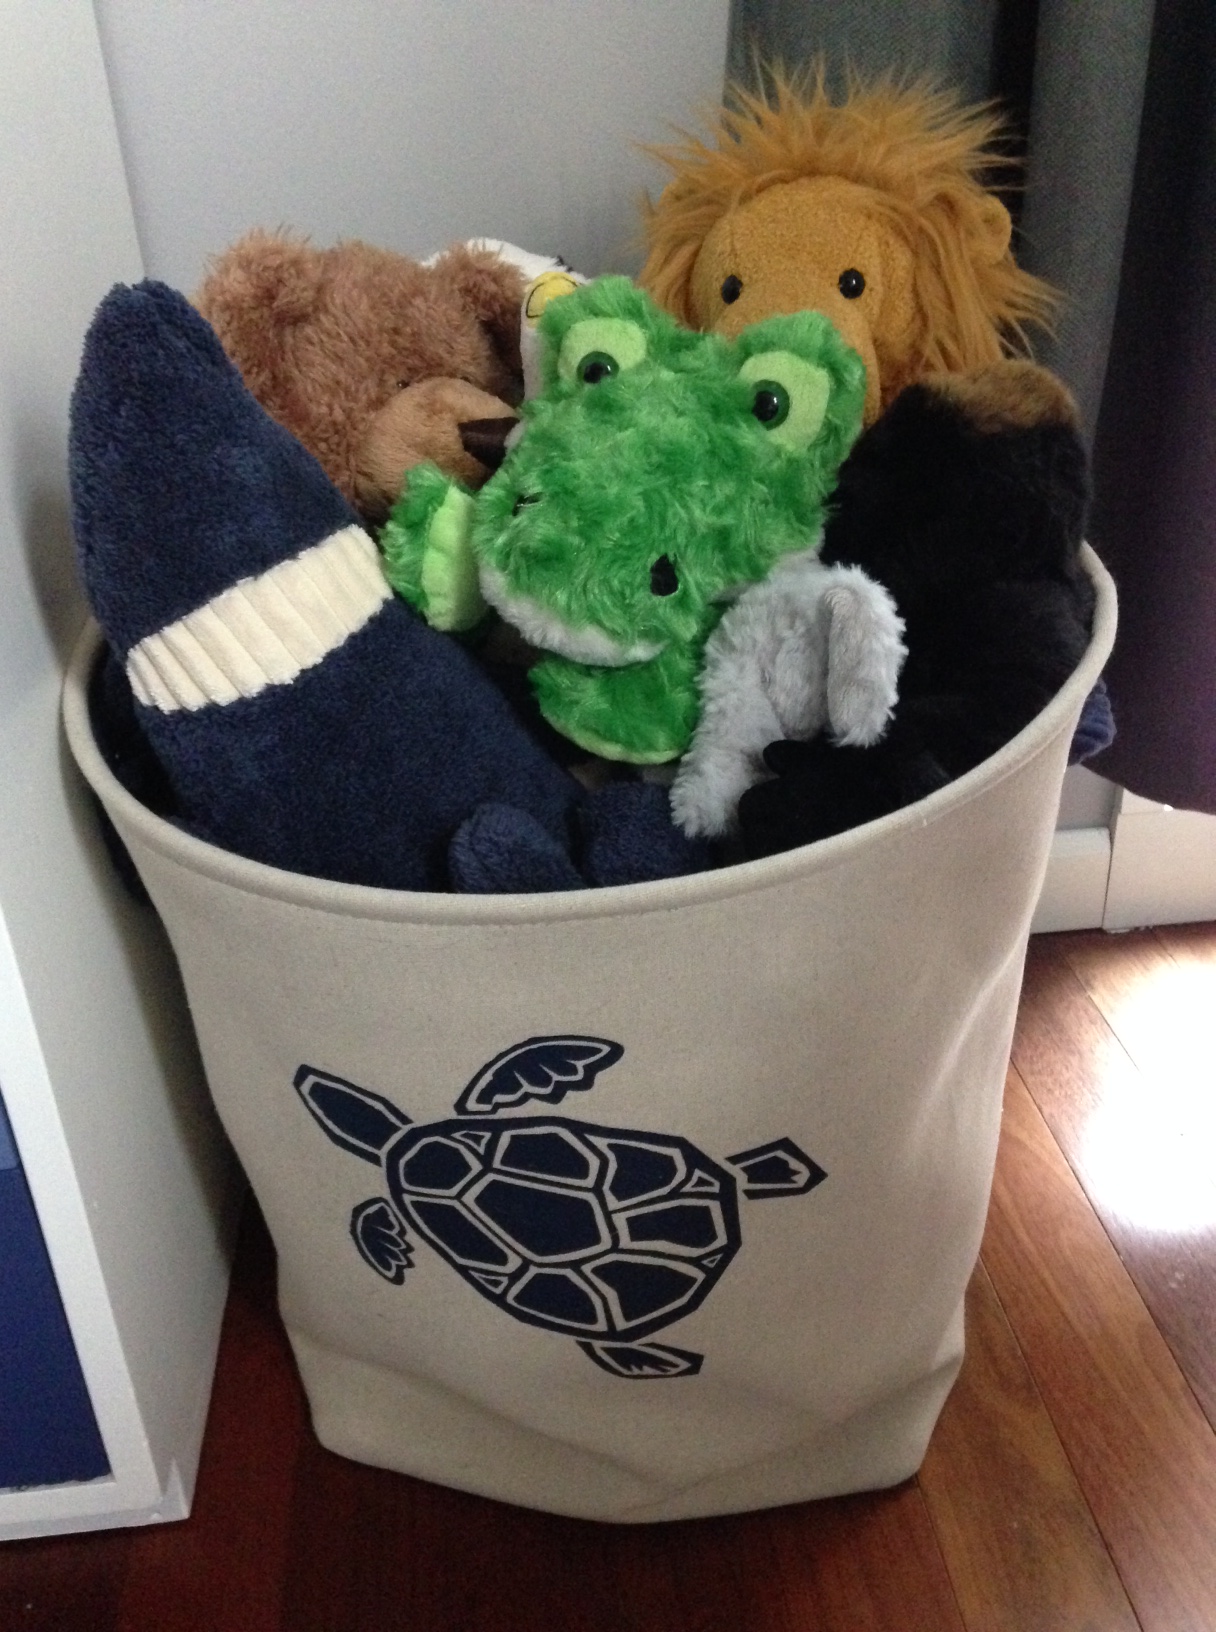
A close up of the “zoo” bin for Michael’s stuffed animals.
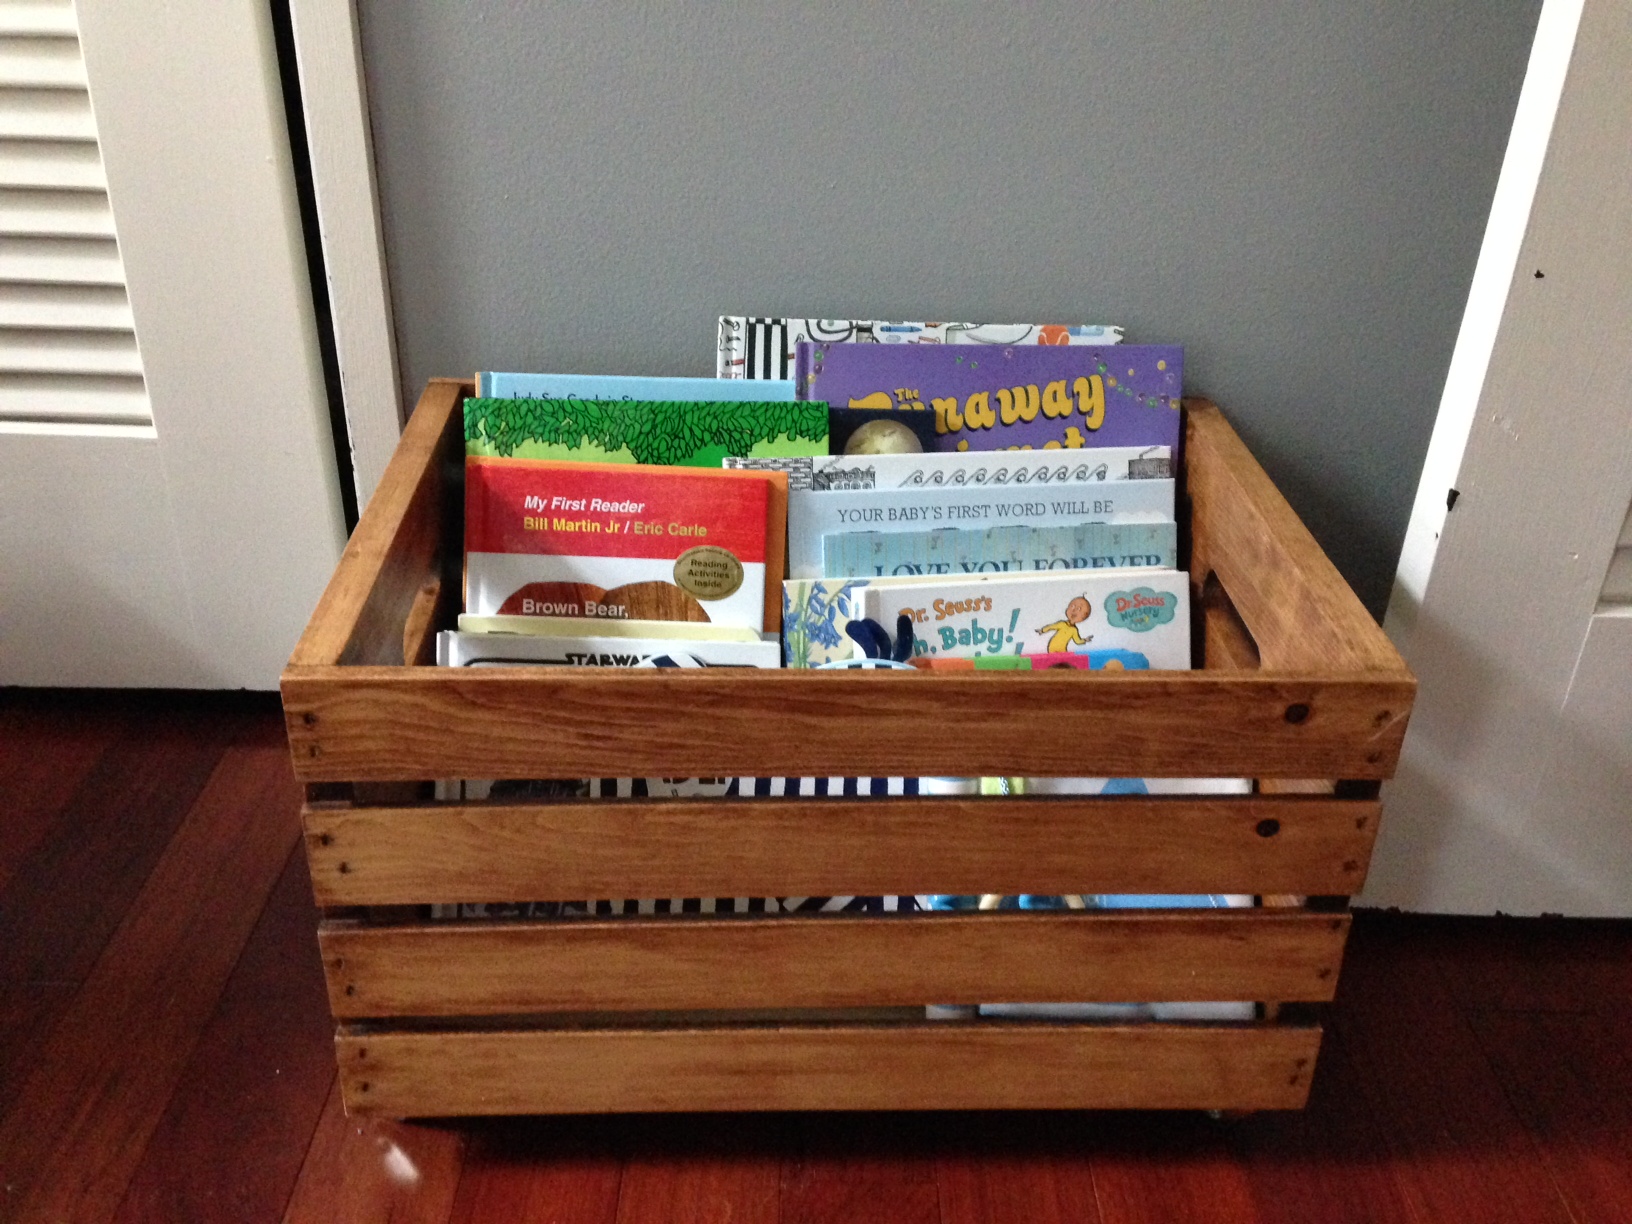
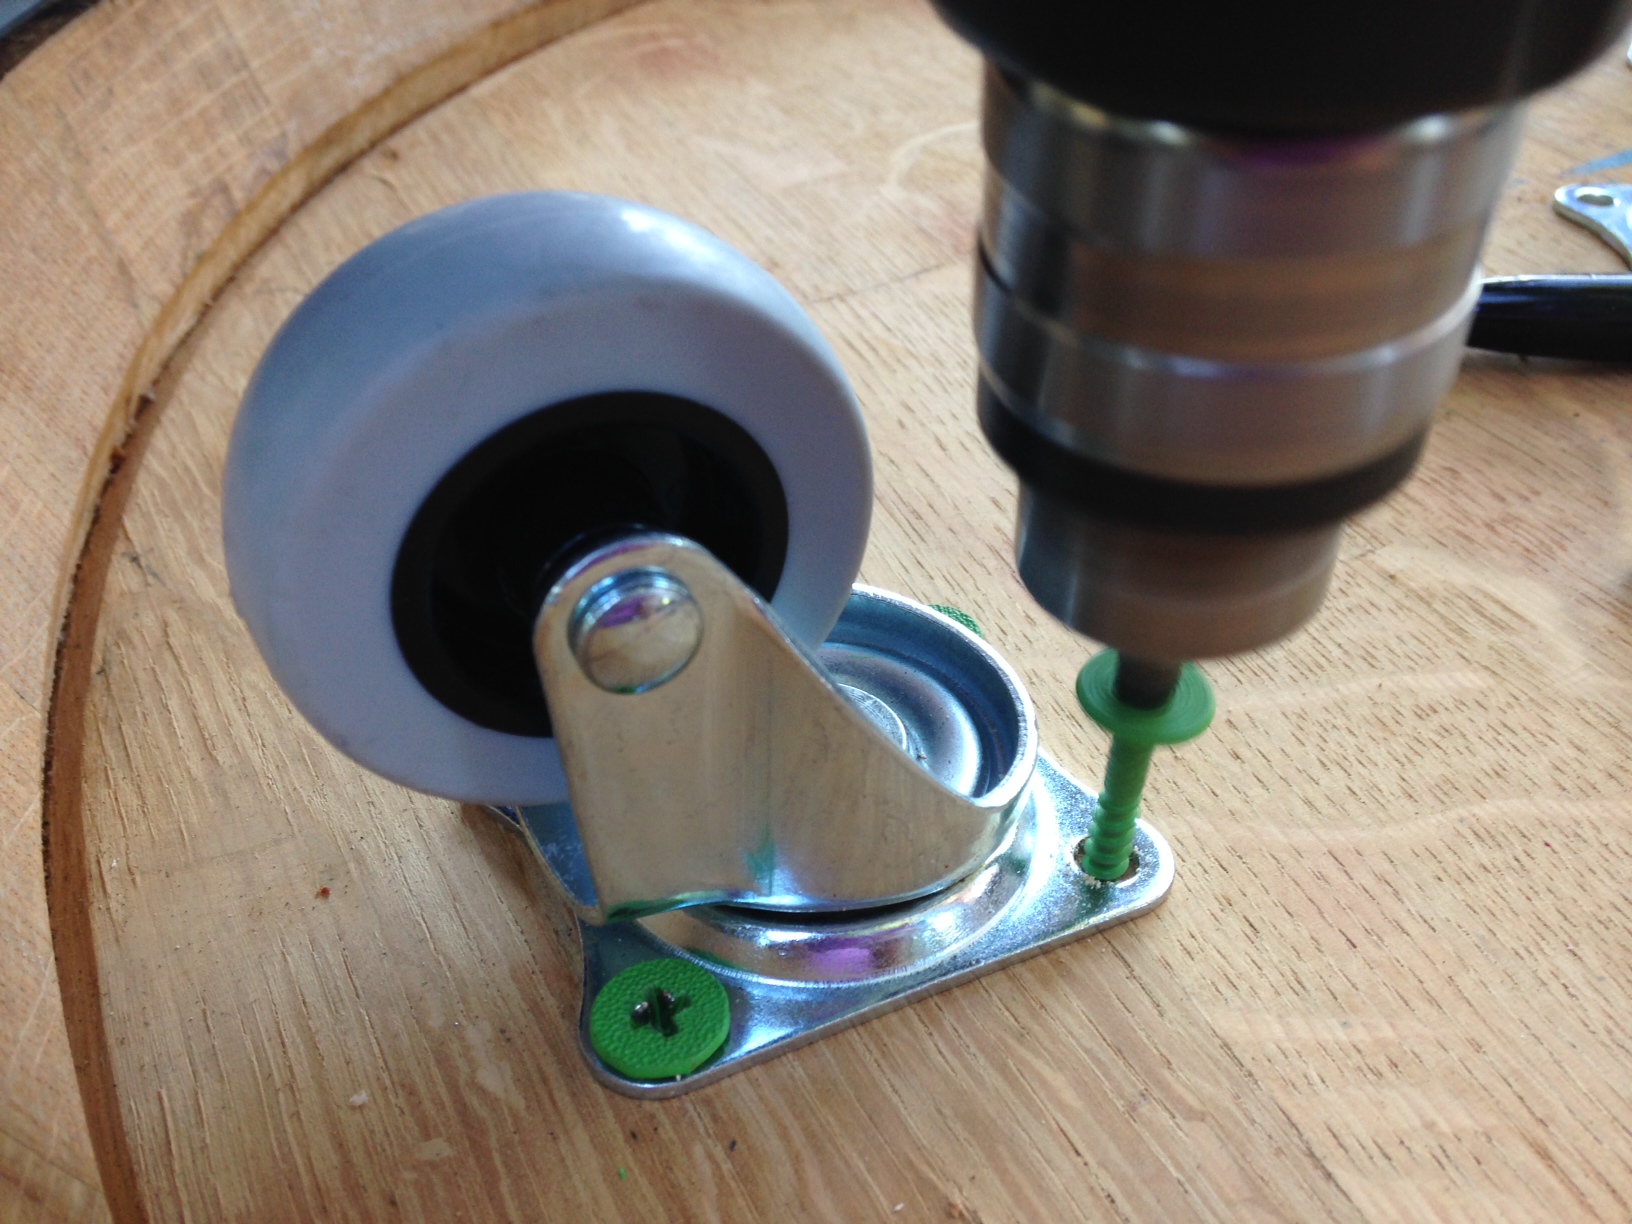
Here is one of our rolling apple crates for books. Brandon did such a great job sanding and staining them! We both did a good job on the wheels.
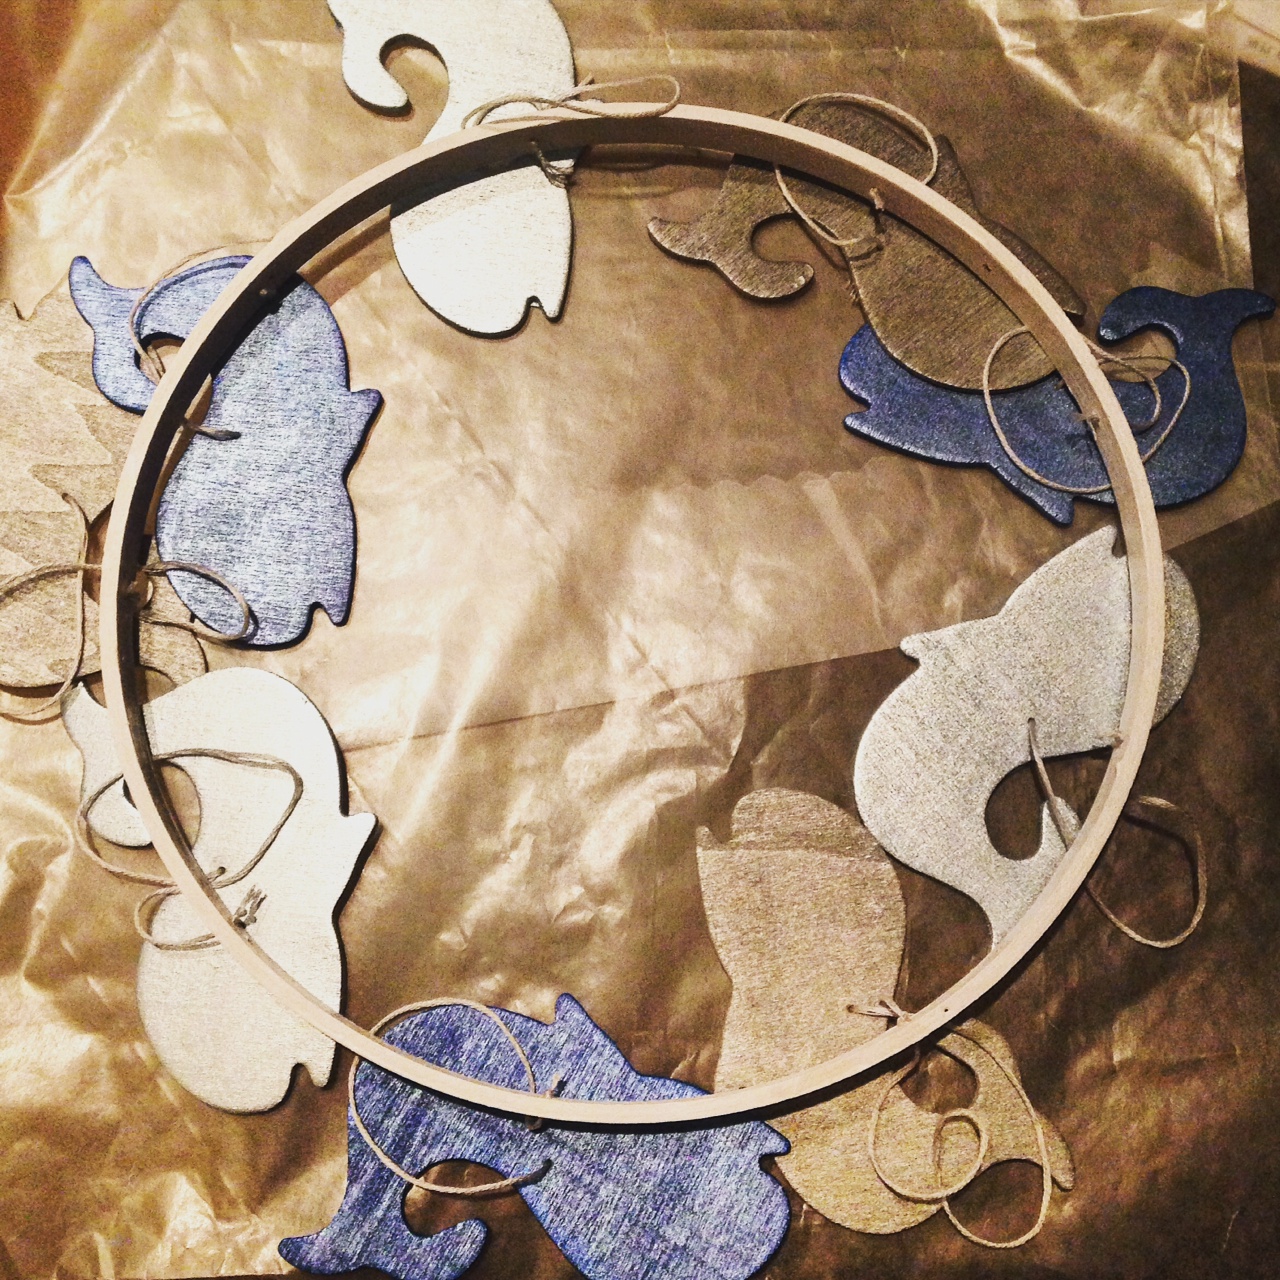
Here’s the latest on the whale mobile. It’s looking great and will be finished soon!
I hope you enjoyed our nursery update. There will be more photos as we keep finishing projects in the next (less than!!) 50 days!