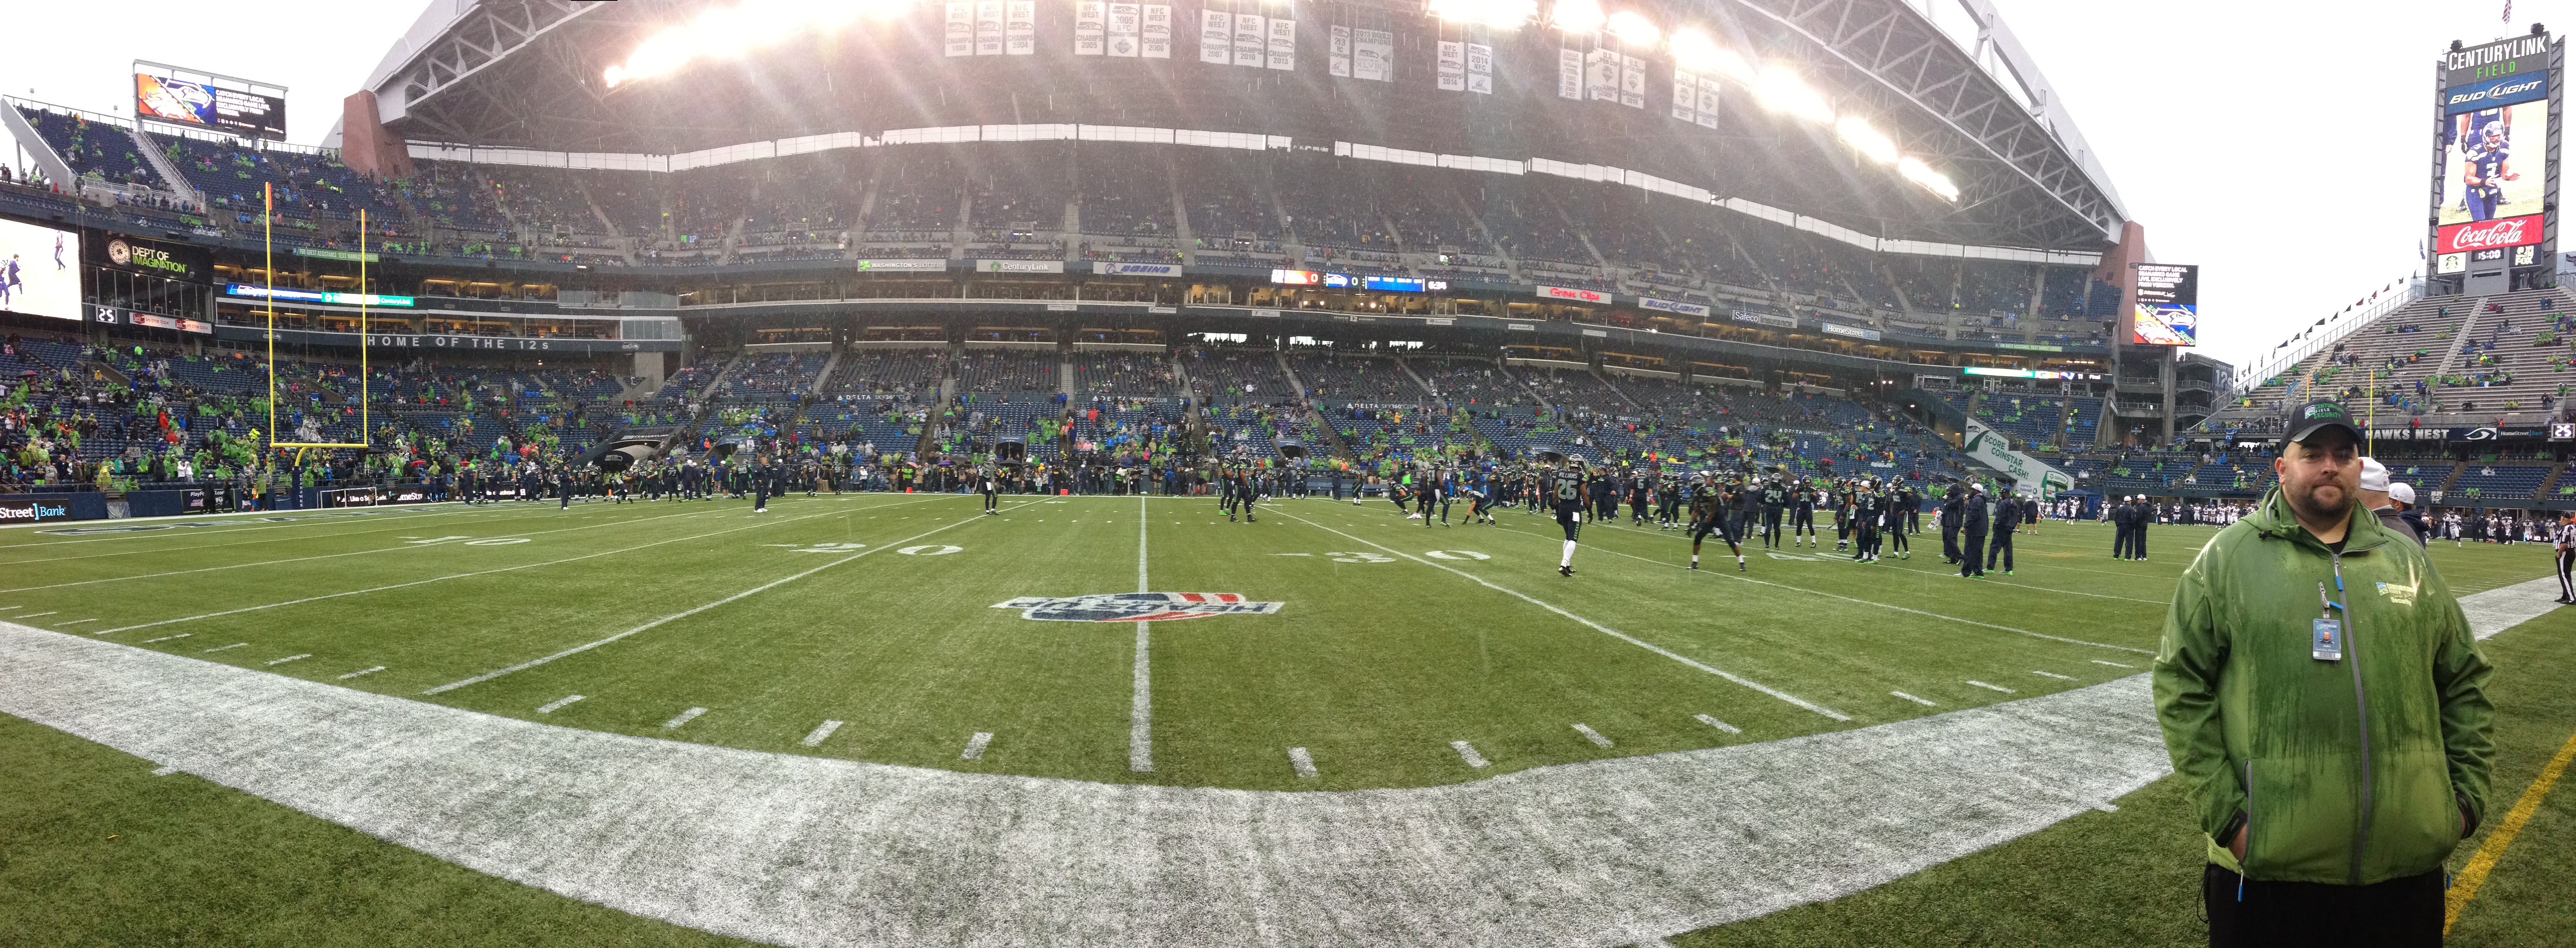
Our pregame view: Amazing!
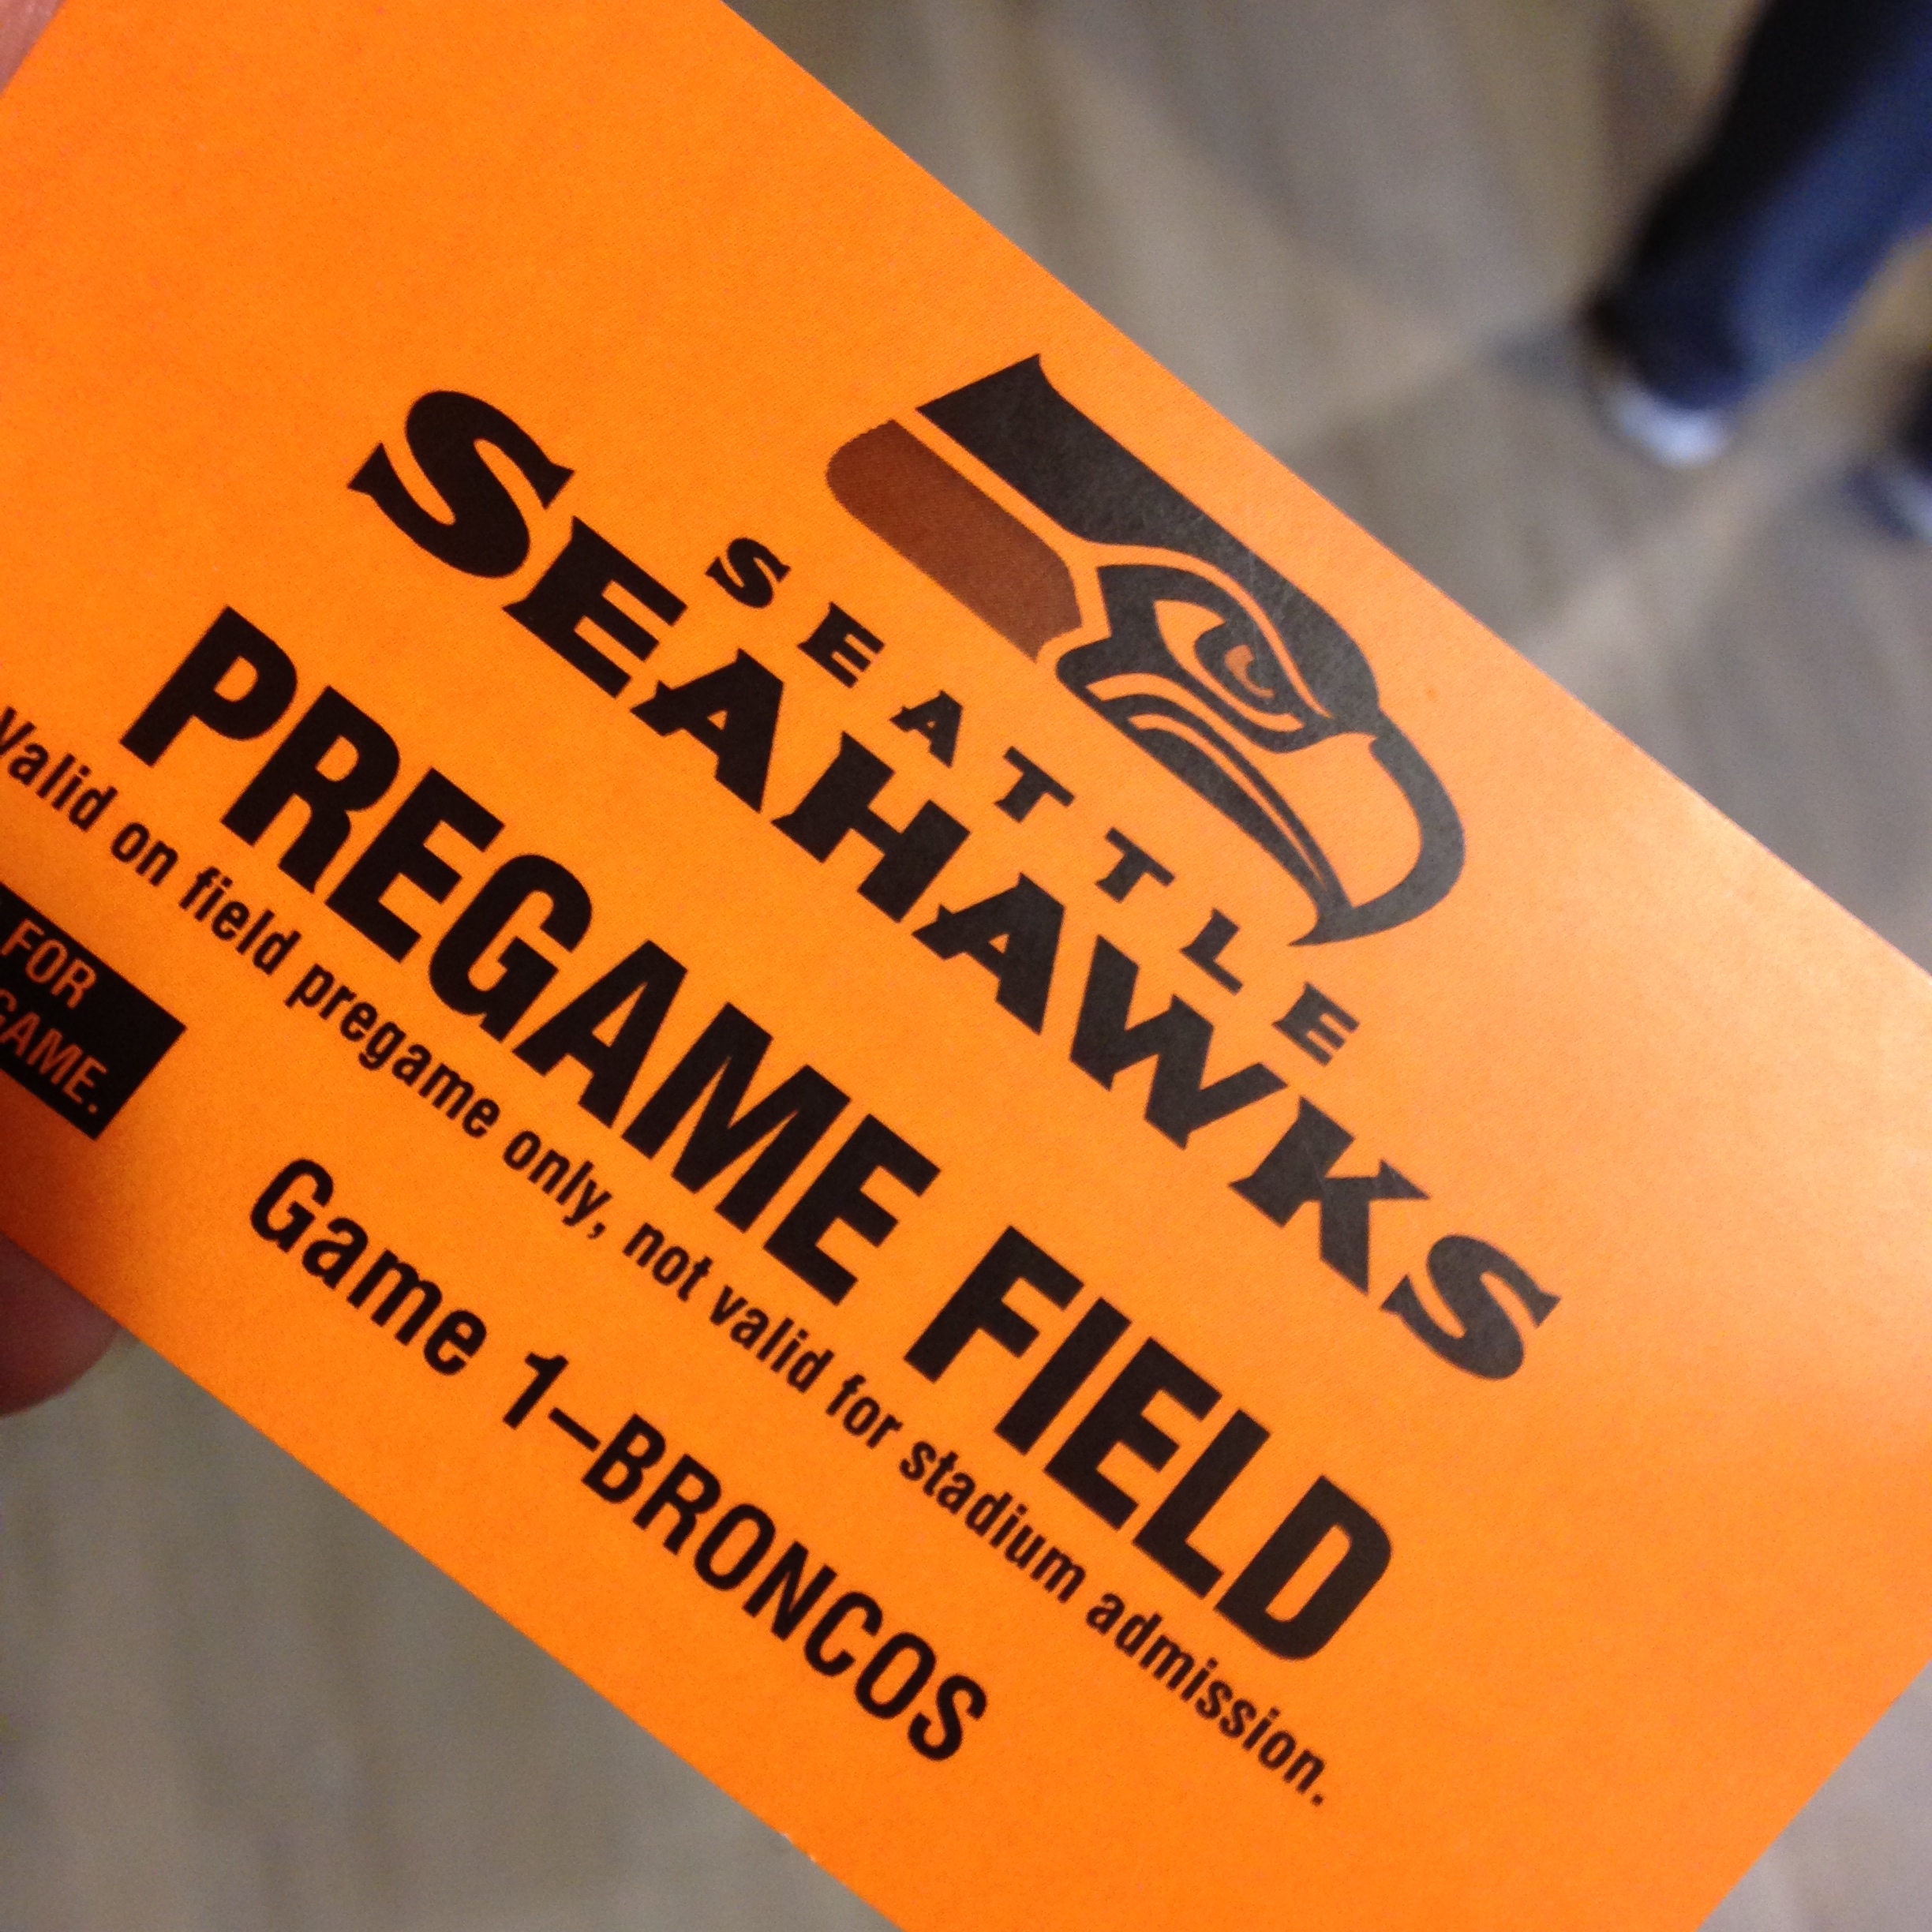
Last Friday Brandon and I attended the first NFL preseason game here in Seattle between the Seahawks and the Denver Broncos. (And my first NFL game!) Brandon was born in Denver and attended his first Bronco game in utero, so it was pretty special that we were able to go to Friday’s game, even if it was just preseason.
We are lucky enough to have a friend who works for the Seahawks who hooked us up with sideline passes, so of course Brandon was in heaven.
Pregame ON THE FIELD!
It also made the perfect week 35 photos for our baby book! It was pouring down rain on Friday, we had an inch-and-a-half of rain in just a few hours, and I don’t have a rain jacket that covers my massive belly, so I look a bit like a wet dog, but that’s ok. It just adds to the story.
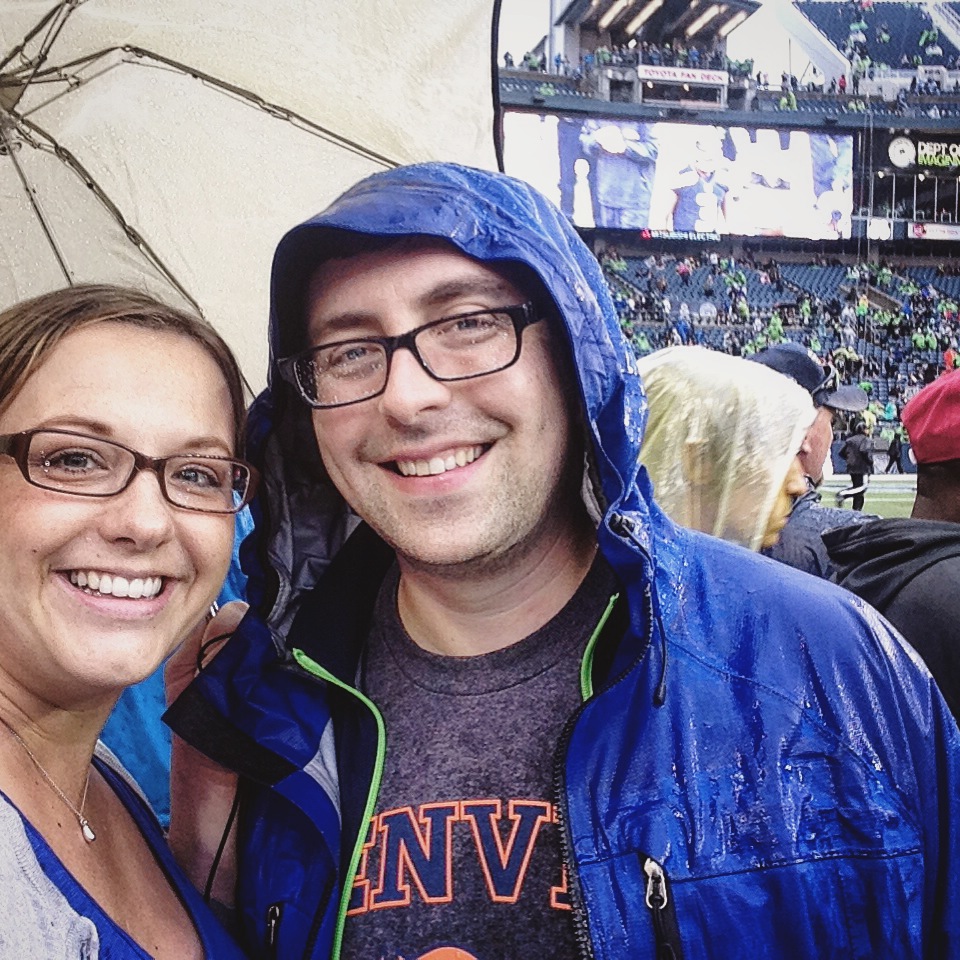
A little rain didn’t dampen our spirits… just our hair.
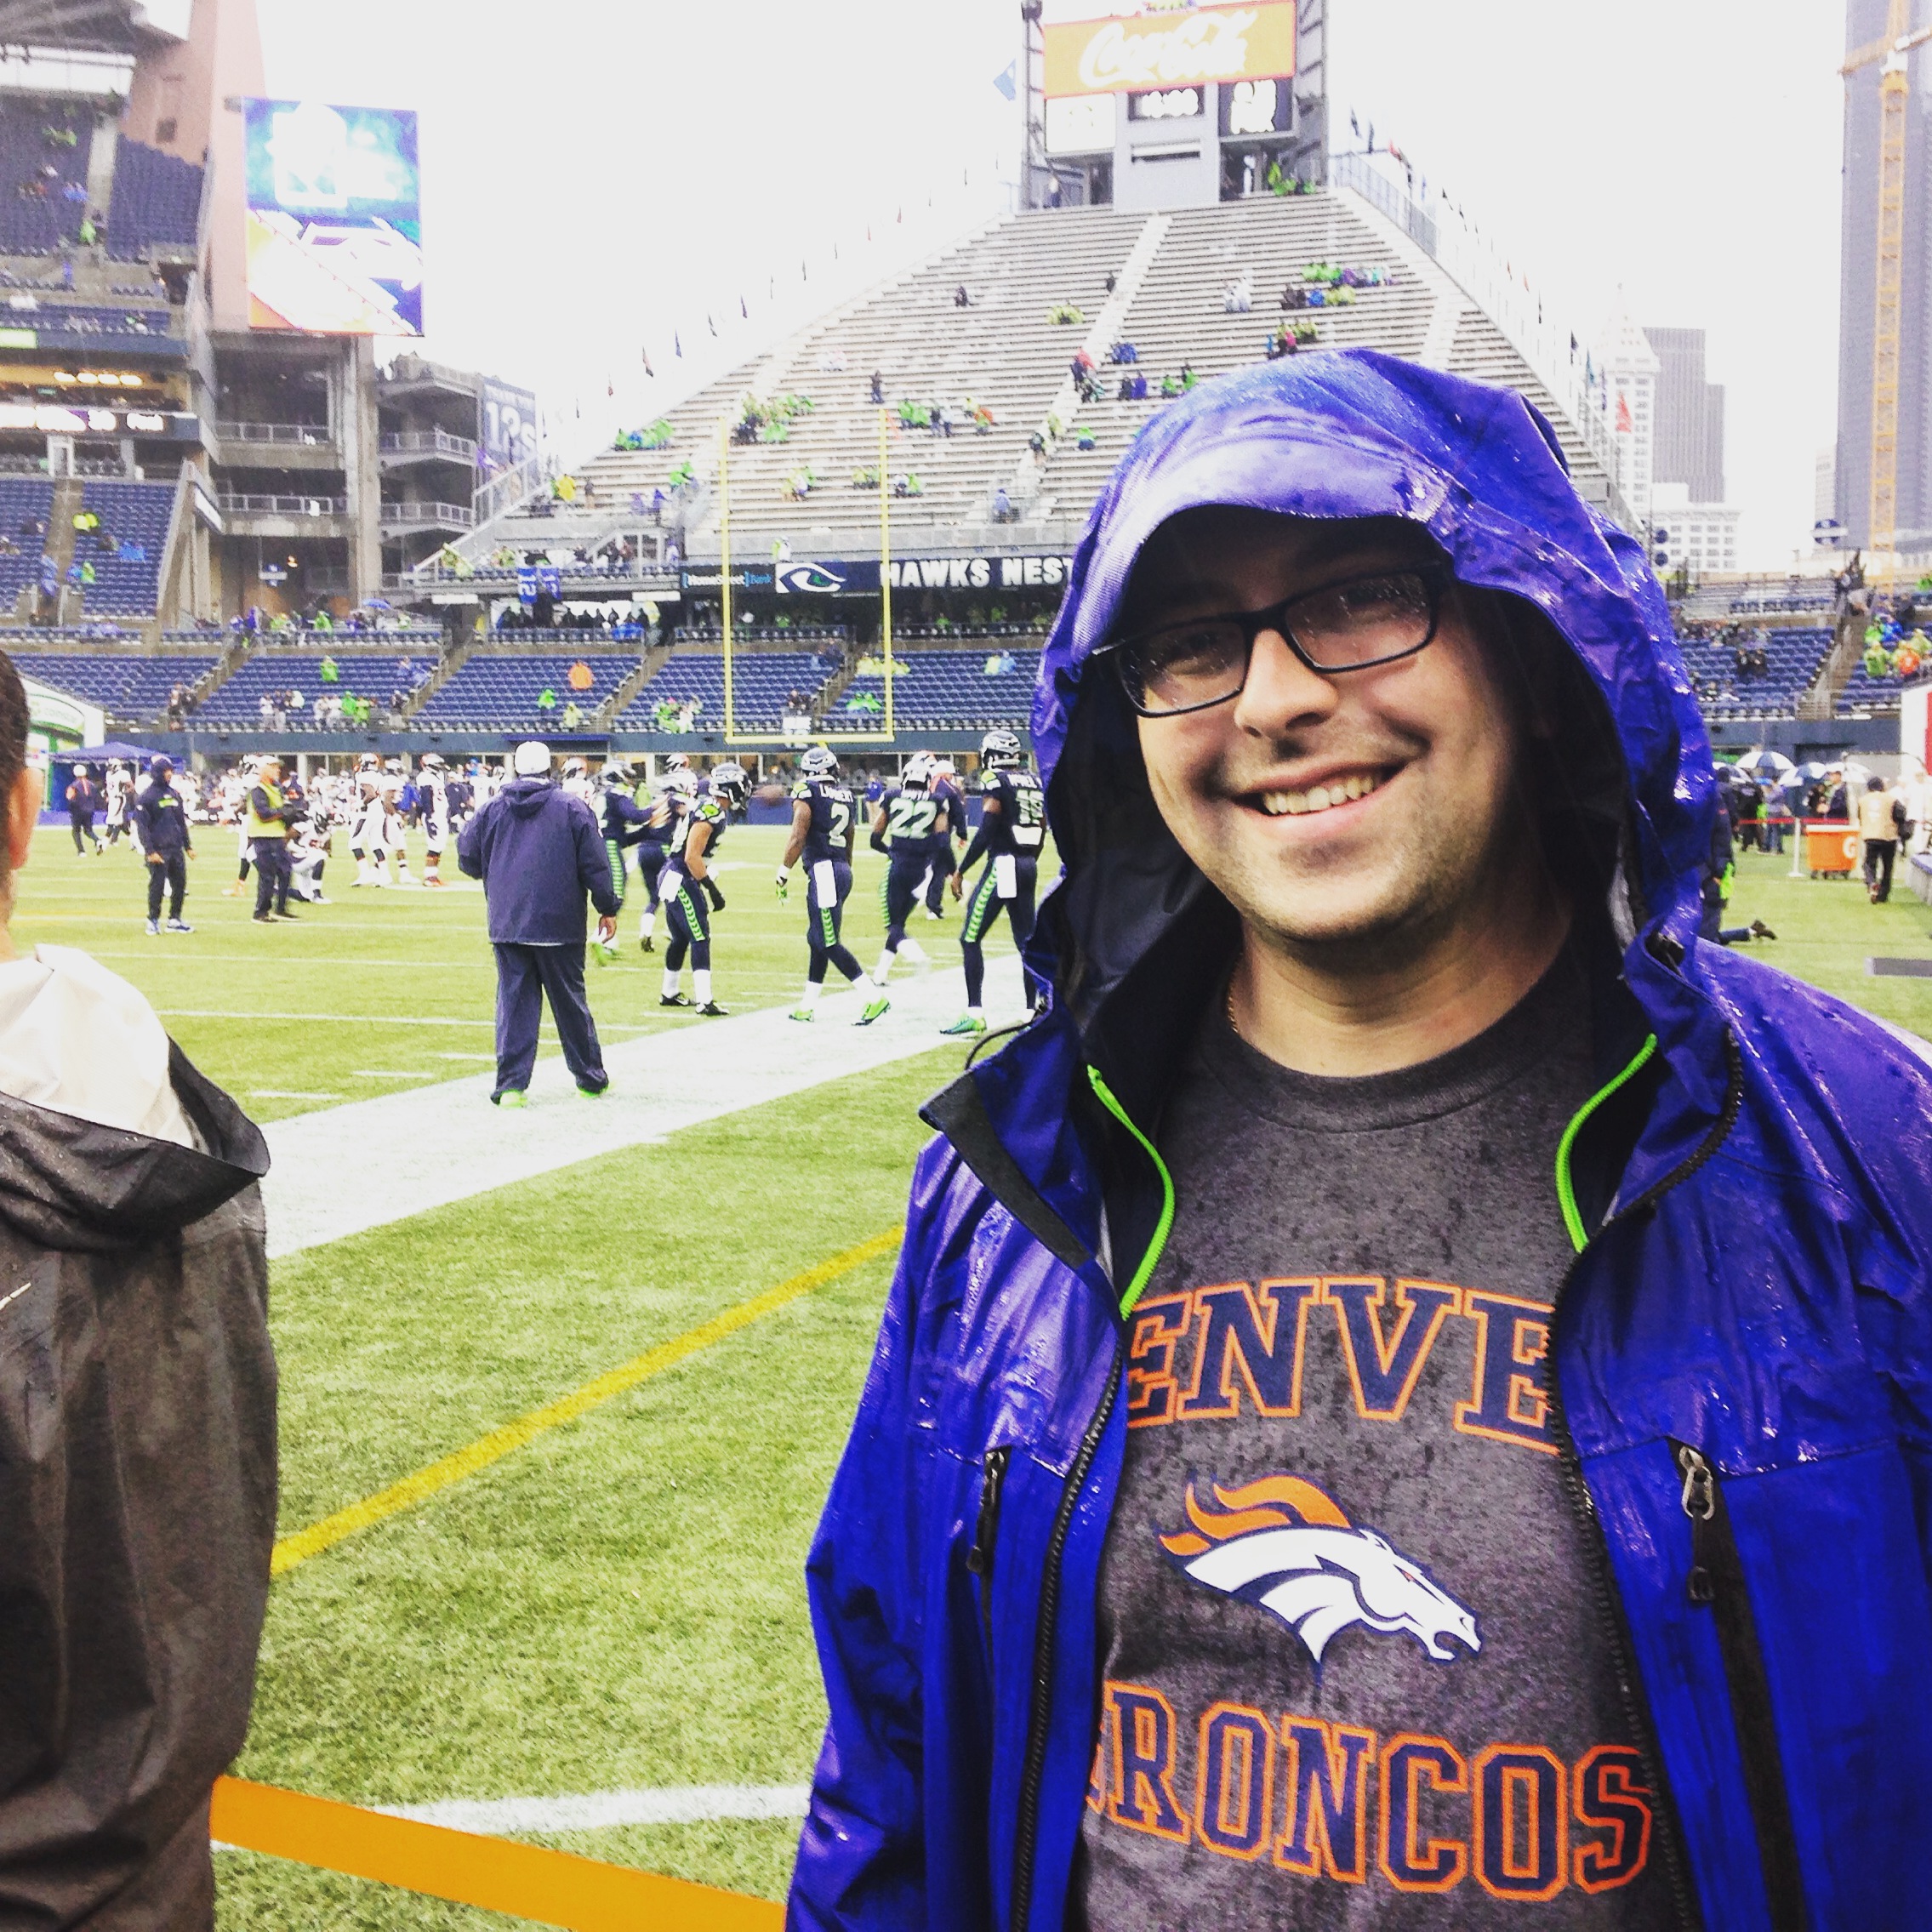
Soaking wet and so, so happy!

Baby Michael’s first Bronco game: in utero, just like his Dad!
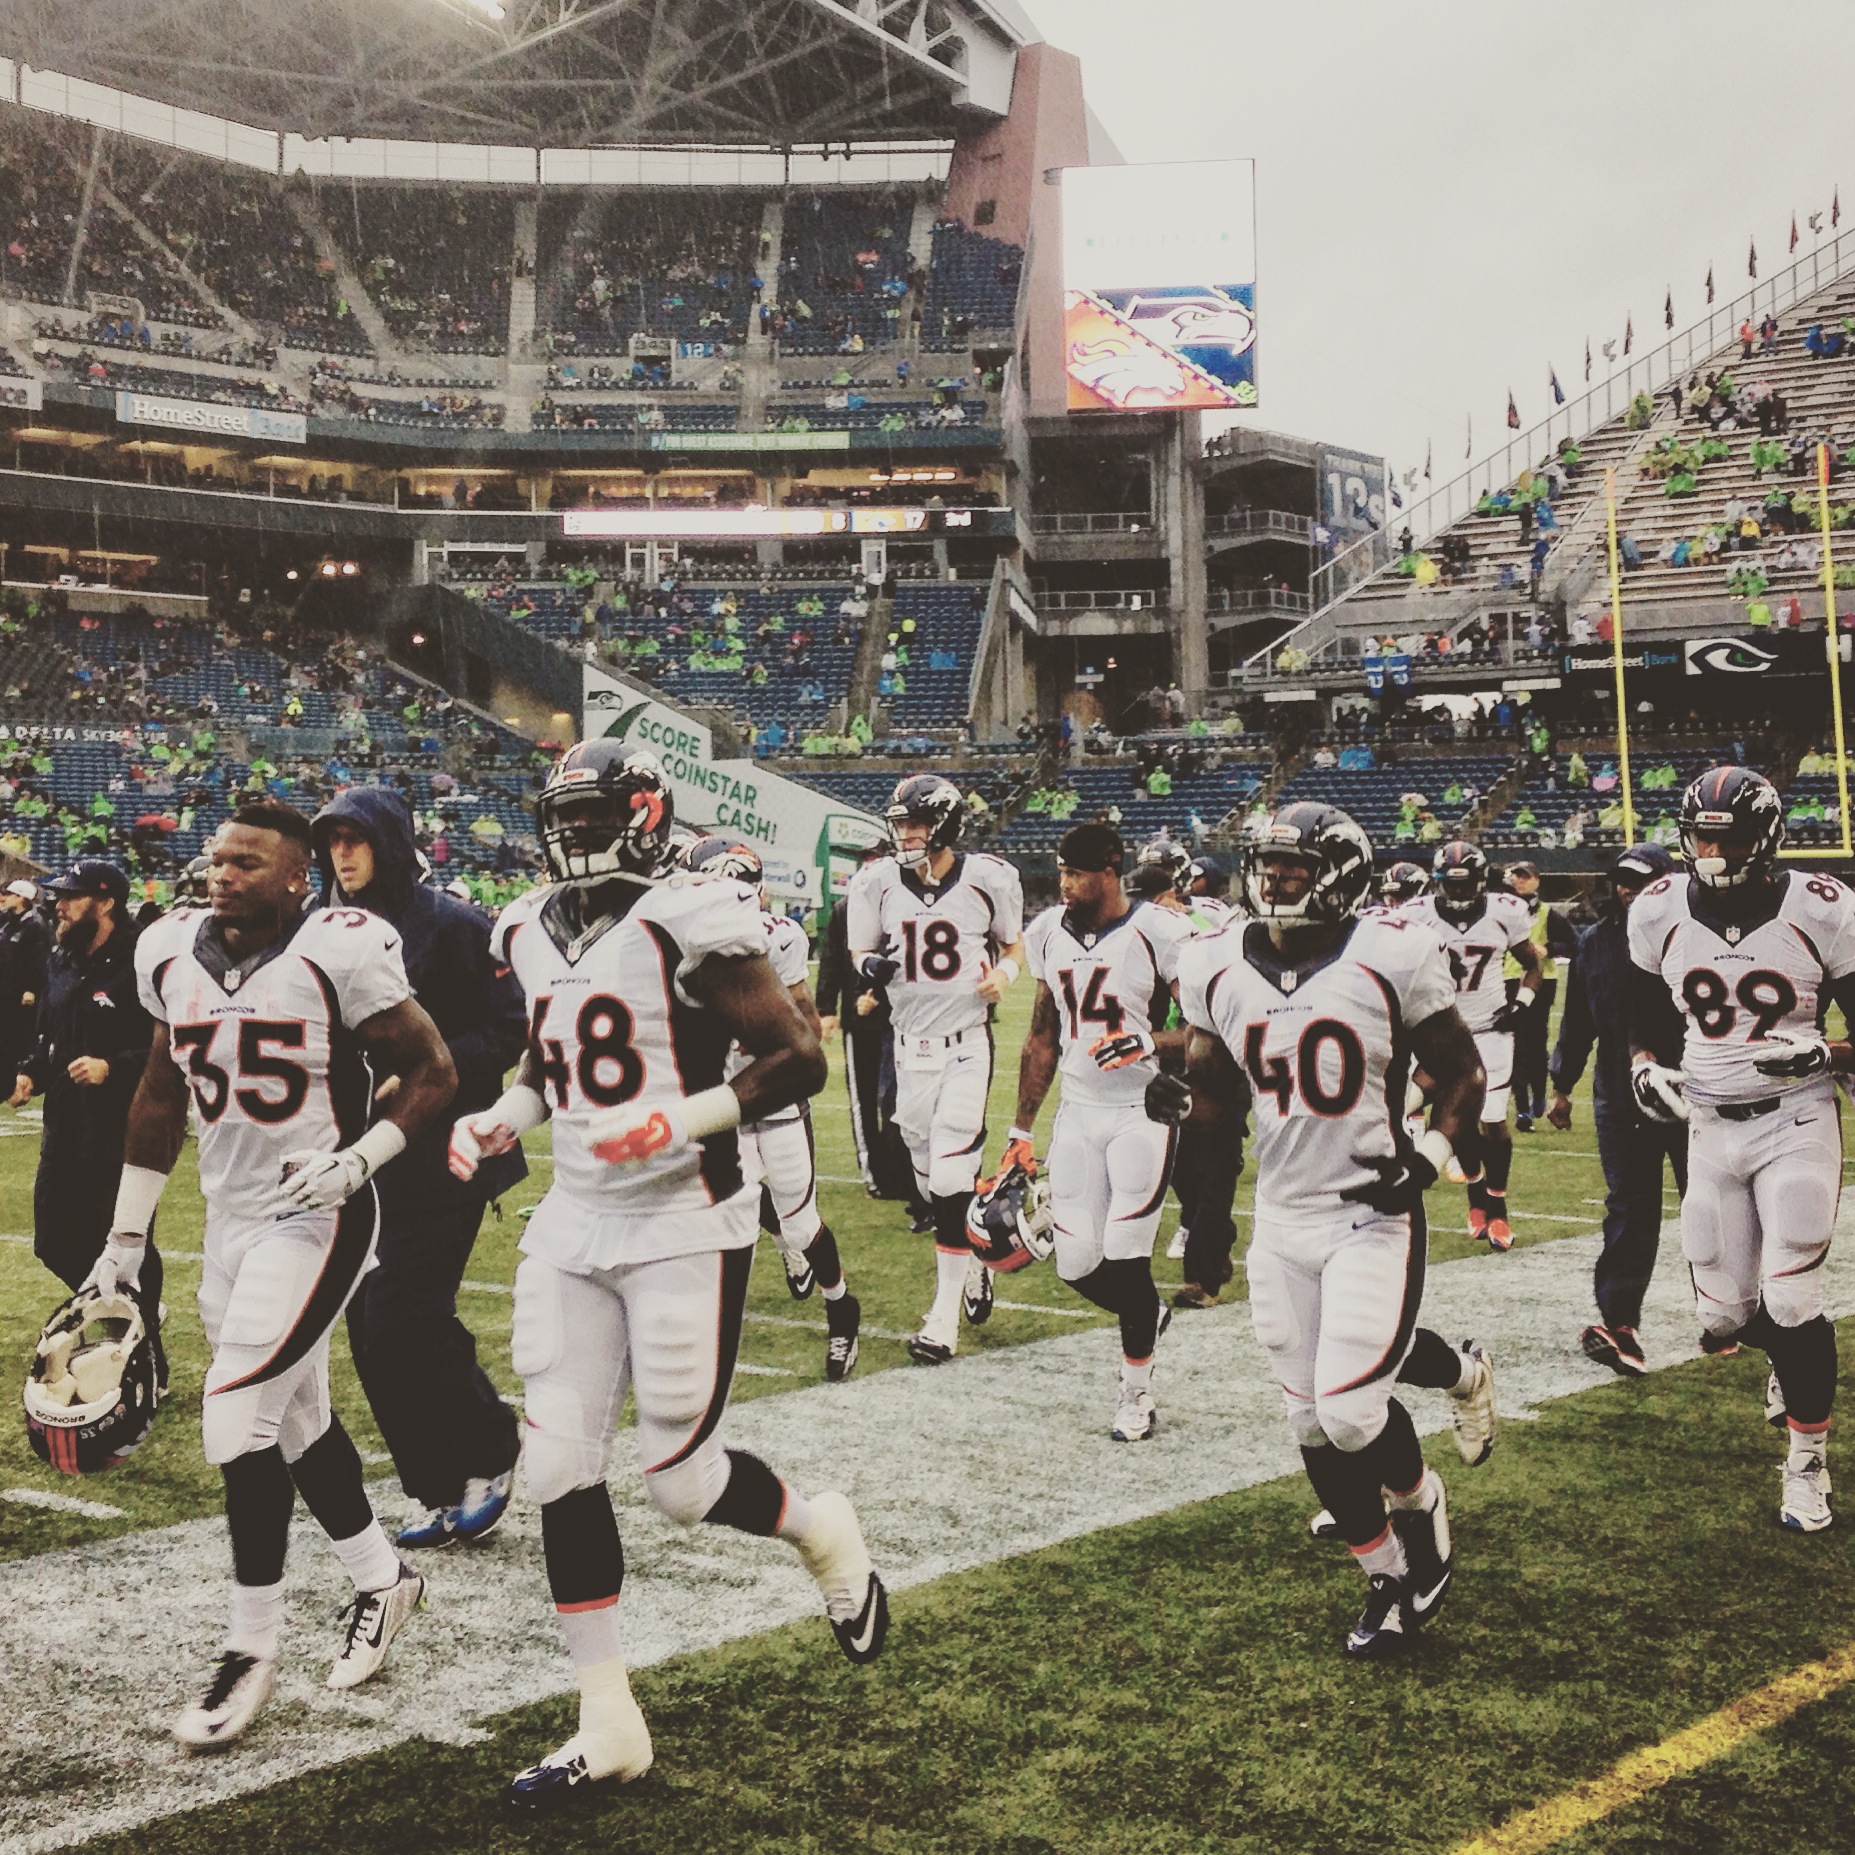
So close to the players!
We left the sideline before the game started and were a little bummed that we didn’t accidentally run into anyone famous, but our seats were under cover and we were ready for warm and dry.
As we were deciding which way to go to get to our seats, Brandon’s hero John Elway emerged from one of the back hallways, with his entourage of management and security. We froze in our tracks and I had to pick his jaw up from the floor. We followed him, obviously, and ended up near the VIP elevator bank, where he was waiting to get up to the owner’s suite. John was just waiting there (cornered) and many people started to take notice.
(Of note: Brandon would have this reaction to pretty much four people: John Elway, Sylvester Stallone, Matthew McConaughey and Rachel McAdams. So seeing John Elway was BIG.)
We happened to bring a Broncos bib and sharpie (you never know when opportunity will strike!) and Brandon jumped at the chance to a) talk to his hero and b) get an autograph for Baby Michael.
Here they are, Brandon and John. Broncos historian and Broncos legend. Together at last. Turns out that John has never signed a bib before, so in addition to being slightly weird (his words) it was hopefully memorable too. And hopefully Baby Michael loves the Broncos as much as his Dad and Grandpa do!
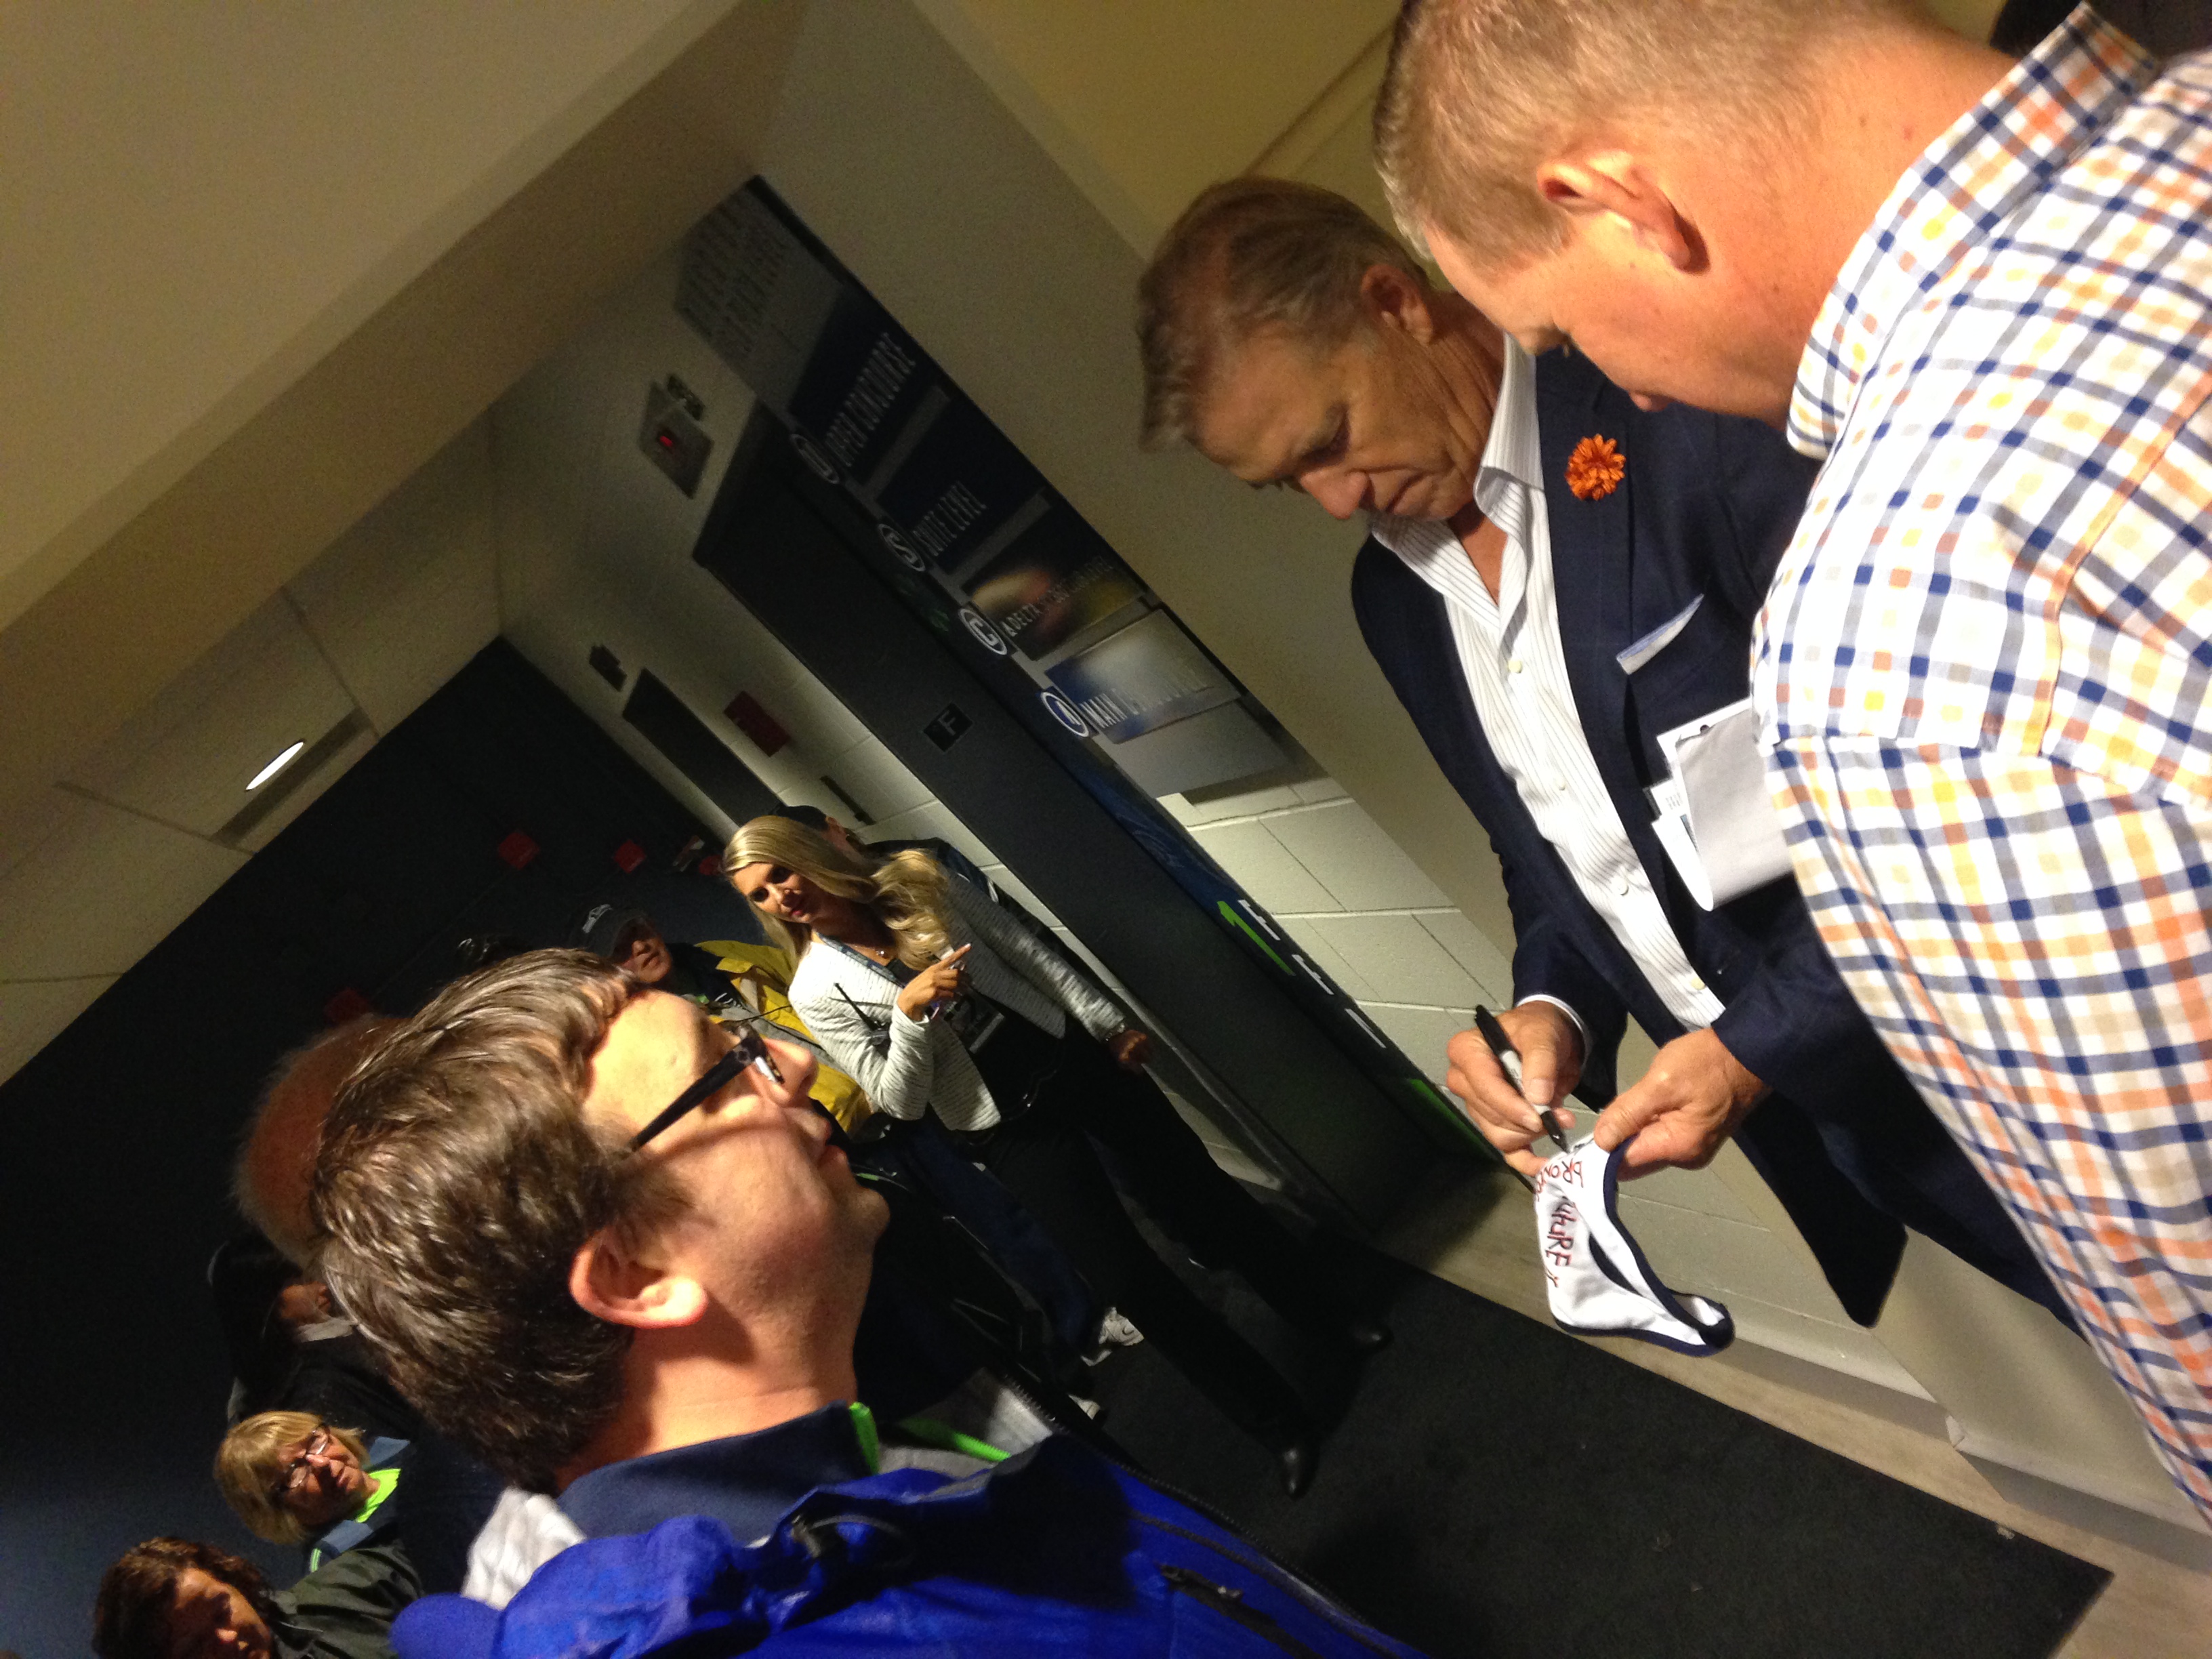
Brandon and his hero: John Elway, Bronco legend
The bib won’t be used, and instead will be memorialized forever in a shadowbox frame. I’ll post an after photo of the final product once it’s done, but for now you’ll have to be impressed with this wrinkled version. Thank you, Mr. Elway!

Coolest baby gift EVER! (Especially for the ultimate Broncos fan!)
And some cool shots of the Seahawks, if they’re more your thing…

Beastmode: Up close and personal!
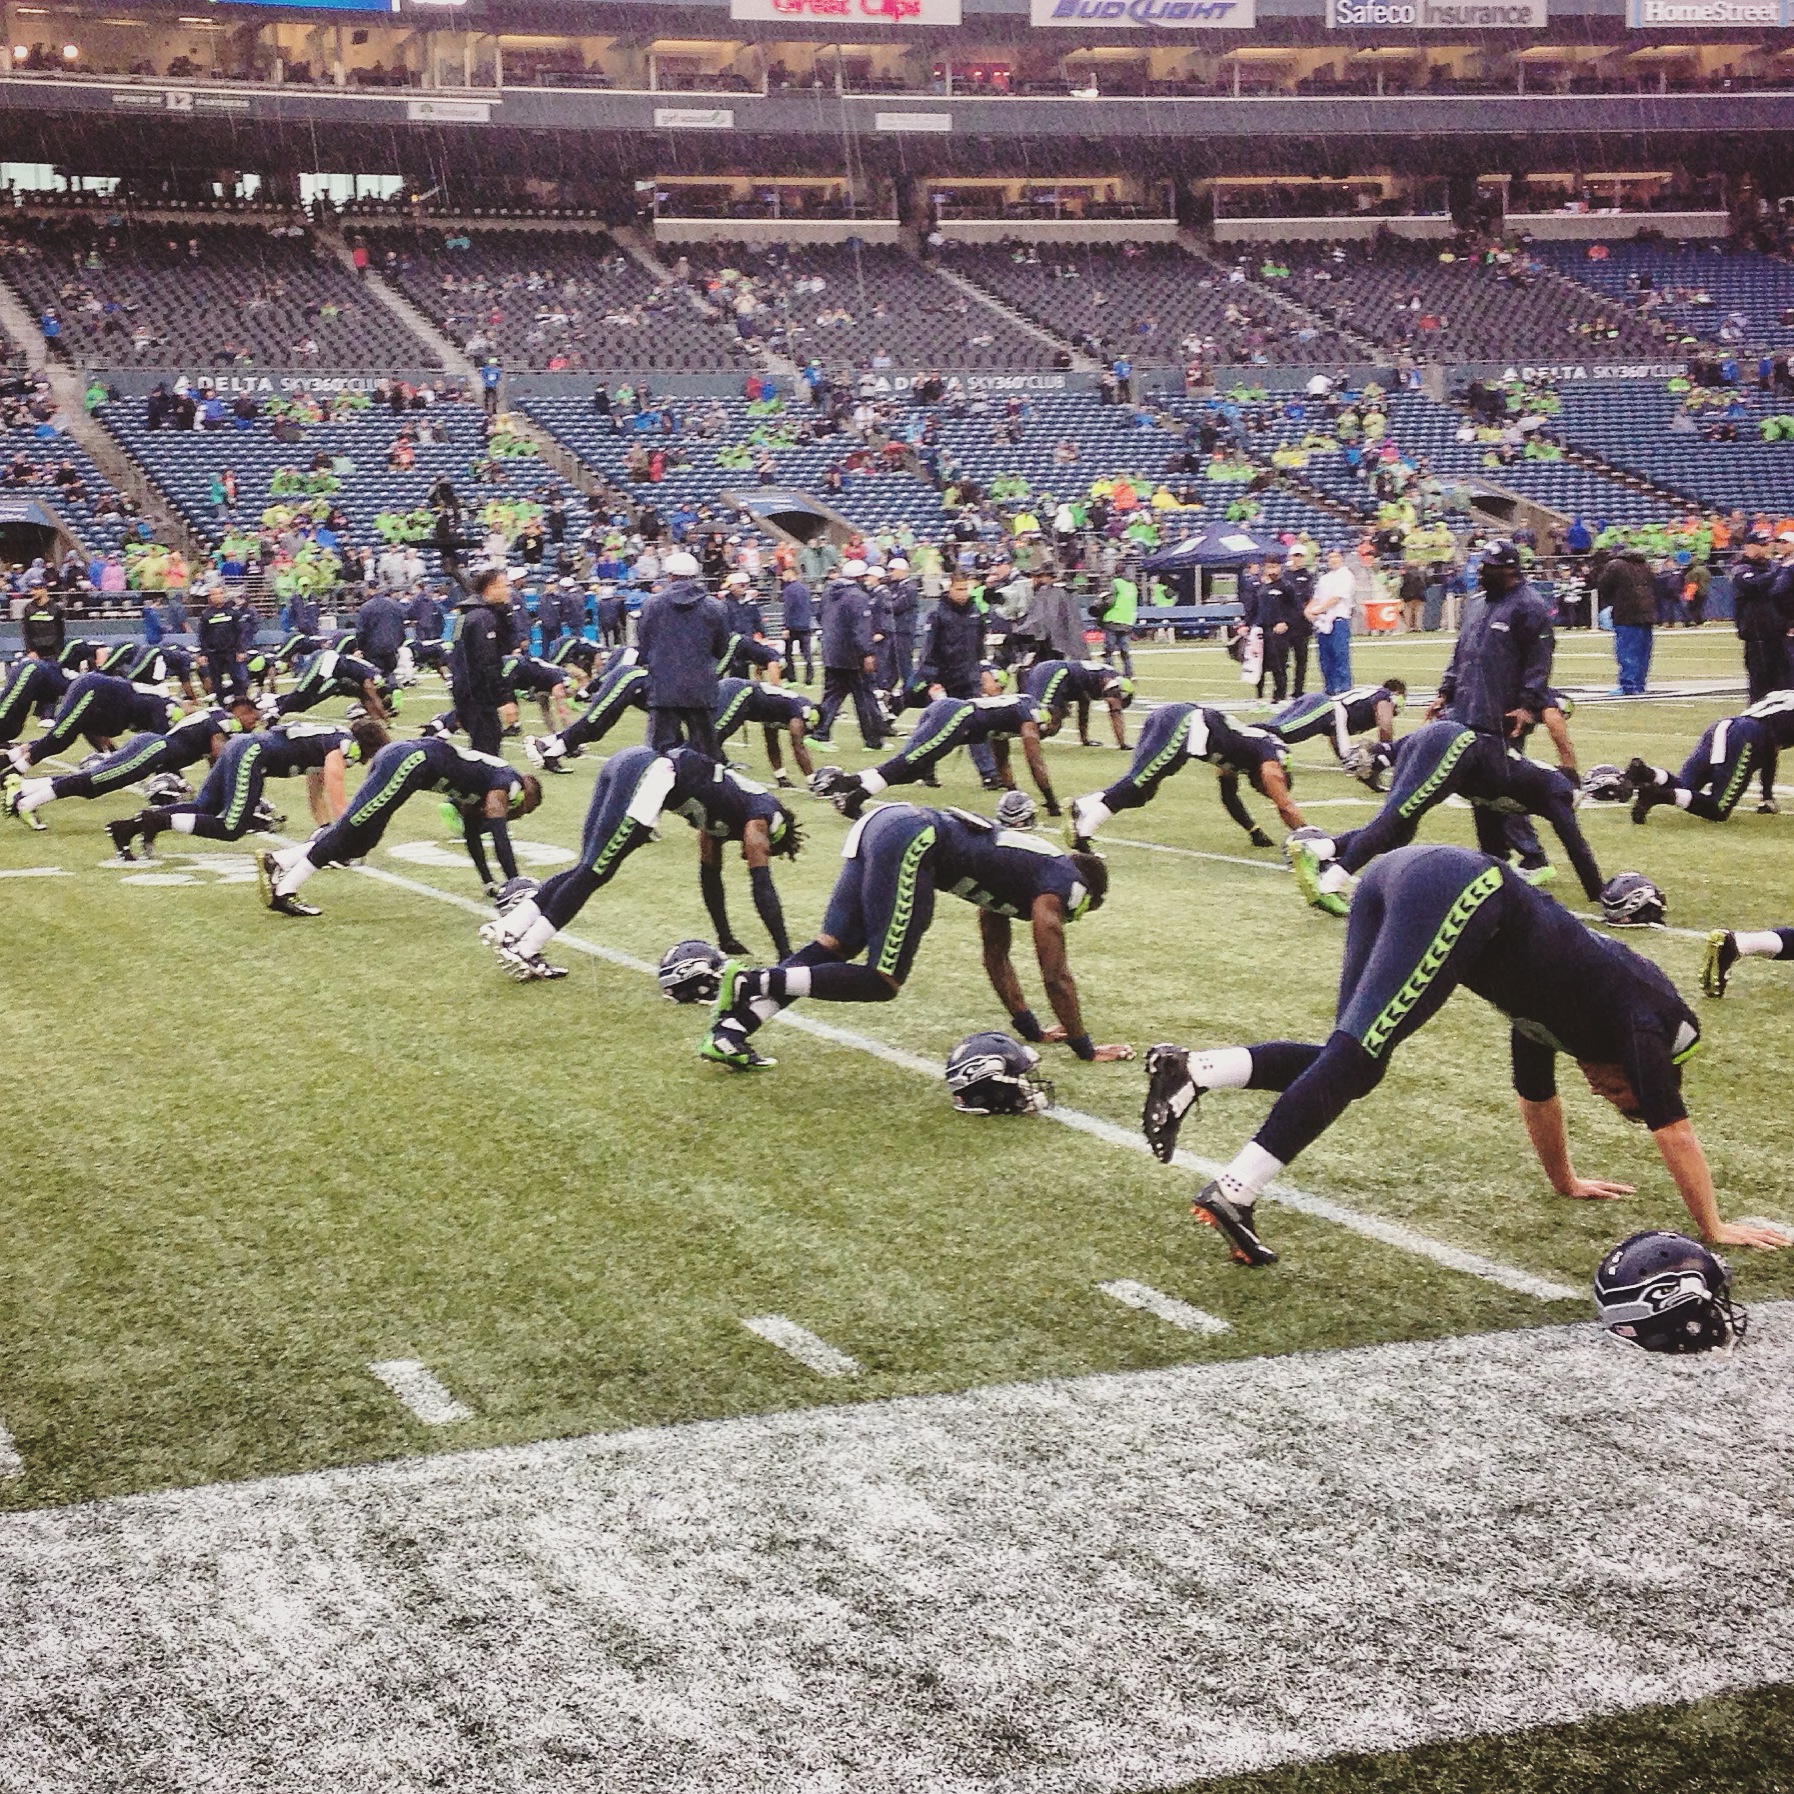
Seahawk stretching
Have a great week!