A couple of years ago I received a special order in my small business, Little Britches Bakery, for a bumble bee- themed diaper cake, for a “What will it BEE” gender reveal party. Ever since then I’ve been thinking about starting a bumble bee line for Little Britches and Mo/Michael’s big reveal was the perfect opportunity!
As usual, I started with some inspiration on Pinterest and a board.
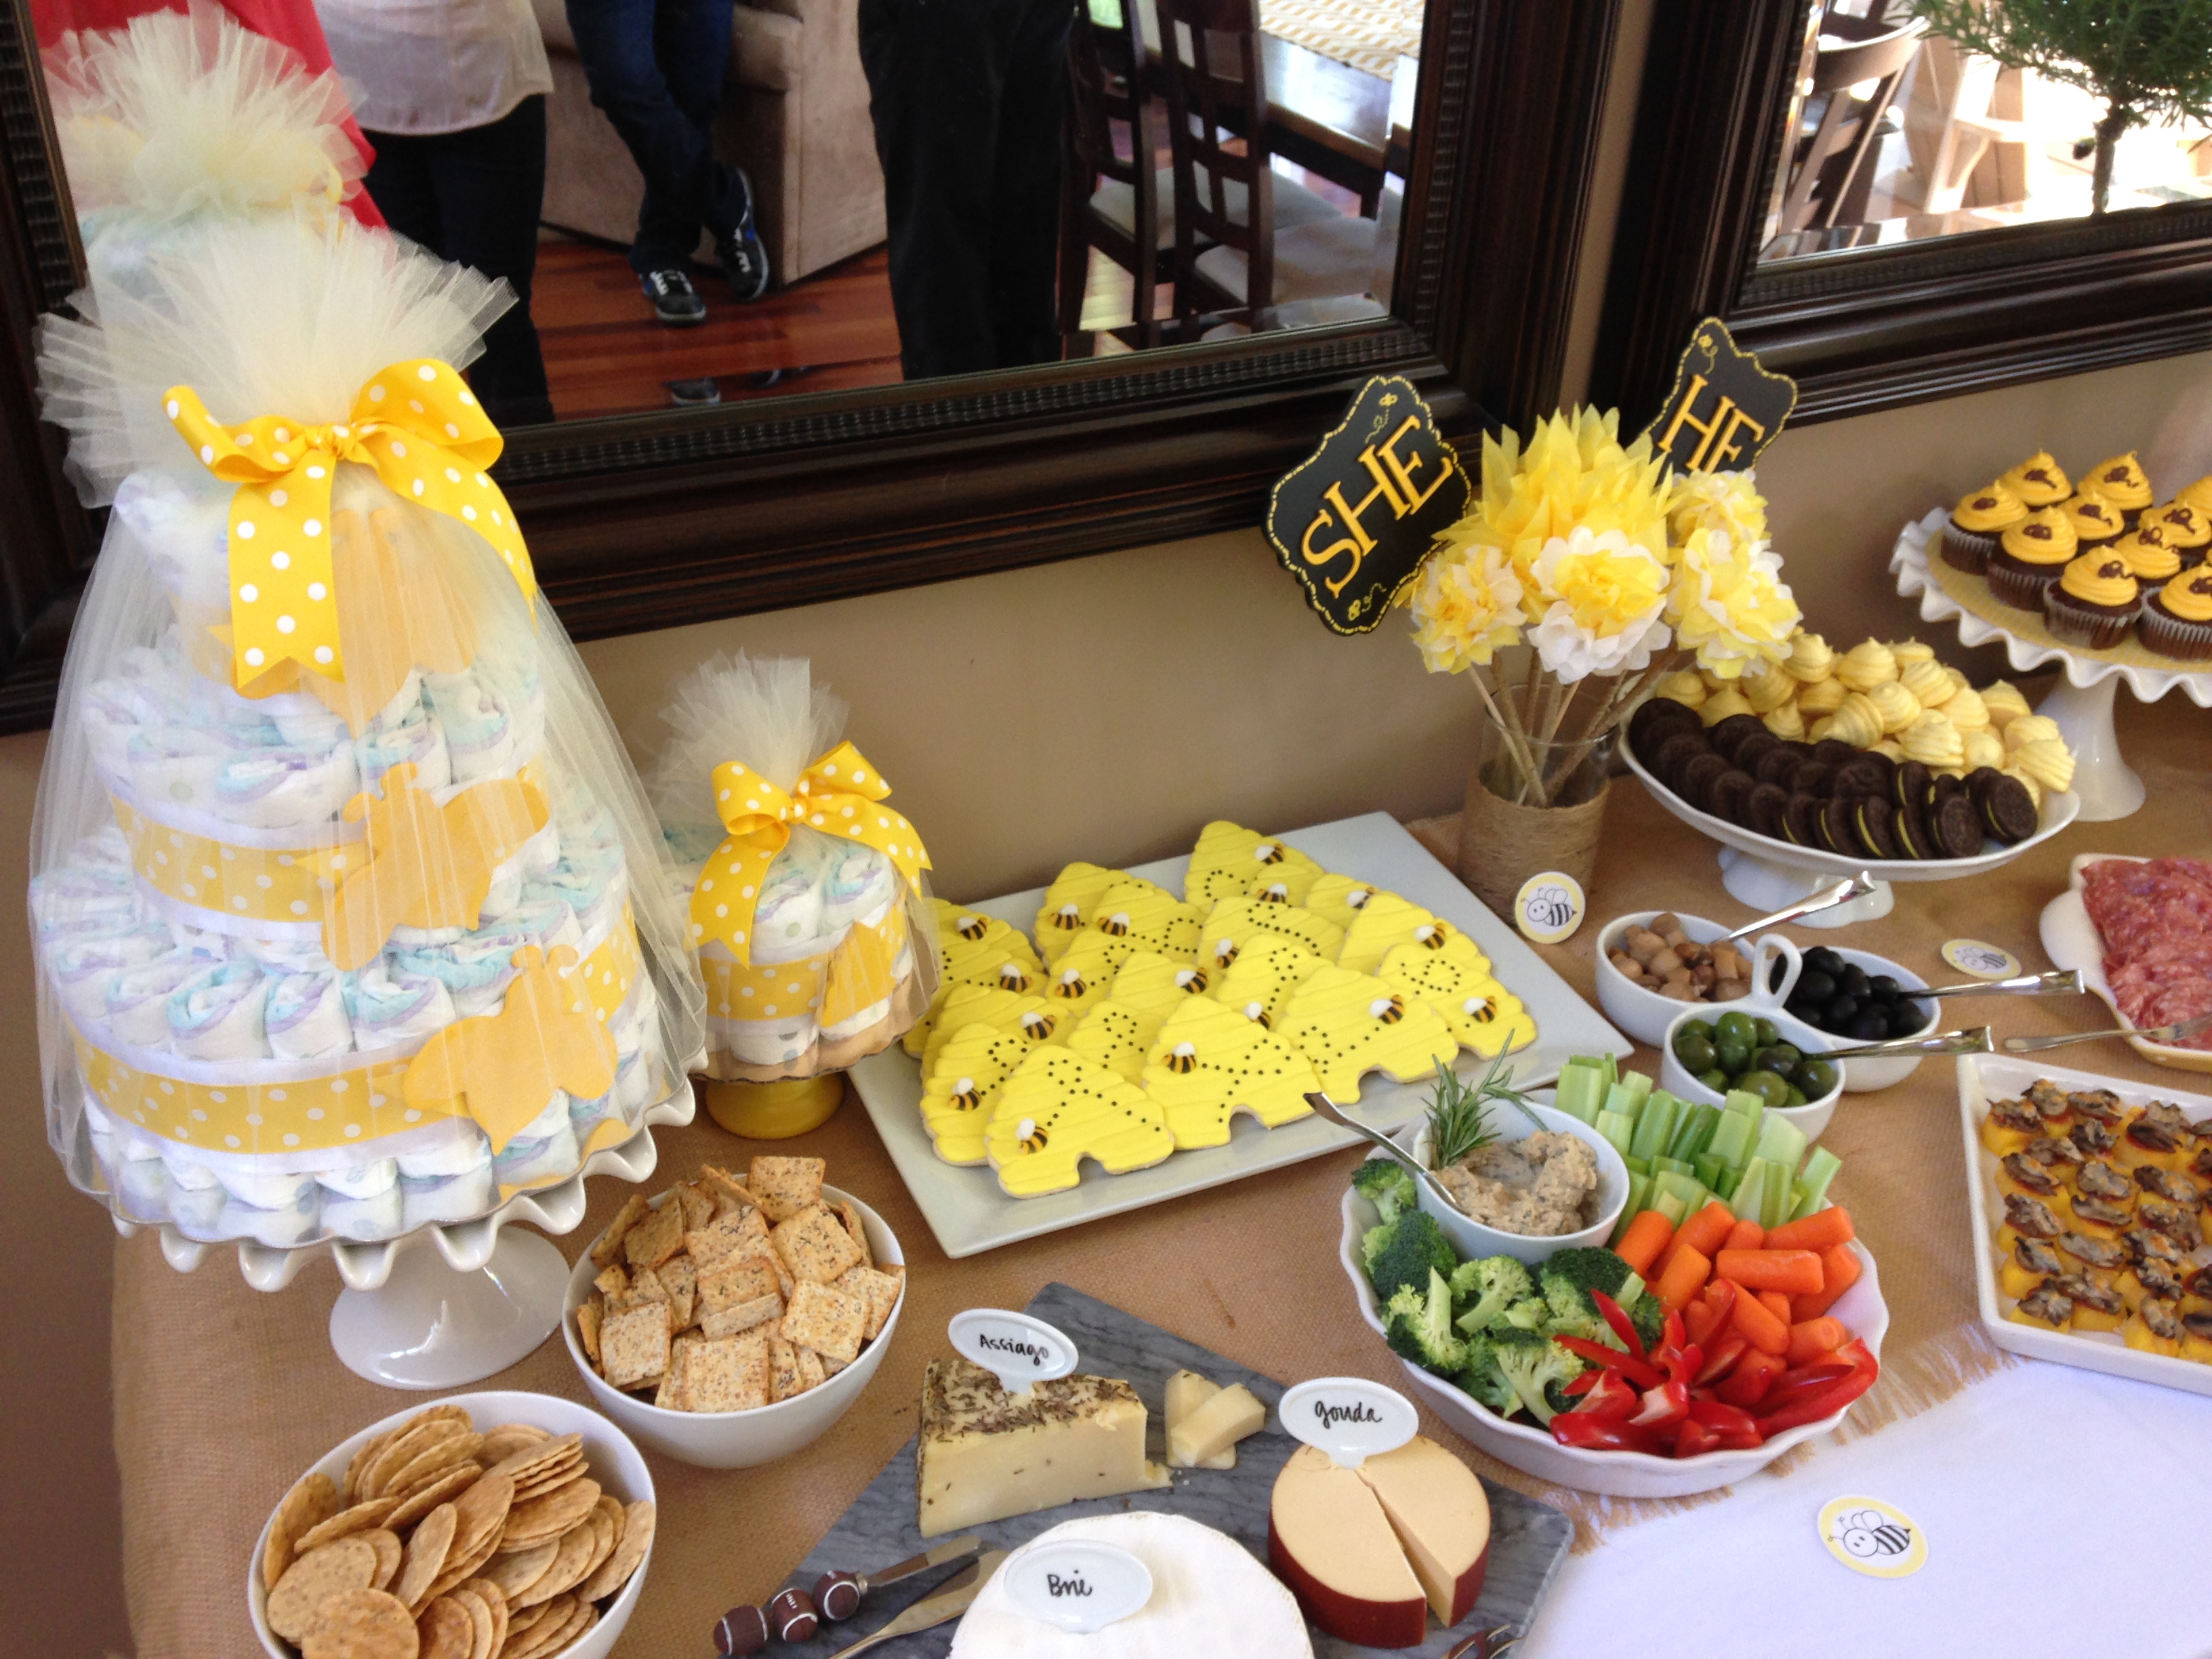
Then I set about making the diaper cakes, and shifted the color scheme to yellow and white rather than yellow and black. I also added some burlap into the mix, which was very complimentary.
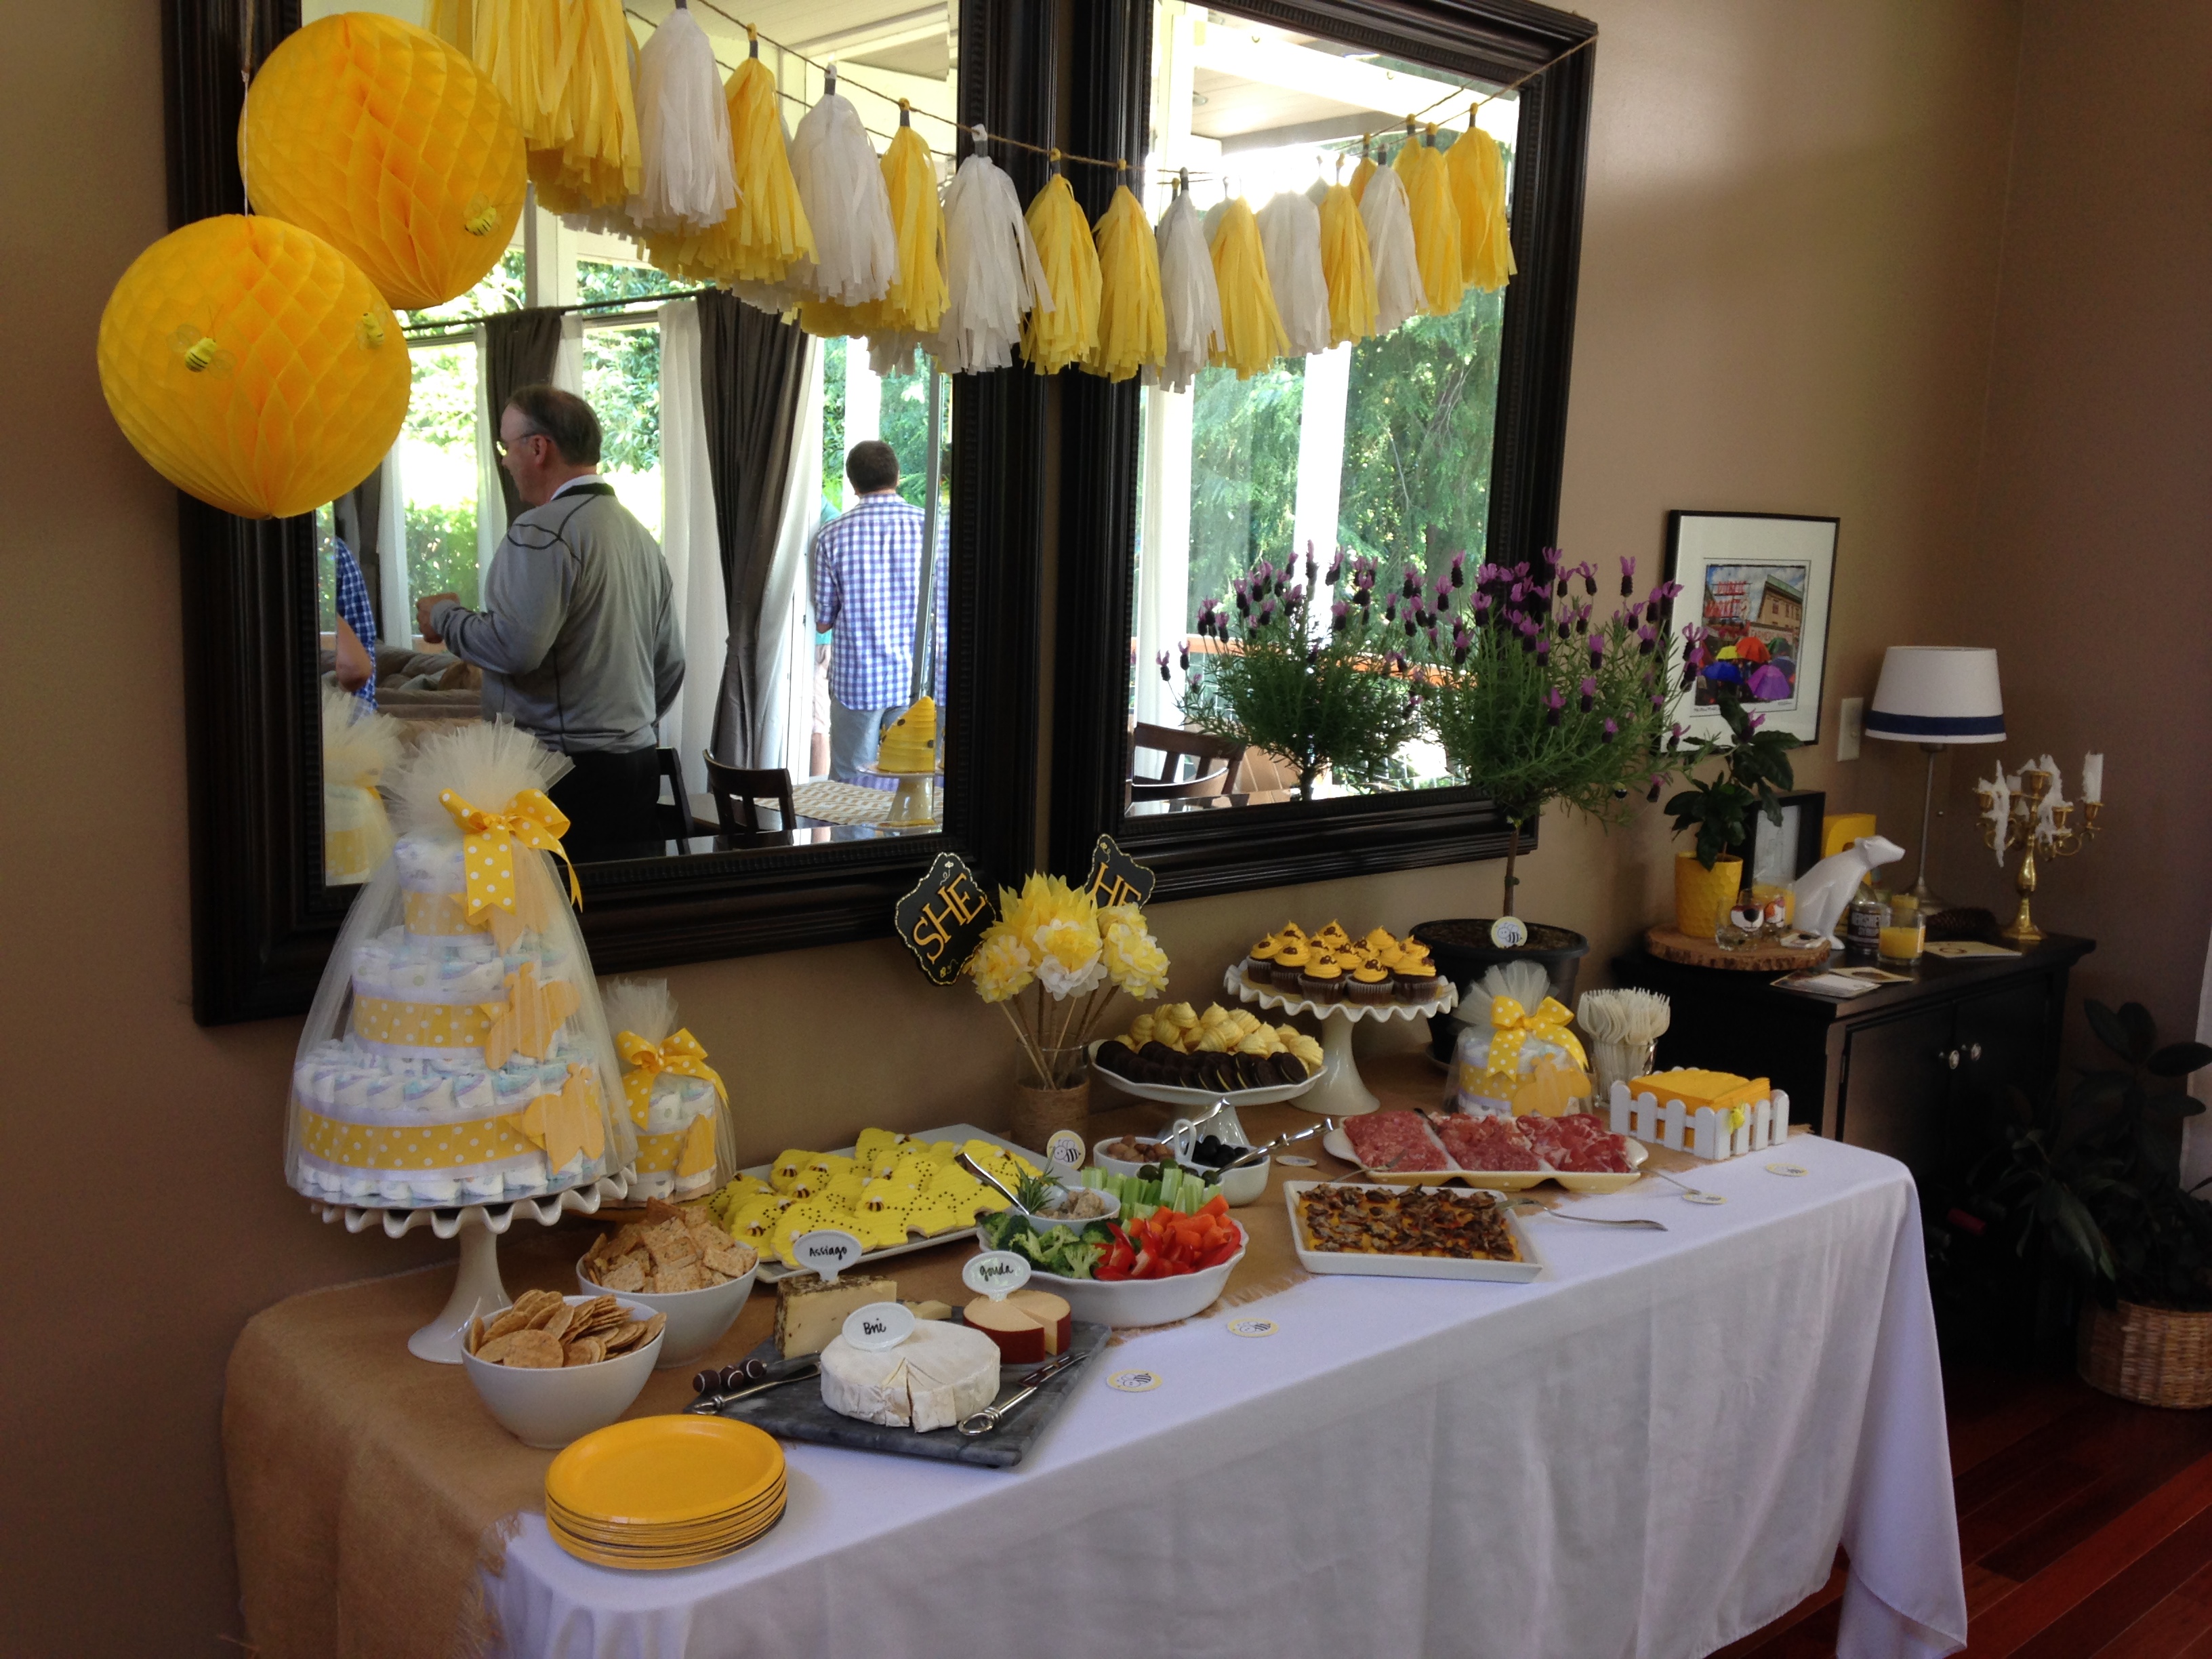
The full spread: What a party!!
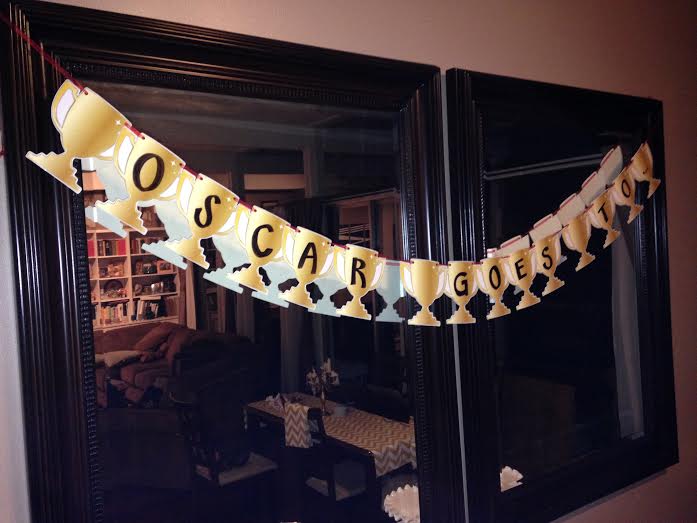
I always hang some sort of a banner (here, here) and this party was no exception. I wanted something light and airy, so I opted for tissue paper tassel garland. These are pretty easy to make and the bang you get for the cost and energy is definitely worth it!

My tissue paper and washi tape banner
I use 8 pieces of tissue for each garland and followed the instructions here for the most part. I did not bust out my glue gun and instead created a loop and secured the tissue paper with a black glittery washi tape. This was one of the first times I’ve used washi tape and as a result, I didn’t know that it wasn’t very sticky. I added a dot of of super glue to the edge of the tape and now the washi tape is there forever. Once the tassels were created, I alternated white and yellow when stringing them on the burlap yarn.
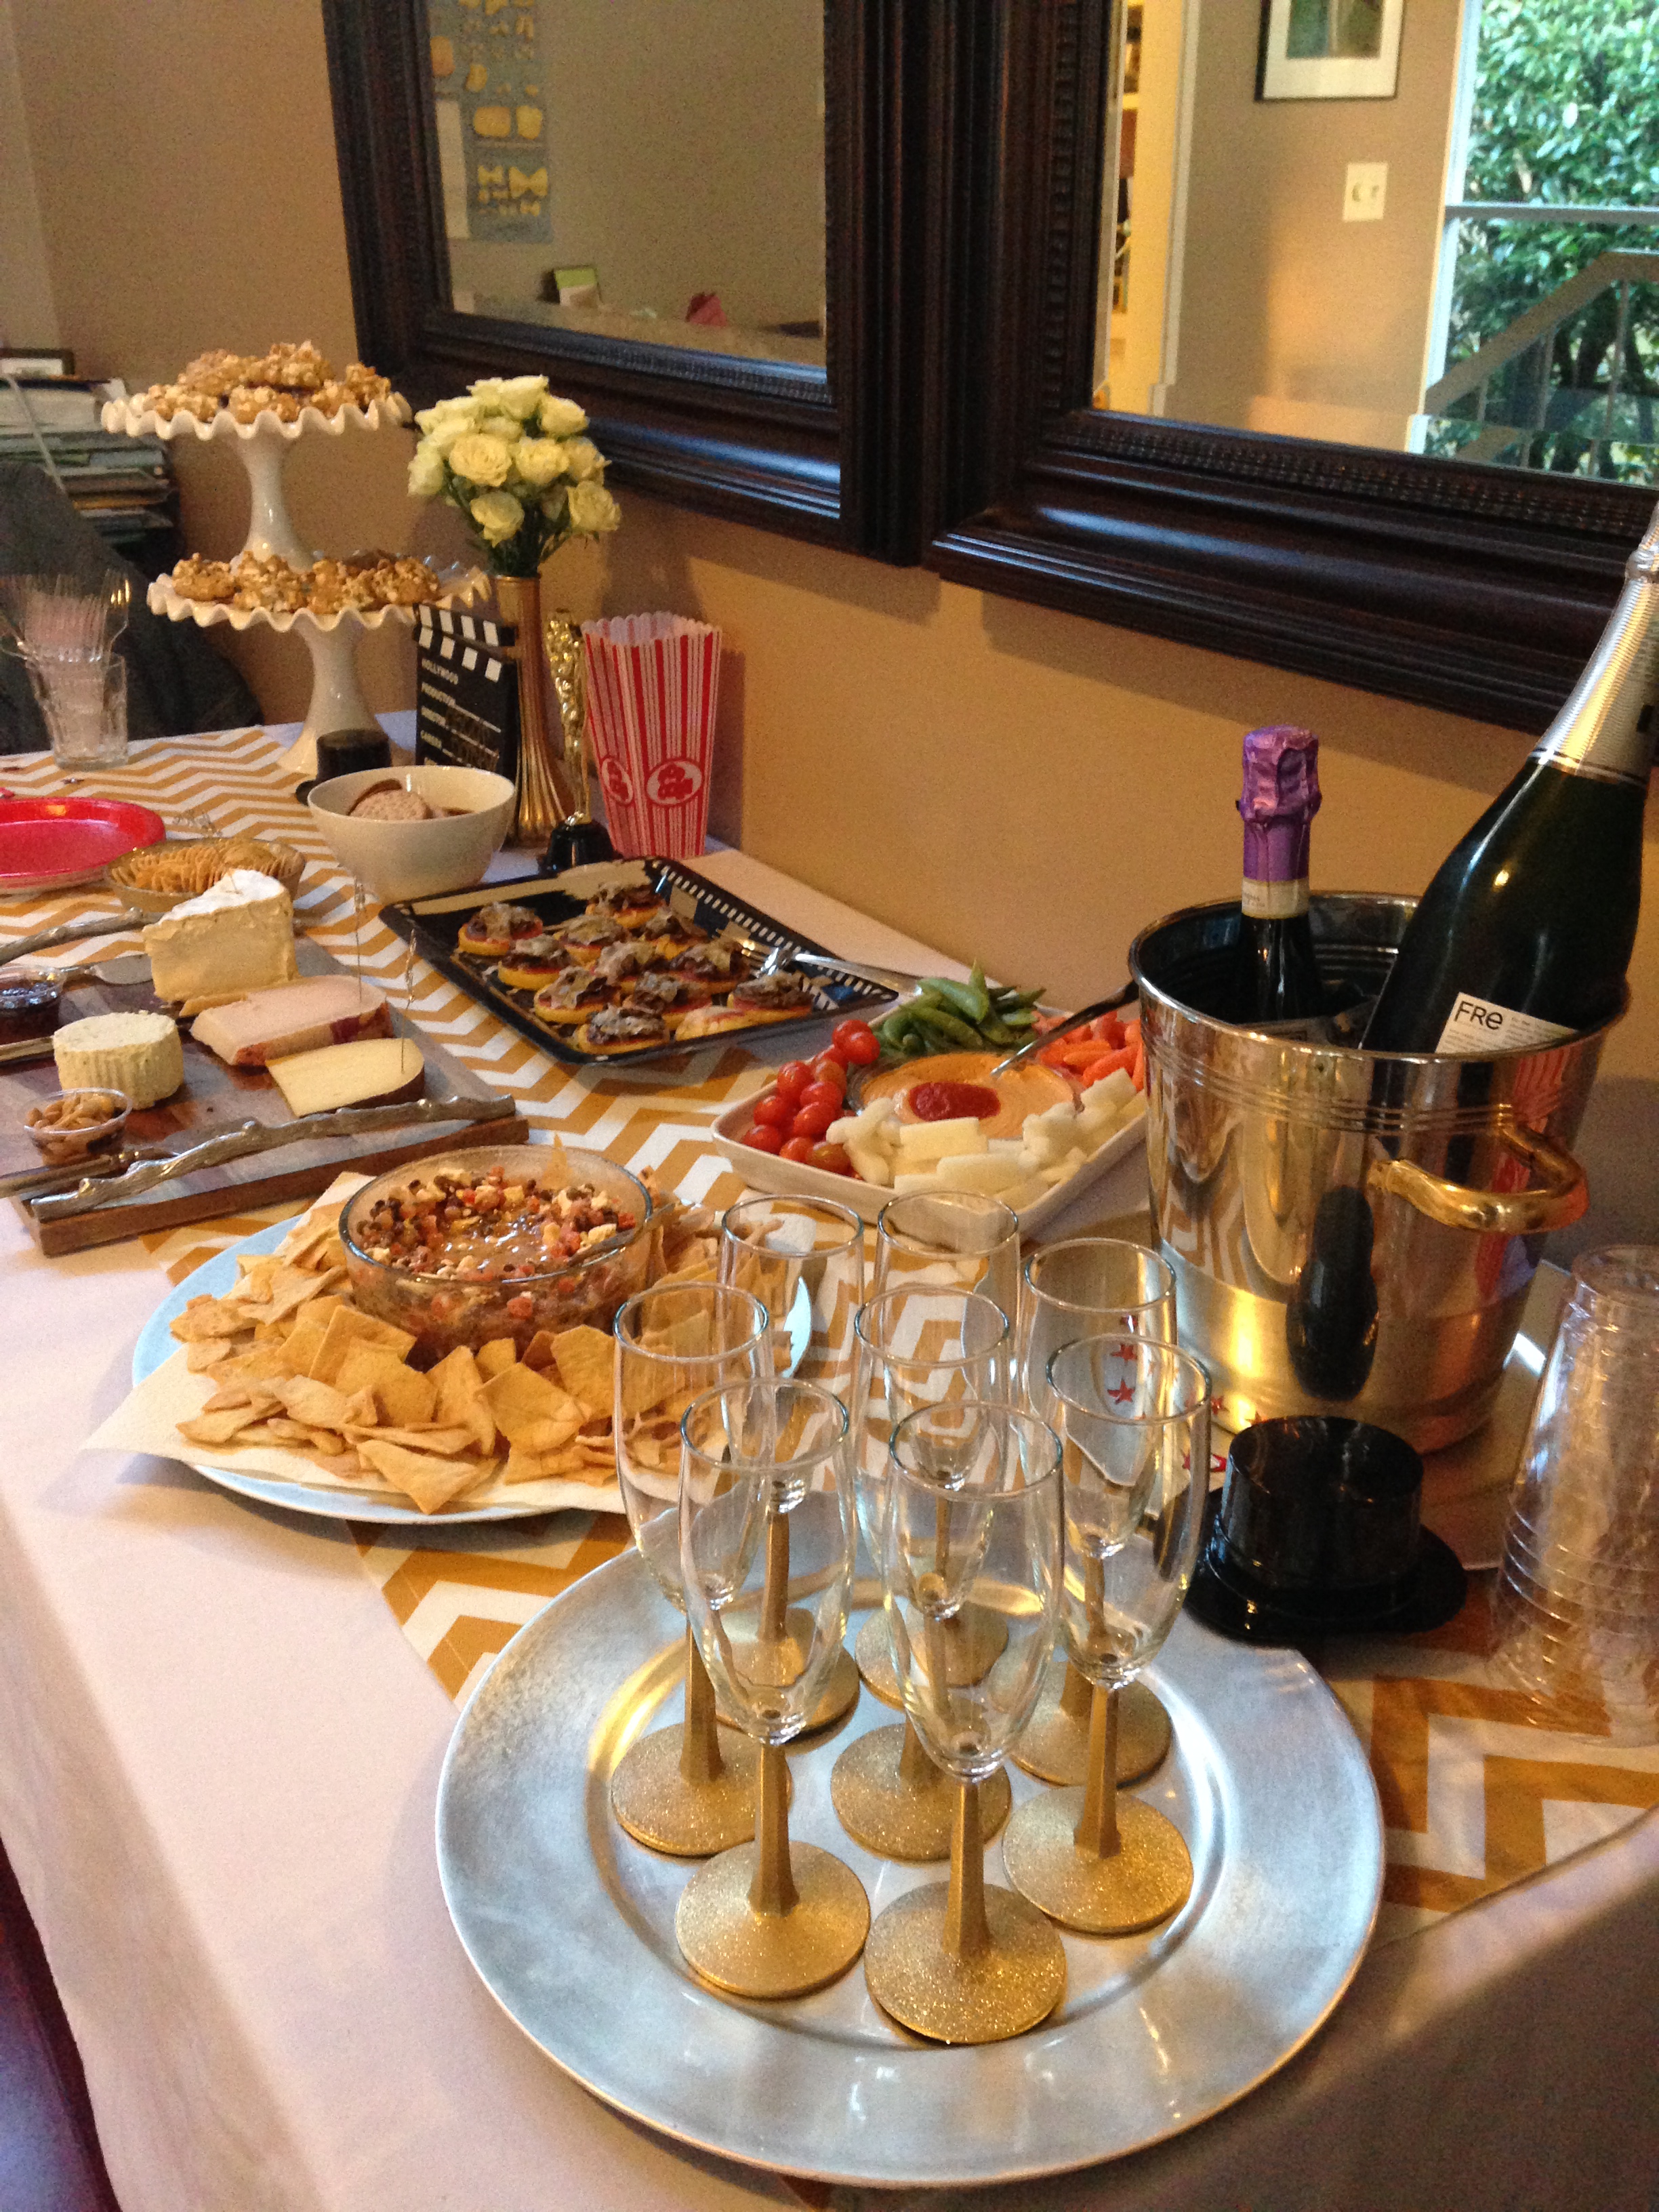
Because of the afternoon timing of the party, we opted for a light menu focused on desserts , with several of gluten-free options for our gluten-free guests. We enjoyed: a variety of cheeses, crackers, cured meats, a veggie platter, polenta bites, bee sugar cookies with royal frosting, meringue bee hives, spring Oreos (with yellow filling!), chocolate cupcakes with yellow frosting and chocolate bees, and lemonade.
It turned out to be quite the spread:
The food spread
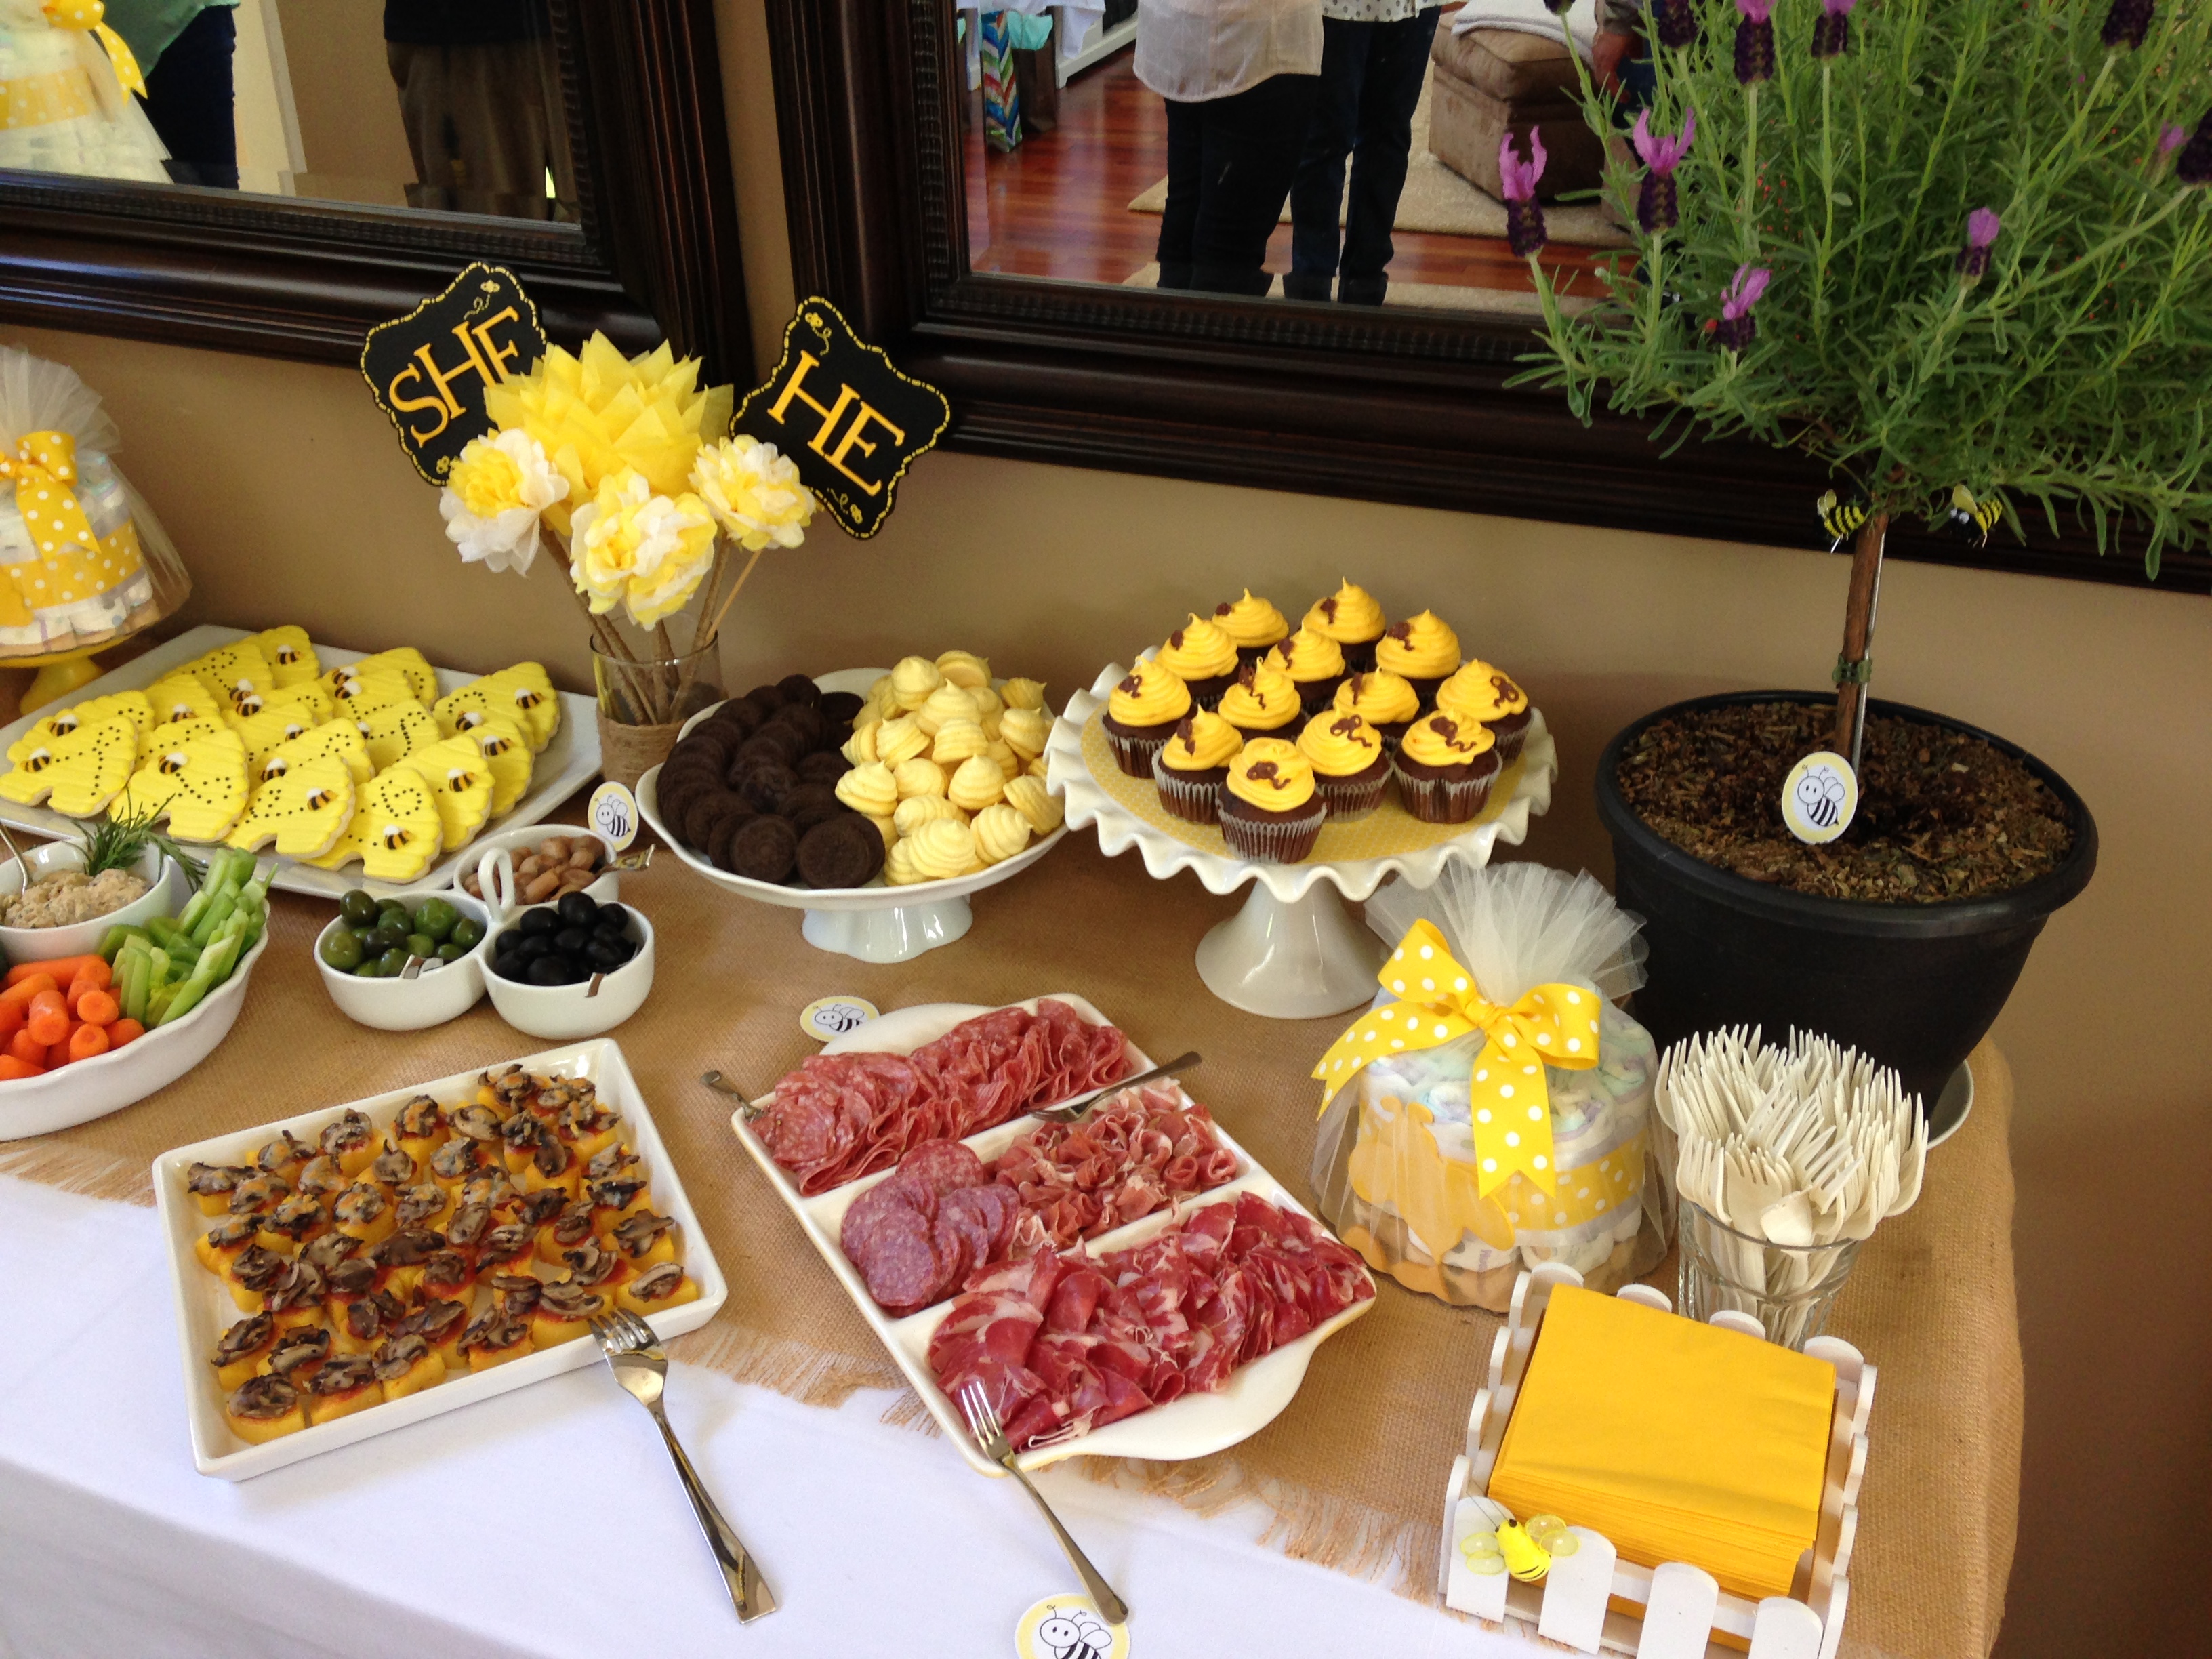
Even more food! Did you spot the bees buzzing the lavender bush?
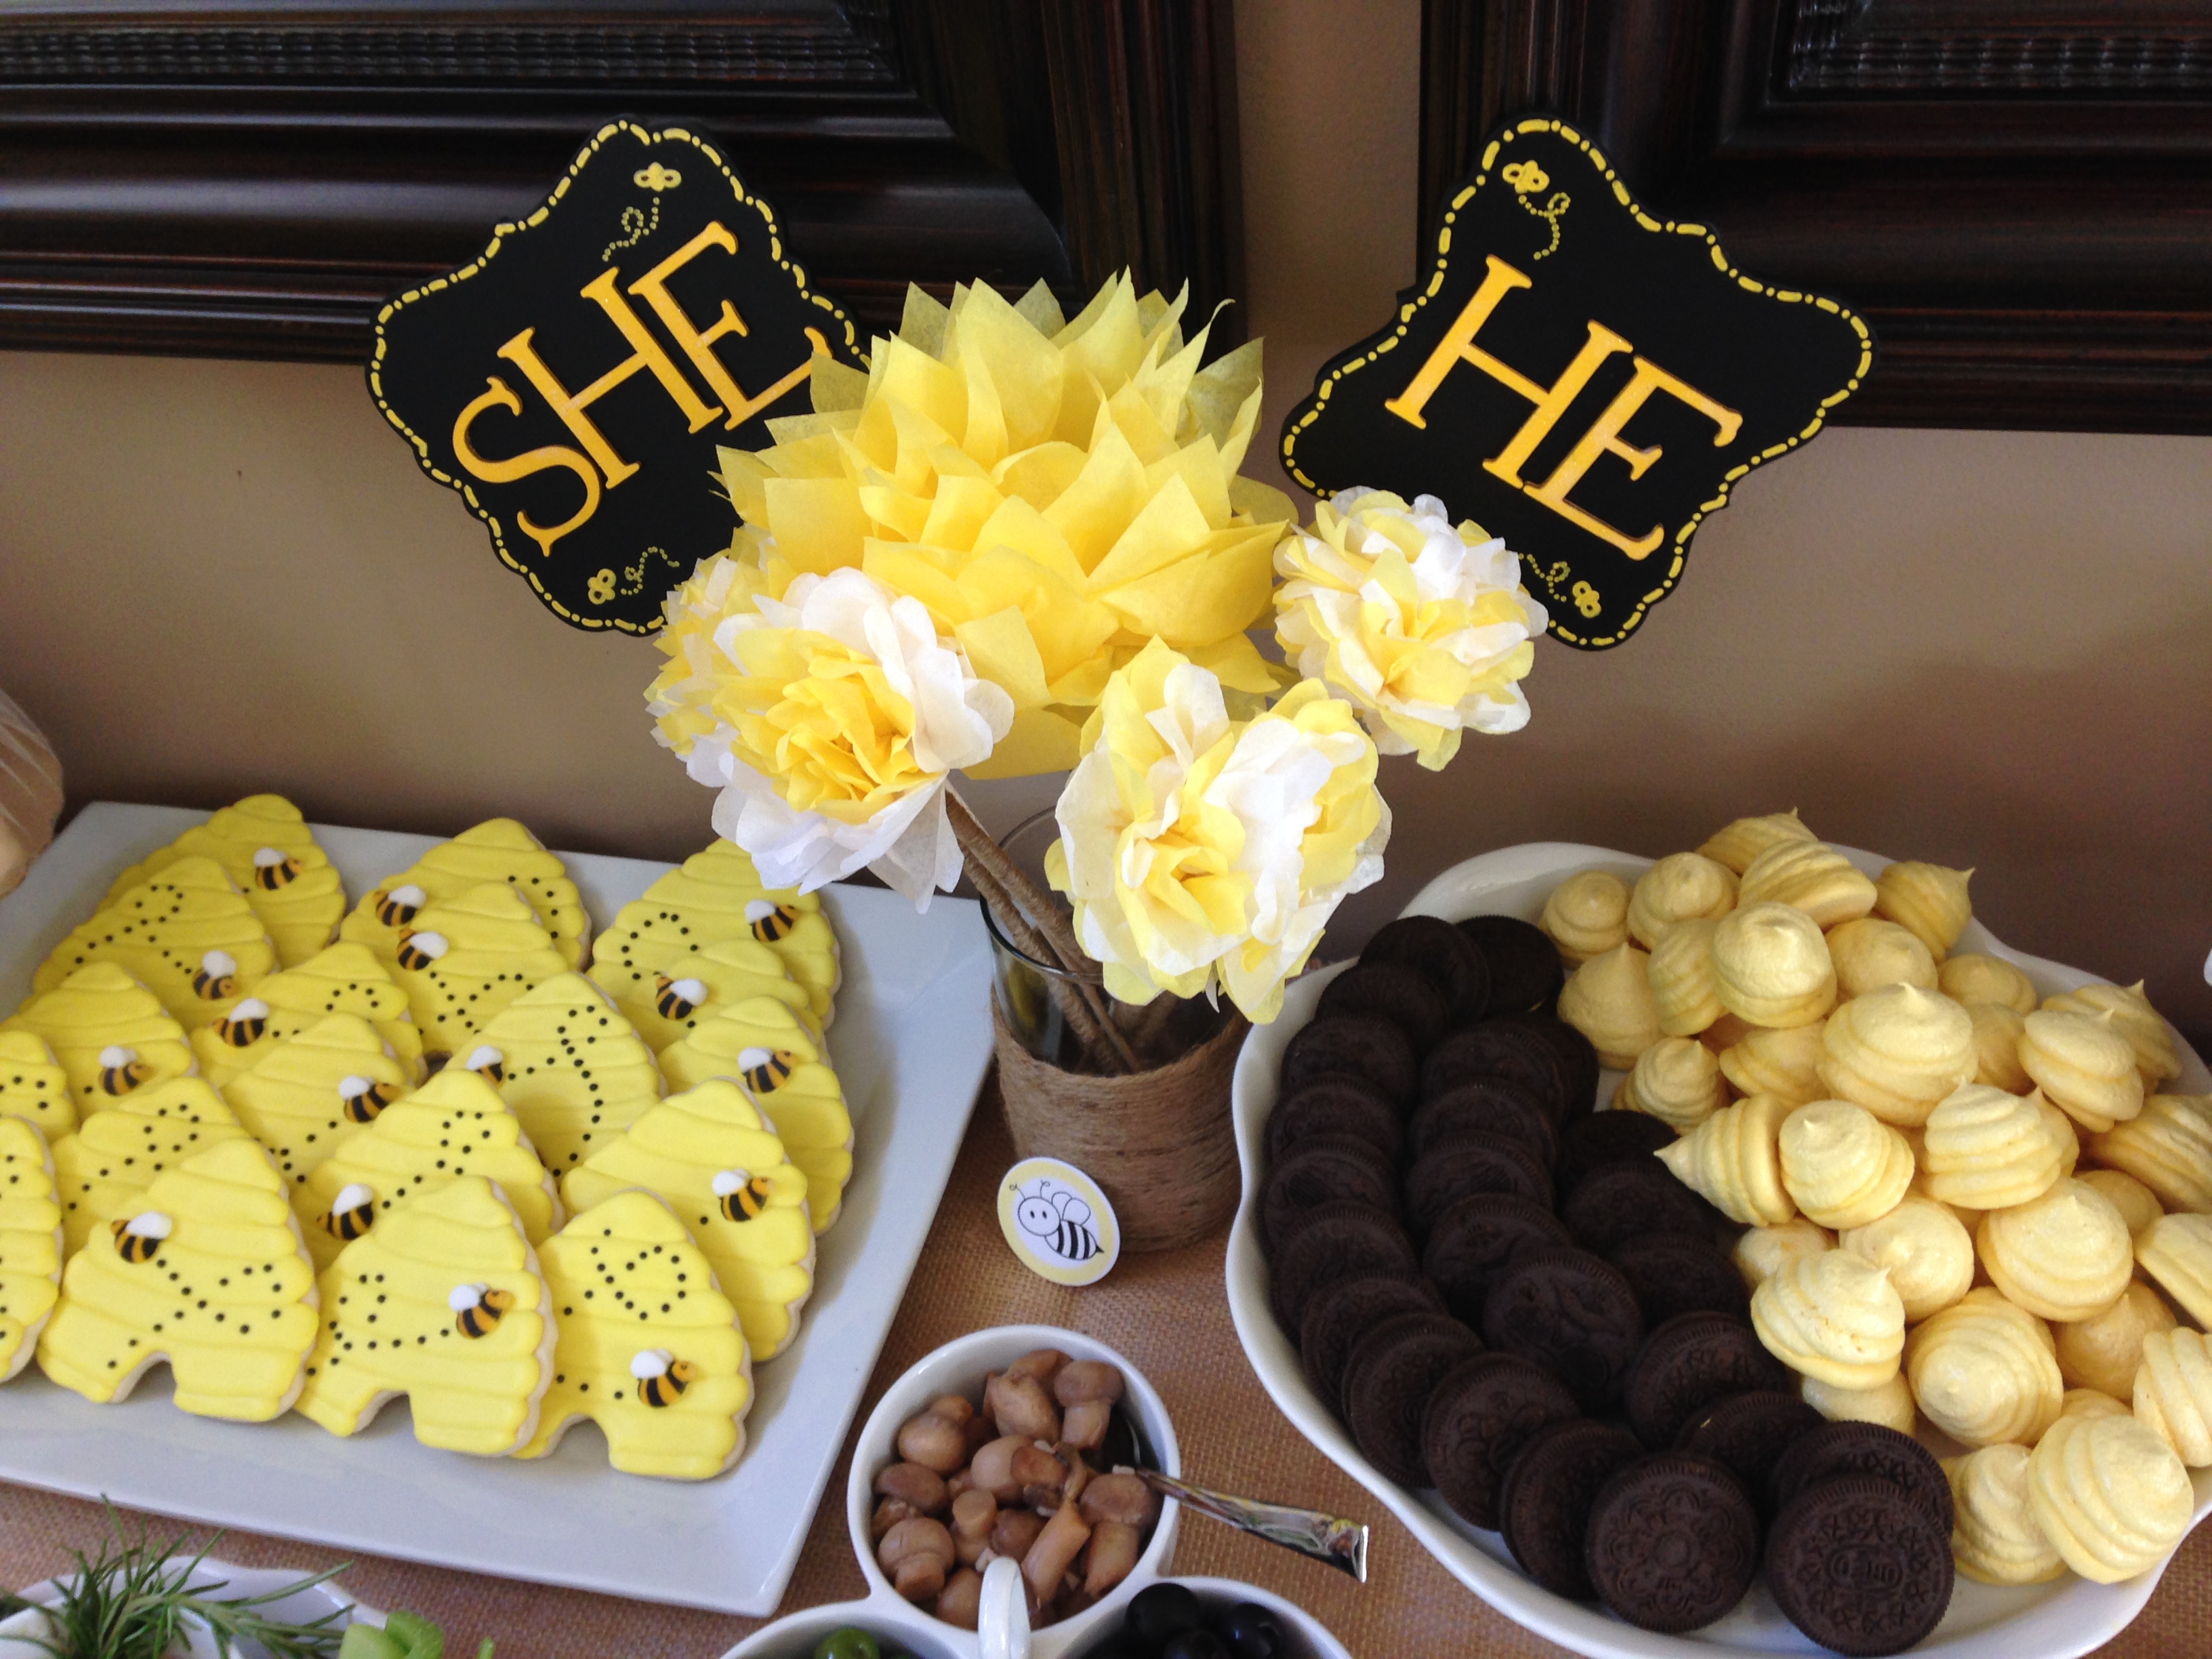
What will Mo bee? A “he” or a “she”?
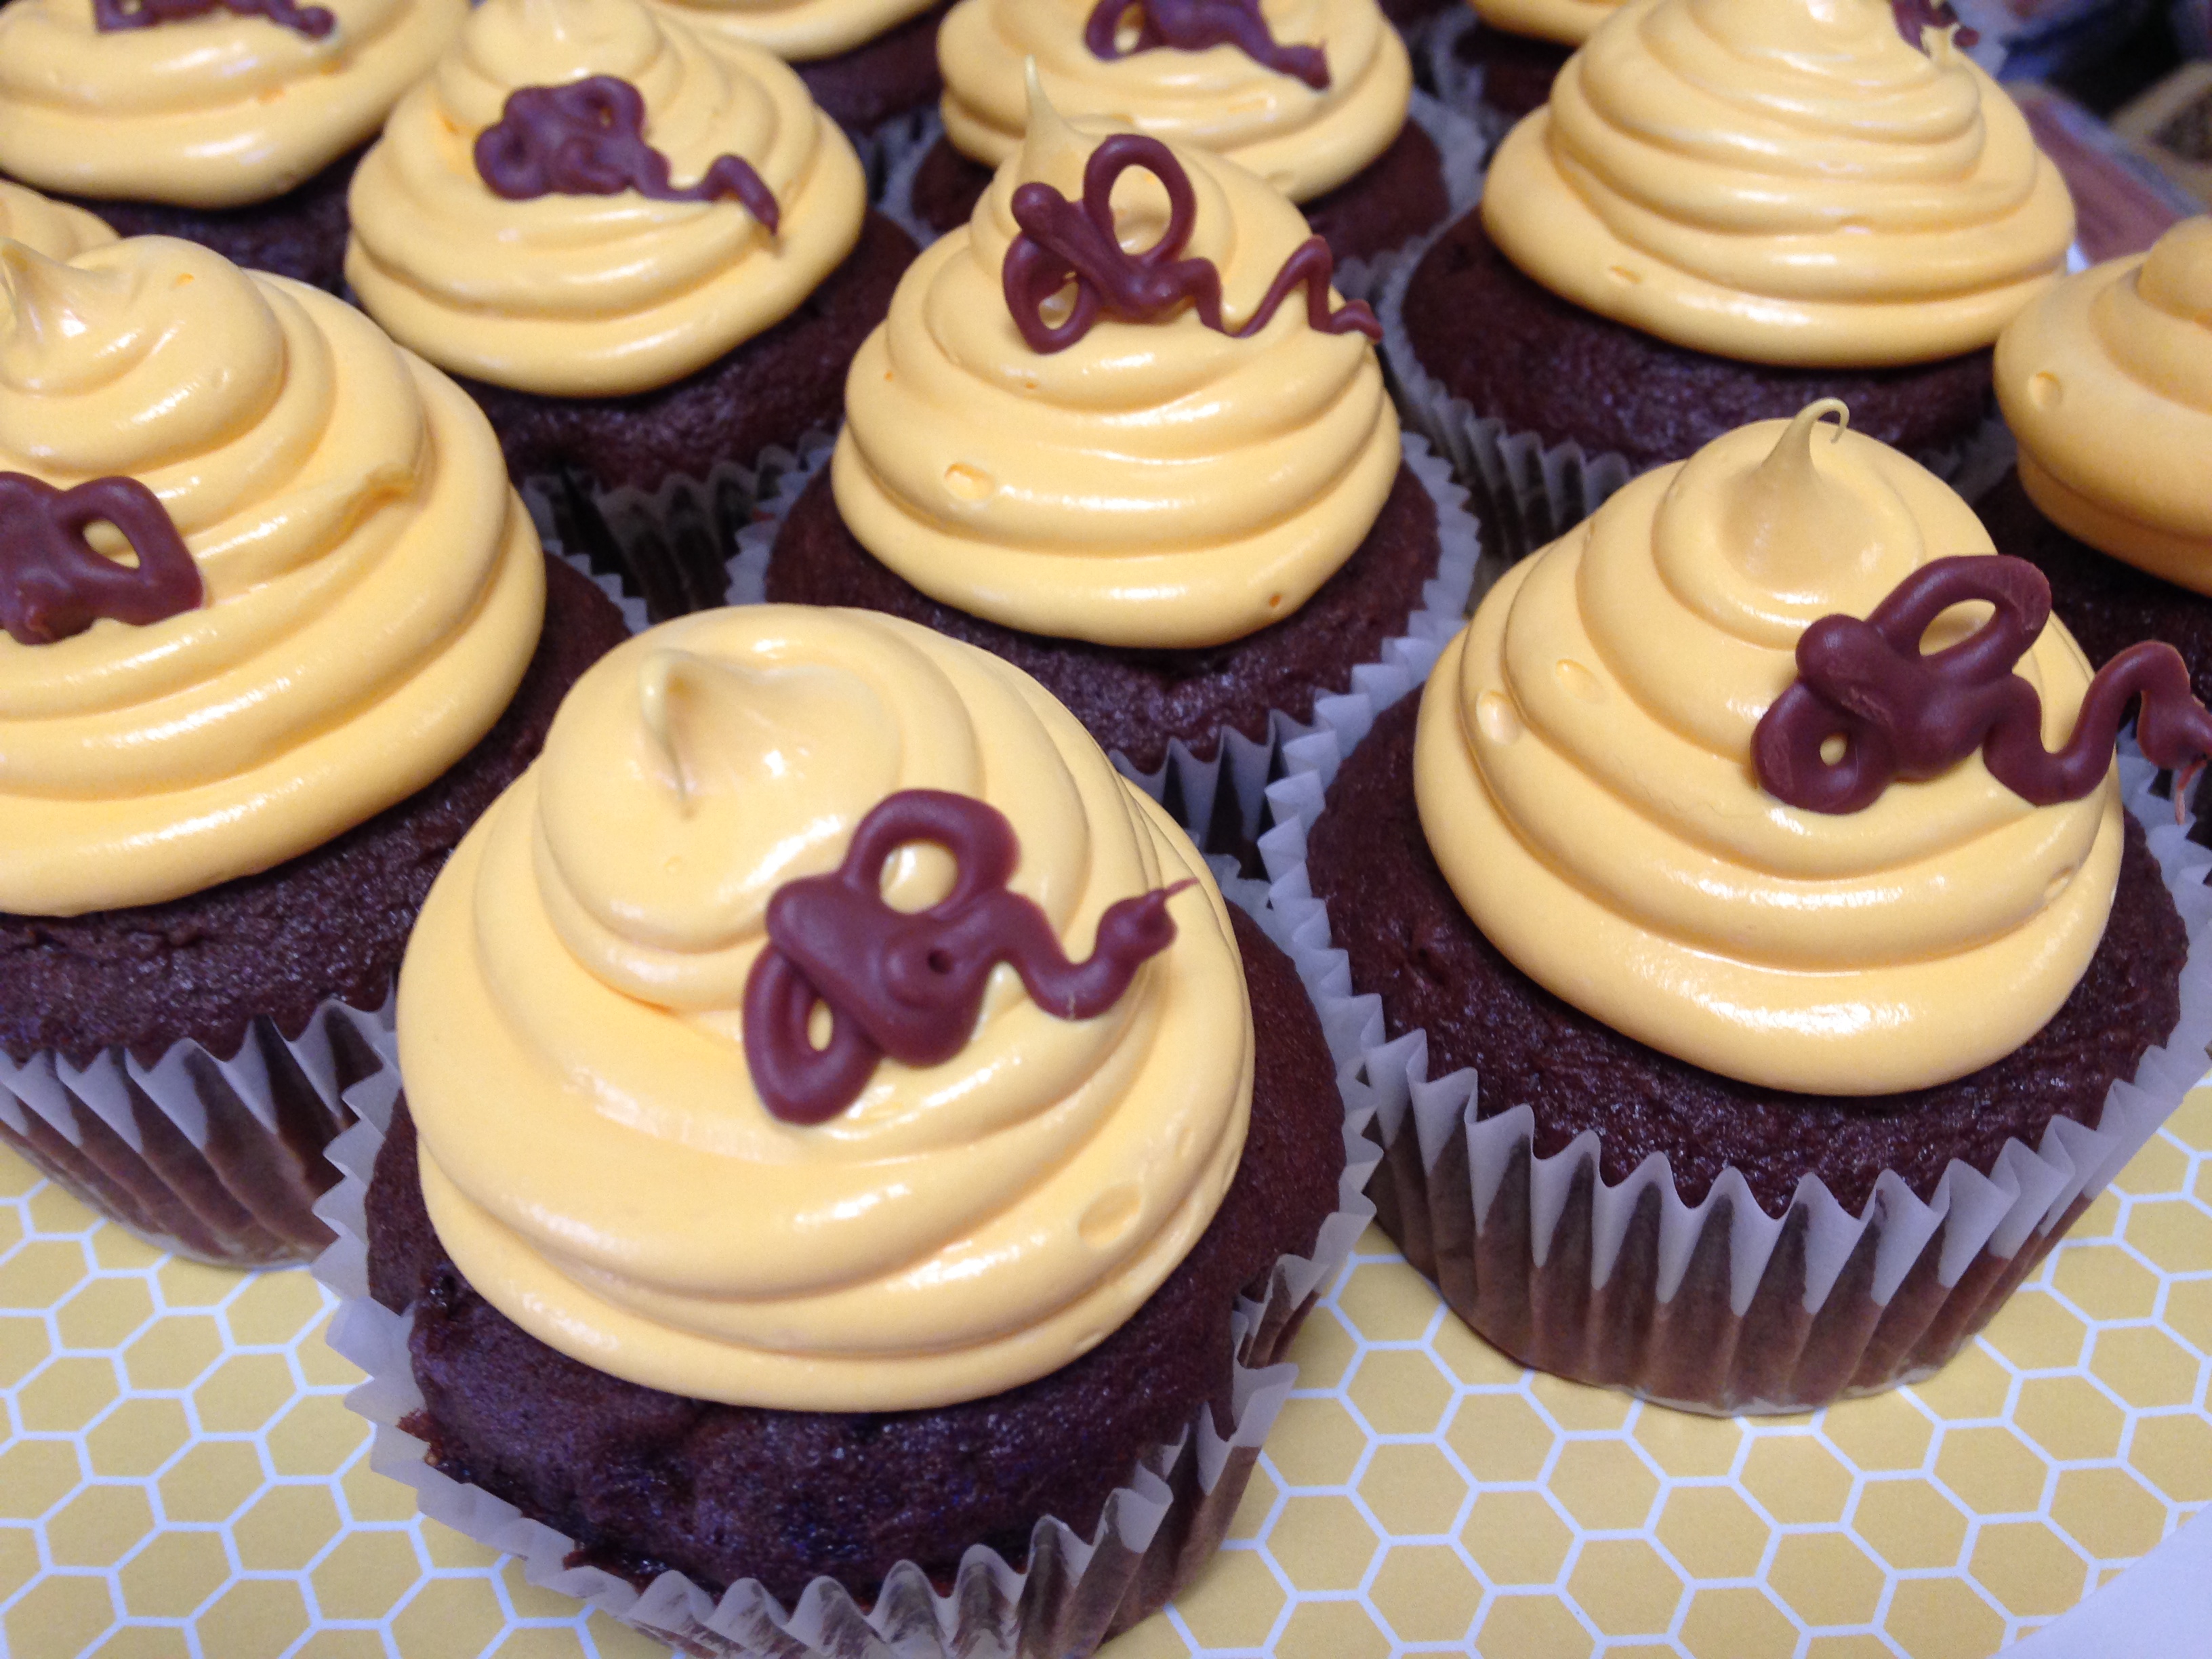
Handmade chocolate bees on cupcakes
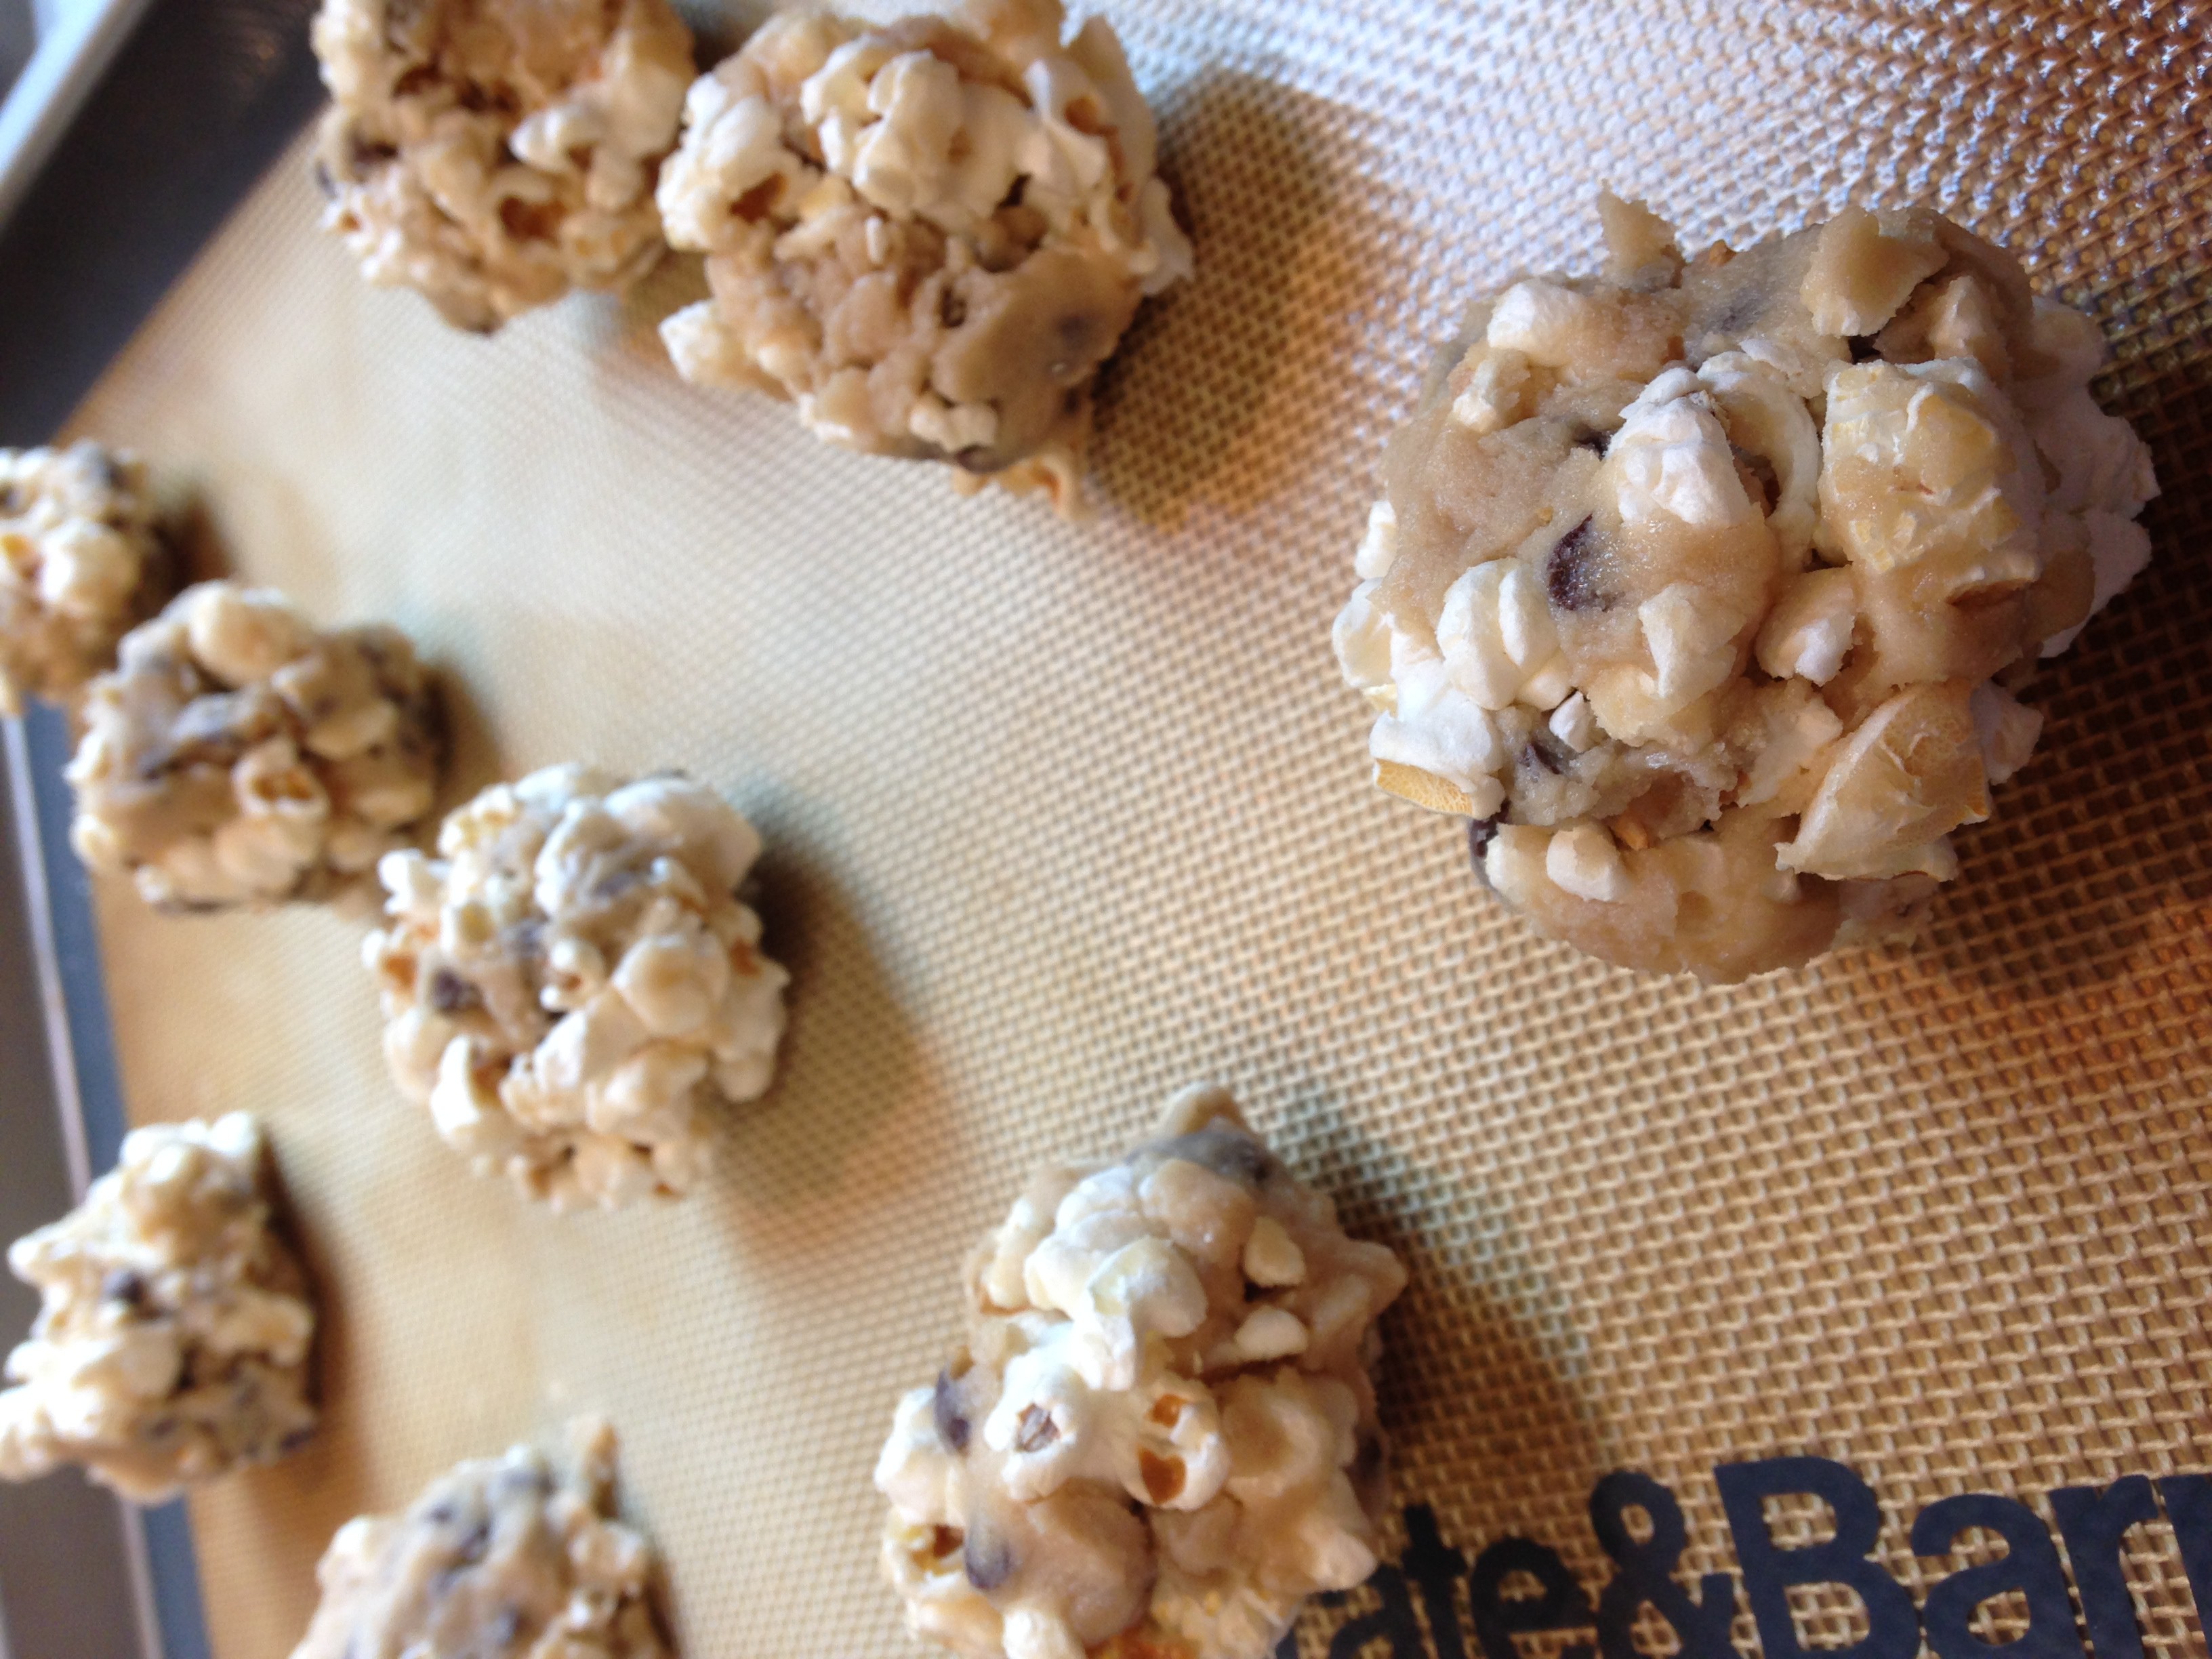
Beyond the diaper cakes, the beehive cookies were the focal point of the party. They were by far the best tasting items at the party. I normally try to make — or semi home-make — all of the items at my parties but I outsourced these cookies to my friend and former colleague Robin. She only makes cookies as a hobby right now, but she could easily be in business full-time! Her skill and creativity are both exceptional! Just typing about these cookies makes me want one right now… Just delicious.
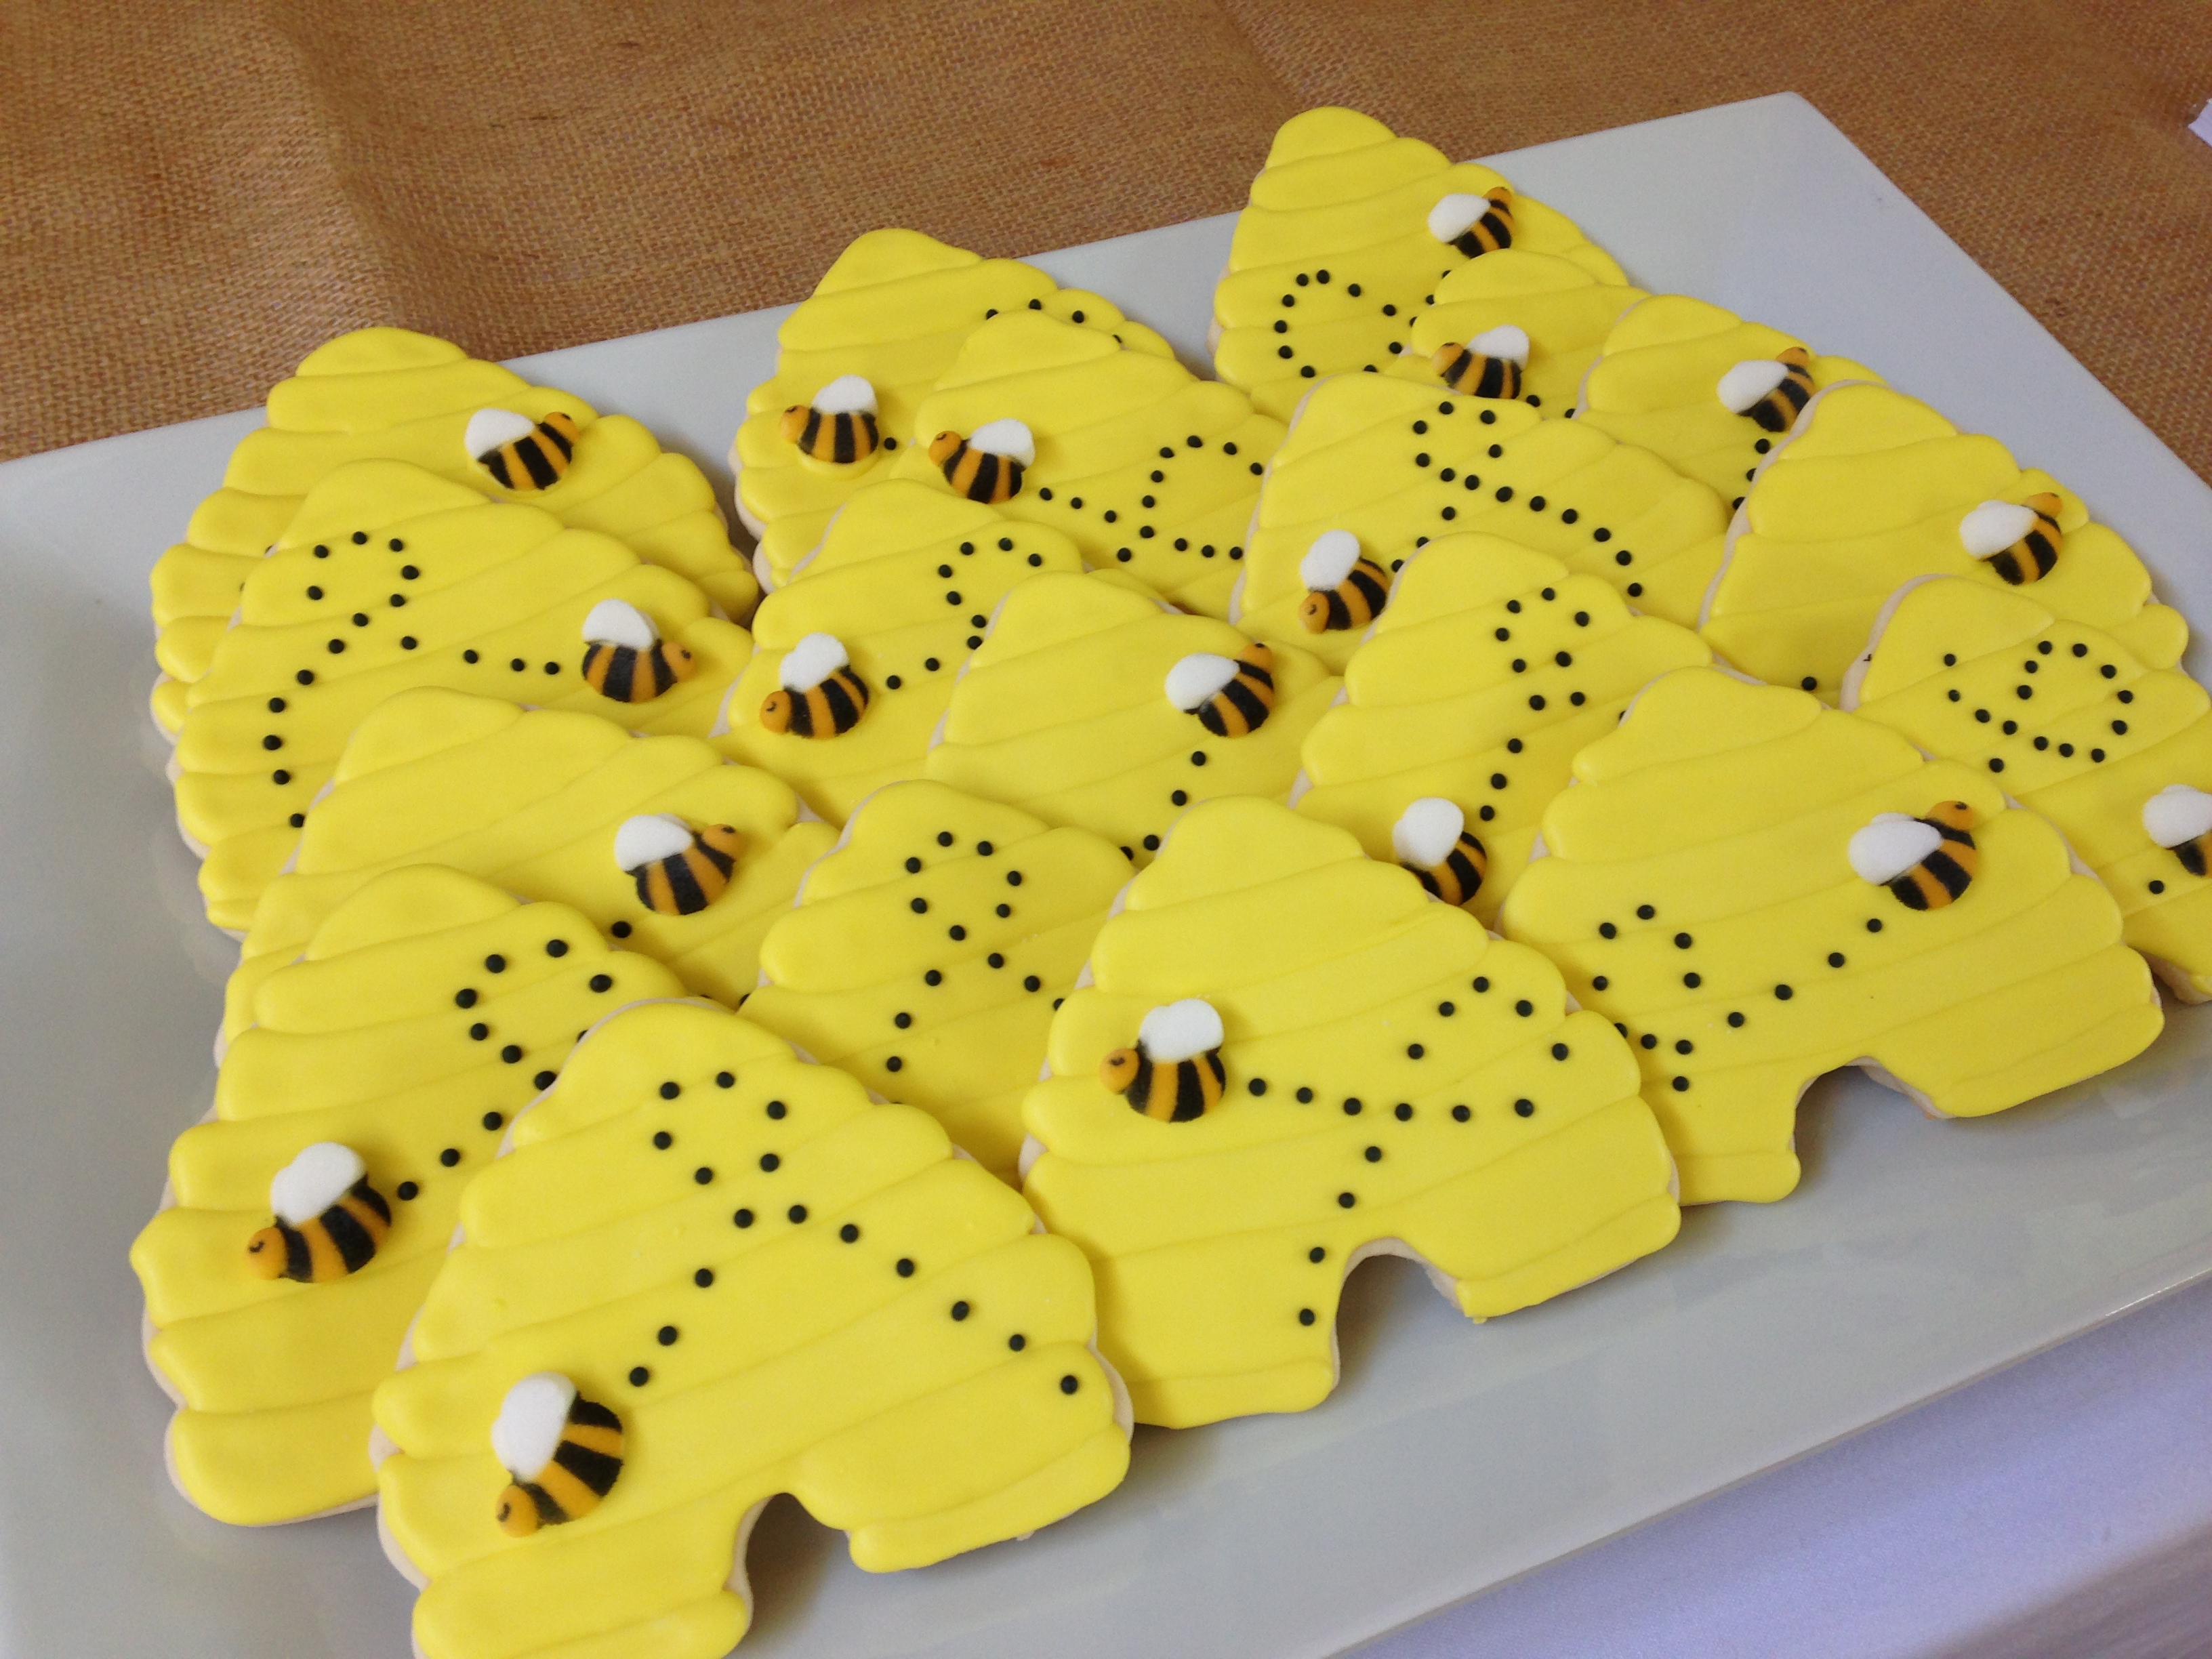
The best cookies ever! Bzzzzzzzzz….
I scoured the internet for old wives tales related to gender prediction — ok, it wasn’t just for the party. For the first 20 weeks of the pregnancy, every time I experienced a new symptom, it was off to the internet to try and gain some insight as to whether Baby Mo was a he or a she. I created this poster, and underlined the symptoms I’d been experiencing.
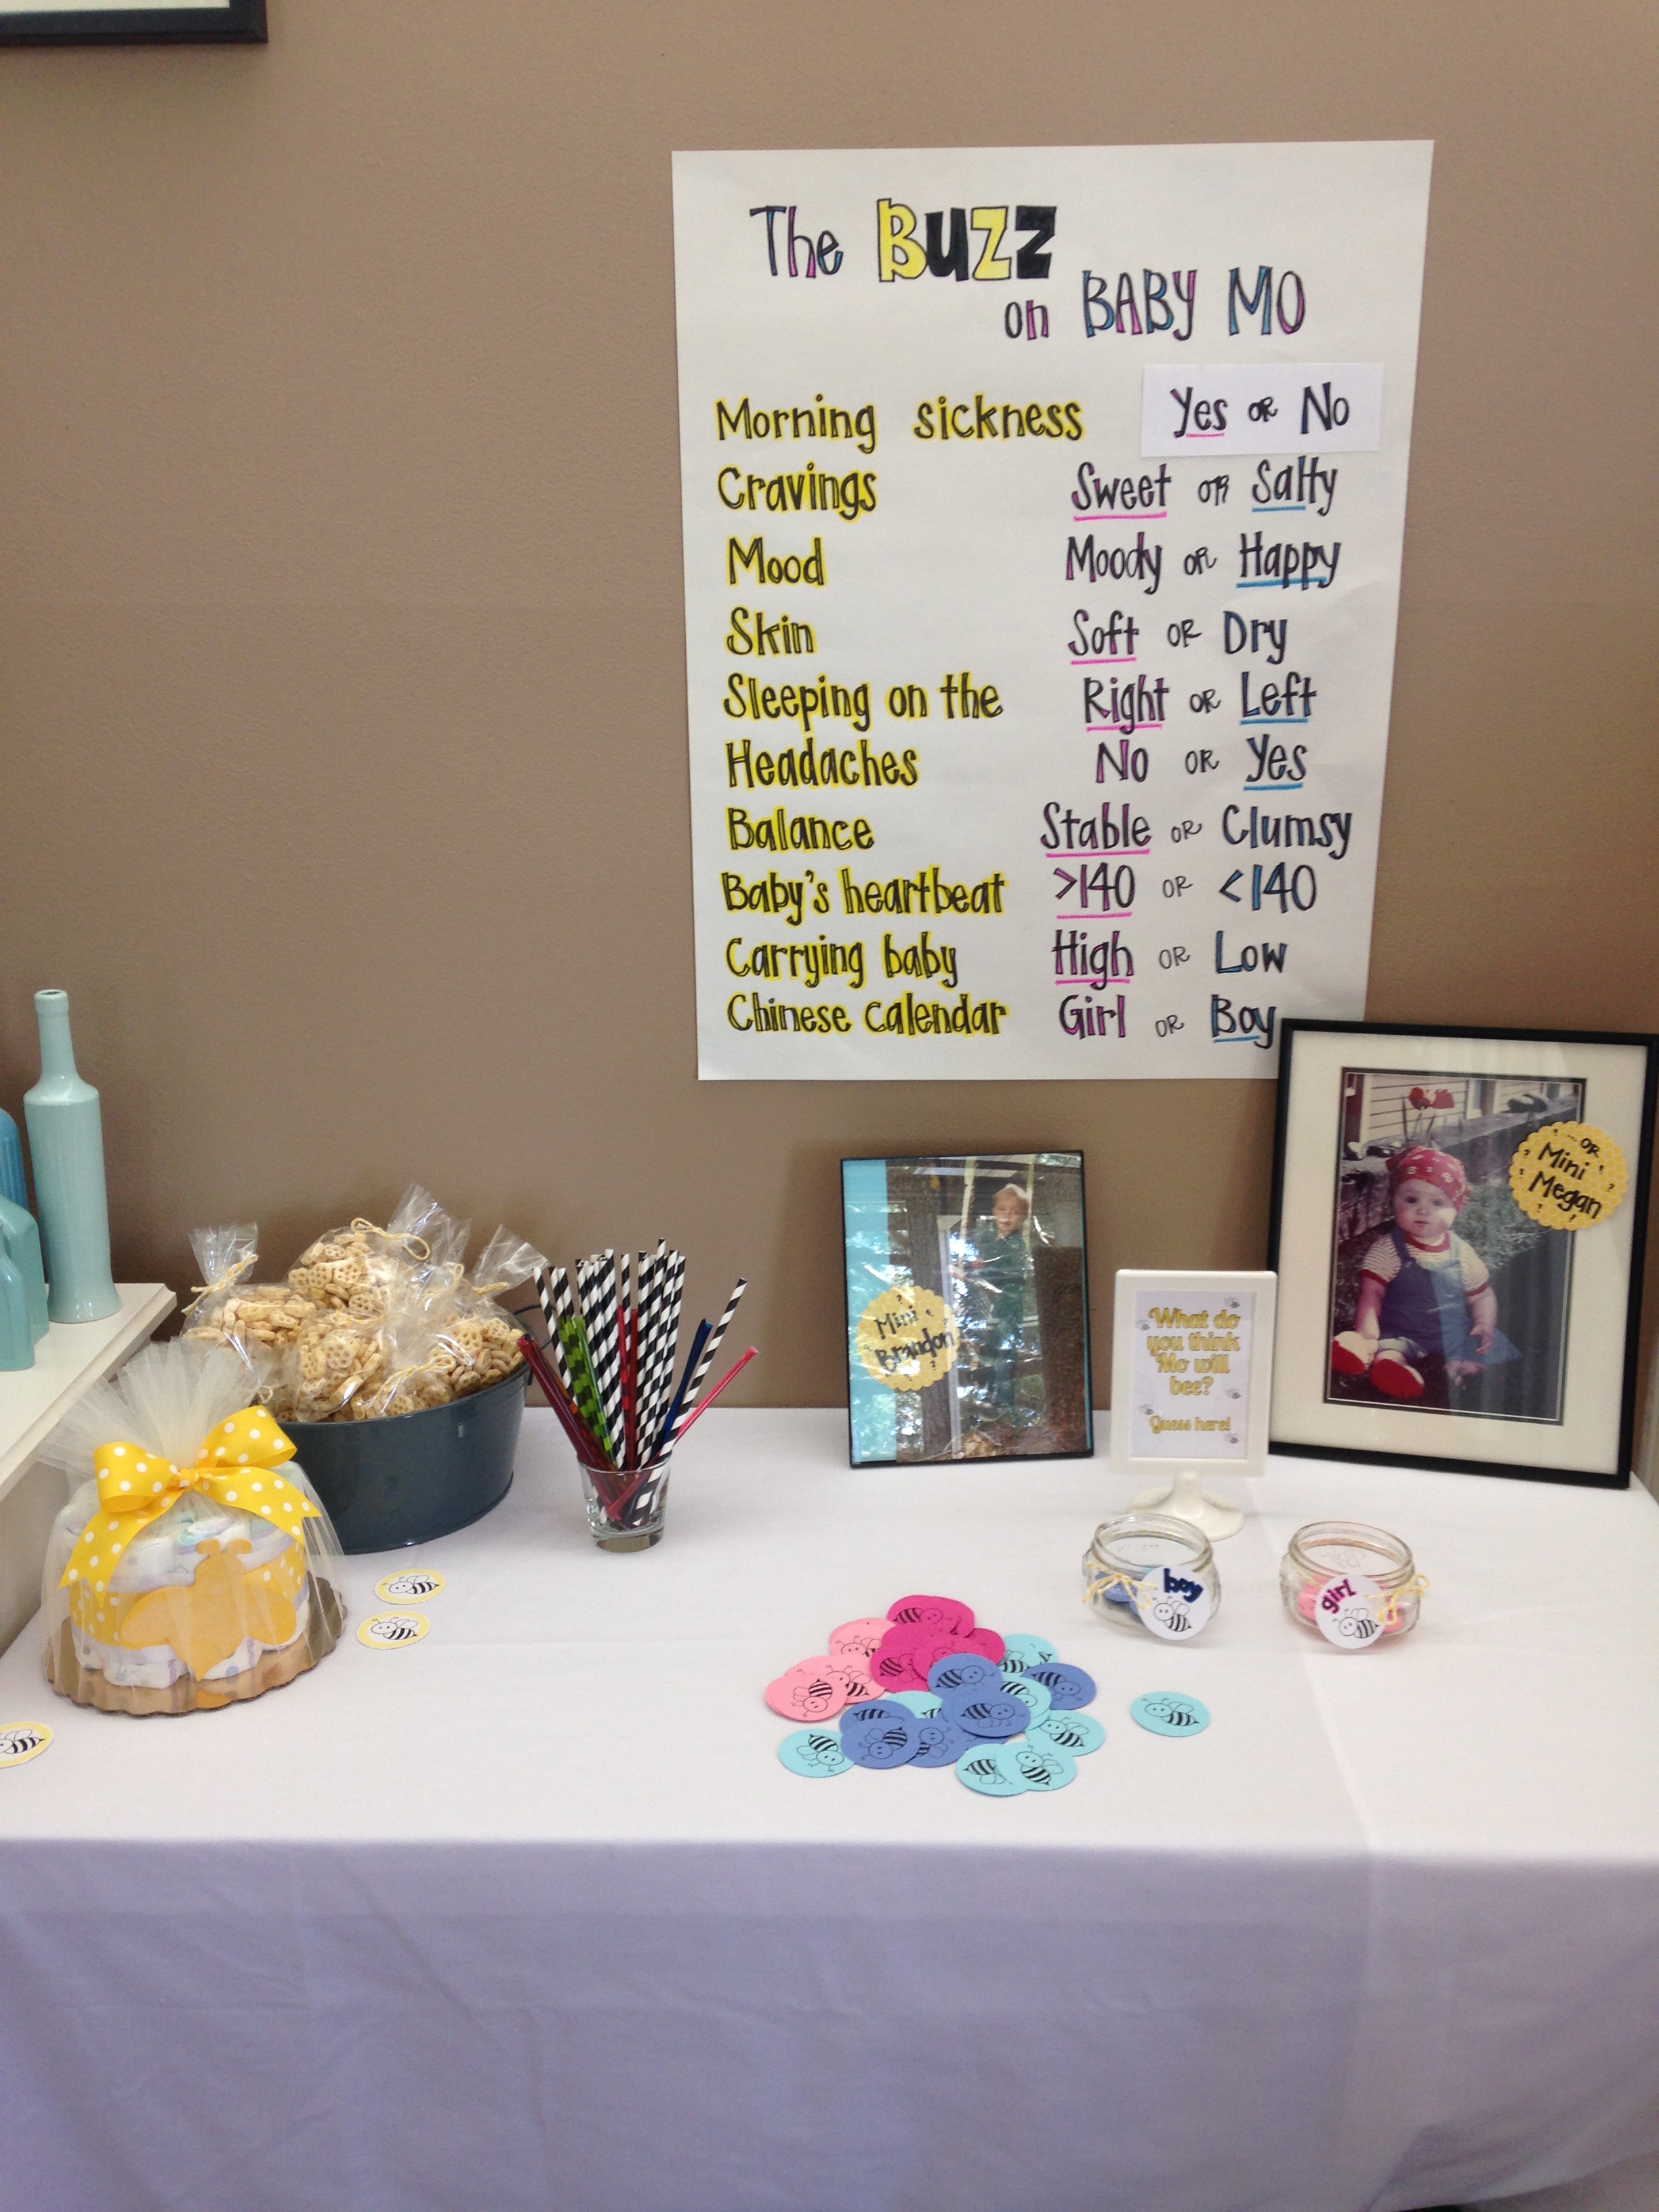
Old wives tales: truth or fiction?
We had our guests guess Mo’s gender and they went along with the old wives tales and guessed girl. They were also wrong!
All signs were pointing towards Mo being a GIRL! (And yes, they were wrong!) Our little one will likely look like little Brandon, pictured here:

Guess the gender!
The actual reveal took place in the form of this beehive cake. The results of the baby’s anatomy scan were given to our local bakery and they used blue or pink frosting in the middle. We had a great time cutting the cake and finding BLUE frosting! See the full party here! We didn’t peek, this was the reveal to us as well!
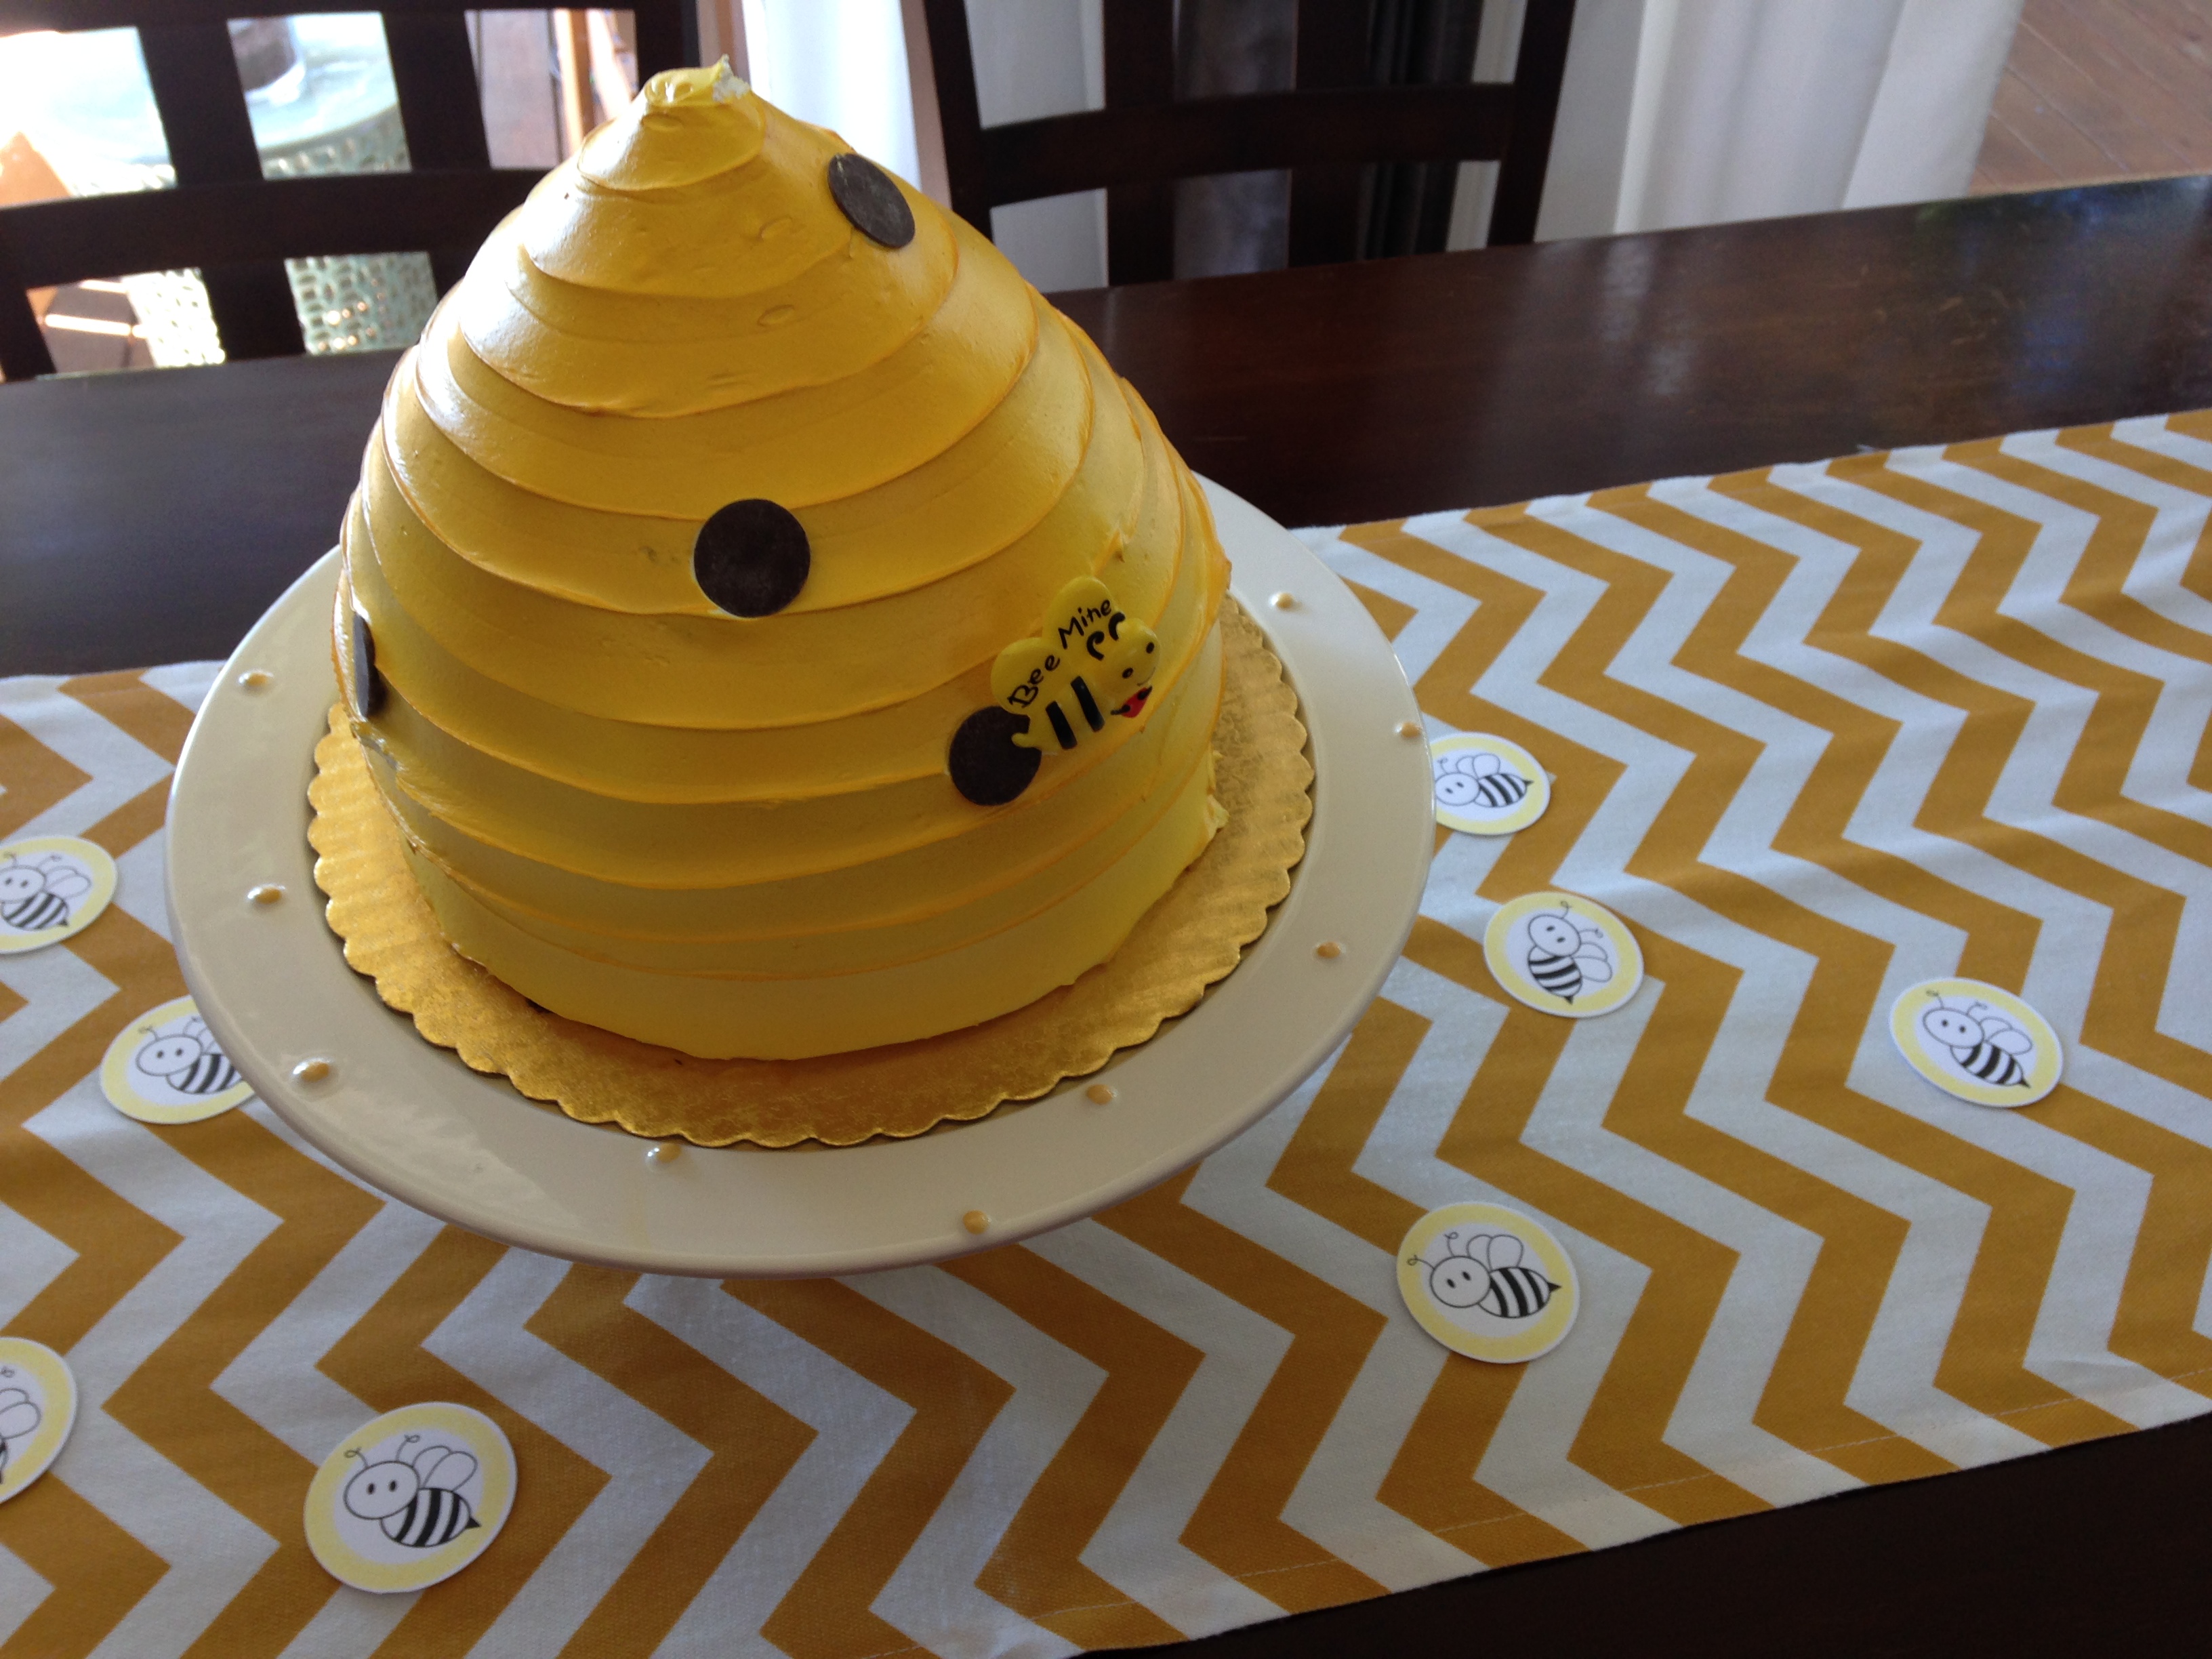
What will it bee gender reveal cake
If this Bee Gender Reveal party looks like something you would like to replicate, you can order most of my supplies and decorations on my Etsy shop.

Bumble bee diaper cakes
As always, please ask any questions you might have! I’m happy to answer everything from suppliers to technique questions and beyond!
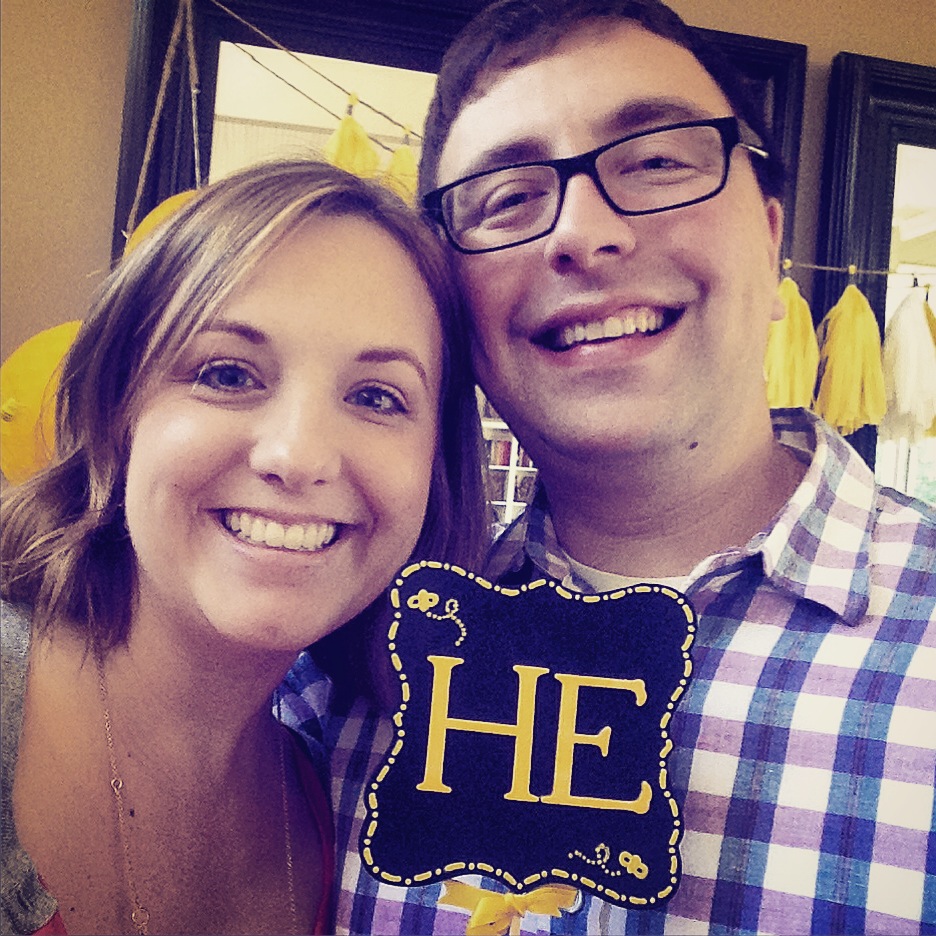
We’re excited to meet our “HE” joining our family in September!